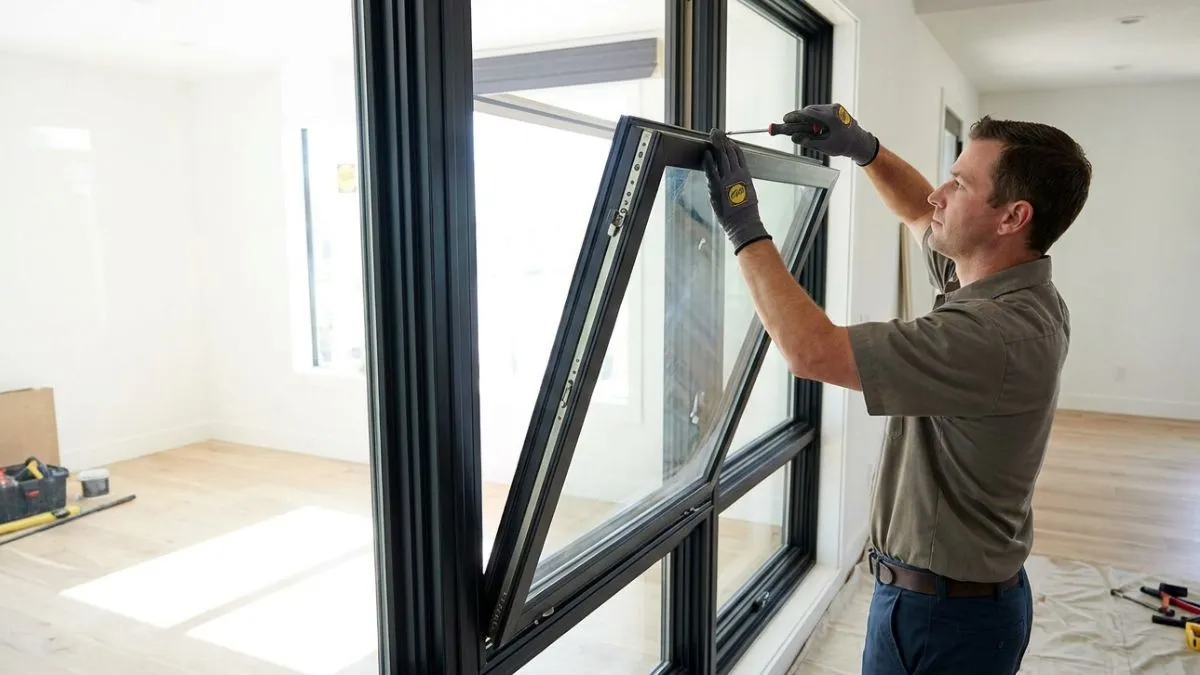
If you need to remove the sash from your Pella window, you might wonder where to start or how to do it without causing damage. Whether you’re fixing a broken window, cleaning hard-to-reach spots, or planning an upgrade, knowing the right steps makes the job easier and safer.
You’ll discover simple, clear instructions to remove your Pella window sash quickly and confidently. Keep reading, and you’ll save time, avoid costly mistakes, and get your windows looking and working like new.
Preparing The Window
Preparing the window properly is a key step before starting Pella window sash removal. It makes the process safer and easier. Taking time to get the area ready prevents damage to the window and the surrounding space.
Clearing The Area
Start by clearing the space around the window. This gives you room to work without obstacles. Remove furniture, rugs, and decorations close to the window. If you cannot move big items, cover them with a drop cloth or plastic sheet. This keeps dust and debris off your belongings.
Use a broom or vacuum to clean the floor. Dust and small pieces can cause slips or get into your tools. Also, check for any cords or wires near the window. Move them safely out of the way to avoid tripping or pulling on them by accident.
Organizing your tools nearby helps speed up the removal. Keep screwdrivers, pry bars, and gloves within reach but not in the way. Prepare a small trash bin or bag for old screws, nails, and broken parts. This keeps the area tidy and safe.
Protecting The Glass
Protecting the glass is crucial to avoid cracks or breaks during sash removal. The glass in Pella windows is strong but still fragile under pressure. First, inspect the window for any pre-existing cracks or chips. Mark these areas with tape so you handle them carefully.
Use painter’s tape to create a protective X across each glass pane. This simple step helps hold the glass together if it cracks. Avoid using duct tape or heavy adhesives that can leave residue or damage the glass surface.
Cover the glass with a soft material like a blanket or bubble wrap. Secure it lightly with tape around the edges. This cushion absorbs shocks from tools or accidental bumps. Keep the protective cover in place until the sash is fully removed.
Wear safety goggles during the removal. Glass shards can fly unexpectedly. Gloves also protect your hands from sharp edges on the glass or frame.
- Inspect glass for damage before starting.
- Apply painter’s tape in an X shape on each pane.
- Cover with bubble wrap or a soft cloth.
- Wear safety gear: gloves and goggles.
- Handle the glass gently throughout the process.
Removing The Window Sash
Removing the window sash from a Pella window is a useful skill for cleaning, repairs, or replacement. The process requires care to avoid damage to the window and its components.
Unlocking The Sash
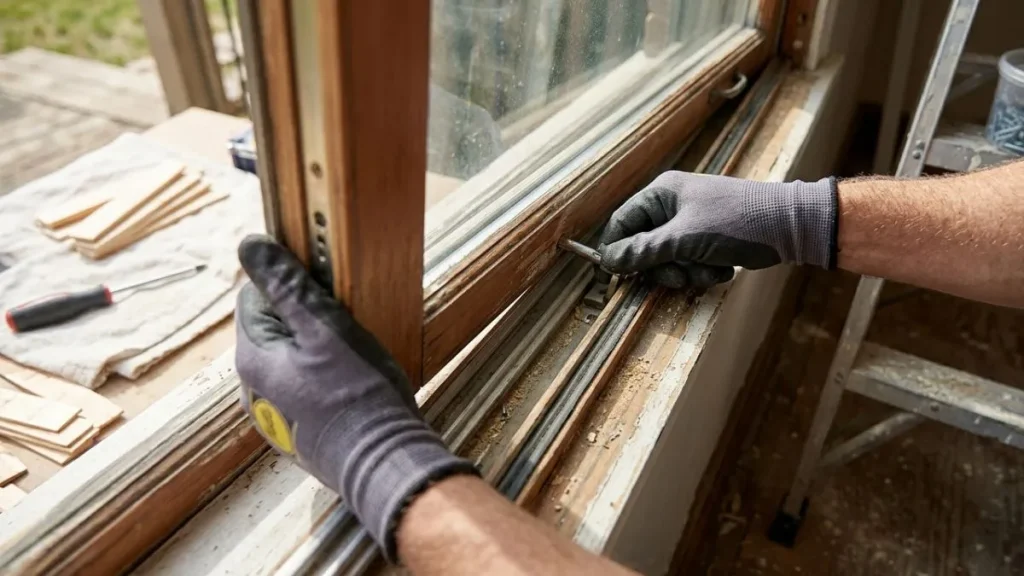
Before removing the sash, it must be unlocked carefully. Most Pella windows have locks at the meeting rails or edges. These locks secure the sash in place to prevent it from moving or falling out.
Steps to unlock the sash:
- Locate the locking mechanism on the sash, usually near the middle or bottom edge.
- Slide or lift the lock to the open position.
- Check both the top and bottom sashes if it is a double-hung window.
Some Pella windows include tilt latches that need unlocking for sash removal. These latches release the sash from the frame, allowing it to tilt inward.
| Lock Type | Location | Action |
| Cam Lock | Meeting rail | Slide to unlock |
| Spring Latch | Window edges | Press or slide |
| Tilt Latch | Top corners | Release by pressing |
Important: Avoid forcing the lock. Forcing can damage the sash or frame. Use gentle pressure and confirm the lock is fully disengaged before moving the sash.
Tilting And Lifting Out
After unlocking, the sash can be tilted and lifted out of the frame. This step requires steady hands and attention to avoid dropping or scratching the window.
How to tilt and remove the sash:
- Stand inside the room, facing the window.
- Hold the sash firmly on both sides near the bottom.
- Gently tilt the sash inward, releasing it from the frame.
- Once tilted, lift the sash upward and out of the window frame.
Some Pella sashes are heavier due to glass thickness or frame material. Use two people if the sash is large or heavy.
Handling Different Pella Models
Pella manufactures various window models, each with specific sash removal methods. Knowing your window type helps follow correct steps and avoid mistakes.
Common Pella window types include:
- Double-Hung Windows: Both top and bottom sashes tilt inward for removal.
- Single-Hung Windows: Only the bottom sash tilts and comes out.
- Casement Windows: Usually have crank arms and require removing the sash differently.
- Sliding Windows: Sashes slide horizontally and lift out after unlocking.
Here is a simple comparison for sash removal by model:
Tip: Check the Pella user manual for your window model before starting. It provides model-specific instructions and safety advice.
Common Challenges
Removing a Pella window sash can be tricky. Many homeowners face common challenges during this process. These issues often slow down the work or cause damage if not handled carefully. Two frequent challenges are dealing with stuck or painted sashes and broken or damaged components.
Stuck Or Painted Sashes
One of the most common problems in Pella window sash removal is a sash that won’t budge. Over time, paint and dirt build up around the edges, causing the sash to stick firmly in place. This happens especially in older windows where layers of paint were applied repeatedly.
Signs of stuck or painted sashes:
- The sash does not move even when you try to lift or tilt it.
- Visible paint sealing the sash to the frame.
- Hard resistance when attempting to remove the sash.
Attempting to force a stuck sash can cause damage. Use the right tools and techniques:
- Carefully score the paint seam with a utility knife.
- Use a putty knife to gently pry the sash loose.
- Apply a lubricant to loosen any paint or debris.
Broken Or Damaged Components
Broken parts are another challenge when removing a Pella window sash. Over time, components like balances, locks, or tilt latches may wear out or break. This can make sash removal difficult or unsafe.
Common broken or damaged parts include:
- Balance springs that no longer support the sash weight.
- Locks that are stuck or missing.
- Tilt latches that won’t release the sash.
Broken parts can cause the sash to fall or get stuck during removal. Inspect each component before starting. Replace any damaged parts to ensure safety.
Replacing Or Repairing The Sash
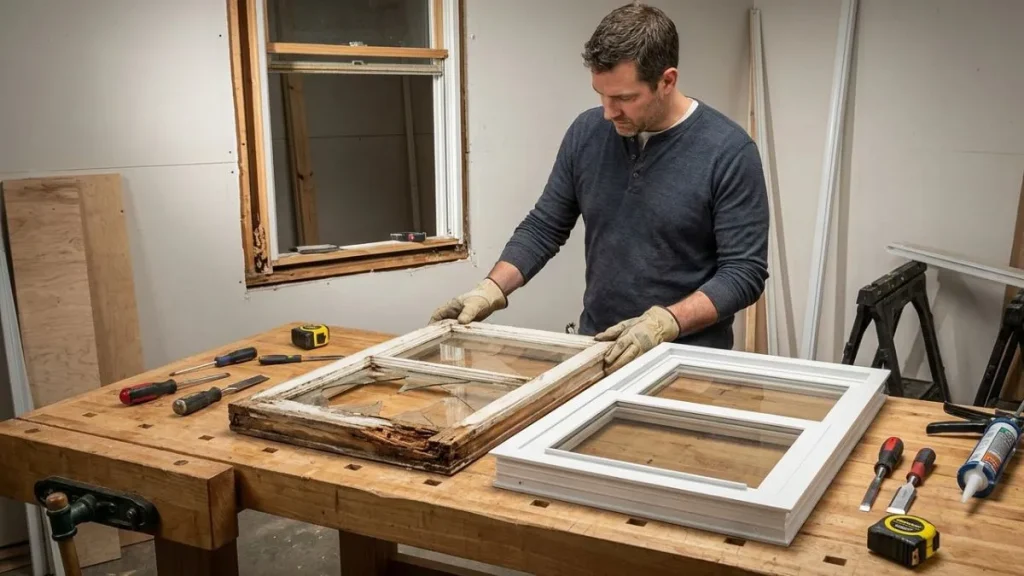
Replacing or repairing the sash is a key step in maintaining Pella windows. The sash holds the glass and moves within the frame. Over time, sashes can crack, warp, or become hard to operate. Fixing or swapping the sash can restore window function and improve energy efficiency. This process requires careful inspection and the right parts for a good fit.
Inspecting The Sash
Start by closely checking the sash for damage. Look for cracks in the glass or frame. Check if the sash moves smoothly or sticks. Warping or swelling often causes poor operation. Also, examine the weatherstripping for wear. Damaged weatherstripping can lead to drafts and water leaks.
Use this checklist to inspect the sash:
- Glass condition: cracks, chips, or fogging
- Frame integrity: cracks, splits, or warping
- Movement: smooth sliding or sticking points
- Weatherstripping: tears, gaps, or compression
- Locks and hardware: rust, looseness, or missing parts
Note any issues you find. Minor problems like worn weatherstripping might only need repair. Major issues like cracked glass or warped frames usually require sash replacement. Accurate inspection reduces unexpected problems during repair.
Ordering Replacement Parts
Correct parts are essential for successful sash repair or replacement. Pella windows come in many styles and sizes. Finding exact matches ensures proper fit and function. Use the window model number and measurements to order parts. Check the sash type — single-hung, double-hung, or casement — because parts vary.
Follow these steps for ordering parts:
- Locate the Pella window model number, usually on the frame or sash.
- Measure the sash height, width, and thickness accurately.
- Identify the sash style and material (wood, vinyl, fiberglass).
- Contact Pella or an authorized dealer with this information.
- Request the exact sash or specific parts like weatherstripping or locks.
Reinstalling The Sash
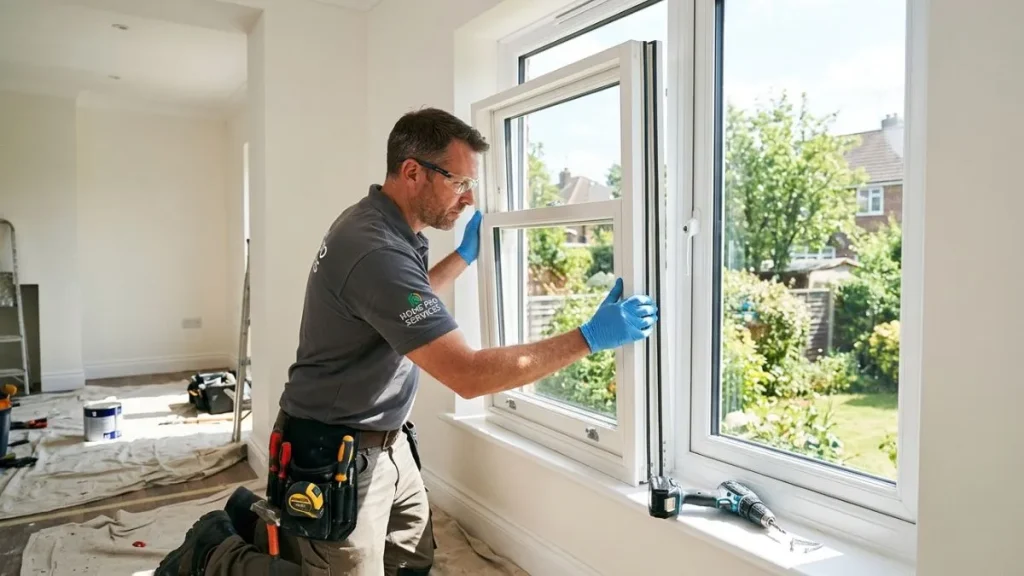
Reinstalling the sash of a Pella window is a key step after removal. It restores the window’s function and appearance. Careful handling during this phase ensures smooth operation and a tight seal. The process involves aligning the sash correctly and then securing it firmly. Both steps need attention to detail to avoid damage and ensure safety. Proper reinstalling can improve energy efficiency and extend the window’s lifespan.
Aligning The Sash
Start by positioning the sash so it fits perfectly within the window frame. Proper alignment prevents gaps and helps the window open and close smoothly. Use gentle pressure to avoid bending or breaking the sash. Check the following points:
- Top and bottom edges should be parallel to the frame.
- Sides must fit snugly without forcing.
- Balance springs or weights need to be in place and working.
- Check the sash tracks for dirt or damage before inserting the sash.
Use a level tool to confirm the sash sits evenly. Small adjustments can prevent future problems. Below is a simple checklist for aligning the sash:
| Step | Action | Tip |
| 1 | Clean sash tracks | Remove dirt or debris |
| 2 | Position sash carefully | Hold at an angle to fit into tracks |
| 3 | Check alignment with a level | Adjust as needed |
| 4 | Ensure balance mechanisms engage | Test by gently raising and lowering sash |
Securing The Window
After alignment, securing the sash is crucial for safety and function. The sash must lock properly in place to prevent drafts and keep the window stable. Follow these steps:
- Engage the sash locks or latches firmly.
- Test the lock to ensure it holds the sash securely.
- Inspect the weatherstripping for any gaps or damage.
- Replace or repair weatherstripping if needed.
- Tighten any loose screws or hardware around the frame.
Proper securing helps improve insulation and prevents water leaks. Below is a list of tools and items needed for this step:
| Item | Purpose |
| Screwdriver | Tighten screws and hardware |
| Replacement weatherstripping | Seal gaps and prevent drafts |
| Lubricant spray | Ease lock and hinge movement |
| Clean cloth | Wipe dust and dirt |
Once secured, open and close the window a few times. This confirms smooth movement and proper locking. Proper reinstalling and securing bring back the window’s original performance.
Read Also: How to Remove Old Storm Windows
Conclusion
Removing a Pella window sash is easier than you might think. Follow the steps carefully and work slowly. Use the right tools to avoid damage. Keep safety in mind during the process. Taking your time helps prevent mistakes. You can clean or repair your window better this way.
Regular maintenance keeps windows working well longer. Try this method next time you need to remove a sash. It saves money and gives you more control over your home. Simple tasks like this build confidence for other projects.