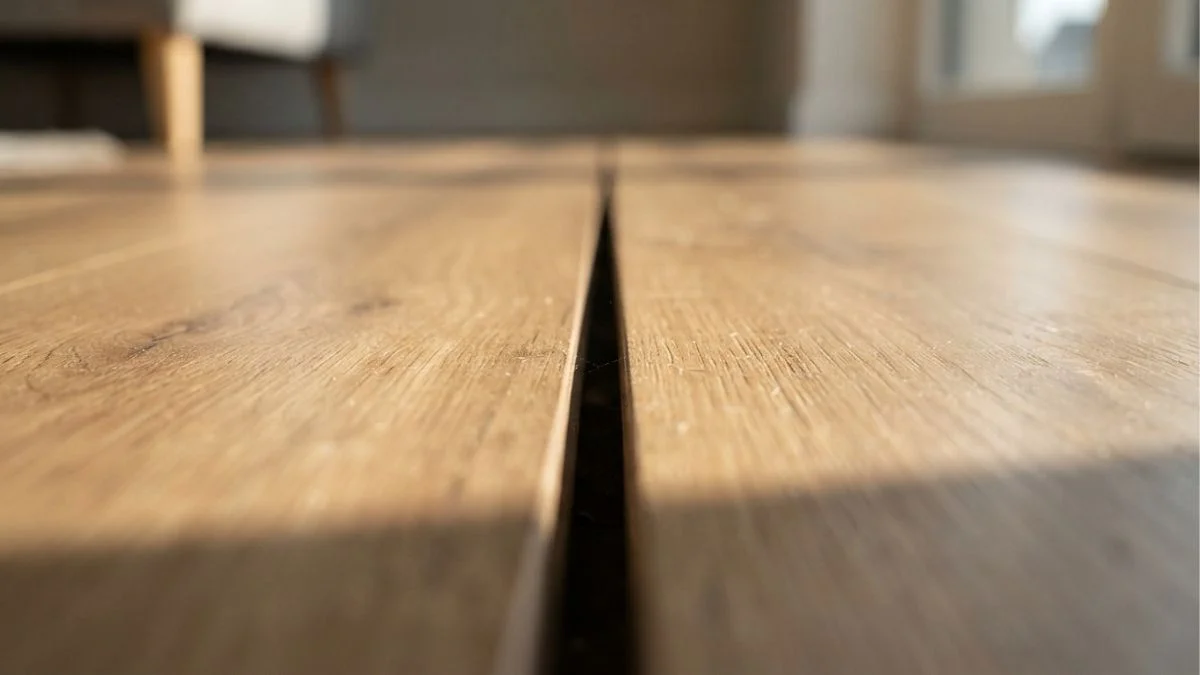
Most horizontal gaps in laminate flooring are fixable without removing a single plank — and knowing how to fix horizontal gaps in laminate flooring correctly can save homeowners thousands in unnecessary replacement costs.
These gaps typically appear 1 to 3 years after installation, catching DIYers off guard and leaving them unsure whether to call a contractor, replace boards, or attempt a repair that might void their floor’s warranty.
This guide gives you a clear path: identify the exact cause of your gaps, apply the right fix for your situation, and make changes that prevent the problem from coming back.
Why Horizontal Gaps Form in Laminate Flooring
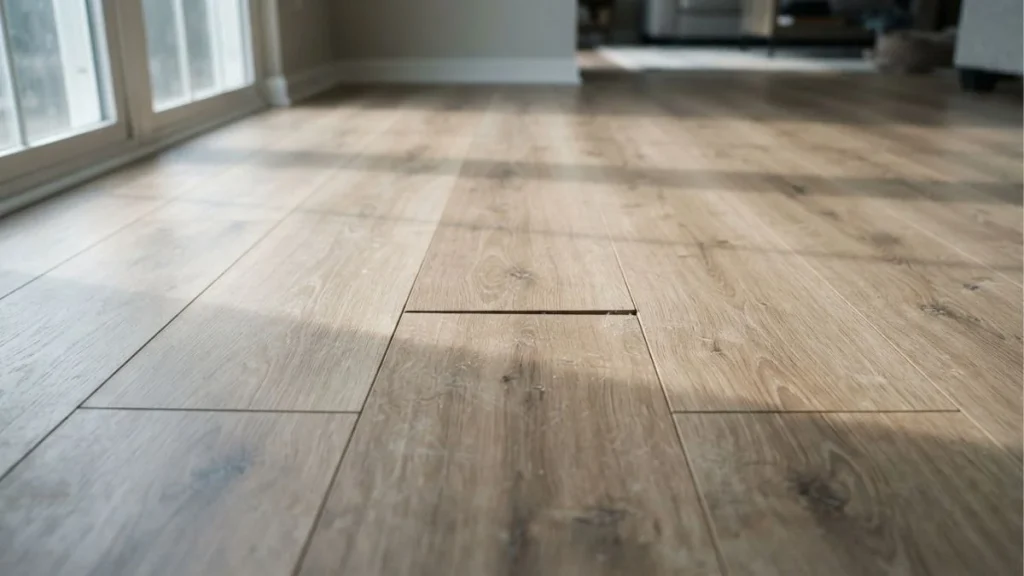
Horizontal laminate floor gaps almost always trace back to one of five root causes. Identifying yours before attempting any laminate flooring gap repair is the step most DIYers skip — and it’s why their gaps come back.
Moisture and Humidity Fluctuations
Laminate planks absorb and release moisture from the air. When humidity rises, planks swell. When it drops, they contract and pull apart. The National Wood Flooring Association (NWFA) recommends maintaining indoor relative humidity between 35% and 65% to minimize plank expansion and contraction. Homes that run dry in winter — common with forced-air heating systems — are especially prone to moisture-related gaps appearing seasonally.
Temperature Changes and Seasonal Movement
Floating floor movement is normal. Laminate expands in heat and contracts in cold. Gaps that open in winter and close in summer are a classic sign of temperature-driven movement rather than a structural problem.
Poor Subfloor Preparation
An uneven subfloor creates pressure points that push planks apart over time. The NWFA specifies that subfloor flatness should not vary more than 3/16 of an inch over a 10-foot span. Any deviation beyond that causes loose laminate planks and accelerates gapping.
Low-Quality Planks
Cheaper laminate has higher movement tolerance built into its locking joints, meaning the click-lock system holds less firmly under stress. This makes lengthwise laminate gaps more likely with budget products.
Installation Errors
Skipping the required expansion gap along walls — typically 1/4 inch — forces planks to buckle inward and push horizontal laminate floor gaps open between rows.
Quick Fixes: The Rubber Mallet Technique
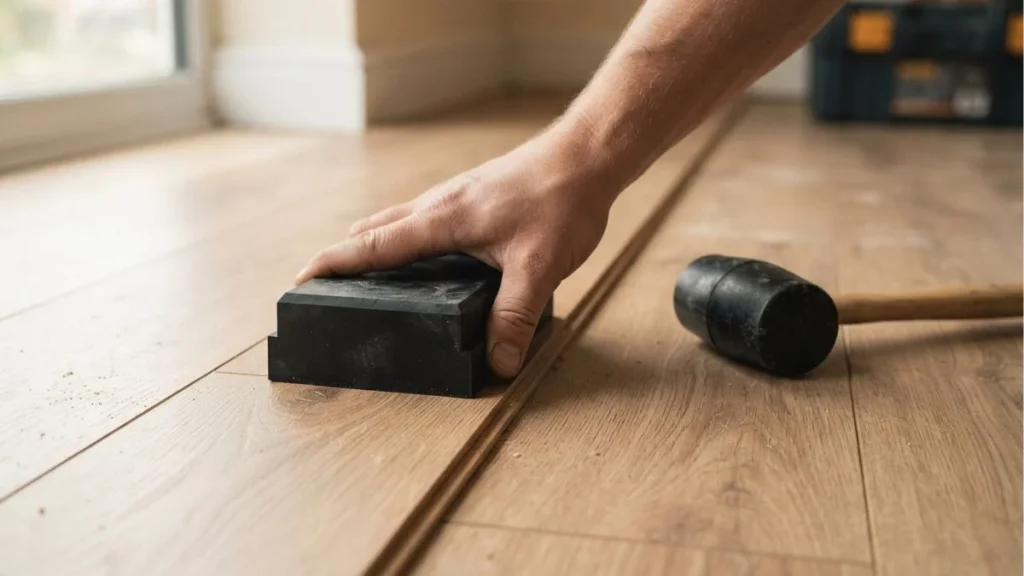
Tapping laminate planks together with a rubber mallet is the fastest laminate flooring gap repair method available — and it works well when the conditions are right.
When Tapping Actually Works (and When It Fails)
The mallet technique is effective for gaps smaller than 1/8 of an inch where the locking joint is still intact. It works best when indoor humidity sits within the NWFA-recommended 35%-65% range, because planks are neither over-swollen nor too contracted to seat properly.
Here’s when it will fail. If the gap reopens within 24-48 hours, the underlying cause — moisture fluctuation, subfloor unevenness, or a damaged locking tab — hasn’t been addressed. Tapping also won’t fix loose laminate planks where the click-lock mechanism is visibly broken or worn.
Step-by-Step Tapping Process
Follow these steps in order for the best result when fixing gaps between laminate planks:
- Put on safety glasses. Mallet strikes can chip plank edges and send fragments airborne.
- Place a tapping block flat against the plank edge, aligned parallel to the joint. Never strike the plank directly — you will damage the locking profile.
- Start at the center of the loose plank and work outward toward each end. This distributes pressure evenly and prevents the joint from canting at an angle.
- Use light to medium strikes only. Increase force gradually. Hard strikes crack the locking tab permanently.
- Inspect the joint immediately after. Run your finger across the seam — any ridge or remaining gap means the plank needs repositioning before you strike again.
Filling Gaps: Material Comparison and Application
When tapping fails or gaps exceed 1/8 of an inch, filling becomes the practical next step. The material you choose determines how long the repair lasts and how visible it remains under foot traffic.
Super Glue Syringe Method
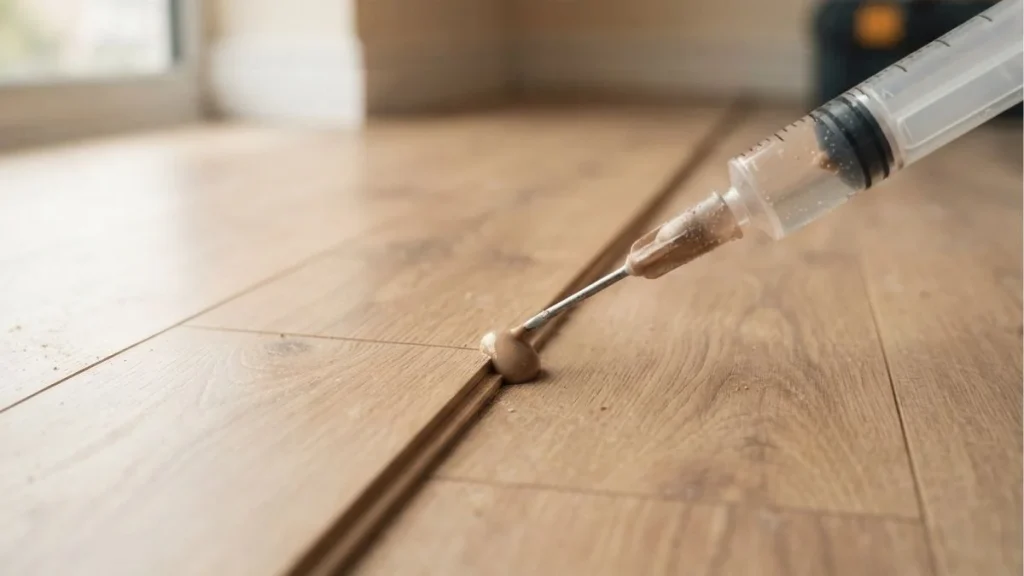
A cyanoacrylate (super glue) syringe delivers adhesive precisely into narrow lengthwise laminate gaps without overflow. Apply in thin passes, allowing each pass 60-90 seconds to tack before adding more. The main challenge is color — clear super glue dries with a faint sheen that shows on darker floors. Use a tinted wood glue instead for better visual blending. Expect 2-3 years of durability in moderate foot traffic areas before reapplication.
Laminate-Specific Wood Fillers
Products like Minwax Color-Matched Wood Filler and Pergo’s own repair kits include shade samples for matching your plank finish. Overfill the gap slightly, let it cure fully per the manufacturer’s instructions, then sand flush with 220-grit sandpaper. This method handles gaps up to 1/4 inch and typically outlasts super glue by 2-4 additional years.
Caulk and Sealant Alternatives
Flexible acrylic caulk accommodates floating floor movement better than rigid fillers — an advantage in climate-prone rooms. The trade-off is appearance: caulk lines are visible on glossy finishes and difficult to remove cleanly if gaps widen later.
Budget Alternatives and Trade-offs
| Method | Cost | Durability | Best For |
|---|---|---|---|
| Duct tape (underside) | Under $5 | Days to weeks | Absolute temporary fix |
| Sawdust-and-PVA paste | Under $3 | 6-12 months | Tight budgets, low-traffic areas |
| Wood filler kit | $10-$20 | 3-5 years | Most homeowners |
| Flexible caulk | $8-$15 | 2-4 years | High-humidity rooms |
Identifying Root Cause Before Attempting Repair
No gap repair lasts if the underlying cause is still active. Run through this diagnostic checklist before touching a mallet or filler — it takes 15 minutes and prevents wasted effort.
Diagnostic Checklist
Step 1: Take a moisture reading.
Use a pin-type moisture meter like the General Tools MMD4E on the laminate surface and the subfloor nearby. Laminate flooring gap causes tied to moisture show readings above 12% in the plank or subfloor. Acceptable subfloor moisture sits below 9% for most manufacturers. A gap between those two readings confirms moisture-related gaps are your problem.
Step 2: Check recent weather patterns.
If horizontal laminate floor gaps appeared within 2-4 weeks of a seasonal shift — heating season starting, a stretch of dry or humid weather — climate control and flooring movement is the likely driver. Gaps that close naturally in summer and reopen in winter confirm this.
Step 3: Note your installation timeline.
Gaps emerging within the first 12 months often point to installation errors: missing expansion spacing, overly tight seating, or inadequate acclimation before installation. Gaps appearing at 1-3 years typically signal subfloor preparation issues or plank quality problems.
Step 4: Run the straightedge test.
Lay a 10-foot straightedge or chalk line across the subfloor in the gapped area. Any gap exceeding 3/16 of an inch between the straightedge and floor confirms an uneven subfloor — the source of persistent loose laminate planks that no surface repair will permanently fix.
Read Also: Can You Nail Down Laminate Flooring
Get Gaps Under Control
Every horizontal gap in laminate flooring has a fixable root cause — and treating that cause, not just the visible gap, is what makes any repair permanent. Start today by grabbing a moisture meter and running the four-step diagnostic checklist in section 5 before buying a single repair product. That one step tells you exactly which fix applies to your floor and prevents you from repeating the same repair six months from now.