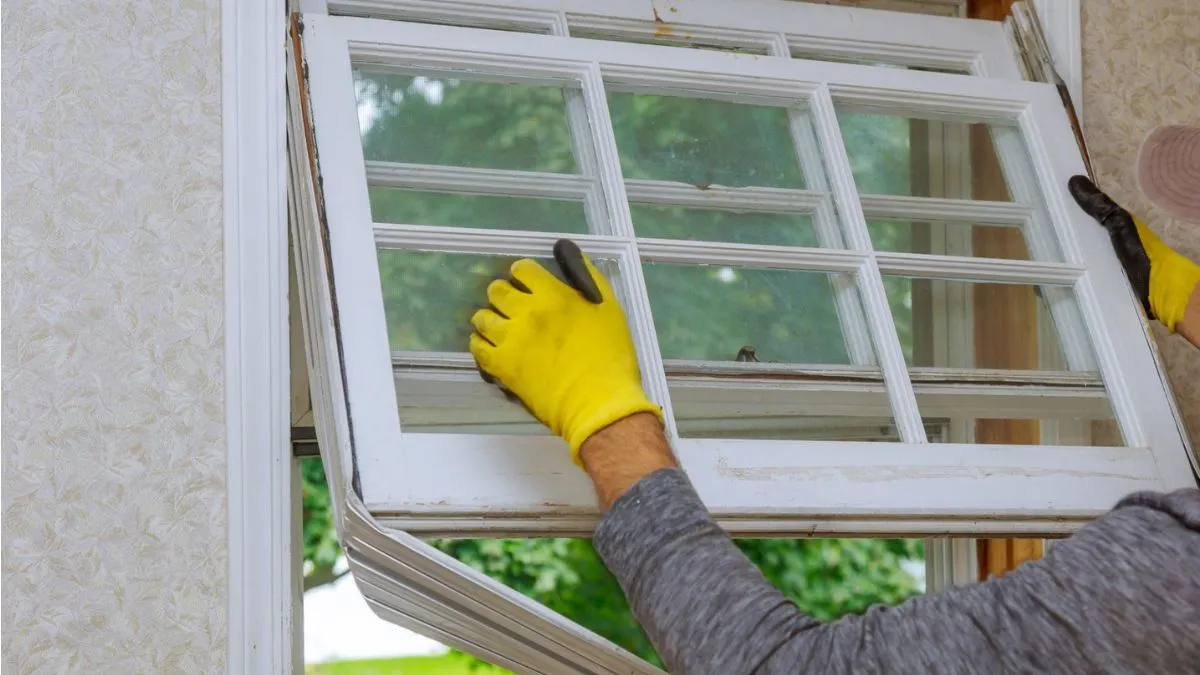
Are your old storm windows making your home feel stuffy or hard to clean? Removing them might seem like a big hassle, but it doesn’t have to be.
Imagine how much brighter and fresher your rooms could feel once those bulky, outdated windows are gone. In this guide, you’ll discover simple, step-by-step tips to safely take down your old storm windows without damaging your home or wasting time.
Preparing The Area
Removing old storm windows requires careful preparation to avoid damage and ensure safety. Preparing the area before starting the removal process makes the work easier and cleaner. This step helps protect your home and belongings from dust, scratches, and debris. Taking time to clear the surroundings and protect surfaces creates a safer workspace for the task ahead.
Clearing Surroundings
Start by making space around the window to move freely. Remove any furniture, plants, or decorations near the window. This prevents accidents and gives you room to work without obstruction.
- Move chairs, tables, and other items at least 3 feet away from the window.
- Clear the floor area to avoid tripping on objects or cords.
- Take down curtains or blinds to prevent damage or dirt.
- Remove any window screens or storm window accessories carefully.
In case you are working outside, clear the ground area beneath the window. Remove pots, garden tools, and debris to avoid hazards. If you use a ladder, ensure the ground is flat and stable.
Protecting Surfaces
Protect surfaces around the window before removal begins. Dust, paint chips, or broken glass can cause damage. Use covers or drop cloths to shield floors, walls, and furniture nearby.
Consider these protection steps:
- Lay down a drop cloth or old sheet under the window area.
- Use painter’s tape to cover window trim and prevent scratches.
- Cover furniture with plastic or cloth if it cannot be moved.
- Wear gloves and safety glasses to protect yourself from sharp edges.
Using soft padding around the window frame helps avoid dents or chips during removal. Keep a small broom and dustpan nearby to clean up debris quickly. Protecting surfaces saves time and effort in cleanup later.
Inspecting The Window
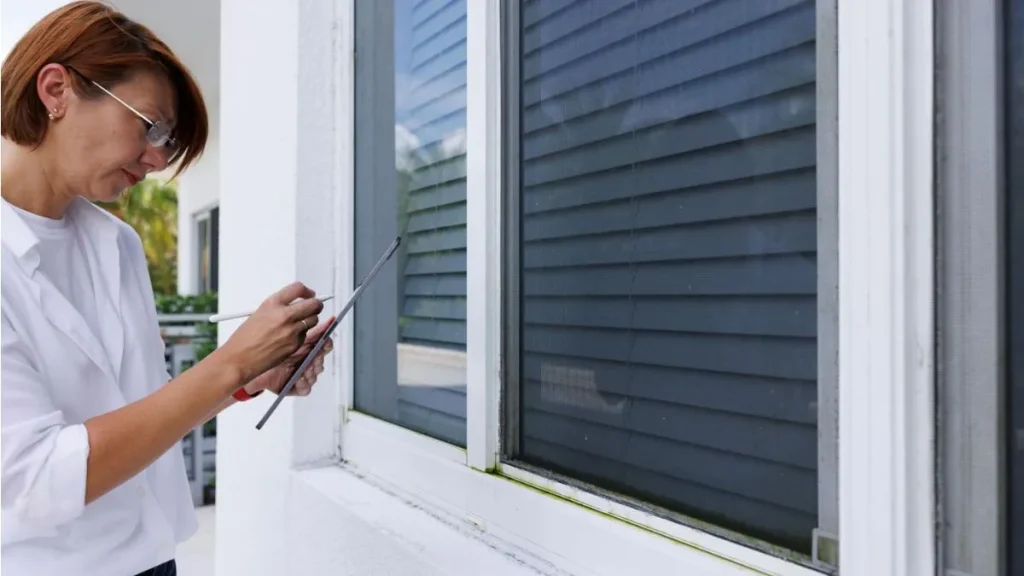
Removing old storm windows starts with a careful inspection of the window. This step ensures safety and helps avoid damage to the main window and surrounding frame. Inspecting the window means checking every part of the storm window and its attachments. It reveals any rust, loose parts, or damage that could affect removal. Proper inspection makes the process smoother and faster. It also helps decide if repairs are needed before or after removal.
Checking Fasteners
Fasteners hold the storm window in place. These include screws, clips, and brackets. Begin by looking for rust or corrosion on these fasteners. Rust can make removal harder and may break the fasteners. Use a flashlight to see small screws or hidden clips.
Look for these common fastener types:
- Screws: Usually around the frame edges. They may be Phillips or flathead.
- Clips: Snap into place and hold the window firmly.
- Brackets: Metal pieces that secure the frame to the wall.
Note any missing or loose fasteners. Loose fasteners can cause the window to fall during removal. Missing fasteners may mean the window is already loose.
| Fastener Type | Signs of Wear | Removal Tips |
| Screws | Rust, stripped heads | Use the correct screwdriver; apply penetrating oil if stuck |
| Clips | Bent, broken, or missing | Gently pry with a flat tool; avoid breaking |
| Brackets | Rust, loose screws | Check screws first; support window while loosening |
Using penetrating oil on rusty screws makes removal easier. Apply it and wait 10 minutes before unscrewing. Keep a magnetic tray or container nearby to hold removed fasteners. This prevents loss and speeds up reassembly or disposal.
Assessing Window Condition
After checking fasteners, inspect the storm window’s overall condition. Look for cracks, broken glass, or warped frames. These problems affect how safely you remove the window. Handle damaged windows with extra care.
Check these parts of the window:
- Glass: Look for cracks or shattering.
- Frame: Check for warping, rot, or rust.
- Weatherstripping: Note if it is brittle or missing.
Damaged glass may need protection before removal. Use thick gloves and eye protection. Cover the glass with tape in a crisscross pattern to prevent shards from falling if it breaks.
| Window Part | Signs of Damage | Recommended Action |
| Glass | Cracks, chips, shattered | Wear gloves; tape glass; handle gently |
| Frame | Warped, rotted, rusted | Inspect for safe removal; repair after removal |
| Weatherstripping | Brittle, torn, missing | Replace after window removal for better sealing |
Take note of any damage for repair or replacement. This saves time and money later. A careful assessment prevents accidents and damage during removal. It also guides you on what tools and safety gear to prepare.
Removing Storm Windows
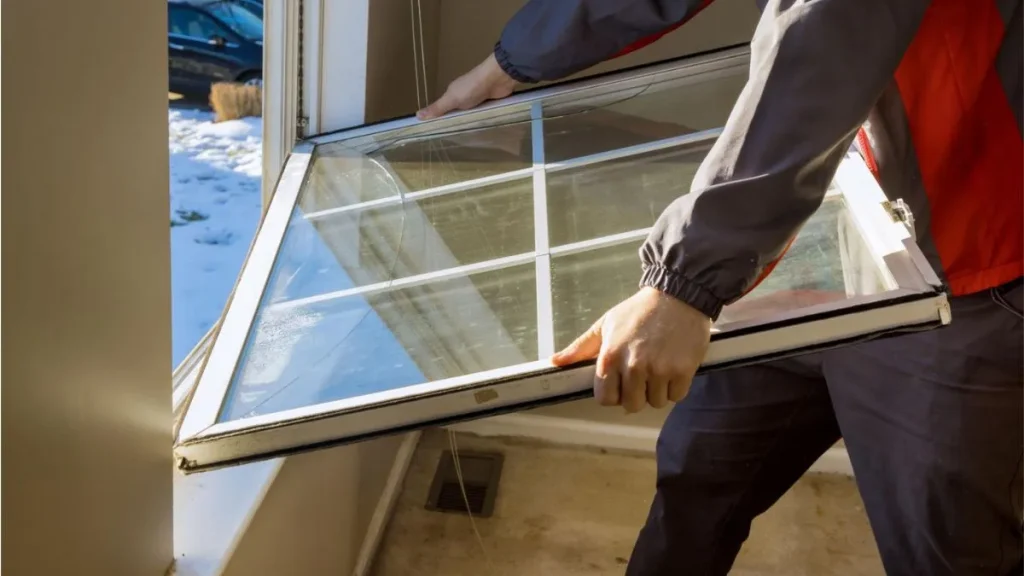
Removing old storm windows can improve your home’s appearance and prepare your house for new installations. The process is straightforward but requires care to avoid damage to the frame and glass. Follow these steps to get the job done with minimal hassle and risk.
Loosening Screws Or Nails
The first step in removing storm windows is to loosen the screws or nails that hold the window in place. This step is crucial because it frees the frame from the wall, allowing you to handle the window safely.
Use the right tools such as:
- Screwdriver (Phillips or flathead depending on the screws)
- Hammer (for nails)
- Pry bar (to gently lift nails if needed)
Follow these tips:
- Identify all screws or nails around the window frame.
- Turn screws counterclockwise to loosen them.
- If nails are used, tap the pry bar gently under the nail head.
- Work slowly to avoid bending or damaging the frame.
Sometimes screws or nails are painted over. Use a utility knife to cut through paint to avoid stripping the screws. Keep all hardware in a safe place for reinstallation or disposal.
Handling The Frame
After loosening the screws or nails, carefully handle the window frame. The frame may be old and fragile, so gentle handling is important to prevent breakage or injury.
Important points to consider:
- Check for loose or cracked parts before lifting the frame.
- Wear gloves to protect your hands from sharp edges or broken glass.
- Support the frame evenly to avoid bending or twisting.
Use these steps to handle the frame safely:
- Stand outside or inside the window, depending on access.
- Place one hand at the bottom and the other at the top of the frame.
- Gently wiggle the frame to loosen it from the sash or track.
- If the frame feels stuck, check for hidden screws or fasteners.
Do not force the frame out. Apply slow, steady pressure to prevent damage to the window or wall.
Lifting Out The Window
Once the frame is loose, the next step is to lift the storm window out. This step requires care because the glass can be heavy and fragile.
Follow these guidelines:
- Have a helper if the window is large or heavy.
- Keep your back straight and lift with your legs to avoid injury.
- Hold the frame firmly on both sides to keep it steady.
Use this lifting method:
- Stand close to the window frame.
- Lift the bottom edge slightly to clear the track or sill.
- Tilt the window outward or inward depending on the design.
- Carefully slide the window out of the opening.
Place the window on a soft surface to avoid glass breakage. Check the window for damage and decide if it can be repaired or should be replaced.
Recommended: How to Replace a Window Without Removing the Siding
Dealing With Stubborn Windows
Removing old storm windows can be tough, especially when they stick tight. Stubborn windows need extra care and the right tools to avoid damage. Patience and simple techniques help ease the process.
Using Pry Bars
Pry bars are useful tools for loosening storm windows that won’t budge. They give you extra leverage to gently lift and separate the window from its frame. Use a small to medium-sized pry bar to avoid causing damage.
Follow these steps for best results:
- Protect the frame: Place a thin wooden shim or a piece of cardboard between the pry bar and window frame. This stops scratches and dents.
- Start at the corners: Corners often loosen first. Insert the pry bar carefully and apply slow, steady pressure.
- Work along the edges: Move the pry bar a few inches along the frame edges, prying little by little.
- Check for nails or screws: Remove any fasteners that hold the window in place before prying too hard.
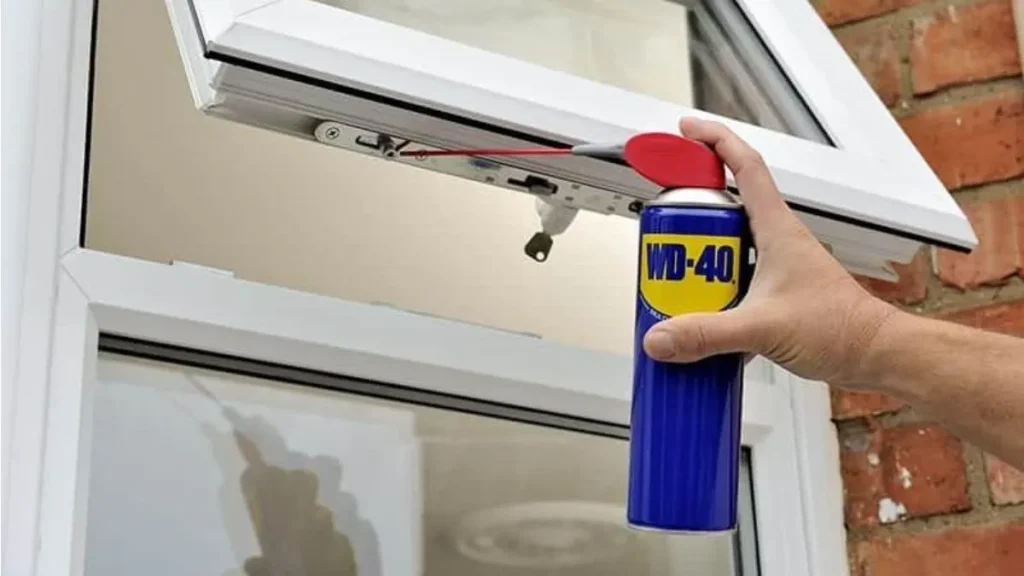
Applying Lubricants
Lubricants help loosen stuck storm windows by reducing friction. They seep into tight spots and make it easier to slide or lift the window out. Use lubricants safe for windows and frames to avoid damage.
Steps for using lubricants effectively:
- Clean the edges: Remove dirt and debris around the window frame first. This helps the lubricant work better.
- Choose the right lubricant: Silicone spray and WD-40 are common choices. Avoid thick grease that can attract dust.
- Apply sparingly: Spray a small amount along the edges and any visible moving parts.
- Let it sit: Wait 10–15 minutes to allow the lubricant to penetrate stuck areas.
- Test gently: Try moving the window slowly to see if it loosens.
Post-removal Cleanup
Removing old storm windows is only part of the project. Post-removal cleanup keeps your space safe and ready for new windows. This step helps avoid damage, clutter, and unwanted pests. Clean up carefully to make the next phase easier and smoother. Proper cleanup saves time and effort later.
Disposing Old Materials
Old storm windows and their parts need proper disposal. Some materials can be recycled. Others must go to the trash. Follow local rules to avoid fines or harm to the environment.
- Glass panes: Check if your area recycles glass. Wrap broken glass in thick paper or cloth to prevent injury.
- Wood or metal frames: Scrap metal yards may accept metal parts. Wood frames can sometimes be composted or taken to yard waste centers.
- Weather stripping and caulk: These are usually not recyclable. Place them in regular trash bags.
- Screws and small hardware: Collect in a container to recycle metal pieces or reuse later.
Use a sturdy trash bag or bin for disposal. Label bags if they contain sharp objects. Keep all debris away from children and pets. Sweep the area after removal to clear small bits of glass or nails.
Preparing For Replacement
After cleanup, prepare your window openings for new storm windows. Clean surfaces and check for damage. Fix small cracks or rot before installing new materials.
- Clean the frame: Use a brush or vacuum to remove dirt and dust.
- Check for damage: Look for wood rot, mold, or cracks.
- Repair as needed: Use wood filler or sealant to fix minor issues.
- Measure the opening: Accurate measurements help get the right new windows.
- Remove old caulk: Scrape old sealant to ensure a tight fit for new windows.
Mark areas where repairs happened to avoid missing any spots later. Keep tools ready, like sandpaper and sealant. Preparing well saves headaches during the new window installation.
Related Read: How to Remove Storm Windows from Inside
Conclusion
Removing old storm windows can be easier than you expect. Take your time and use the right tools. Safety matters, so wear gloves and protect your eyes. Clean the area after removal to keep your home neat. Proper removal helps prepare your windows for new ones or repairs.
Remember, careful work prevents damage to your house. Now, you can enjoy a clearer view and better window function. Simple steps make a big difference in your home’s comfort.