Have you ever started a simple bathroom paint job, only to find paint splattered on your tiles? It’s frustrating, messy, and can make your bathroom look less clean and polished.
But don’t worry—you don’t have to live with those stubborn paint spots. You’ll discover easy and effective ways to remove paint from your bathroom tiles without damaging them. Keep reading, and you’ll have your tiles looking fresh and spotless again in no time!
Identify The Type Of Paint
Removing paint from bathroom tiles starts with a simple but crucial step: identify the type of paint. Different paints react to cleaning methods in unique ways. Knowing the paint type helps choose the best removal technique without damaging your tiles. This step saves time and effort and protects your bathroom surface.
Understanding Water-based Vs. Oil-based Paints
Paints mainly fall into two categories: water-based and oil-based. Each type behaves differently on tiles.
| Type of Paint | Key Features | How It Reacts on Tiles |
| Water-Based Paint | Dries quickly, easy to clean with water | Usually easier to remove with mild soap and water |
| Oil-Based Paint | Dries slowly, tougher, resistant to water | Needs stronger solvents or paint removers to clean |
How To Check Paint Type On Your Tiles
Simple tests can identify paint type on tiles. Try these easy steps:
- Dip a cotton ball in rubbing alcohol.
- Rub the painted tile spot gently.
- If paint softens or comes off, it’s likely water-based.
- If paint stays firm, it is probably oil-based.
These tests help avoid damage by selecting safe cleaning products.
Common Paint Types Found In Bathrooms
Bathrooms often have these paint types on tiles:
- Latex Paint: A water-based paint, common for walls but may splash on tiles.
- Enamel Paint: Oil-based, used for its durability and shine.
- Acrylic Paint: Water-based, flexible and quick-drying.
Knowing these types guides the removal process for the best results.
Using Chemical Paint Removers
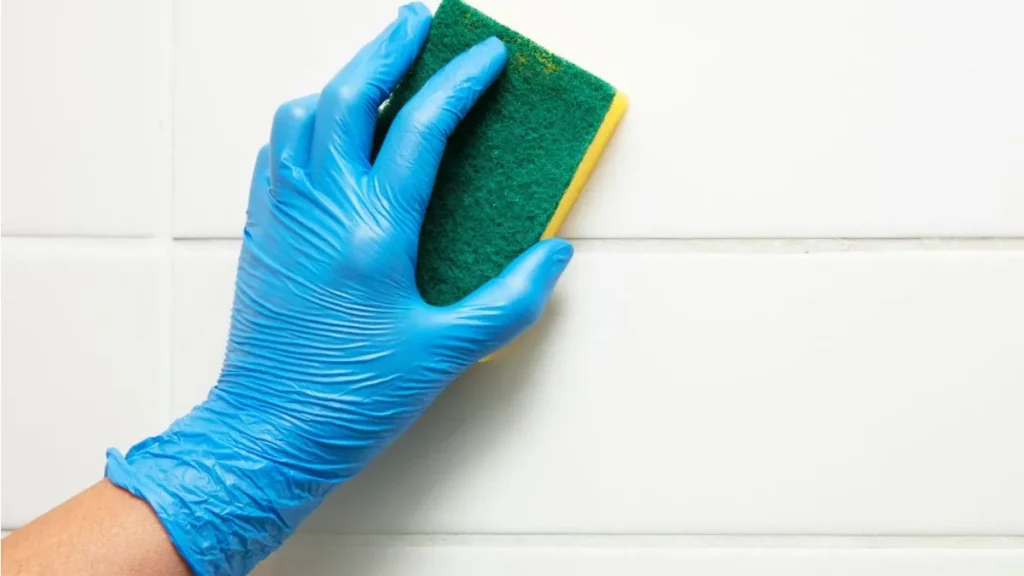
Removing paint from bathroom tiles can be tricky, especially without damaging the surface. Chemical paint removers offer an effective solution to soften and lift paint from tiles. These products break down the paint, making it easier to scrape or wipe away.
Choosing The Right Remover
Selecting a suitable chemical remover is key to avoiding tile damage and achieving good results. Different removers work better on certain paint types and tile materials.
- Water-based removers: Less toxic and easier to clean, ideal for latex paints.
- Solvent-based removers: Stronger for oil-based paints but require good ventilation.
- Gel removers: Thick and stay in place, perfect for vertical surfaces like bathroom walls.
- Non-toxic removers: Safer for indoor use, but may take longer to work.
Application Process
Follow clear steps for safe and effective paint removal using chemicals:
- Prepare the area: Open windows, wear gloves and eye protection.
- Apply remover: Use a brush or sponge to spread the product evenly over paint spots.
- Wait: Allow remover to sit for the time recommended on the label, usually 10–30 minutes.
- Scrape gently: Use a plastic scraper to lift softened paint without scratching tiles.
- Repeat if needed: Stubborn paint may require a second application.
Cleanup Tips
Cleaning up properly after using chemical paint removers protects tiles and your health.
- Remove residue: Wipe tiles with warm soapy water to remove leftover remover and paint bits.
- Rinse thoroughly: Use clean water to rinse tiles completely.
- Dry tiles: Use a soft cloth to prevent water spots or streaks.
- Dispose safely: Follow product instructions for disposing of used remover and paint scrapings.
Use a mild household cleaner to restore tile shine if needed. Avoid harsh chemicals that may damage the surface after removal.
Ventilate the bathroom well during and after cleanup to clear fumes. Wear gloves during cleaning to protect your skin.
Manual Methods For Paint Removal
Removing paint from bathroom tiles can be tricky. Tiles are smooth and delicate, so careful methods work best. Manual methods for paint removal give control and reduce damage risk. These techniques use simple tools and do not involve harsh chemicals. They are great for small spots or when precision is needed. Below are effective manual methods to try at home.
Scraping With Tools
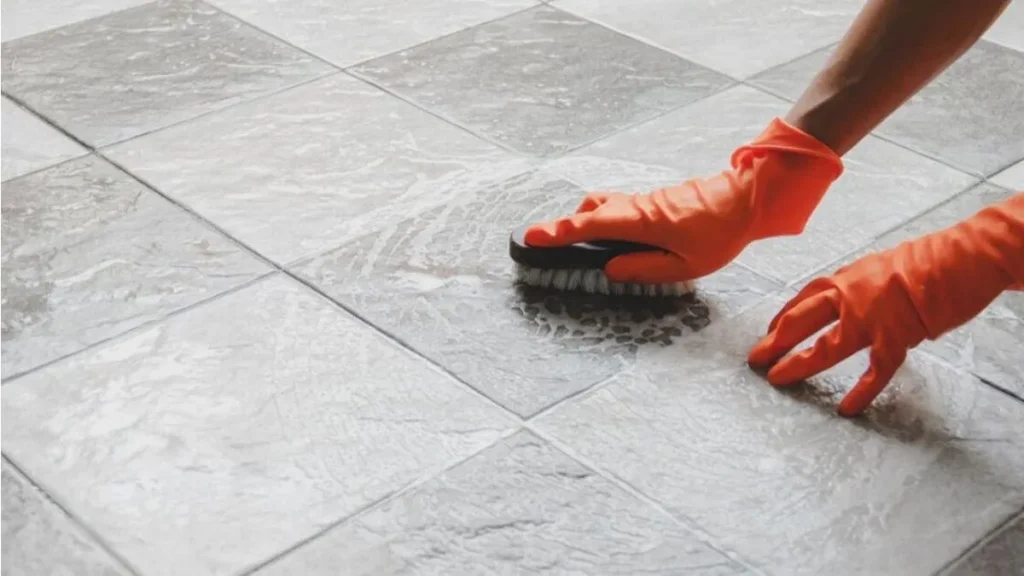
Scraping is a basic and direct way to remove paint from tiles. Use tools designed to avoid scratching the tile surface. Common tools include:
- Plastic scrapers: Safe and gentle on tiles.
- Putty knives: Thin blades to lift paint layers.
- Razor blades: Use carefully for stubborn spots.
Steps for scraping:
- Soften paint by wiping with warm water or a mild detergent solution.
- Hold the scraper at a low angle to the tile.
- Gently push the paint off, avoiding hard pressure.
- Repeat until most paint is removed.
Tips:
| Tool | Best Use | Precautions |
| Plastic Scraper | Light paint layers | Less risk of tile damage |
| Putty Knife | Thicker paint spots | Avoid excessive force |
| Razor Blade | Stubborn paint | Use at a low angle carefully |
Scraping requires patience. Work slowly to protect the tile’s shine. Always test a small area first.
Using Heat Guns
Heat guns help loosen paint by warming it. This method works well for thick or dried paint. Heat softens the paint, making it easier to scrape or wipe away.
Follow these steps for safe use:
- Set the heat gun to a low or medium setting.
- Hold the gun about 6-8 inches away from the tile.
- Move the gun slowly over the painted area.
- Watch for paint bubbling or softening.
- Scrape softened paint gently with a plastic scraper.
Safety tips:
- Wear heat-resistant gloves.
- Avoid overheating to prevent tile cracking.
- Keep the area well ventilated.
Heat guns are effective but need careful handling. They speed up removal but never leave the gun in one spot too long. This method suits ceramic and porcelain tiles best.
Sanding Techniques
Sanding removes paint by abrasion. It works well on matte or rough tile surfaces. Use fine-grit sandpaper to avoid deep scratches. Sanding is not ideal for glossy tiles as it can dull the finish.
Steps for sanding:
- Choose 220 to 320 grit sandpaper.
- Wrap sandpaper around a sanding block for better control.
- Rub gently over the painted area in circular motions.
- Check progress frequently to avoid over-sanding.
- Clean dust with a damp cloth before drying.
Advantages of sanding:
- Good for small paint spots.
- Does not involve heat or chemicals.
- Easy to control pressure and area.
Caution: Avoid sanding too hard to keep tile surface intact. Always test on a hidden tile corner before full sanding.
Natural And Homemade Solutions
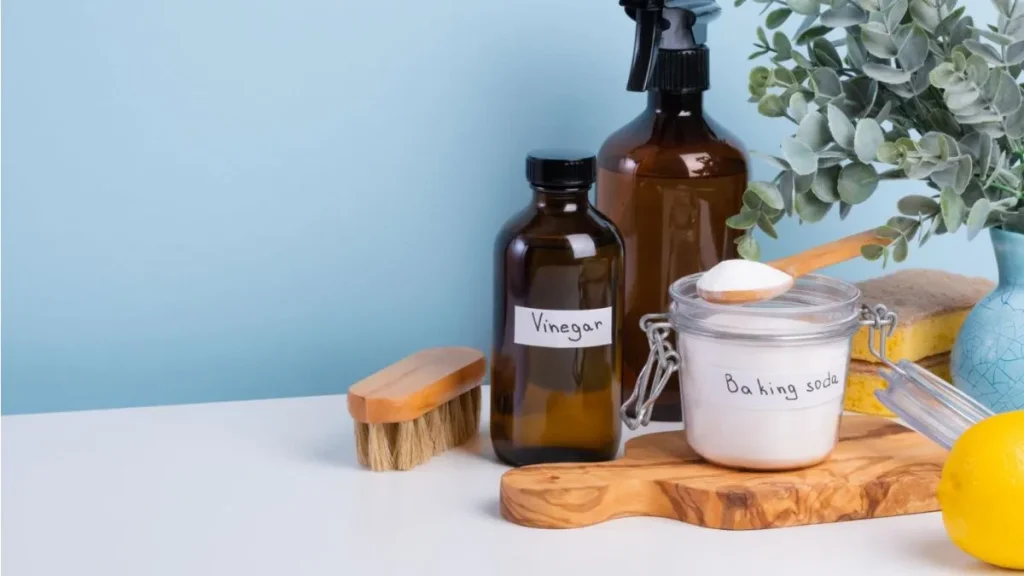
Removing paint from bathroom tiles can be tricky, especially without harsh chemicals. Natural and homemade solutions offer a safe, eco-friendly way to clean your tiles. These methods use simple ingredients found in most kitchens. They are gentle on surfaces and on your skin. Plus, they are budget-friendly and easy to prepare. Below are some effective natural ways to remove paint from tiles.
Vinegar And Baking Soda
Vinegar and baking soda create a powerful cleaning duo. Vinegar is acidic and breaks down paint, while baking soda acts as a gentle abrasive. Together, they help lift paint without damaging tiles.
Steps to use vinegar and baking soda:
- Mix equal parts white vinegar and water in a spray bottle.
- Spray the solution on the paint stains and let it sit for 5-10 minutes.
- Sprinkle baking soda over the wet area.
- Use a soft brush or cloth to scrub the paint gently.
- Rinse with warm water and wipe dry.
This method works well for small paint spots or splatters. It is safe for glazed tiles and grout. Avoid using on unsealed or porous tiles as vinegar may cause damage.
Lemon Juice And Salt
Lemon juice and salt form a natural scrubbing paste. Lemon juice’s acidity softens paint, while salt helps scrub it off. This method is perfect for fresh paint stains on tiles.
How to use lemon juice and salt:
- Cut a lemon in half and squeeze juice into a bowl.
- Add enough salt to create a thick paste.
- Apply the paste over the paint spots.
- Let it sit for 10-15 minutes to break down the paint.
- Use a soft cloth or sponge to scrub gently.
- Rinse thoroughly with warm water.
This method shines on natural stone and ceramic tiles. Avoid using on delicate or polished surfaces, as salt may scratch. Lemon juice also works as a natural deodorizer, leaving your bathroom smelling fresh.
Other Household Ingredients
Several other common household items can help remove paint from bathroom tiles. These ingredients work well alone or combined with the methods above.
Here are some options:
- Olive oil: Softens dried paint for easy removal. Apply and let sit for 15 minutes, then wipe off.
- Rubbing alcohol: Dissolves water-based paint. Dab with a cloth and rub gently.
- Dish soap and warm water: Good for fresh paint spills. Soak and scrub with a sponge.
- Toothpaste: Contains mild abrasives. Rub on paint spots and rinse.
Safety tip: Always test any solution on a small, hidden tile area first. Use gloves to protect your skin. Work in a well-ventilated space to avoid inhaling fumes.
Preventing Tile Damage
Removing paint from bathroom tiles requires care to protect the tile surface. Tiles can scratch or lose their shine if handled roughly. Preventing tile damage means using gentle methods and checking your cleaning tools and solutions before full use. This keeps tiles looking good and avoids costly repairs.
Avoiding Abrasive Tools
Abrasive tools can easily scratch or wear down tiles. Avoid using wire brushes, steel wool, or harsh scrubbing pads on painted tiles. These tools can leave permanent marks or dull the tile finish.
Instead, choose soft materials that clean without harm. Here are safer options:
- Soft cloths or microfiber towels
- Non-scratch sponges made for delicate surfaces
- Plastic scrapers designed to lift paint gently
Compare abrasive and gentle tools in the table below:
| Tool Type | Effect on Tiles | Recommended Use |
| Wire Brush | Scratches and damages surface | Avoid |
| Steel Wool | Removes paint but dulls finish | Avoid |
| Non-Scratch Sponge | Gentle on tiles, effective cleaning | Use |
| Plastic Scraper | Lifts paint without scratching | Use |
Use gentle pressure when cleaning. Too much force can still harm tiles, even with soft tools. Patience is key to safe paint removal.
Testing On Small Areas
Testing cleaning methods on a small hidden tile area helps prevent damage. This step shows how the tile reacts to the cleaner or tool before full use.
Follow these steps for testing:
- Select a small, less visible tile spot.
- Apply a small amount of paint remover or cleaning solution.
- Use a soft cloth or sponge gently on the spot.
- Wait 5–10 minutes to observe any changes.
- Check for discoloration, surface dulling, or damage.
If the tile looks normal, proceed with cleaning the rest. Stop and try a milder method if you see any harm.
Testing saves time and money. It avoids damage that might need tile replacement or professional help.
Post-removal Tile Care
Removing paint from bathroom tiles is only half the job. Post-removal tile care ensures tiles stay clean, shiny, and protected. Proper care prevents damage and keeps your bathroom looking fresh.
Cleaning Residue
After paint removal, tiles often have leftover residue. This can include paint bits, cleaning solution traces, or dust. Removing residue is vital for a smooth, clean surface. Use these steps to clean tiles thoroughly:
- Rinse tiles with warm water to remove loose dirt and paint chips.
- Apply a mild detergent mixed with water using a soft cloth or sponge.
- Gently scrub the tile surface, focusing on grout lines where residue hides.
- Use a soft-bristle brush for tougher spots, avoiding hard brushes that scratch tiles.
- Rinse again with clean water to wash away soap and residue.
- Dry tiles with a microfiber cloth to prevent water spots.
For stubborn residue, try a mixture of equal parts white vinegar and water. Spray lightly, let sit for 5 minutes, then scrub gently and rinse well.
| Residue Type | Recommended Cleaner | Cleaning Tool |
| Paint chips | Warm soapy water | Soft sponge |
| Glue or adhesive | White vinegar solution | Soft brush |
| Dust and dirt | Regular detergent | Microfiber cloth |
Sealing Tiles
Sealing tiles protects them from stains and water damage. It also keeps grout strong and clean. Tiles that lost their protective layer during paint removal especially need sealing. Follow these simple steps for sealing:
- Choose the right sealant for your tile type (ceramic, porcelain, or natural stone).
- Clean the tiles and grout thoroughly before sealing.
- Apply the sealant evenly with a brush or roller, following product instructions.
- Allow sealant to dry completely, usually 24 hours.
- Apply a second coat if recommended for extra protection.
Sealing frequency depends on tile type and bathroom use. Natural stone tiles need resealing every 6-12 months. Ceramic or porcelain tiles may last years before resealing.
| Tile Type | Sealant Type | Resealing Frequency |
| Ceramic | PENETRATING SEALANT | Every 2-3 years |
| Porcelain | SURFACE SEALANT | Every 3-5 years |
| Natural Stone | IMPREGNATING SEALANT | Every 6-12 months |
Maintaining Tile Appearance
Keeping tiles beautiful requires regular care. Clean tiles often and avoid harsh chemicals. Use these tips:
- Wipe tiles daily with a damp cloth to stop dirt build-up.
- Use pH-neutral cleaners to protect tile finish and grout.
- Avoid abrasive tools that scratch tile surfaces.
- Dry tiles after showering to prevent water spots and mold.
- Inspect grout regularly and repair cracks quickly.
Simple habits keep tiles shiny and new-looking. A clean bathroom improves comfort and hygiene. Follow this easy routine:
- Spray tiles with a gentle cleaner.
- Wipe with a soft cloth or sponge.
- Rinse with water.
- Dry tiles with a microfiber towel.
Regular maintenance reduces the need for harsh cleaning or repairs. It saves money and keeps your bathroom fresh and inviting.
Read Also: Essential Bathroom Cleaning Tips
Conclusion
Removing paint from bathroom tiles does not have to be hard. Use gentle tools and cleaners to protect your tiles. Take your time and work carefully for best results. Small spots need less effort than large areas. Always test cleaners on a hidden tile first.
Clean the tiles well after paint removal to avoid residue. With patience, your bathroom tiles will look fresh again. Keep these tips in mind for a smooth, easy cleanup. Simple steps lead to great results.