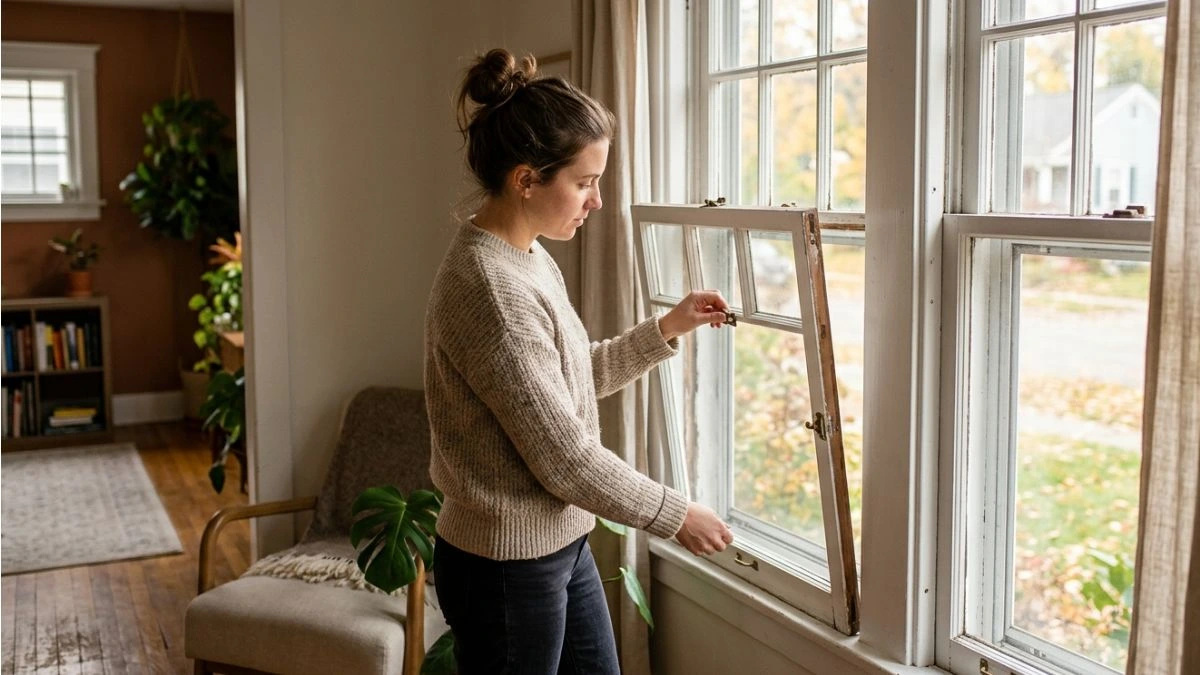
Removing storm windows from inside your home might seem tricky at first. But with the right steps, you can do it quickly and safely without calling a pro.
Imagine saving time, avoiding damage, and feeling confident handling this task on your own. In this guide, you’ll discover simple, clear instructions that make the whole process easier than you think. Ready to get started and take control of your home maintenance?
Preparing The Area
Preparing the area before removing storm windows from the inside is essential for safety and efficiency. A clean and protected workspace helps prevent accidents and damage to your home. Taking time to organize your tools and clear the space makes the removal process smoother and faster.
Clear The Workspace
Start by making sure the area around the window is free of clutter. Move furniture, decorations, and any breakable items away from the window. This gives you enough space to work comfortably and reduces the chance of accidents.
Here are key steps to clear your workspace:
- Remove chairs, tables, and other furniture near the window.
- Take down curtains, blinds, or any window treatments.
- Clear the floor of rugs, cords, or anything that may cause tripping.
- Gather your tools in one place to avoid searching mid-task.
Clear space helps you move easily and handle the storm window without knocking over items. It also allows better access to the window frame and edges.
Protect Surroundings
Protecting your surroundings is just as important as clearing the space. Storm windows can be heavy and have sharp edges. Cover walls, floors, and nearby items to avoid scratches, dents, or broken glass.
Use these tips to protect your home:
- Lay down a drop cloth or old blanket on the floor beneath the window.
- Use painter’s tape to cover edges of the window frame and nearby wall corners.
- Cover furniture and other items still in the room with plastic sheets or cloths.
- Wear gloves and safety glasses to protect yourself from glass shards.
Taking these precautions helps prevent damage and keeps the cleanup simple. It also protects your skin and eyes from injury during removal.
Inspecting The Window
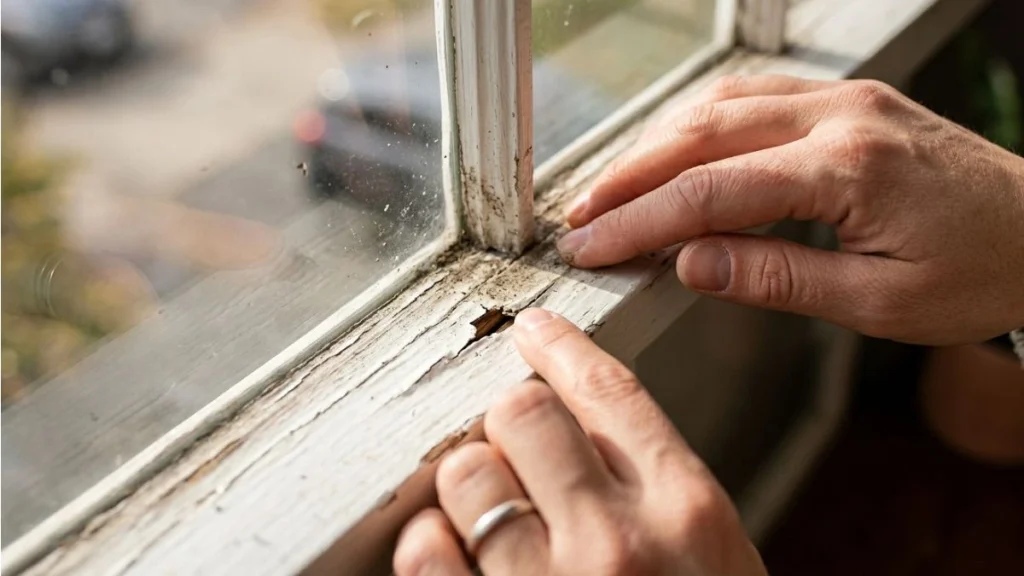
Before removing storm windows from inside, a careful inspection of the window is essential. This step helps avoid damage and ensures a smooth removal process. Taking time to inspect will save effort and prevent mistakes.
Check Window Type
First, identify the type of window you want to remove the storm window from. Different window designs require different removal methods. Knowing your window type helps prepare the right tools and approach.
- Single-Hung Windows: The bottom sash moves up and down, and the storm window usually covers this part.
- Double-Hung Windows: Both sashes move, so the storm window may cover the entire frame.
- Sliding Windows: The window slides horizontally, and storm windows often slide as well.
- Casement Windows: These open outward with a crank, and storm windows might be fixed or removable.
Check for any labels or markings on the window frame. These often indicate the manufacturer and model, which helps in understanding how the storm window attaches. Also, note the material of the window frame—wood, vinyl, or aluminum—as this affects the removal method.
Identify Fasteners
Next, locate and identify the fasteners holding the storm window in place. Fasteners can vary widely depending on the window and storm window type. Knowing their exact type helps choose the right tools and prevents damage to the frame.
Common fasteners include:
- Screws: Often Phillips head or flathead screws secure the storm window frame.
- Clips: Metal or plastic clips snap the storm window into place.
- Thumb Screws: These can be removed by hand and hold the storm window lightly.
- Tracks or Channels: The storm window may slide into a track without screws.
Inspect the corners and edges of the storm window frame. Fasteners are usually placed at these points for stability. Use a flashlight to see hidden screws or clips inside the frame. Also, check for any weather stripping that might cover fasteners.
| Fastener Type | Tool Needed | Removal Tip |
| Screws | Phillips or flathead screwdriver | Turn slowly to avoid stripping |
| Clips | Flathead screwdriver or pry tool | Gently pry to release |
| Thumb Screws | No tool needed | Turn by hand carefully |
| Tracks/Channels | None, use hands | Slide window out gently |
Mark the fastener locations mentally or with a small piece of tape. This helps during reinstallation or if you need to replace damaged parts. Double-check all fasteners before starting removal to avoid surprises.
Removing Window Stops
Removing window stops is a key step in taking out storm windows from the inside. Window stops are the narrow strips that hold the window sash in place. These stops must be removed carefully to avoid damage to the window frame or stops themselves. Proper removal also makes reinstallation easier and keeps your windows in good shape.
Pry Off Stops Carefully
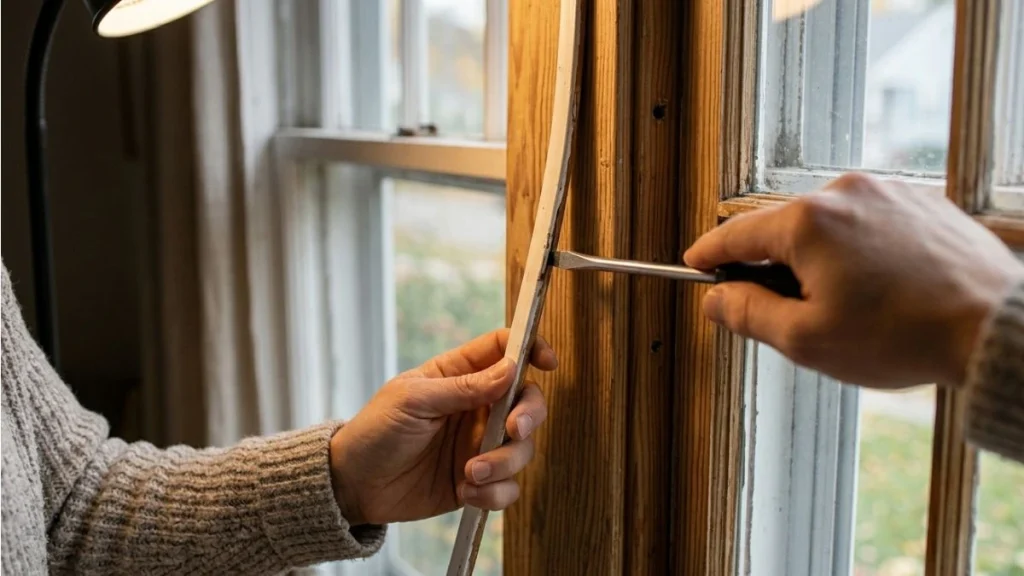
Start by examining the window stops to see how they are attached. Most stops are nailed or glued in place. Use the right tools to pry them off without breaking.
- Use a putty knife or painter’s tool to gently lift the stop away from the frame.
- Insert a pry bar or flat screwdriver behind the stop where the putty knife created space.
- Work slowly by moving the pry bar a little at a time along the length of the stop.
- Tap the pry bar gently with a hammer if the stop is stuck.
Follow this process to avoid cracking or splitting the stops. Applying too much force at once can cause damage. Take your time and use even pressure.
Store Stops Safely
After removing the stops, store them carefully to prevent damage or loss. Proper storage helps keep stops ready for reinstallation or future projects.
Follow these tips to store window stops safely:
- Clean the stops by wiping off dust and dirt before storage.
- Wrap each stop in a soft cloth or bubble wrap to protect from scratches.
- Label the stops if they come from different windows or sides.
- Place them flat in a sturdy box or storage bin to avoid bending.
- Store in a dry place to prevent moisture damage or warping.
Use a container with compartments or dividers if you have many stops. This keeps them organized and easy to find.
Keep stops away from heavy items that could crush them. Check them before reuse for cracks or damage. Proper care helps keep your window stops in good condition for years.
Detaching The Storm Window
Removing storm windows from inside your home can save time and effort during maintenance or seasonal changes. Detaching the storm window is a crucial step that requires careful handling to avoid damage to the window or frame. This process involves lifting the window out of its track or frame and then safely handling it to prevent breakage. Proper technique ensures the window stays intact and your home remains secure.
Lift Out The Window
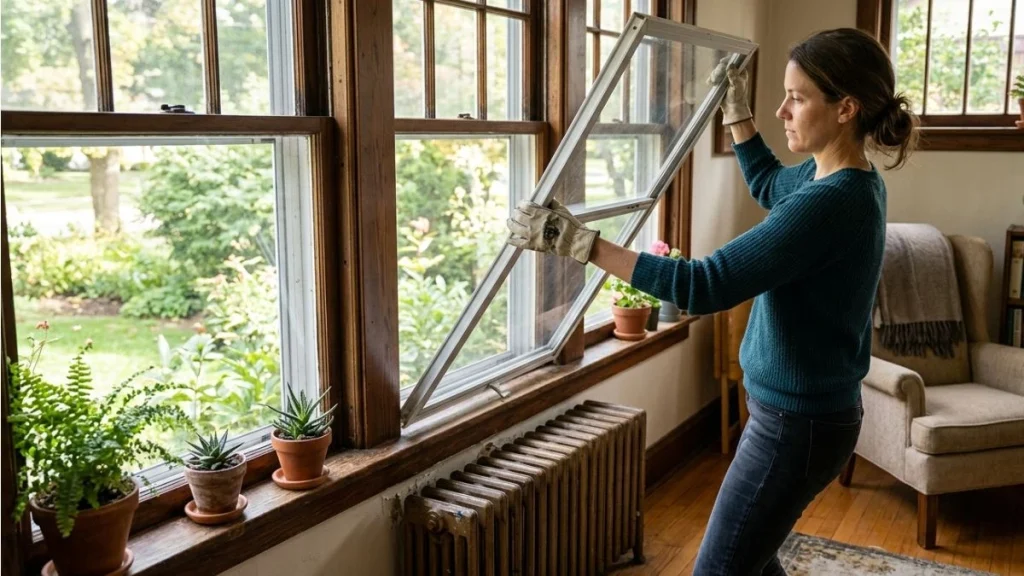
Start by locating how the storm window is attached. Most storm windows sit in a track or are held by clips or screws. Follow these steps to lift out the window safely:
- Remove any screws or clips holding the window in place. Use a screwdriver if needed.
- Check for locking mechanisms. Some windows have small latches that must be released.
- Hold the window firmly with both hands near the bottom edge.
- Lift the window straight up to clear the track or stops.
- Gently tilt the window to pull it away from the frame.
Storm windows can be heavy. Ask for help if the window is large or awkward to handle. Use a stool or ladder if the window is high. Keep your back straight and lift with your legs to avoid injury.
Handle With Care
Storm windows are fragile. Handle them carefully to prevent cracks or scratches. Follow these tips to protect the glass and frame:
- Hold the window by the frame, not the glass.
- Place the window on a soft surface like a blanket or carpet once removed.
- Avoid resting the window against hard surfaces that can cause chips.
- Carry the window vertically to reduce stress on the glass.
- Store the window in a safe location if not reinstalling immediately.
Use gloves to improve grip and protect your hands. Check the window for damage before storing or reinstalling. Minor cracks can worsen if ignored. Treat the storm window gently to extend its life and keep your home secure.
Cleaning And Maintenance
Removing storm windows from inside gives a perfect chance to clean and maintain both the windows and frames. Proper cleaning and maintenance keep the windows working well and extend their life. Dirt, dust, and moisture can build up over time, causing damage. Regular care prevents problems and keeps your home energy efficient. Use simple steps to clean and check windows for any repairs. This helps avoid bigger issues later and keeps your windows looking good.
Clean Window Frame
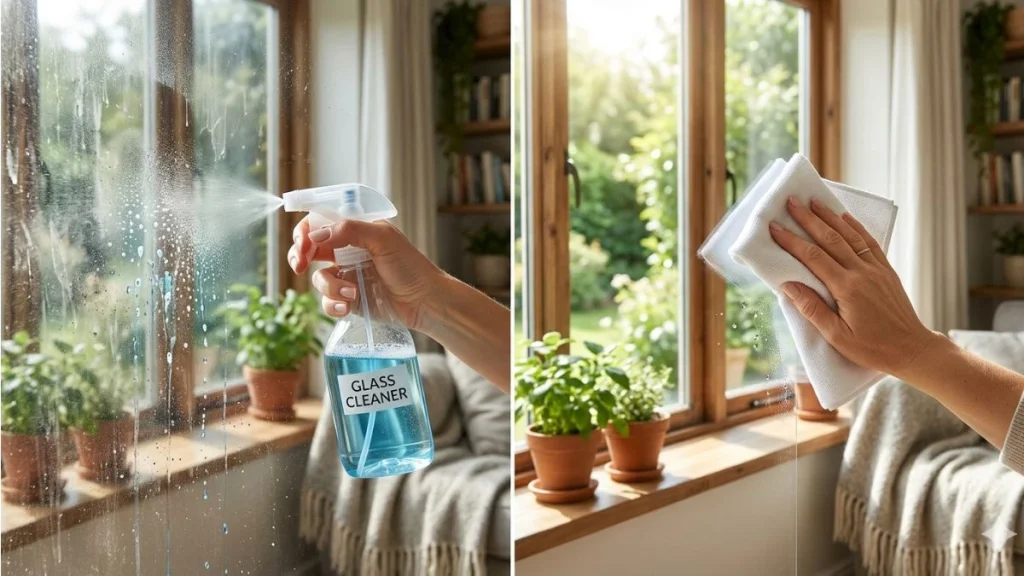
Start cleaning by removing dust and dirt from the window frame. Use a soft brush or cloth to wipe all corners and edges carefully. This stops dirt from scratching or damaging the frame during further cleaning. Next, prepare a mild soap solution with warm water.
- Dip a sponge or cloth into the soapy water.
- Gently scrub the frame, paying attention to corners and joints.
- Use a toothbrush for small areas or grooves.
After scrubbing, rinse the frame with clean water to remove soap residue. Dry the frame using a soft towel to avoid water stains or mold growth. Check if there is any buildup of old paint or caulk that could block smooth window operation. Remove loose paint flakes with a plastic scraper, avoiding damage to the surface.
For wooden frames, apply a wood cleaner or polish to protect and brighten the surface. Metal frames benefit from a light coating of lubricant on moving parts to prevent rust and sticking. Cleaning the window frame regularly improves appearance and helps the window open and close smoothly throughout the year.
Check For Repairs
After cleaning, carefully inspect the window frame and glass for any damage. Look for cracks, gaps, or signs of rot in the frame. Small cracks in wood can be filled with wood filler, while gaps may need weather stripping replacement. Check the glass for chips or cracks that may worsen if ignored.
Use this checklist to guide your inspection:
| Area | What to Look For | Action Needed |
| Frame corners and joints | Loose or separated parts | Apply wood glue or caulk |
| Window glass | Cracks or chips | Replace glass if damaged |
| Weather stripping | Cracks or missing pieces | Replace for better sealing |
| Hinges and locks | Rust or stiffness | Lubricate or replace parts |
Fix small issues immediately to avoid costly repairs later. Tighten loose screws and clean moving parts with lubricant. Replace weather stripping to keep drafts out and save energy. Proper repairs improve window function and keep your home comfortable all year.
Storing Or Disposing Storm Windows
Removing storm windows from the inside is just the first step. After removal, deciding what to do with these windows is important. Properly storing or disposing of storm windows saves space and helps the environment. Storm windows can last many years if stored right. If they are old or broken, proper disposal or recycling is best.
Proper Storage Tips
Storing storm windows correctly protects them from damage and dirt. Choose a dry, cool area like a garage or basement. Avoid places with direct sunlight or moisture. Moisture can cause mold, and sun can weaken window materials.
- Clean the windows before storage. Use mild soap and water to remove dirt and dust.
- Dry completely to stop mold and rust.
- Wrap each window in a soft cloth or bubble wrap to prevent scratches and cracks.
- Store upright against a wall. Laying them flat can cause pressure damage.
- Label each window with its size and location. It helps when reinstalling.
Recycling Options
Storm windows contain glass and metal parts that can be recycled. Recycling reduces waste and helps save resources. Check local recycling centers for their rules on storm window materials. Some centers accept full windows; others want them separated.
- Separate materials: Remove glass from metal frames if possible.
- Contact local facilities: Ask if they accept storm windows or parts.
- Drop off at recycling centers: Take windows or parts to the right location.
- Consider donation: Some groups accept used storm windows for reuse.
Below is a list of common recycling options:
- Glass recycling: Glass panes can be melted and reused.
- Metal recycling: Aluminum or steel frames are valuable for recycling.
- Reuse programs: Habitat for Humanity ReStores may accept windows.
- Scrap yards: Accept metal frames but not glass.
Proper recycling helps the environment and reduces landfill waste. Take time to find the best recycling option near you. This small effort benefits the planet.
Conclusion
Removing storm windows from inside is easier than you think. Take your time and follow each step carefully. Use the right tools to avoid damage. Keep safety in mind during the whole process. Clean the window frame once the storm window is out.
Proper removal helps prepare for new windows or cleaning. You can do this task with a bit of patience and care. Enjoy clearer views and fresh air after the job is done.