
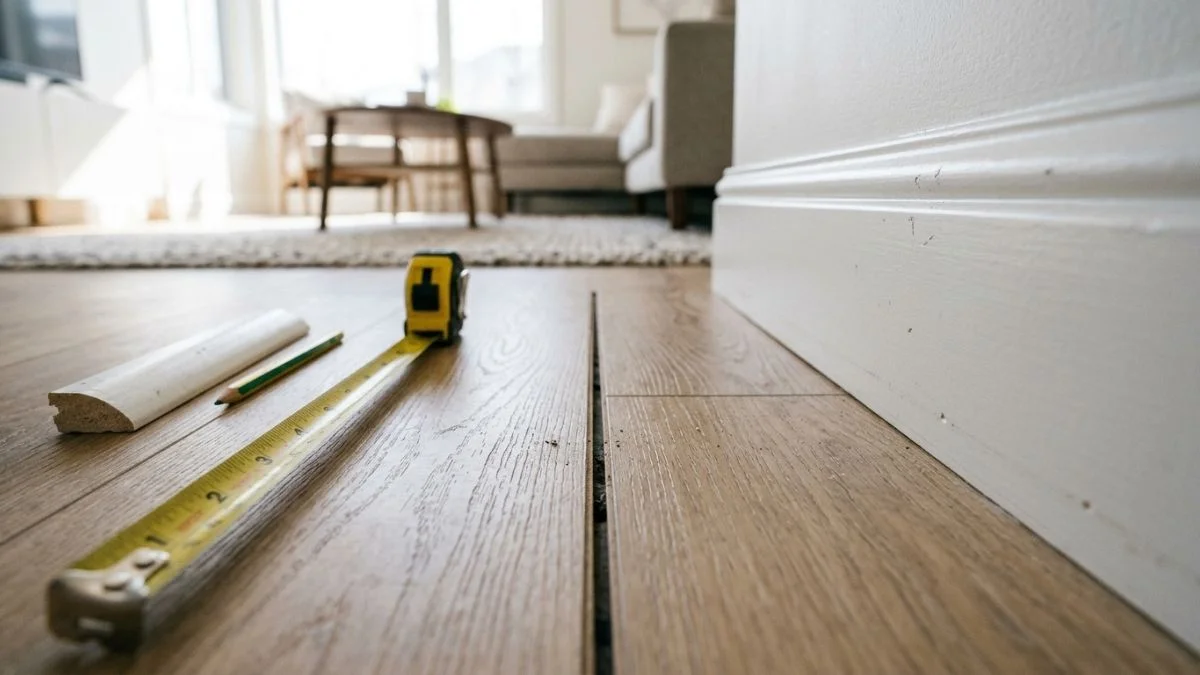
A vinyl plank flooring gap at wall edges is one of the most common post-installation complaints — and according to the Resilient Floor Covering Institute, most gaps form simply because installers skipped or misjudged the required 1/4-inch expansion gap.
These gaps make the floor look unfinished, collect dust and debris, and can let moisture creep under the planks — but most homeowners assume fixing them means tearing everything up and starting over.
This guide explains exactly why gaps form, which fix matches your specific situation, and how to stop the problem from coming back.
Why Gaps Form Between Vinyl Planks and Walls
Most vinyl plank flooring gaps at walls are not defects — they are the result of material physics, installation conditions, or intentional design. Knowing the cause determines the right fix.
Thermal Expansion and Contraction
Luxury vinyl plank (LVP) is a plastic-based product that expands when temperatures rise and contracts when they drop. A 12-foot run of LVP can shift as much as 3/16 of an inch across seasonal temperature swings. That movement has to go somewhere — and when there is not enough room at the wall, planks buckle. When there is too much room, a visible gap opens.
Acclimation Failure Before Installation
LVP flooring must sit inside the installation room for 24–48 hours before being laid down. This allows the planks to adjust to the home’s specific temperature and humidity. Planks installed straight from a cold delivery truck or an unheated garage will continue expanding or contracting after installation, pulling away from walls as they settle.
Subfloor Issues and Wall Irregularities
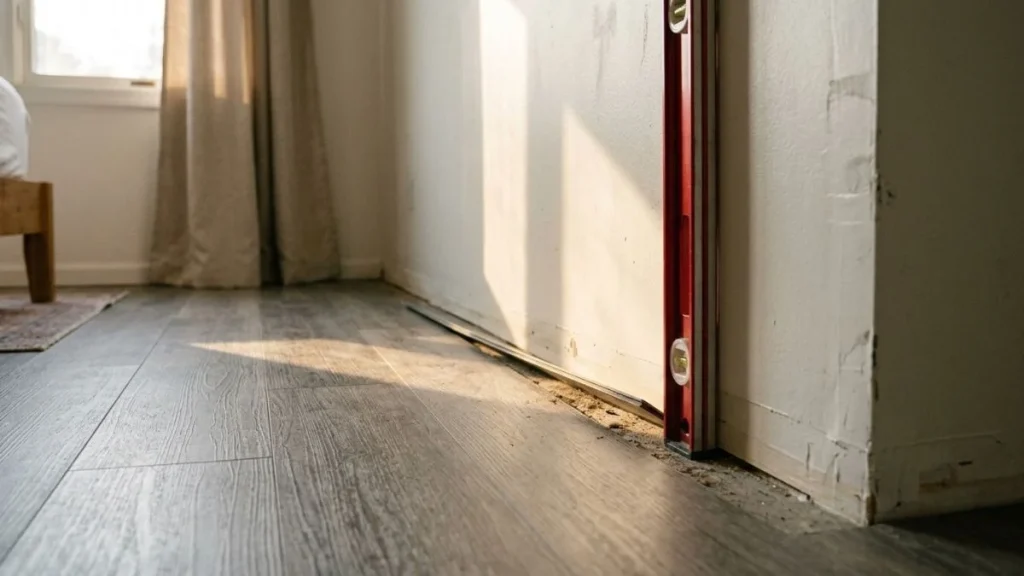
An uneven subfloor causes planks to shift and pivot over time, widening gaps at the perimeter. Bowed walls or uneven baseboard installation create misalignment from day one — the planks may be perfectly installed, but the wall surface behind them is not straight, leaving irregular gaps that no amount of adjustment will fix without addressing the wall itself.
The Intentional Expansion Gap
Manufacturers including Coretec, Mohawk, and Lifeproof all specify a 1/4-inch expansion gap between the last plank row and the wall. This gap is required, not optional. It is normally hidden by baseboards or quarter round molding — but if those trim pieces are too narrow, too thin, or were never installed, the gap becomes visible.
Fixing Existing Gaps: Which Solution Fits Your Gap
The right LVP flooring wall gap solution depends on two things: how wide the gap is and what caused it. Measure before you act.
Gap Size Assessment
Use a tape measure or a coin to check the actual gap width along the full wall length. A gap under 1/4 inch is minor and cosmetic. A gap between 1/4 and 1/2 inch needs trim coverage. Anything over 1/2 inch signals a structural or installation problem that trim alone will not reliably hide. Also note whether the gap is consistent or varies — an irregular gap points to a bowed wall or uneven subfloor, not simple expansion.
Quarter Round and Baseboards
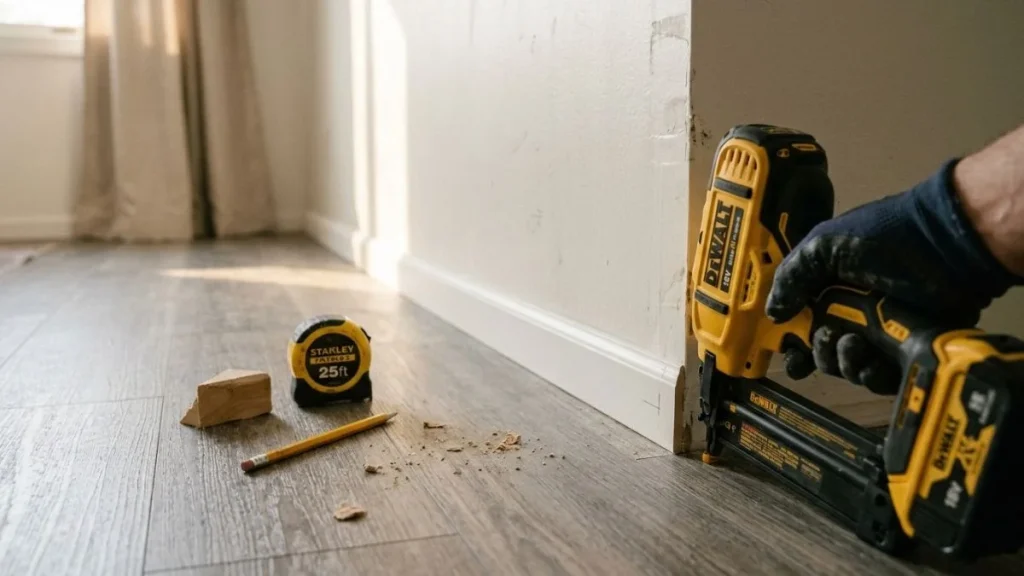
Quarter round molding is the most effective and reversible fix for small to medium vinyl plank flooring installation gaps. It attaches to the baseboard or wall — never to the plank itself — so the floor stays free to expand and contract underneath. Nail or glue it to the wall, not the floor. Paintable versions blend seamlessly with existing trim, and the material costs roughly $1–$2 per linear foot at most hardware stores.
For larger gaps, replacing or adding full baseboards provides more coverage and a cleaner finished look across any decor style.
Caulking: When and Why to Use It
Flexible acrylic or silicone caulk works on gaps under 1/4 inch in low-traffic, low-movement areas like closets or cabinet bases. Standard rigid caulk will crack as the LVP expands — always use a flexible formula. Caulk is a cosmetic fix only. It does not stop the underlying movement, so treat it as a temporary solution if the gap is growing.
Replacing Planks vs. Covering
Replace planks only when they are visibly warped, swollen, or physically damaged — not when the gap is caused by normal thermal movement or an undersized expansion gap. In practice, replacement costs $3–$8 per square foot in materials plus labor, while quarter round molding solves most gapping issues for under $30 total. Choose replacement only when the plank itself is the problem.
Preventing Gaps During and Before Installation
Most vinyl plank flooring installation gaps are preventable. The decisions made before the first plank goes down determine whether gaps appear six months later.
Acclimation: Do It Right
Every LVP product has a specific acclimation requirement — typically 24–48 hours, though some thicker products like Coretec Plus require up to 48 hours at room temperature between 65°F and 85°F. Leave the boxes open in the installation room, not in a garage or hallway. Skipping this step is the single most common cause of post-installation gapping issues.
Follow Manufacturer Expansion Gap Specs
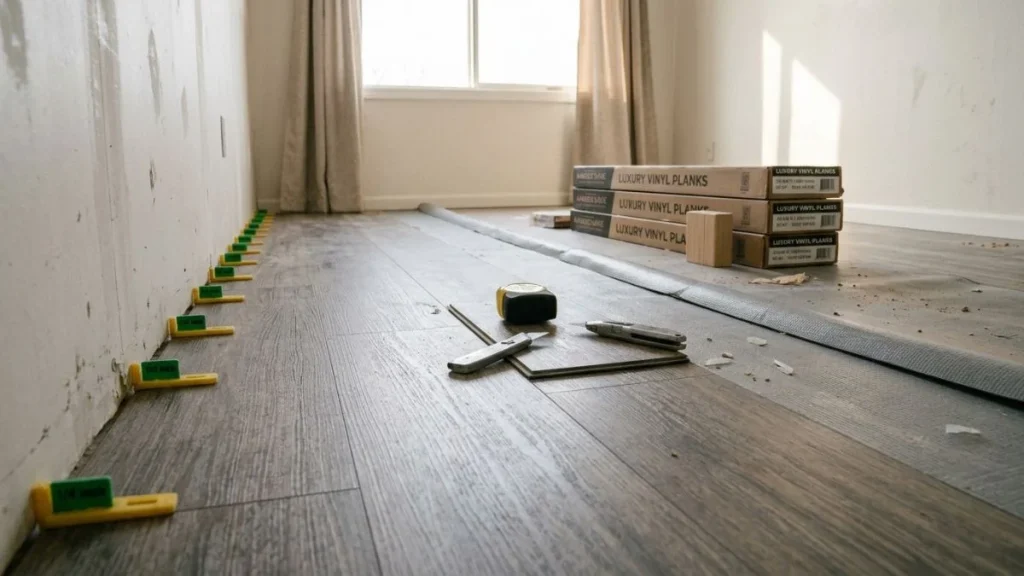
The required expansion gap varies by product — typically 1/4 inch for standard LVP and up to 1/2 inch for longer plank formats or rooms over 30 feet. Use spacers against the wall during installation to hold the gap consistent. Remove them before installing baseboards or quarter round molding.
Subfloor Preparation
The NWFA (National Wood Flooring Association) recommends a subfloor flatness tolerance of no more than 3/16 inch over a 10-foot span for floating floor installations. Grind down high spots and fill low spots with floor-leveling compound before laying any planks. Test for moisture with a calcium chloride test — excess subfloor moisture causes planks to swell and shift, widening perimeter gaps over time.
Wall and Underlayment Considerations
Check walls for bow using a long straightedge before installation begins. A bowed wall creates unavoidable irregular gaps that no trim piece covers cleanly. Remove old trim completely rather than installing over it — layering adds thickness that compresses the expansion gap.
Underlayment choice also matters. A dense, dimensionally stable underlayment reduces plank movement and helps maintain consistent spacing at the wall over time. Avoid foam underlayments thicker than 3mm under floating LVP — excessive cushion allows more plank movement, which increases the chance of visible gapping.
You May Read Also: Vinyl Plank Flooring Not Laying Flat During Installation
Your Gap Is Fixable — Choose Your Fix Today
Nearly every vinyl plank flooring gap at a wall can be resolved without replacing a single plank. Measure your gap today: if it is under 1/4 inch, apply flexible caulk or add quarter round molding in under an hour; if it is larger, install new baseboards over a weekend for a clean, permanent finish. Both fixes cost under $30 in materials at any hardware store.