
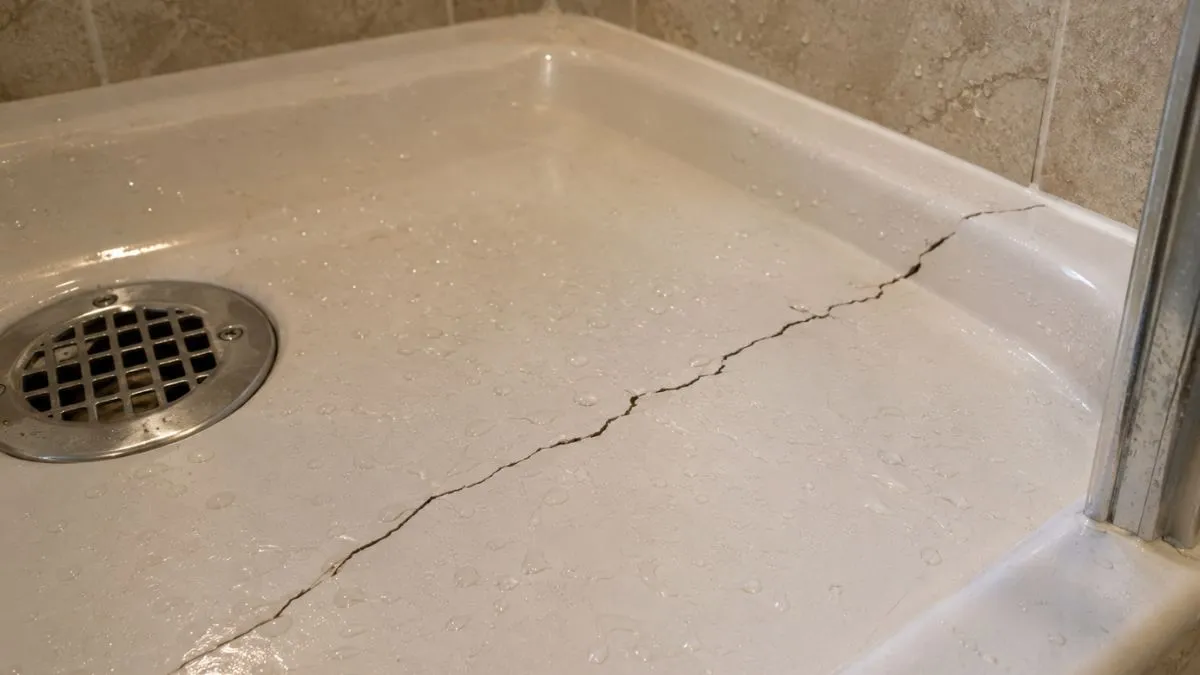
A cracked shower pan can dump water into your subfloor within weeks, turning a minor cosmetic issue into thousands of dollars in structural damage.
The real frustration is not knowing whether your specific crack — in fiberglass, acrylic, or tile — needs a $15 epoxy fix or a full pan replacement, especially when forum advice is scattered and material-specific guidance is hard to find.
This guide walks you through how to repair a cracked shower pan by material type, with exact products, realistic costs, and a clear line between confident DIY repairs and the situations where a licensed contractor needs to assess the damage first.
How to Identify Your Shower Pan Material
The repair method that works on fiberglass will fail on tile, and using the wrong product wastes both time and money. Before buying anything, spend two minutes confirming what your shower base is actually made of.
Fiberglass
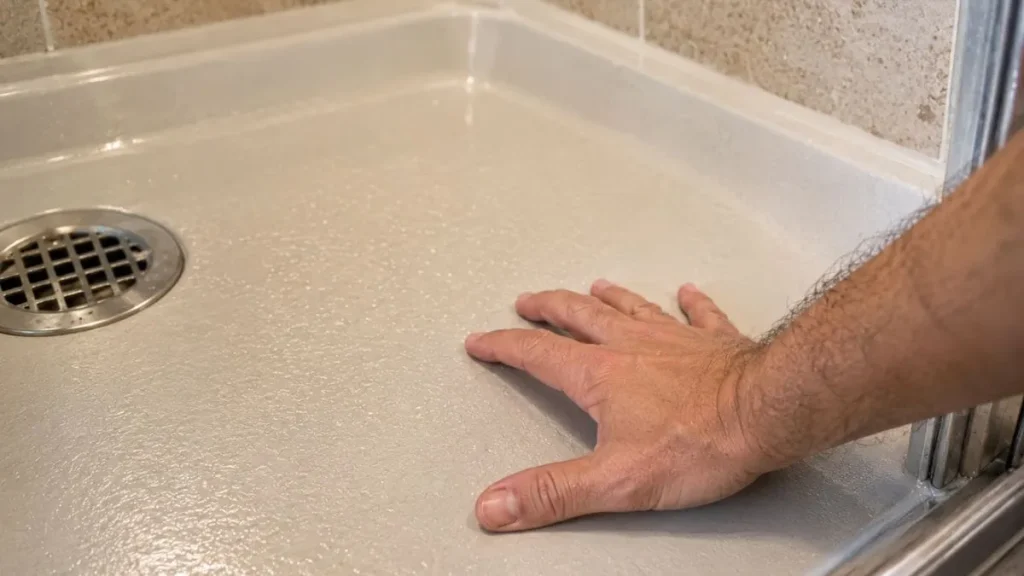
Fiberglass shower pans feel slightly flexible underfoot and have a slightly rough, textured surface with a gel-coat finish. Press firmly on the shower floor — if it gives a little, it is almost certainly fiberglass. The surface scratches easily, and older pans often show a yellowed or chalky appearance. Cracks in fiberglass tend to be thin, spider-web lines or longer stress fractures near the drain.
Acrylic
Acrylic shower bases are smoother and glossier than fiberglass and flex more noticeably when you press on them. They are also warmer to the touch than tile. Acrylic is thinner than fiberglass, which makes it more prone to cracking under point pressure — a dropped shampoo bottle can cause a stress crack. Acrylic shower pan repair kits are widely available at Home Depot and Lowe’s, typically ranging from $15 to $40.
Tile Over a Mortar Bed or Pan Liner
Tile shower floors sit on either a mortar bed or a prefabricated pan liner beneath the tiles. Cracks here are structural — they appear in the grout lines first, then in the tile itself. A cracked tile shower floor is a different repair challenge entirely, often requiring individual tile replacement and grout resealing rather than epoxy resin filler.
Why Getting This Right Matters
Applying a fiberglass shower pan crack fix product to an acrylic surface often means poor adhesion and a failed seal within weeks. Each material has different porosity, flexibility, and surface chemistry. Matching your repair product to the actual substrate is the single biggest factor in whether you get a permanent fix or a temporary seal on a cracked shower base that fails again in a month.
How to Assess Crack Severity and Repairability
Not every crack needs the same response. A hairline surface scratch and a through-crack near the drain are completely different problems, and treating them the same way leads to either wasted repair effort or an undetected leak rotting your subfloor.
Hairline Cracks: Usually DIY-Repairable
Hairline cracks are surface-level fractures, typically less than 1/16 of an inch wide, that have not penetrated through the full thickness of the pan. Run your fingernail across the crack — if it catches slightly but the pan feels solid underfoot, you are likely dealing with a surface crack only. These respond well to shower pan epoxy repair and acrylic repair kits. Structural integrity is still intact, making a permanent fix realistic.
Through-Cracks and Stress Fractures: Test Before You Repair
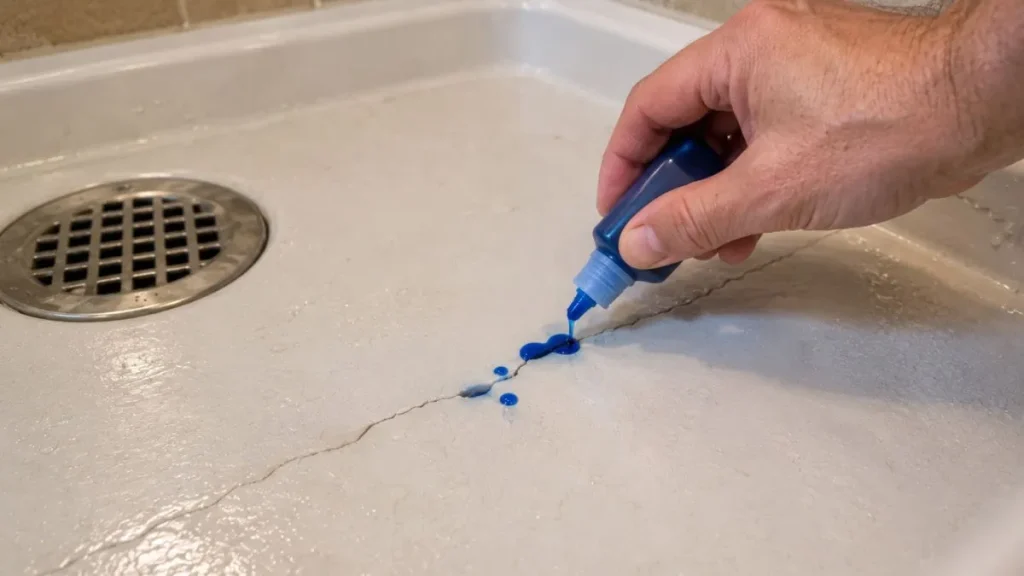
A through-crack has penetrated the full material thickness and is actively leaking or will soon. To test crack depth, dry the area completely and apply a few drops of food coloring directly into the crack. Run the shower briefly, then check the underside of the pan or the ceiling below. Color migration confirms a through-crack. These require more aggressive repair — epoxy resin filler applied in layers, or in some cases a shower floor repair inlay kit to reinforce the damaged zone.
High-Risk Locations and Situations
Some cracks are poor candidates for DIY repair regardless of size:
- Cracks along seams where the pan meets the wall — silicone sealant alone will not hold here long-term
- Cracks within 2 inches of the drain, where constant water pooling accelerates failure
- Any crack in a pan older than 15 years, where surrounding material may be brittle
- Multiple cracks spread across the shower base, indicating systemic structural failure
When Replacement Beats Repair
If the pan flexes visibly when you stand on it, has soft spots around the crack, or shows water staining on the subfloor below, repair is a temporary seal at best. A licensed contractor or plumber should assess the damage before you invest time and money in a cracked shower tray repair that will not hold.
How to Prepare the Surface and Gather Materials
Surface preparation is the step most DIYers rush, and it is exactly why repairs fail. Epoxy resin filler bonds to clean, abraded surfaces — not to soap scum, mold, or smooth gel coat. Skipping proper prep turns a permanent fix into a temporary seal.
Clean the Crack Thoroughly
Start by removing all soap residue, mineral deposits, and mold from the crack and the surrounding 3-inch area. Use a stiff wire brush to scrub inside the crack itself, then apply a bathroom-grade degreaser like Krud Kutter or a 50/50 white vinegar and water solution to dissolve mineral buildup. Rinse completely and let the area dry for a minimum of 24 hours. Any moisture trapped under epoxy will prevent proper adhesion and cause the repair to bubble or peel.
Sand the Repair Zone
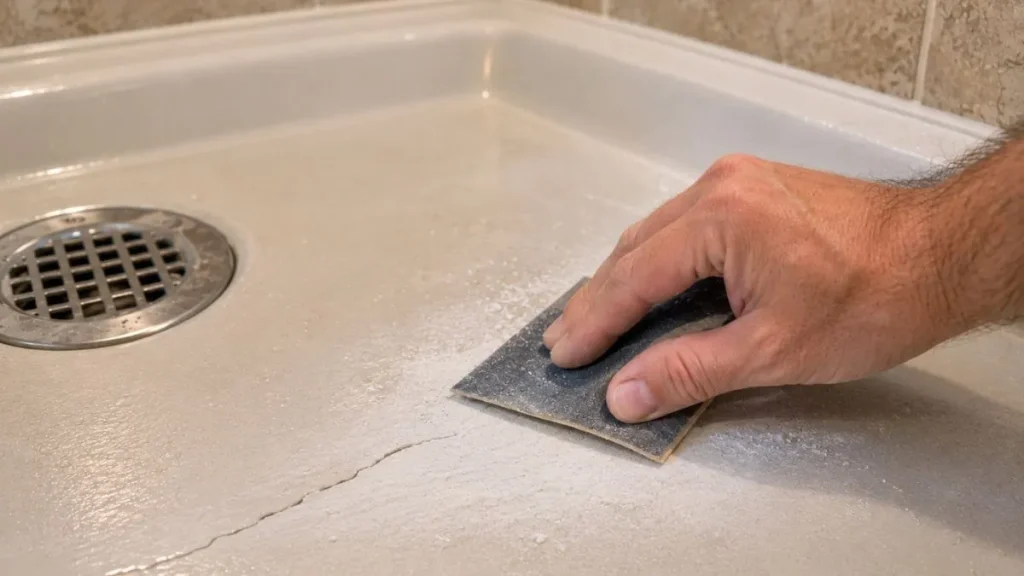
Knowing how to sand a shower pan before repair is critical to adhesion. Epoxy bonds mechanically — it grips microscopic scratches in the surface rather than relying on chemical adhesion alone. Use 80-grit sandpaper to rough up the area around the crack, extending at least 2 inches beyond the damage in all directions. Follow with 120-grit to smooth the transition. For acrylic surfaces, use light, consistent pressure to avoid deepening the damage. Wipe away all sanding dust with a dry microfiber cloth, then a final wipe with isopropyl alcohol.
Tools and Materials Checklist
Gather everything before starting the repair:
- Wire brush or rotary tool with wire attachment
- 80-grit and 120-grit sandpaper
- Krud Kutter degreaser or isopropyl alcohol ($5–$10)
- Microfiber cloths and paper towels
- JB Weld KwikWeld or Loctite Repair Putty for fiberglass ($8–$15)
- Kohler or Danco acrylic repair kit for acrylic pans ($15–$40)
- Painters tape to protect surrounding tile or enclosure walls
- Nitrile gloves and safety glasses
Having the right product matched to your material — fiberglass shower pan crack fix compound versus an acrylic-specific kit — makes the difference between a repair that lasts years and one that lifts within weeks.
How to Repair a Cracked Shower Pan by Material Type
Once the surface is prepped and dry, the actual repair process takes 30 to 90 minutes of hands-on work, followed by curing time. Follow the steps for your specific material — do not substitute methods between material types.
Fiberglass Shower Pan Crack Fix
- Mix the two-part epoxy according to package directions — JB Weld KwikWeld has a 4-minute working time, so work quickly.
- Press the mixed epoxy firmly into the crack using a plastic spreader or putty knife, slightly overfilling the crack.
- Smooth the surface immediately, feathering the edges into the surrounding pan.
- Allow to cure for a minimum of 6 hours before any water contact — 24 hours is better for full structural integrity.
- Once cured, sand with 220-grit sandpaper until flush, then apply a gel-coat touch-up paint matched to your pan color.
Acrylic Shower Pan Repair
Acrylic responds best to purpose-made acrylic repair kits like the Kohler Acrylic Repair Kit or Danco’s tub and shower repair product. These include color-matched filler compounds that flex slightly with the pan rather than cracking again under foot pressure.
- Apply the filler in thin layers — no more than 1/8 inch per coat.
- Allow each layer to dry fully before adding the next.
- Sand flush with 400-grit wet sandpaper after the final coat cures.
- Buff with the included compound to restore gloss.
Tile Shower Base Repair
Cracked grout lines are the entry point for water in a tile shower floor. Re-grout cracked lines using a sanded grout matched to the existing color, then seal the entire floor with a penetrating waterproof sealant like Aqua-X or TileLab SurfaceGard. For a cracked tile itself, remove the damaged tile cleanly with an oscillating tool, replace it, re-grout, and seal.
Temporary Silicone Seal: Limitations You Need to Know
Silicone sealant applied over a crack is a temporary seal on a cracked shower base — not a permanent waterproof repair. It works for hairline cracks in low-flex areas as a stopgap measure while you source proper repair materials. Use a 100% silicone product like GE Supreme Silicone, not latex caulk. Expect 3 to 6 months of leak prevention at best before reapplication is needed. Never rely on silicone alone for a through-crack or any crack near the drain.
Should You Repair or Replace Your Shower Pan?
The right answer depends on three factors: material condition, crack severity, and how the total repair cost compares to replacement. Here is a direct breakdown to make that decision easier.
DIY Repair Costs by Material
| Material | Repair Method | Typical DIY Cost |
|---|---|---|
| Fiberglass | Two-part epoxy + gel coat | $15–$35 |
| Acrylic | Commercial repair kit | $15–$40 |
| Tile (grout only) | Grout + waterproof sealant | $20–$50 |
| Tile (full tile replace) | Tile + adhesive + grout + sealant | $40–$120 |
These costs assume a single crack or localized damage. A shower floor repair inlay kit, used for larger fiberglass damage, adds $30–$60 to the total.
Professional Repair Pricing
A licensed contractor or tile specialist charges $150–$400 for localized shower pan repair, depending on material and region. That price typically includes a workmanship warranty of 1 to 2 years. Professional repair makes financial sense when the crack is in a high-risk location, when DIY attempts have already failed, or when the homeowner lacks confidence in achieving a waterproof repair on the first try.
Full Replacement Cost Threshold
Full shower pan replacement — removing the old base, installing a new one, and resealing the enclosure — costs $800 to $2,500 depending on pan material, labor rates, and whether tile work is involved. Replacement makes clear financial sense when:
- The pan has multiple cracks or systemic structural failure
- The subfloor shows water damage requiring additional repair
- The pan is over 15 years old and material has become brittle
How Long Do Repairs Actually Last?
A properly executed epoxy repair on fiberglass or acrylic, with correct surface prep and full cure time, realistically lasts 3 to 8 years. Silicone-only repairs last 3 to 6 months. Tile grout repairs with a penetrating sealant last 2 to 5 years before resealing is needed. No DIY repair on a compromised shower base matches the longevity of a full replacement — but for a single crack on a structurally sound pan, the economics strongly favor repair first.
Read Also: Hairline Crack in Acrylic Tub
Ready to Fix Your Shower Pan?
Matching your repair product to your specific material — fiberglass, acrylic, or tile — and completing full surface prep are the two steps that determine whether your repair holds for years or fails within months. Start today by confirming your pan material using the flex test and visual inspection described above, then pick up the correct repair kit at Home Depot or Lowe’s before the crack widens.
If the pan flexes, shows soft spots, or has water damage below, call a licensed contractor for an assessment before investing in repairs.