
Dried flooring adhesive — from black mastic to carpet glue to vinyl tile cement — is one of the most stubborn renovation obstacles a DIYer can face, and knowing how to remove flooring adhesive from concrete correctly saves you hours of wasted effort and hundreds of dollars in product costs.
Once old flooring comes up, the residue left behind can be rock-hard, chemically bonded to the concrete surface, and completely resistant to scraping alone.
This guide covers 5 tested removal methods ranked by cost and effort, with clear success indicators for each, so you leave knowing exactly which approach fits your specific adhesive type, budget, and timeline.
Identifying Your Adhesive Type First
The removal method that works on carpet adhesive will often fail on tile mastic — and using the wrong approach wastes time and can damage your concrete surface. Spend five minutes identifying what you have before buying any product or renting any tool.
Visual and Tactile Markers by Adhesive Type
Different adhesives leave distinct residue patterns:
- Black or dark brown tar-like patches — almost certainly cutback mastic, used under vinyl tile and sheet flooring before the 1980s. This material can contain asbestos and requires testing before aggressive removal.
- Tan or yellow rubbery residue — typically carpet adhesive or modern pressure-sensitive glue. Usually more pliable and responds well to chemical solvents and scraping techniques.
- White or gray cement-like patches — thin-set mortar left from ceramic or stone tile. This is not a true adhesive; it requires grinding, not solvents.
- Clear or yellowish brittle flakes — often water-soluble vinyl flooring glue from post-1990 installations. Warm water and a floor scraper frequently handle this without any adhesive remover product.
How Age and Hardness Change Your Approach
Fresh adhesive — under two years old — stays slightly flexible and responds to mechanical scraping alone. Adhesive older than 10 years has typically cross-linked and hardened into the concrete pores, making concrete floor preparation significantly more involved.
Here’s the practical rule: if a putty knife leaves a clean gouge in the residue, scraping will work. If the knife skips across the surface without cutting in, you need a chemical solvent or mechanical grinding to make real progress.
Manual Scraping: The Free-to-Low-Cost Foundation
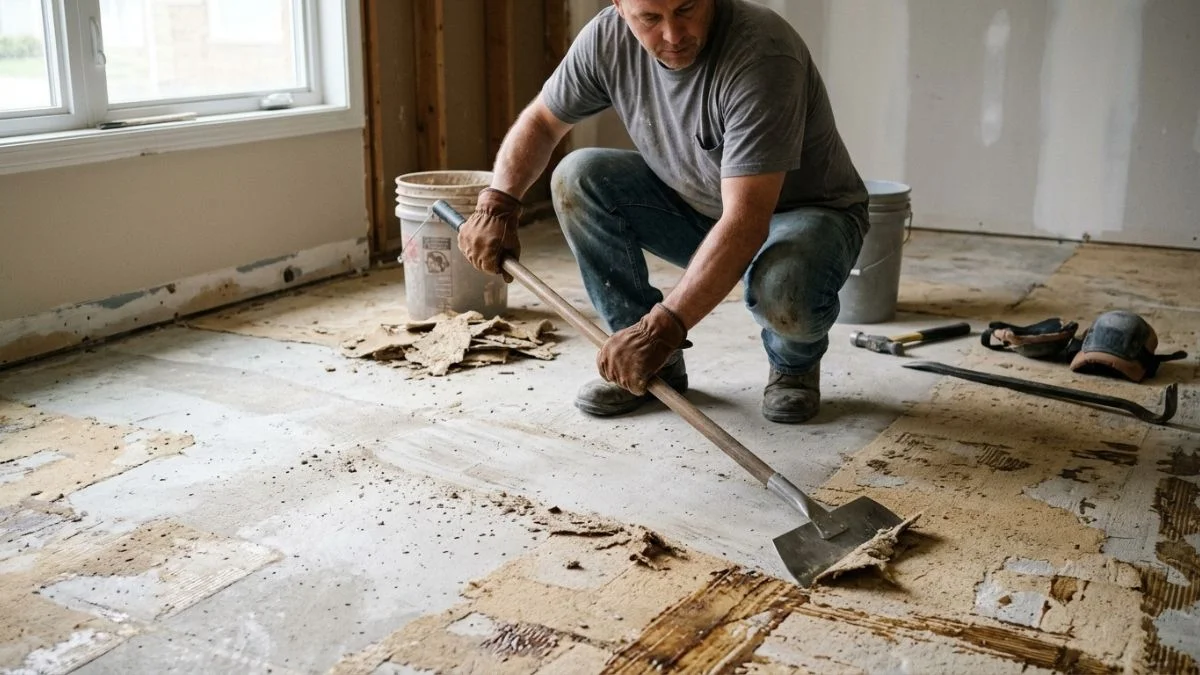
Scraping costs almost nothing and works reliably on thin, brittle, or water-soluble adhesive residue. It is also the right first step before applying any chemical solvent — removing the bulk mechanically first means the product works faster and penetrates more evenly.
Choosing the Right Scraper
Tool choice determines whether you make progress or just tire yourself out:
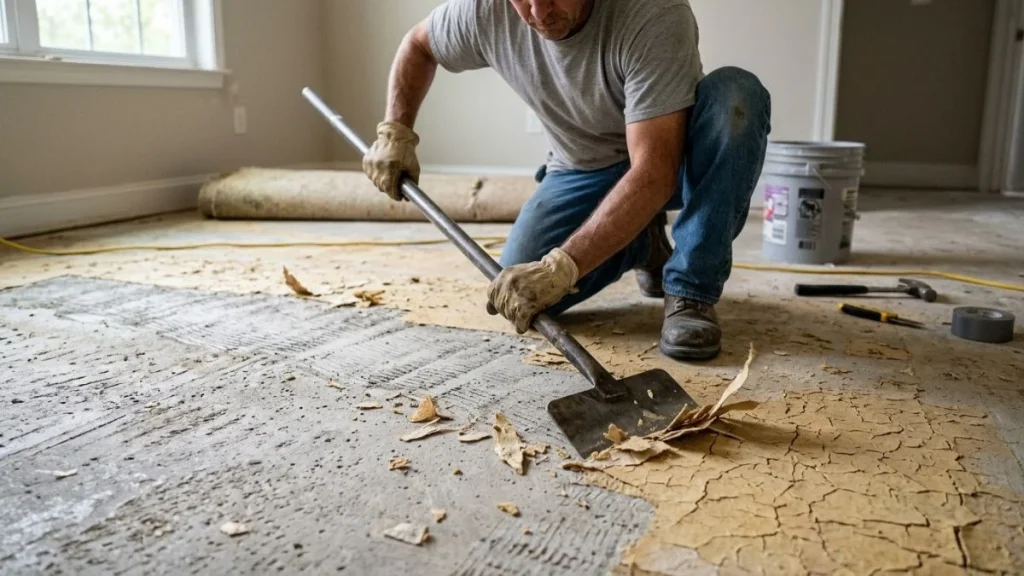
- 6-inch metal floor scraper with a long handle — the standard tool for carpet adhesive removal on concrete. Brands like Hyde Tools and Red Devil make replaceable-blade versions that maintain a sharp edge throughout the job.
- Plastic scrapers — use these only on fresh, soft adhesive or when working near a drain or expansion joint where metal could chip the concrete edge.
- Putty knife — effective for small patches and edge work, but too narrow for open floor areas larger than a few square feet.
- Oscillating tool with a scraper blade — a step up from hand scraping; a Fein MultiMaster or Dremel Multi-Max attachment reduces fatigue significantly on jobs over 50 square feet.
Body Mechanics and Pressure Angle
Hold the scraper at a 30-to-45-degree angle to the floor. Shallower than 30 degrees and the blade rides over the adhesive; steeper than 45 degrees and you risk gouging the concrete surface.
Push with your body weight, not your wrists. Short, firm strokes work better than long sweeping ones for removing thin layer glue from concrete.
When Scraping Alone Fails
If 10 minutes of firm scraping produces less than one square foot of clean concrete, the adhesive has hardened beyond what manual effort can handle efficiently. Move to a chemical solvent or mechanical method rather than spending hours on a technique that has already shown its limit.
Chemical Removers: Targeted Solvent Solutions
Chemical solvents work by penetrating the adhesive’s polymer structure and breaking the bond at the molecular level, which makes them far more effective than scraping alone on hardened or thick residue. The right floor adhesive solvent on concrete can soften material in 20–40 minutes that would take hours to scrape dry.
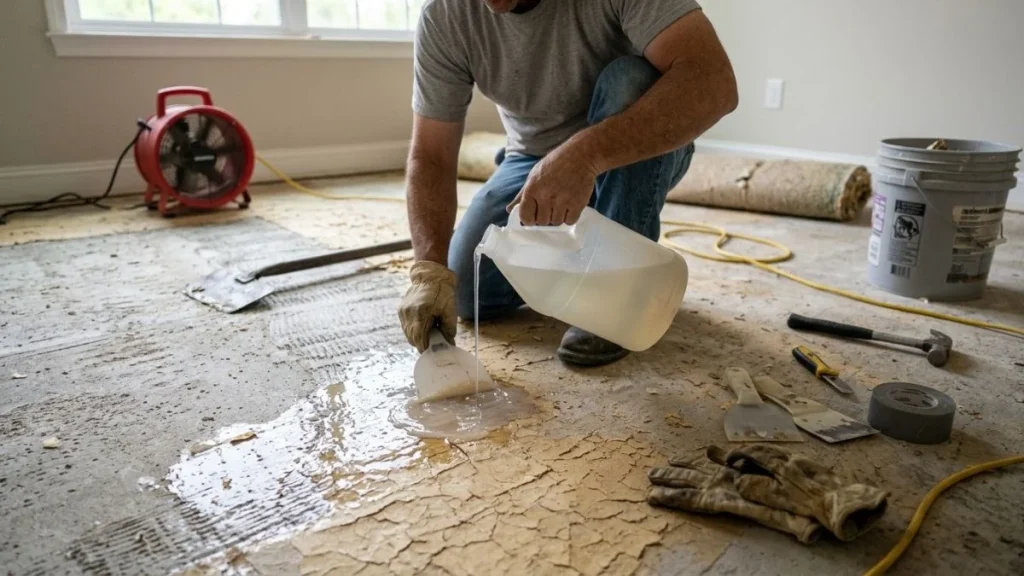
How Adhesive Solvents Work on Different Bond Types
Two products stand out for DIY use:
- Klean-Strip Green Floor Adhesive Remover — a low-VOC, water-based formula that covers approximately 75–100 square feet per gallon. It works well on carpet adhesive and modern vinyl flooring glue but needs 30–45 minutes of dwell time on thicker deposits.
- Sentinel 626 Adhesive Remover — a professional-grade solvent designed specifically for tile mastic removal, including old cutback mastic. Coverage runs 50–75 square feet per gallon at roughly $35–$45 per gallon. Apply, cover with plastic sheeting to prevent evaporation, and allow 20–30 minutes before scraping.
Application technique matters as much as product choice. Apply a uniform, generous coat — thin application dries before it penetrates. Always open windows and run a box fan exhausting outward during use.
Dispose of solvent-soaked residue in a sealed plastic bag and check local hazardous waste guidelines before disposal.
When Chemicals Underperform or Are Not Safe Indoors
Vinegar and baking soda work on fresh, water-soluble adhesive residue only. On any cured adhesive older than 12 months, they produce negligible results — not a realistic vinyl flooring glue remover for most real-world jobs.
Solvent-based products release VOCs (volatile organic compounds — airborne chemicals that irritate lungs and eyes) that accumulate quickly in enclosed spaces. If the space has no cross-ventilation, use a respirator rated for organic vapors, not just a dust mask. Anyone with asthma or respiratory conditions should avoid indoor solvent use entirely and consider mechanical removal or professional help instead.
Heat and Mechanical Methods: When Scraping Won’t Finish the Job
Heat softens adhesive polymer chains, making residue that resists scraping and chemicals suddenly workable. Mechanical equipment amplifies that effect by combining abrasion with force — the combination handles heavy mastic buildup that no hand tool or solvent can realistically clear.
Steam and Boiling Water
A steam cleaner or wallpaper steamer pressed directly onto adhesive for 30–60 seconds softens most carpet and vinyl adhesive residue enough to scrape cleanly. Wagner and McCulloch both make consumer-grade steamers in the $80–$150 range that work well for this purpose.
Boiling water poured directly on small patches achieves a similar effect at zero equipment cost. Work in 2-foot sections — the adhesive re-hardens as it cools, so scrape immediately after applying heat.
Concrete Grinder Rentals
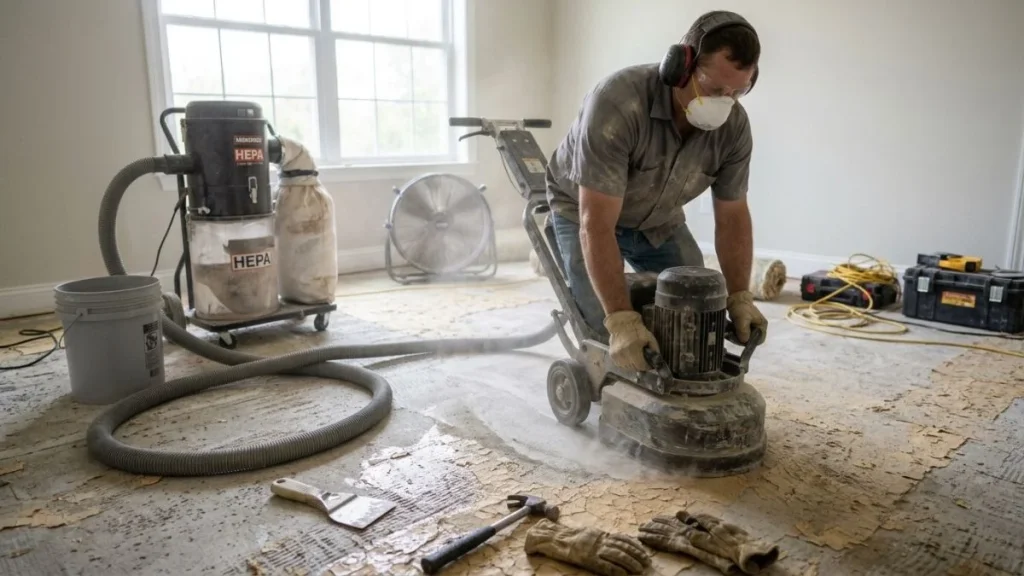
An angle grinder fitted with a diamond cup wheel removes adhesive by abrading the top layer of concrete along with it. Home Depot and Sunbelt Rentals both carry walk-behind concrete grinders for $60–$120 per day.
The critical requirement is dust control. Concrete grinding generates silica dust — a serious lung hazard — so attach a HEPA-rated shop vacuum to the grinder’s dust port and wear an N95 or P100 respirator. For jobs over 200 square feet, contractors with concrete grinding certification are worth the cost.
Mechanical Floor Stripper Rentals
A ride-on or walk-behind floor stripper — available at most equipment rental centers — uses a vibrating or rotating blade at floor level to undercut heavy mastic. This is the most efficient method for tile mastic removal across large areas, clearing 200–500 square feet per hour depending on adhesive thickness. United Rentals lists walk-behind strippers at approximately $80–$150 per day.
Method Comparison: Cost, Time, and Realistic Success Rates
No single method wins across every adhesive type. The table below ranks all 5 approaches by cost, time, and effectiveness so you can match the right tool to your specific situation without guessing.
Effectiveness and Time by Method
| Method | Best Adhesive Type | Time per 100 sq ft | Upfront Cost | Success Rate on Hardened Mastic |
|---|---|---|---|---|
| Manual scraping | Thin, brittle, water-soluble | 2–4 hours | $10–$30 | Low |
| Chemical solvent | Carpet glue, modern vinyl adhesive | 1–2 hours | $30–$60 | Moderate–High |
| Steam/boiling water | Carpet and vinyl adhesive | 1.5–3 hours | $0–$150 | Moderate |
| Concrete grinder | All types, including old mastic | 0.5–1 hour | $60–$120/day rental | High |
| Mechanical floor stripper | Heavy mastic, large areas | 0.25–0.5 hour | $80–$150/day rental | Very High |
Total Cost Comparison
- DIY scraping + solvent: $40–$90 total for most rooms under 200 square feet
- Equipment rental (grinder or stripper): $80–$150 per day, plus consumables
- Professional concrete floor preparation service: $1–$3 per square foot, or $200–$600 for a typical 200-square-foot room
Hiring out makes financial sense when the adhesive is confirmed black mastic with possible asbestos content, or when the total rental-plus-time cost approaches the professional rate.
Success Indicators: When to Switch Methods
The clearest signal that a method is failing is visible adhesive remaining after the full recommended effort or dwell time. Specifically:
- Scraping: switch methods if less than 1 square foot clears per 5 minutes of firm effort
- Chemical solvent: switch if residue doesn’t soften or lift after 45 minutes of covered dwell time
- Steam: switch if adhesive re-hardens faster than you can scrape a 1-foot section
- Grinding: if residue persists, increase passes rather than switching — grinding rarely fails, it just needs more time
Concrete Assessment and Next Steps After Adhesive Removal
Clean concrete is not automatically ready for new flooring. Once the adhesive is gone, the surface condition determines exactly what preparation step comes next — and skipping this assessment is the most common reason new flooring fails within the first year.
Reading the Surface After Removal
Check for three specific conditions:
- Divots and pitting — aggressive grinding or scraping can pull aggregate from the concrete surface, leaving holes deeper than 3/16 inch. These must be filled before any new flooring installation.
- Residual coating or haze — a thin film of adhesive solvent or chemical residue left on the surface will prevent new adhesive from bonding. Clean with a pH-neutral concrete cleaner like Zep Neutral Floor Cleaner and allow 24 hours of drying time.
- Discoloration — staining from old mastic or carpet adhesive is cosmetic only and does not affect adhesion for most flooring types. It matters only if you are polishing or sealing the concrete as a finished floor.
Concrete Preparation Options
Match the repair method to the damage level:
- Small divots under 3/16 inch: fill with a Portland cement-based patching compound like Mapei Planipatch, which accepts foot traffic in 2–4 hours.
- Uneven or significantly pitted surfaces: apply a self-leveling underlayment such as Henry 547 FloorPro. It covers up to 1 inch deep and creates a flat, bondable surface for vinyl, tile, or hardwood installations.
- Priming before new flooring: most flooring adhesives and self-leveling compounds require a concrete primer. Mapei Primer T and Bostik Best Primer are both widely available at flooring supply stores.
When Professional Resurfacing Is Worth the Cost
DIY patching handles isolated damage well. Professional resurfacing — typically $2–$5 per square foot — makes sense when more than 30% of the floor area shows deep pitting, when the concrete surface is no longer level within 3/16 inch over 10 feet, or when you are installing a high-end finish like polished concrete or large-format tile that demands a flawless substrate.
You May Read Also: Do You Really Need to Remove Baseboards for Vinyl Flooring?
Start With What You Have, Upgrade If Needed
The adhesive type determines the method — not the other way around — so identifying what you have before buying products or renting equipment saves more time and money than any single technique in this guide. Start with a metal floor scraper and 10 minutes of firm effort on a test area: if you clear clean concrete, finish the job manually; if the adhesive resists, match your next step to the comparison table in section 6. Identify your adhesive type today using the visual markers in section 2, then buy or rent only what that specific residue actually requires.