
Hardened glazing compound from the 1940s can take 3 to 5 times longer to remove than modern putty — and knowing how to remove old window glazing correctly is what separates a clean restoration from a cracked pane.
The real problem is that century-home windows use original single-pane glass that chips or shatters under even moderate lateral pressure, making brute-force scraping genuinely risky.
This guide walks you through every proven removal method, ranked by difficulty and speed, with specific tool recommendations so you finish the job without breaking a single light.
Essential Tools and Heat Methods
Heat as the Primary Softening Technique
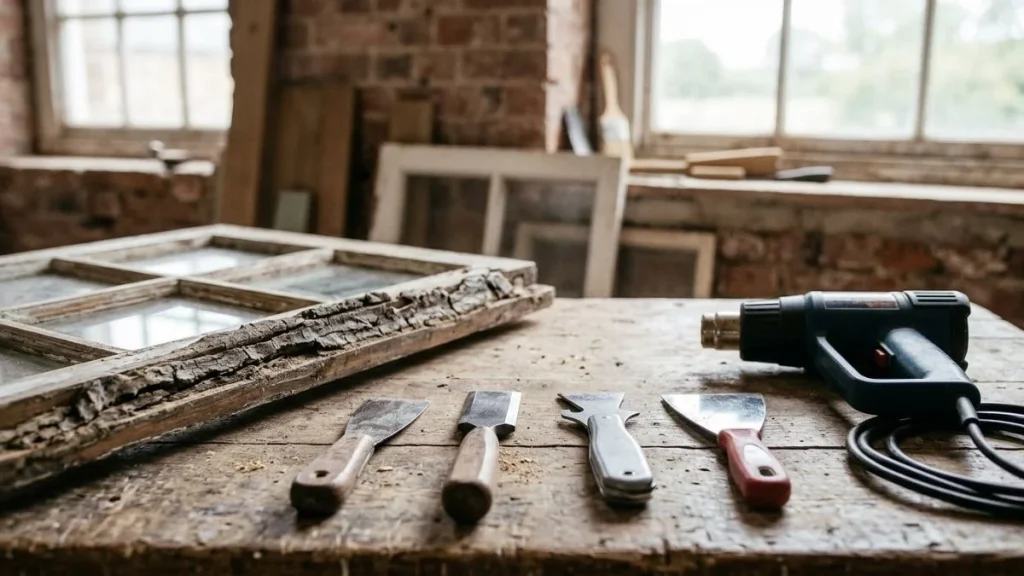
Heat is the single most effective method for glazing compound removal on wood frame windows. A heat gun set between 400°F and 500°F, held 2 to 3 inches from the putty for 20 to 30 seconds per section, softens even 1940s-era glazing putty enough to lift cleanly with a putty knife.
Here’s what makes heat work: it breaks the bond between the compound and the wood rabbet without requiring you to lever against the glass pane itself. Keep the heat gun moving — holding it stationary risks scorching the sash or thermally shocking the glass. For large window restoration projects involving 20 or more sash windows, the Speedheater infrared tool is worth the investment. It heats a wider area more evenly than a standard heat gun and keeps the wood surface temperature lower, reducing char risk significantly.
Never aim heat directly at the glass for more than 5 seconds. Thermal stress fractures in single-pane glass are irreversible.
Tool Comparison: What Actually Works
| Tool | Best For | Limitation |
|---|---|---|
| 3–4 inch putty knife | Standard glazing putty on wood frames | Flexes on hardened compound |
| Glazing chisel | Tight corners, old sash windows | Requires careful angle control |
| Putty chaser (Red Devil 3-in) | Clean rabbets after bulk removal | Slow on thick deposits |
| 5-in-1 painter’s tool | Scraping loose sections | Too wide for precise work |
| Flathead screwdriver | Budget removal on soft putty | Risks gouging wood |
For severely hardened window compound on metal frame windows, a carbide router bit run along the rabbet removes material faster than any hand tool. It requires a steady hand and low RPM — around 10,000 — to avoid grinding into the frame itself.
The honest answer on budget tools: an old flathead screwdriver works on post-1970s glazing putty that hasn’t fully mineralized. On century-home glass panes with original linseed oil compound, you need heat first — every time.
Step-by-Step Removal Process
Preparation and Heat Application
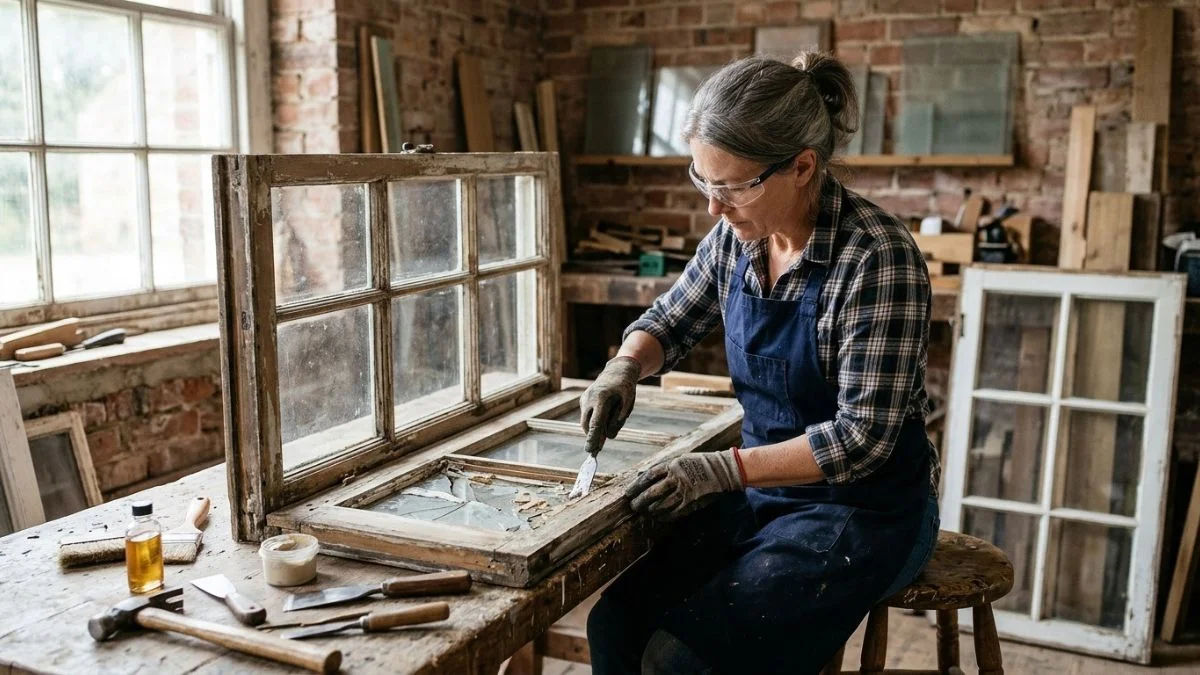
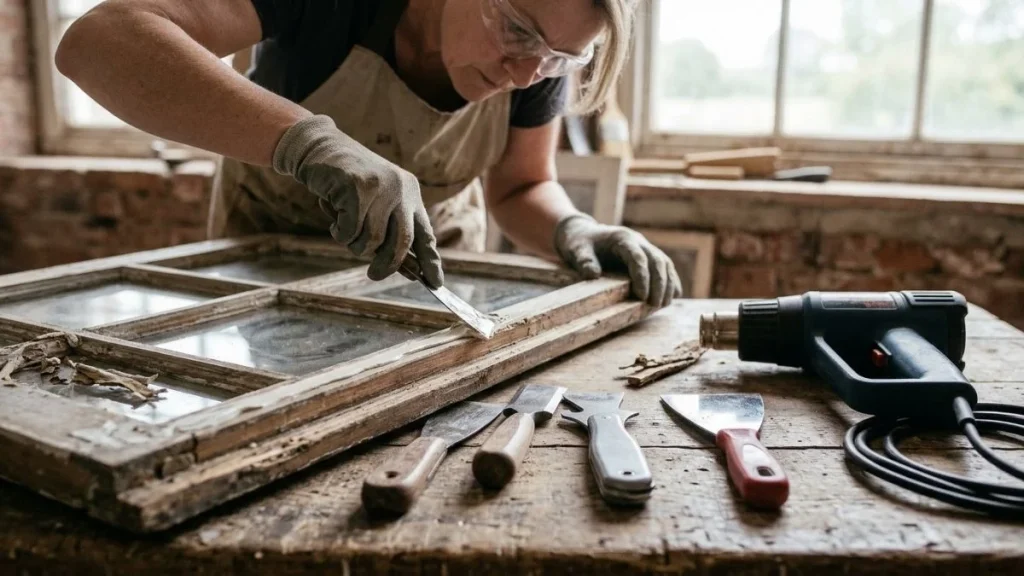
Before touching a heat gun, lay drop cloths across the sill and surrounding floor to catch compound chips. Tape painter’s plastic loosely over any interior trim you want to protect from heat transfer. Work with the sash removed from the frame where possible — horizontal glazing putty removal is safer and gives you better tool angles than working overhead.
Apply heat gun window glazing technique in slow, overlapping passes at a 45-degree angle to the putty line. Watch for two signs that the window compound is ready: a slight color shift from chalky white or gray to a warmer tan, and a faint surface tackiness when you press a fingernail lightly into it. That’s your window.
Scraping Without Breaking Glass
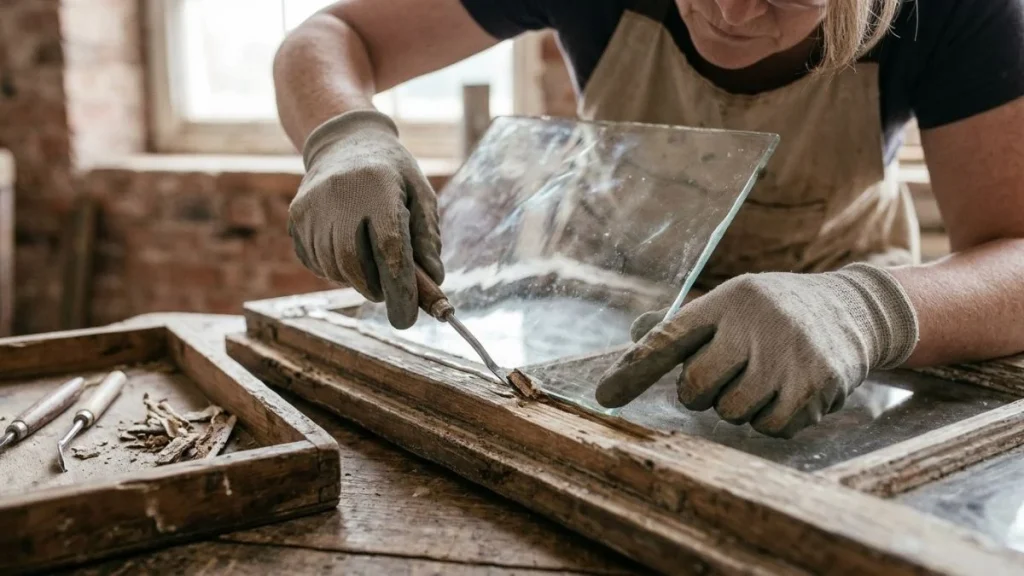
Hold the putty knife at a 15 to 20-degree angle — nearly flat — and push forward along the rabbet rather than prying upward against the glass pane. All directional pressure goes parallel to the frame, never toward the glass edge.
Take multiple thin passes rather than one aggressive cut. Each pass removes a layer without building lateral force against the pane. After every 2 to 3 passes, clear loose debris with a dry brush before reheating. A putty chaser tool like the Red Devil 3-in works well for final cleanup along the rabbet groove once bulk compound is off.
Stubborn Putty and Problem Solving
For 1940s and 1950s linseed oil-based glazing compound that resists heat alone, apply mineral spirits or raw linseed oil directly to the putty line and let it penetrate for 15 to 20 minutes before reheating. This combination softens deeply mineralized compound that a heat gun alone cannot fully mobilize.
Expect roughly 45 to 90 minutes per window on century-home sash windows with original compound. A full multi-window restoration project — 20 or more panes — realistically runs 3 to 5 days of working time. If a section requires more than 3 heat-and-scrape cycles with no visible progress, the compound may be load-bearing or the rabbet damaged underneath. That’s the point to consult a window restoration specialist rather than force it.
Glass Protection and Damage Prevention
Why Glass Cracks During Glazing Removal
Pressure-point failure is the most common cause of broken glass panes during window restoration putty removal. It happens when a tool tip contacts the glass edge at a single point rather than distributing force along the frame. Original single-pane glass in century-home sash windows is often 1/8 inch thick — roughly half the thickness of modern glass — which makes it disproportionately vulnerable to any lateral stress.
The fix is leverage distribution. Keep at least 1 inch of clearance between your putty knife blade and the glass surface at all times. If you need to work closer to the pane edge, switch to a narrower glazing chisel and reduce your push pressure by about 50%.
Proper Angle and Force Direction
Never angle your tool tip toward the glass. Every scraping stroke should direct force into the wood rabbet, not across it. On metal frame windows, the rabbet is shallower and the glazing compound bonds more aggressively — use shorter strokes, roughly 2 to 3 inches, to maintain control.
If Glass Fractures Mid-Removal
Stop immediately. Do not attempt to catch falling glass or continue scraping near a fracture line. Set the tool down, put on cut-resistant gloves, and stabilize the broken pane with painter’s tape across the crack before removing any pieces. Document the pane dimensions before disposal — original wavy glass in historic sash windows is irreplaceable from standard suppliers and requires specialty glaziers.
Frame Inspection Before Reassembly
Once all glazing putty is removed, probe the wood rabbet with a pointed awl at 6-inch intervals. Soft spots that compress easily indicate rot. Separation between the muntin and stile joints signals structural failure that new glazing compound cannot fix. Address both before re-glazing — applying fresh compound over compromised wood frame windows traps moisture and accelerates further decay.
Read Also: Window Frame Separating from Wall?
Your Next Step: Glazing Reinvestment
Heat softening combined with low-angle scraping is the method that protects original glass — every other shortcut increases your risk of cracking an irreplaceable pane. Start with a single sash window this weekend: set your heat gun to 400°F, work one 6-inch section at a time, and treat that first window as your calibration run before committing to a full restoration project. Once removal is complete, prime the bare wood rabbet within 24 hours to prevent moisture absorption before re-glazing.