
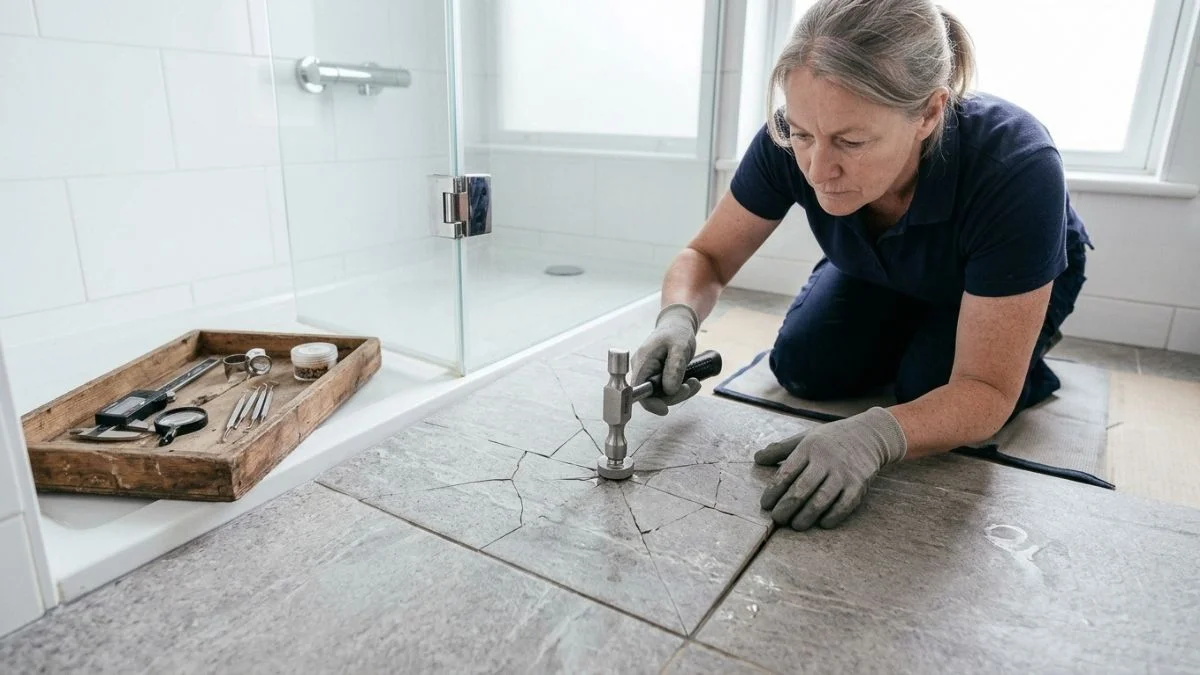
A cracked tile in shower floor surfaces is one of the most common calls licensed tile contractors receive — and one of the most frequently misread by homeowners.
The real danger is not the crack itself but what sits behind it: water that seeps through grout and substrate can cause mold, rot the subfloor, and produce structural damage costing thousands of dollars before a single visible symptom appears inside the bathroom.
Read through this framework and you will know exactly whether your crack is a quick $20 epoxy fix, a single-tile swap, or a sign that a licensed contractor needs to assess the substrate before any DIY work begins.
What Causes Cracks in Shower Floor Tiles?
Knowing why a tile cracked tells you whether fixing it will last or whether the same crack — or a new one — will reappear within months.
Substrate Movement and Settling
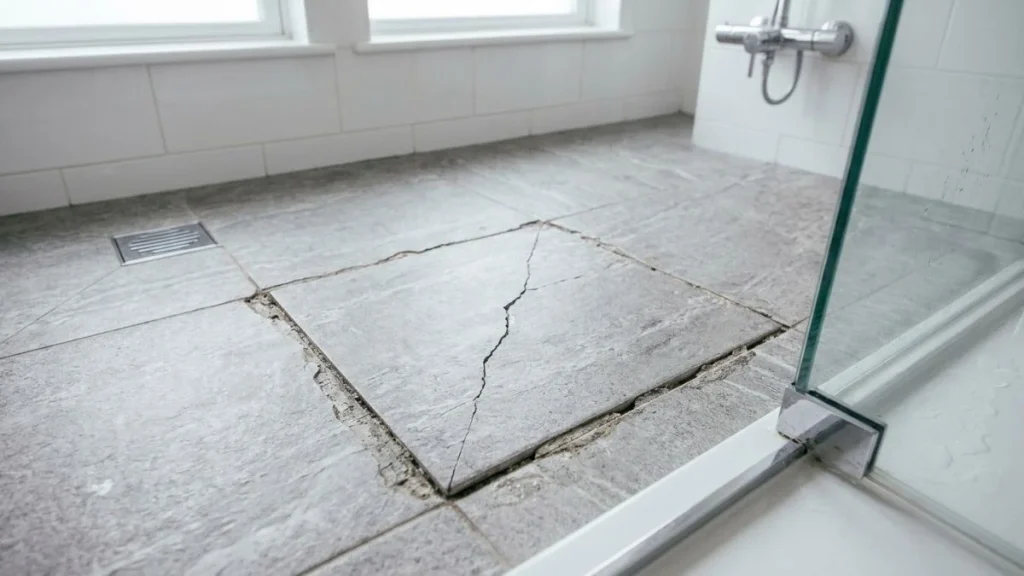
The most common cause of a cracked shower floor tile is movement in the substrate beneath it — the layer of mortar, cement board, or wood subfloor the tile bonds to. When that base shifts even slightly, the rigid tile above it cannot flex and snaps instead. Tile delamination, where the tile separates from its adhesive bed, often accompanies this type of crack. If you press on the tile and hear a hollow sound, the substrate is the likely culprit, and patching the tile surface alone will not solve the problem.
Improper or Shrinking Grout
A grout crack differs from a tile crack in an important way: grout damage is usually cosmetic, while a crack running through the tile body signals structural stress. Grout that was mixed too wet, applied too thin, or left unsealed will shrink and pull away from tile edges, allowing water to migrate toward the substrate and accelerate shower waterproofing failure.
Thermal and Moisture Cycling
Showers experience daily swings in heat and humidity. Over time, this cycling expands and contracts both the tile and the adhesive beneath it. Porcelain and ceramic handle this reasonably well, but natural stone tiles — particularly marble — are especially vulnerable to stress fractures from this mechanism.
Impact Damage
Dropping a shampoo bottle sounds minor. A heavy cast-iron shaving stand or glass jar hitting the same spot repeatedly will eventually produce a hairline crack in shower tile that deepens with each wet cycle. These cracks are typically cosmetic initially, but water infiltration turns them into a functional problem fast.
How to Repair a Cracked Shower Floor Tile: Three Methods Compared
Not every crack needs the same fix. Matching the method to the damage type saves money and prevents repeat failures.
Epoxy and Tile Repair Kits
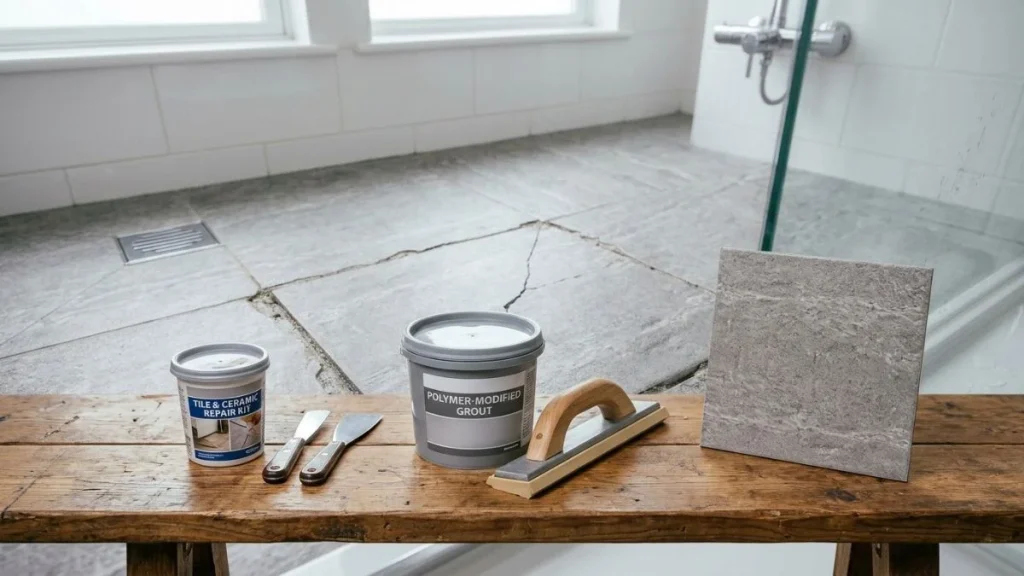
Shower tile epoxy repair works best on hairline cracks in shower tile that have not allowed water infiltration into the substrate. Products like Rust-Oleum Tile Filler or Multipurpose Epoxy come in color-matched formulas and cure waterproof within 24 hours. The process involves cleaning the crack thoroughly, injecting or pressing in the epoxy, and wiping flush before it sets.
Here’s the limitation: epoxy bridges the surface crack but does not address substrate movement underneath. If tile delamination is present, the repair will fail within one to two shower seasons.
Grout Repair for Surface-Level Cracks
Grout cracks and tile cracks require different responses. A crack confined entirely to the grout line — not crossing into the tile body — is a surface repair. Remove the damaged grout with an oscillating tool, clean the joint, and apply a polymer-modified grout rated for wet areas. Seal it within 72 hours. Unsanded grout works for joints under 1/8 inch; sanded grout handles wider gaps.
Grout repair alone is insufficient when the tile body itself is fractured, because water will continue penetrating through the tile crack regardless of how well the surrounding grout is restored.
Single Tile Replacement
To replace a single shower floor tile, you must remove the cracked tile without fracturing adjacent tiles — a task that requires a grout saw, cold chisel, and patience. The bigger challenge is sourcing a matching tile. Manufacturers discontinue colors regularly, so keep spare tiles from the original installation if possible.
Cost runs $50–$150 in materials for a single tile swap, versus $20–$40 for an epoxy kit. The trade-off is a permanent, structurally sound fix rather than a cosmetic patch — provided the substrate shows no signs of water damage behind shower tiles before you set the new tile.
Step-by-Step Repair Process for a Cracked Shower Floor Tile
Follow these steps precisely — skipping the preparation phase is the single most common reason epoxy repairs fail within weeks.
Preparation and Cleaning
Start by removing any loose debris inside the crack using a utility knife or dental pick. Work carefully along the crack line without widening it. Vacuum out the loosened material with a crevice attachment.
Next, clean the entire tile surface and the crack interior with isopropyl alcohol at 90% concentration or higher. Standard household cleaners leave soap residue that blocks epoxy adhesion. After cleaning, the tile must dry completely — 24 to 48 hours with no water exposure. Use a heat gun on a low setting to accelerate drying inside the crack if needed, but keep it moving to avoid thermal stress that could propagate the fracture further.
Check the tile for delamination before moving to application. Press firmly around the crack — any hollow sound or flex indicates substrate movement, and surface repair alone will not restore structural integrity.
Application Technique and Curing
Apply the epoxy or tile filler in thin passes rather than one heavy fill. Overfilling creates an uneven surface that traps water at the edges. Products like PC-Clear Epoxy allow precise application with a mixing nozzle; wipe any overflow immediately with acetone before it cures.
Allow full cure time — typically 24 hours minimum, 72 hours before water exposure for shower tile epoxy repair. Do not rush this step. Once cured, apply a penetrating silicone sealer over the repaired area to reinforce shower waterproofing and slow any future crack propagation caused by ongoing thermal cycling.
Cost Comparison: DIY Repair vs Professional Tile Replacement
The price difference between a DIY patch and a professional replacement is significant — but so is the difference in how long each solution lasts.
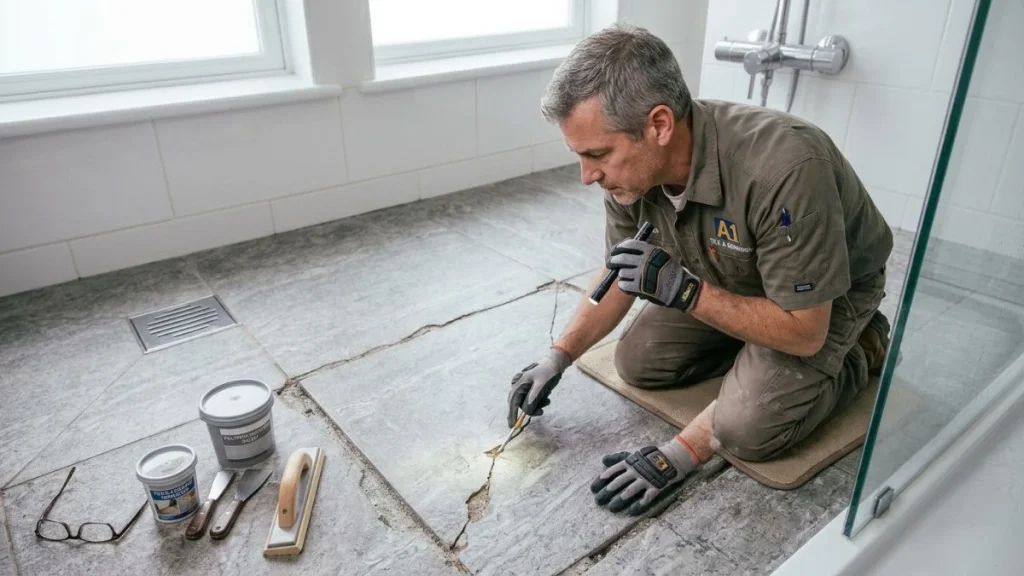
DIY Material Costs
A basic shower tile epoxy repair kit, such as those from Rust-Oleum or Loctite, runs $15–$30 at Home Depot or Lowe’s. Add isopropyl alcohol, acetone, and a silicone sealer and total materials land at $40–$60. If grout repair is also needed, a small bag of polymer-modified grout and a grout float adds another $15–$25. For most hairline crack repairs, the entire DIY cracked shower floor tile repair stays well under $80.
Professional Single-Tile Repair
A licensed tile contractor charges $150–$300 to assess, remove, and replace a single shower floor tile, including labor and basic materials. That price assumes the substrate is sound. If water damage behind shower tiles has compromised the mortar bed or cement board, substrate repair adds $200–$500 to the job before a single new tile is set.
Full Shower Floor Replacement
When multiple tiles are cracked or tile delamination is widespread, full replacement becomes the only permanent fix. According to HomeAdvisor, a full shower floor tile replacement averages $1,000–$3,500 depending on shower size, tile material, and waterproofing membrane requirements.
Temporary vs Permanent Tradeoffs
Epoxy and tile filler are honest temporary measures — they buy 1–3 years before reapplication if the substrate is stable. A proper single-tile swap with correct shower waterproofing is a permanent repair. Spending $200 on a professional fix now is nearly always cheaper than addressing water damage remediation later, which regularly exceeds $5,000 for subfloor replacement alone.
You Should Read Also: How to Repair Cracked Shower Grout
When to Stop Patching and Call a Professional
A crack that returns within six months of repair, a tile that flexes underfoot, or grout that stays damp between showers are all signs that substrate damage — not surface damage — is the real problem, and no epoxy or tile filler will fix that. Press on every tile surrounding the cracked one today: if more than two sound hollow, call a licensed tile contractor for a substrate assessment before water damage behind shower tiles turns a $200 repair into a $5,000 subfloor replacement.