
A stripped door hinge screw hole is one of the most common household repairs — and knowing how to repair door hinge holes yourself costs less than $5 in materials versus $150 or more for a carpenter’s visit.
When hinge screws lose their grip, the door sags, binds against the frame, or swings open on its own — a problem that worsens with every use as the wood fibers compress further.
This article covers 4 tested repair methods ranked from beginner-friendly to intermediate skill level, so you’ll know exactly which fix matches your tools, your door material, and how long you need the repair to hold.
Why Door Hinge Holes Strip (And How to Spot It Early)
Hinge screw holes strip for 4 main reasons, and catching the problem early prevents a simple fix from becoming a full door rehang.
The 4 Root Causes of Stripped Hinge Holes
- Repeated slamming and vibration. Every slam drives the screw sideways against the hole wall, gradually enlarging it. Interior hollow-core doors — standard in most tract homes — are especially vulnerable because the wood substrate around the hinge mortise is thin and soft.
- Over-tightening during installation. Driving screws too hard with a power drill crushes the wood fibers permanently. Crushed fibers can’t grip thread, so the hole becomes too big for the original screw from day one.
- Wrong screw gauge or length. Standard hinge screws are typically #9 x 1-1/2 inch. Using shorter or thinner fasteners leaves most of the hole wall without thread contact, which accelerates stripping.
- Wood decay and moisture damage. Exterior doors and basement-level doors absorb humidity over years. Softened or rotted wood offers almost no holding strength, making any hinge screw repair temporary unless the underlying damage is addressed first.
How to Spot a Stripped Hole Before the Door Fails
The clearest sign is a screw that spins freely without tightening — no resistance means no grip. Other signs include a visible gap between the hinge leaf and the wood, a door that sags at the latch side, or a hinge that pulls slightly away from the frame when you open the door firmly.
Check each screw individually. If one turns more than a half rotation without biting, that hole needs repair before the loose hinge pulls the remaining screws out with it.
Method 1: Toothpick and Wood Glue (Budget + Beginner-Friendly)
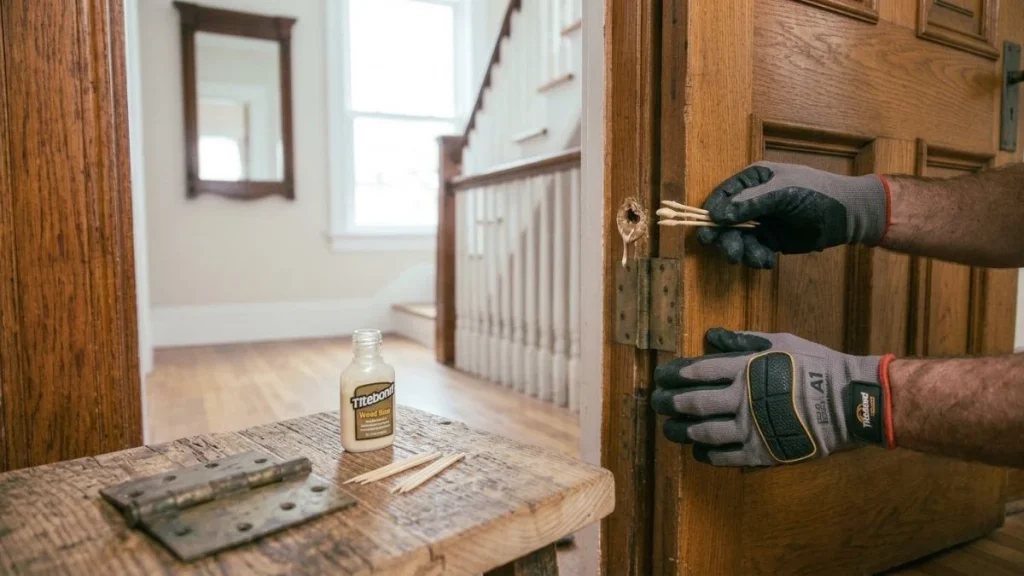
The toothpick and wood glue method costs under $2, requires no special tools, and works reliably on interior hollow-core doors with light to moderate use — making it the go-to fix for renters and first-time DIYers.
How It Works
Toothpicks are made from birch wood, which is dense enough to fill the void left by a stripped hole and accept screw threads. Wood glue — specifically PVA glue like Titebond Original — bonds the toothpicks to the surrounding wood fibers and creates a solid substrate the replacement screw can grip. The result is essentially a rebuilt hole wall using materials you likely already own.
Step-by-Step Execution
- Remove the hinge by backing out all screws and lifting it free from the mortise.
- Clear the stripped hole of loose debris and wood fragments using a toothpick or small pick.
- Dip 2–4 toothpicks in wood glue and pack them firmly into the hole. Fill the full depth.
- Snap or cut the toothpicks flush with the wood surface once the hole is packed solid.
- Let the glue cure for the full manufacturer timeline — Titebond Original requires a minimum 30-minute clamp time, but 24 hours delivers full bond strength.
- Pre-drill a pilot hole slightly narrower than your screw diameter, then reinstall the hinge.
When to Use This Method
This fix suits light-duty interior doors — bedroom, bathroom, and closet doors that see normal daily use. It holds well for holes that are only slightly oversized. Here’s the limitation: toothpicks don’t provide enough material for heavily stripped holes, exterior doors, or high-traffic entries where door alignment is under constant stress.
Method 2: Wood Dowel Repair (Heavier-Duty Alternative)
When a hinge hole is too large or too damaged for toothpicks to fill adequately, a wood dowel repair delivers significantly more holding strength — enough to handle exterior doors and frequently-used entry points.
What You Need and How to Set It Up
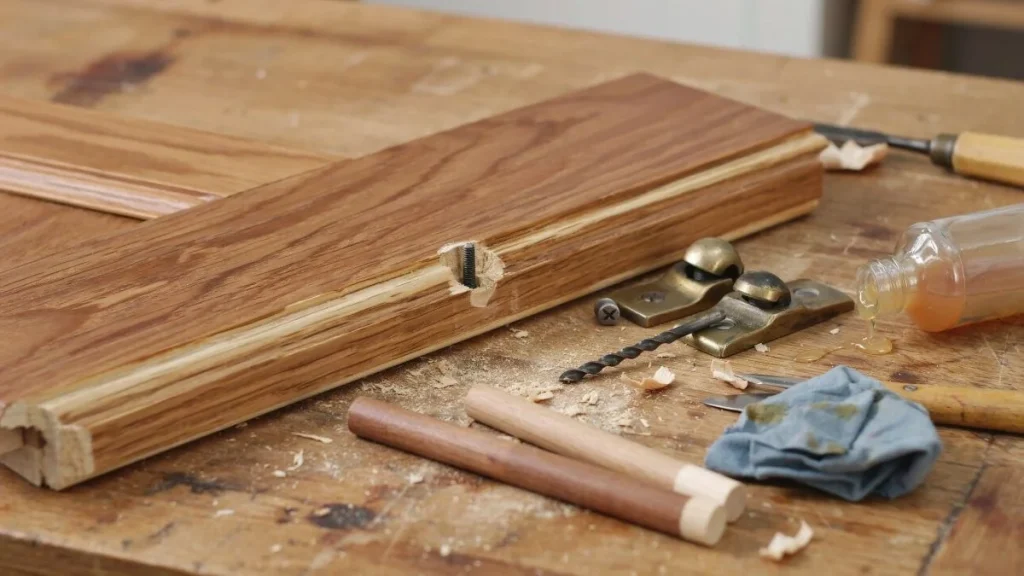
Select a hardwood dowel — oak or birch — with a diameter that matches or slightly exceeds the stripped hole. Common sizes are 1/4 inch, 5/16 inch, and 3/8 inch. Hardware stores like Home Depot and Lowe’s sell hardwood dowel rods for under $3, and one rod repairs multiple holes.
Cut the dowel into segments slightly longer than the hole depth using a handsaw or miter saw. Coat each segment generously with PVA wood glue, then drive it into the hole with a hammer until it seats fully. Wipe away any glue squeeze-out immediately with a damp cloth.
Clamp the repair if possible, or let it sit undisturbed for a full 24 hours. Full cure time matters here — a partially dried dowel will spin when you drill into it.
Drilling and Reinstalling the Hinge
Once cured, trim the dowel flush using a chisel or oscillating tool. Pre-drill a pilot hole through the center of the dowel — sized about 1/32 inch narrower than your hinge screw diameter — then reinstall the hinge normally.
Why This Beats Toothpicks for Heavy-Use Doors
A solid hardwood dowel provides far greater load-bearing capacity than bundled toothpicks because it transfers the screw’s shear force across a continuous grain structure. This makes it the right fastener solution for exterior doors, heavy solid-core doors, and any door opened and closed dozens of times daily. Expect a properly executed dowel repair to last 5–10 years under normal residential use.
Method 3: Longer Screws (The Fastest Structural Fix)
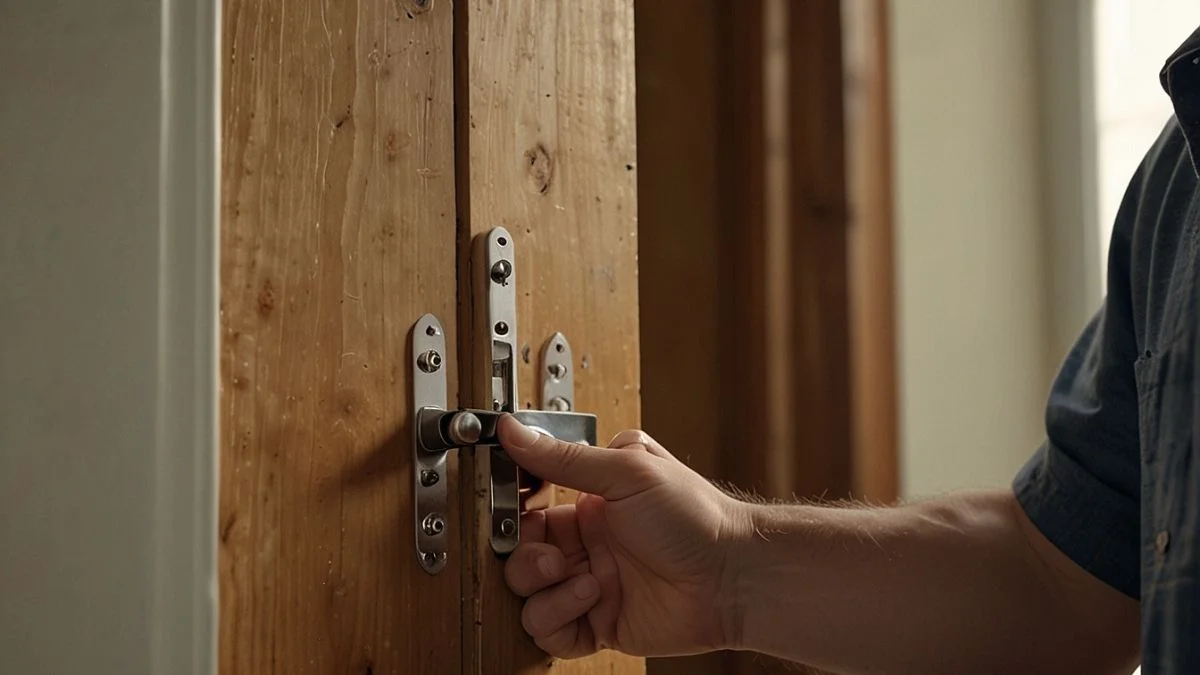
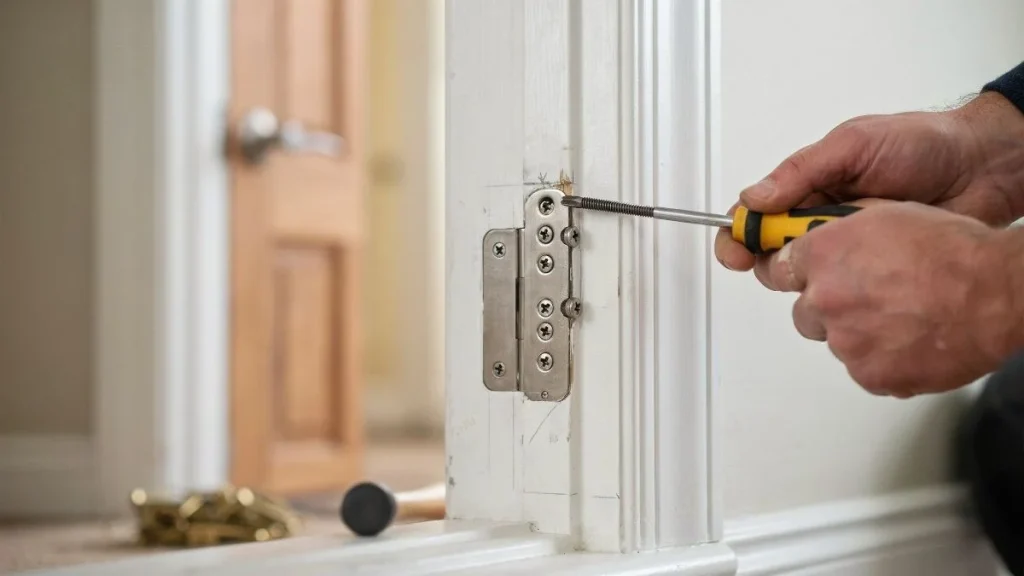
When the hole in the door frame — not the door itself — is stripped, simply replacing the original screws with longer ones is often the fastest and most structurally sound repair available.
Why Longer Screws Work
Standard hinge screws are 3/4 inch to 1-1/2 inches long and grip only the door jamb. The door jamb itself is typically just 3/4 inch of soft pine. Behind it sits the jack stud — solid framing lumber that has never been touched by a screw. A 3-inch #9 screw bypasses the stripped jamb material entirely and anchors directly into that structural framing, giving the hinge a grip point with vastly more holding strength.
This is the same principle used in security hinge installations, where 3-inch screws are a baseline requirement for exterior door frames.
How to Execute This Fix
- Remove the stripped screw from the hinge hole.
- Check that the replacement screw matches the original head type — flat-head #9 is standard for most residential hinges.
- Select a #9 x 3-inch screw in a matching finish (brass, satin nickel, or oil-rubbed bronze).
- Drive it by hand with a screwdriver for the first few threads to avoid cross-threading, then finish with a drill on low torque.
- Stop driving the moment the hinge leaf sits flush — over-tightening creates a new stripped hole.
When This Method Has Limits
Longer screws only work on door frame repairs, not on the door itself, where there is no deeper framing to reach. They also require that the jamb wood is healthy — if the frame shows rot or significant moisture damage, address that first or the longer screw will strip just as fast.
Troubleshooting Repair Failure
If your hinge screw repair didn’t hold, one of 4 specific problems caused it — and each has a clear upgrade path before you consider calling a professional.
Why the Repair Failed
Insufficient dry time. This is the most common mistake. Reinstalling a hinge after only an hour lets the screw break the glue bond before it fully cures. PVA glue like Titebond reaches handling strength in 30 minutes but full bond strength only after 24 hours. Always wait the full cure time.
Wrong filler material for the wood type. Toothpicks work well in pine and poplar — the soft woods used in most interior door frames. In MDF or particleboard hollow-core doors, toothpicks compress rather than grip because there’s no solid grain structure to bond against. Use epoxy wood filler instead for those materials.
Screw diameter too large. Driving an oversized screw through a repaired hole splits the filler material and restores nothing. Match the replacement screw exactly to the original gauge — typically #9 for residential hinges.
Door weight exceeds repair capacity. A toothpick repair on a 80-pound solid-core door will fail under load regardless of technique. Match the repair method to the door’s actual weight and usage frequency.
The Upgrade Path When Simple Repairs Fail
Start with the next method up in structural strength — move from toothpicks to a hardwood dowel repair, or from a dowel to a commercial repair kit like the FastCap Screw Hole Rescue Kit, which combines epoxy and threaded inserts for heavily damaged holes.
Here’s the last resort before calling a pro: relocate the hinge entirely. Move the hinge position 1/2 inch up or down on the frame, placing screws into completely fresh wood. This is a legitimate DIY option that avoids all filler materials and gives the hinge a factory-fresh grip point. If door alignment problems persist after relocation, the frame itself may be racked — at that point, professional assessment is the more economical choice.
Quick Fixes vs. Long-Term Solutions
Choosing the right repair method comes down to 3 factors: how much the fix costs, how long it needs to last, and whether the door’s condition makes repair worthwhile at all.
Cost and Durability Comparison
| Method | Material Cost | Tools Required | Expected Durability |
|---|---|---|---|
| Toothpick + wood glue | Under $2 | None | 2–3 years, light interior use |
| Wood dowel + glue | $3–$5 | Handsaw, drill | 5–10 years, normal use |
| Longer screws (#9 x 3″) | $2–$4 | Drill or screwdriver | 10+ years, frame repairs |
| Commercial repair kit (FastCap) | $12–$20 | Drill | 8–12 years, heavy use |
| Full hinge replacement | $8–$40 per hinge | Drill, chisel | Indefinite if installed correctly |
When Repair Makes More Sense Than Replacement
For most stripped screw holes on interior doors, any of the first 3 repair methods costs less than $5 and takes under an hour. A new hinge set for a standard interior door runs $8–$15, plus the labor of mortising a new hinge plate into the frame — a significantly bigger job.
Repair wins in almost every light-duty scenario.
When Replacement Is the Smarter Call
Replace the hinge — and reassess the frame — when 3 or more of these conditions apply:
- The hinge itself is visibly bent, cracked, or has worn pin knuckles
- The door frame shows rot, soft spots, or moisture damage over more than 2 inches
- The same hole has been repaired twice and stripped again
- The door is a solid-core exterior door weighing over 80 pounds with a compromised jamb
Throwing a $2 toothpick fix at a rotted exterior door frame is not a repair — it’s a delay. In those cases, the cost of a carpenter rehang ($150–$300) is the more economical long-term choice.
You May Read Also: Hollow Door Hinge Repair
Your Door Hinges Are Fixed — Keep Them That Way
The single biggest cause of repeat hinge failures is skipping the pilot hole — driving screws directly into repaired wood crushes the filler material and restarts the stripping cycle immediately. Start with the toothpick and wood glue method today if your door shows any of the early warning signs: a screw that spins freely, a visible hinge gap, or a door that sags at the latch side.
Always pre-drill, always wait the full 24-hour cure time, and match the repair method to the door’s actual weight and usage before you reinstall a single screw.