

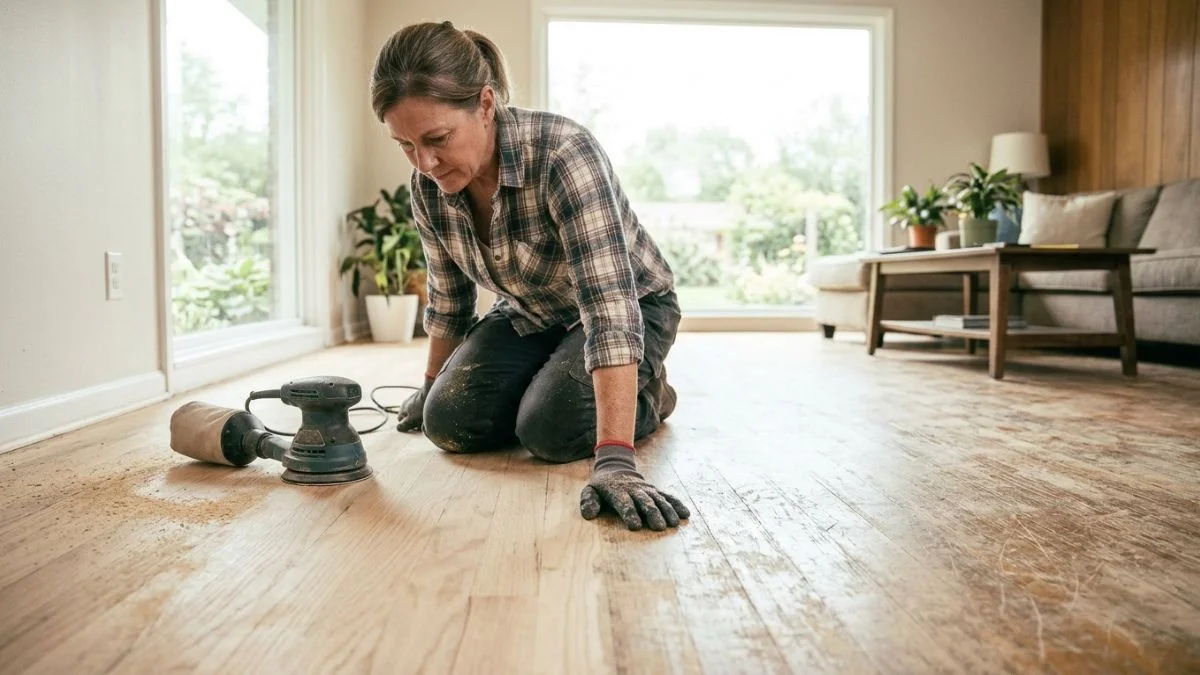
Engineered wood floors can be restored to near-original condition — but only if the wear layer, typically 2–6mm thick according to manufacturers like Hallmark Floors, is deep enough to survive sanding or refinishing.
The real problem is that most homeowners don’t know whether their floors qualify for refinishing, which methods match their damage type, or where DIY ends and professional help begins.
This guide gives you a clear assessment framework and step-by-step restoration methods matched to your specific damage — so you leave knowing exactly what your floors need.
Can Your Floors Actually Be Refinished? The 2mm Veneer Rule
The veneer layer — the real wood surface bonded on top of the plywood core — determines everything about your restoration options. Industry manufacturers including Hallmark Floors and HAVwoods set 2mm as the minimum veneer thickness required to safely sand and refinish engineered hardwood floors. Below that threshold, sanding cuts through to the plywood core, and that damage is permanent.
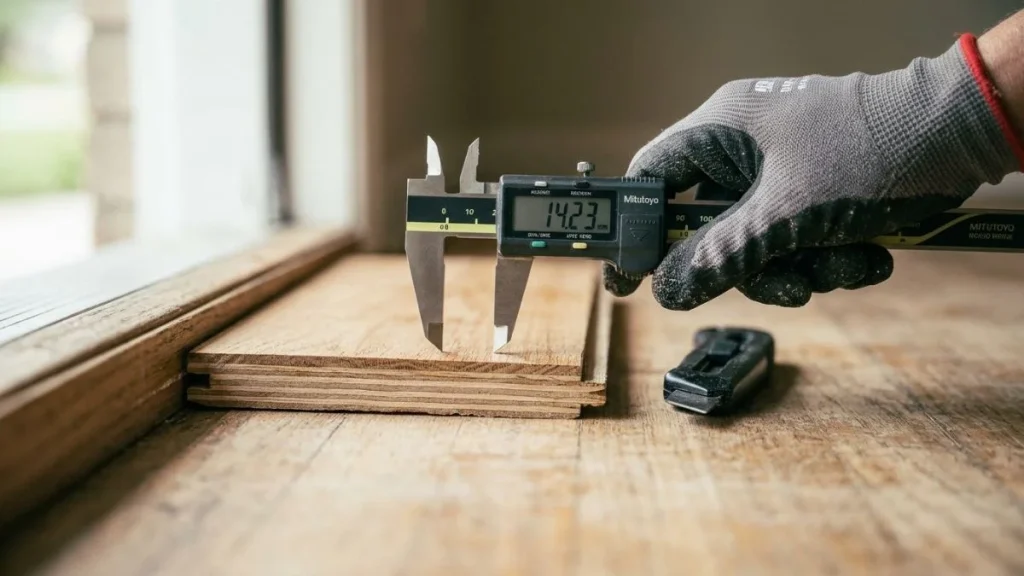
How to Measure Your Veneer Thickness
Check your floor’s documentation first. Most manufacturers stamp the veneer depth on the box or include it in product specs. If that’s gone, find a floor vent or doorway threshold where the floor edge is exposed. Use a sharp utility knife to locate the seam between the veneer and the plywood core, then measure with a digital caliper or a fine ruler.
- 3mm or more: Full sand-and-refinish is viable, typically 2–3 times over the floor’s life
- 2–3mm: Light sanding or a screen-and-recoat with fine-grit sandpaper (120–150 grit) is safe
- Under 2mm: Skip sanding entirely — use no-sand engineered wood floor restoration techniques like polyurethane reapplication or a commercial restorer product
What Happens If You Sand Too Deep
Sanding past the veneer exposes the MDF or plywood core beneath. That layer absorbs stain unevenly, raises with humidity, and cannot be finished to look like real wood. The floor becomes structurally compromised and typically requires full replacement.
Here’s the problem. Most DIYers skip the measurement step and go straight to renting a floor sander. Do the 60-second check first — it changes every decision that follows.
Screen and Recoat vs. Full Refinishing: Which Path Wins?
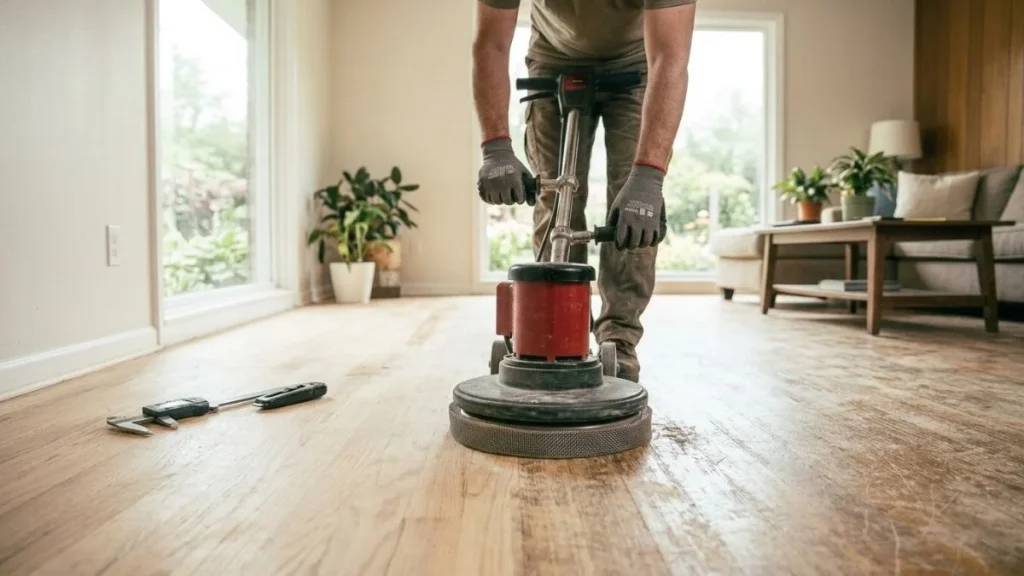
These are the 2 primary engineered wood floor restoration techniques, and choosing the wrong one wastes money at best and destroys your floor at worst. Screen and recoat refreshes the existing finish layer. Full refinishing removes the finish and sands the wood surface itself.
Screen and Recoat: The Safer Default
Screen and recoat engineered hardwood involves lightly abrading the existing polyurethane finish with a mesh screen (120–150 grit), then applying a fresh coat of finish on top. No wood fiber is removed. This makes it viable even for floors with thinner veneers, and it costs roughly $1–$3 per square foot as a DIY project.
It works best when:
- The finish looks dull, scratched, or worn but the wood itself is intact
- You have surface-level scuff marks or minor traffic patterns
- Your veneer measures under 3mm
The result won’t fix deep gouges or staining in the wood itself — only the finish layer is addressed.
Full Refinishing: When You Actually Need It
Full refinishing sands down to bare wood using 36–60 grit paper initially, then progressively finer grits up to 120 grit before polyurethane reapplication. This removes deeper scratches, stains, and uneven coloring that screen and recoat cannot touch. It requires a minimum 2mm veneer — ideally 3mm or more.
| Factor | Screen and Recoat | Full Refinishing |
|---|---|---|
| Cost (DIY) | $1–$3/sq ft | $3–$8/sq ft |
| Drying time | 24 hours | 3–5 days |
| Veneer requirement | Any thickness | 2mm minimum |
| Damage it fixes | Surface finish wear | Deep scratches, stains |
| Difficulty | Beginner | Intermediate |
The result? Screen and recoat handles roughly 70% of worn floor situations. Start there unless you have confirmed veneer depth and visible wood-level damage.
Step-by-Step Restoration Workflow for Engineered Wood
Work through these phases in order. Skipping ahead — especially jumping to finish application before proper prep — is the single most common reason DIY floor restorations fail.
Phase 1: Damage Mapping
Walk the entire floor in good light and mark every problem area with painter’s tape. Categorize each issue:
- Surface finish wear or dullness → screen and recoat candidate
- Deep scratches reaching the wood → spot repair before refinishing
- Soft spots, cupping, or discoloration → possible moisture damage, stop and investigate before proceeding
Moisture damage requires fixing the source first. Applying finish over a wet subfloor traps moisture and causes bubbling or delamination.
Phase 2: Surface Preparation
Vacuum thoroughly, then clean with a hardwood-safe cleaner like Bona Hardwood Floor Cleaner. Allow 24 hours to dry completely. For screen and recoat, use a 120-grit mesh screen attached to a standard buffer. For full refinishing, start with 36–60 grit and work up through 80, then 120 grit. Contain dust with plastic sheeting over doorways and run a shop vacuum continuously where possible.
Phase 3: Spot Repairs
Fill chips and gouges with a color-matched wood filler such as Minwax Wood Putty before any sanding. Let it cure fully per the product instructions — typically 2–4 hours — then sand flush with 120-grit fine-grit sandpaper.
Phase 4: Finish Application
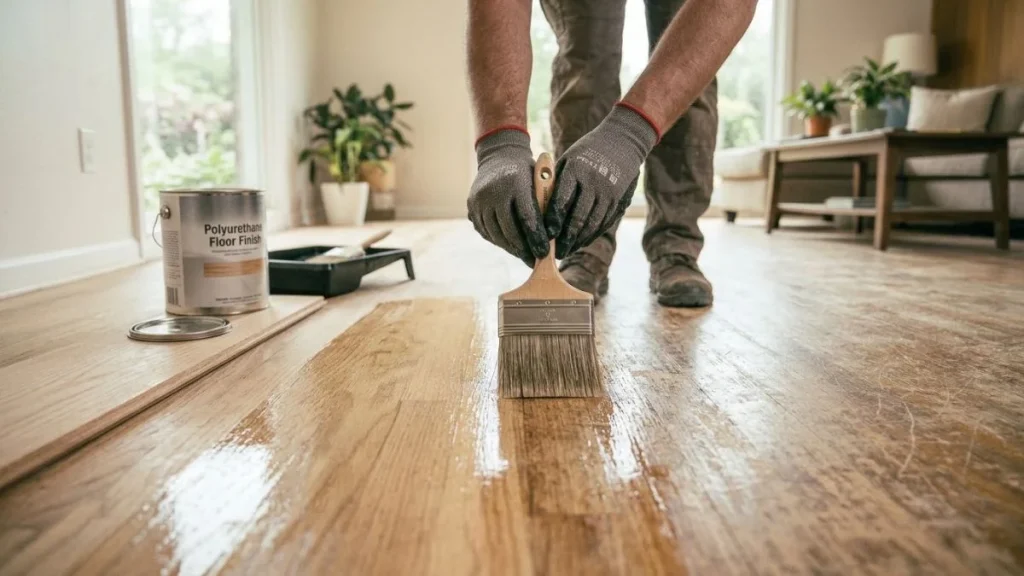
Apply water-based polyurethane in thin, even coats using a synthetic bristle brush or a T-bar applicator. Thin coats dry faster and bond better than thick ones. Apply 2–3 coats, sanding lightly with 220-grit between each coat. Allow 4–6 hours between coats.
Phase 5: Curing and First Use
Let the final coat cure for 24 hours before light foot traffic and 72 hours before replacing furniture. Full polyurethane cure takes 30 days — avoid rugs and rubber-backed mats until then, as they can trap solvents and cloud the finish.
Non-Sanding Alternatives and Spot Repairs
Not every worn floor needs sanding. Restoring engineered wood flooring without sanding is a legitimate option for floors with thin veneers, light surface wear, or isolated damage — and it costs significantly less than a full refinishing project.
Commercial Restorer Products
Floor restorer products like Bona Hardwood Floor Refresher and Rejuvenate All Floors Restorer fill micro-scratches and add a thin protective coating over the existing finish. They don’t remove damage — they mask and protect it. Apply with a flat mop in thin, even passes, working with the grain. Allow 45–60 minutes of dry time before foot traffic.
Realistic expectations matter here. Restorers work well on dull, lightly scuffed floors. They will not fix deep scratches, cloudy finishes caused by wax buildup, or stains that have penetrated the wood itself.
Localized Touch-Ups for Minor Damage
For isolated scratches and small faded patches, use a color-matched wood touch-up marker or blending pencil — Minwax and Mohawk both make floor-specific products in dozens of stain shades. Apply sparingly, let dry, then seal with a small brush application of water-based polyurethane over just that spot.
When DIY Stops and Professional Help Starts
Some damage sits beyond what any DIY wood finish restoration can address:
- Cupping, buckling, or soft spots (active moisture problem)
- Veneer worn through to the plywood core in high-traffic areas
- Deep pet stains that have penetrated beyond the finish layer
- More than 30% of the floor surface showing wood-level damage
In these cases, professional assessment from a contractor like those certified through the National Wood Flooring Association (NWFA) is the responsible next step — not another coat of restorer.
Is Refinishing Worth the Cost?
For most homeowners, yes — refinishing engineered hardwood floors costs a fraction of replacement and extends floor life by 8–15 years when done correctly. The math changes depending on your veneer depth, damage severity, and whether you DIY or hire out.
DIY vs. Professional Cost Breakdown
| Method | DIY Cost | Professional Cost |
|---|---|---|
| Screen and recoat | $1–$3/sq ft | $3–$5/sq ft |
| Full refinishing | $3–$8/sq ft | $8–$15/sq ft |
| Commercial restorer only | $0.50–$1/sq ft | N/A |
| Full replacement | $8–$15/sq ft (materials) | $12–$25/sq ft installed |
DIY material costs for a 500 sq ft room typically run $150–$400 for a screen-and-recoat job, covering rental equipment, finish, and prep supplies.
Lifespan Extension After Restoration
A properly executed screen and recoat adds 3–5 years of protected wear. Full refinishing, when the veneer supports it, resets the floor’s surface condition entirely and can add 10–15 years. Wear patterns in high-traffic corridors will re-emerge faster than in low-traffic areas — expect to address those spots every 3–4 years with touch-up restoration.
Refinish vs. Replace: Decision Matrix
| Condition | Recommended Action |
|---|---|
| Dull finish, surface scratches | Screen and recoat |
| Deep scratches, uneven staining | Full refinish (if veneer allows) |
| Veneer under 2mm, heavy wear | Professional assessment |
| Cupping, buckling, soft spots | Repair moisture source, then assess |
| Veneer worn through in multiple areas | Replacement |
Here’s the bottom line. If your veneer measures 2mm or more and the damage is finish-level or surface-level wood damage, refinishing delivers strong value. Replacement should be the last resort, not the default reaction to a tired-looking floor.
Read Also: Dark to Light Hardwood Floor Transition
Next Steps After Restoration
Veneer thickness is the single fact that controls every restoration decision — measure it before buying a product or renting a sander. Find an exposed floor edge at a vent or threshold today, measure your veneer with a digital caliper, and use that number to match your method using the comparison tables in this guide.