
Replacing countertops is one of the highest-ROI kitchen upgrades available, yet knowing how to remove a countertop without damaging cabinets is the single skill that separates a clean swap from a costly rebuild.
Cabinet replacement averages $5,000–$15,000, meaning one wrong pry with a crowbar can turn a $500 countertop removal into a five-figure repair bill.
This guide gives you the exact tools, material-specific techniques, and step-by-step process to pull out any countertop — granite, laminate, or tile — while keeping every cabinet box, face frame, and finish completely intact.
How Countertops Are Actually Attached
Before you cut a single bead of caulk, you need to know what’s actually holding your countertop down. Most homeowners assume it’s just glue — it’s not.
Fasteners: Screws and Mounting Clips
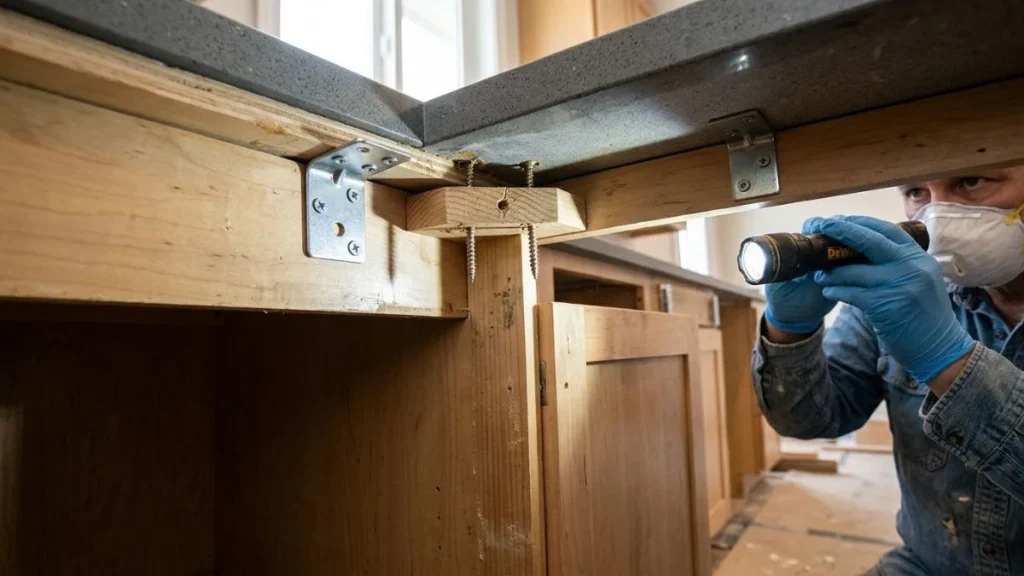
Cabinet installers typically drive screws up through corner blocks or metal mounting clips inside the upper cabinet frame directly into the countertop substrate. These screws are your primary structural attachment point. On older kitchens, you may find 1-1/4 inch drywall screws; newer installations often use dedicated countertop mounting screws with wider flanges. Open every cabinet door and inspect the top interior corners with a flashlight before touching anything else.
Dishwasher mounting screws add another anchor — a dishwasher brackets directly to the underside of the countertop on most models, requiring disconnection before any prying begins.
Adhesive and Caulk
Installers apply either polyurethane construction adhesive or silicone caulk between the countertop and cabinet rim. Silicone releases more cleanly when scored with a utility knife. Polyurethane adhesive — common in laminate countertop installations from the 1990s and early 2000s — cures rigid and bonds aggressively, making glued-on laminate countertop removal significantly harder without a solvent.
The visible caulk bead along the backsplash wall is a seal, not a structural bond. Cutting it is still mandatory — skipping this step causes the countertop to drag against the wall and tear drywall paper.
Sink and Plumbing Anchor Points
Undermount sinks use silicone adhesive and mounting clips that attach directly to the countertop underside. Drop-in sinks use rim clips that grip the countertop cutout edge. Both create resistance points that must be released before lifting.
Material-Specific Removal Procedures
Every countertop material has a different weight, adhesive profile, and failure point. Use the wrong technique on the wrong material and you crack the slab, splinter the cabinet rim, or both.
Laminate Countertops
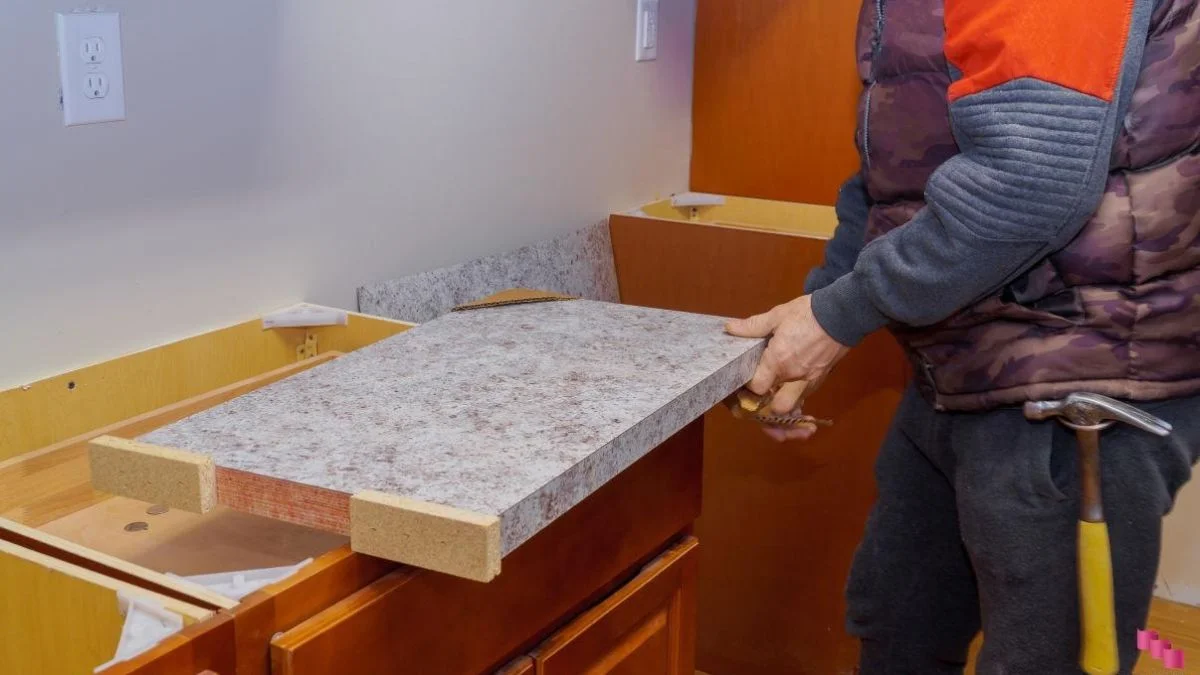
Laminate is the most forgiving material to remove. It runs 3–5 lbs per square foot and is almost always screw-fastened only, with minimal adhesive underneath. Run a utility knife along the backsplash caulk line at a 45-degree angle, then open the cabinet doors and back out every under-rim screw. Start prying from one end section using a stiff putty knife — a 6-inch blade works best here — and work inward gradually. Glued-on laminate countertop removal from older kitchens may require a thin bead of acetone along the cabinet rim to break adhesive contact without forcing the joint.
Granite and Solid Stone
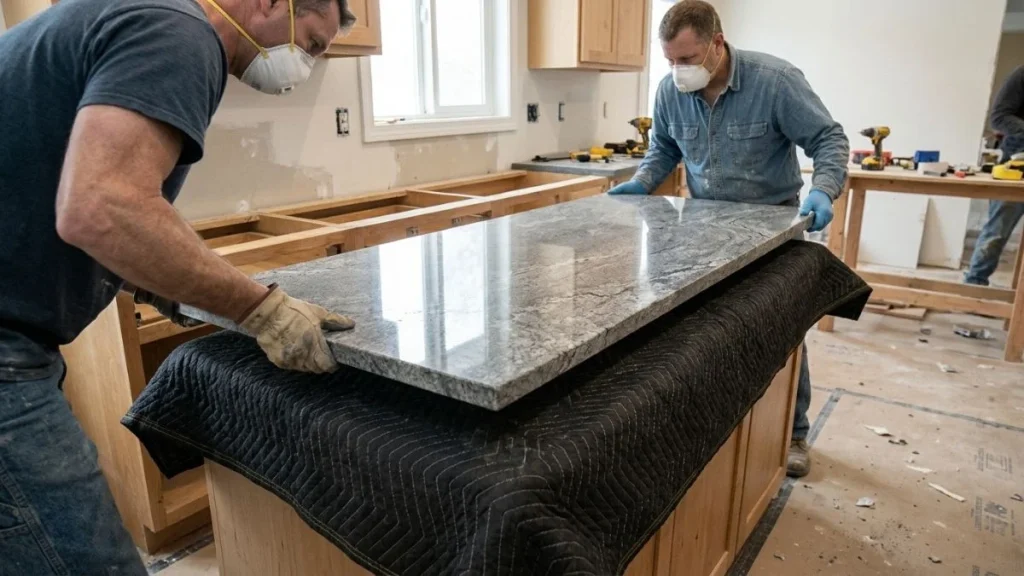
Granite runs 10–15 lbs per square foot, so removing granite countertop without breaking it — or injuring someone — requires at least 2 people and a clear exit path. Locate every countertop attachment point before cutting seals. A heat gun set between 200–300°F softens polyurethane adhesive effectively; test on an inconspicuous area first. Pry from corners at shallow angles using a flat bar, never a pointed crowbar tip. Place wooden blocking under the slab as it separates to prevent sudden drops that stress cabinet frames.
Quartz and Engineered Surfaces
Quartz weighs similarly to granite but uses a more rigid adhesive. Avoid heat guns above 200°F — sustained heat damages the resin surface finish. Apply a citrus-based adhesive remover along the cabinet rim contact line and allow 10–15 minutes of dwell time before incremental prying. Work in 6-inch sections to prevent stress fractures across the slab.
Wood and Butcher Block
Butcher block is lighter but moisture-sensitive. Complete the countertop sink disconnection procedure first — prolonged water exposure weakens the wood glue holding laminated strips together and makes edges prone to splintering during prying. Use a rubber mallet and stiff putty knife rather than a pry bar to separate the countertop from the cabinet rim. After removal, sand any adhesive residue from the cabinet top immediately to prevent it from curing harder overnight.
Protecting Cabinets from Damage
Cabinet protection during renovation is not optional prep work — it is the entire job. The cabinets you are trying to preserve cost more to replace than the countertop you are installing.
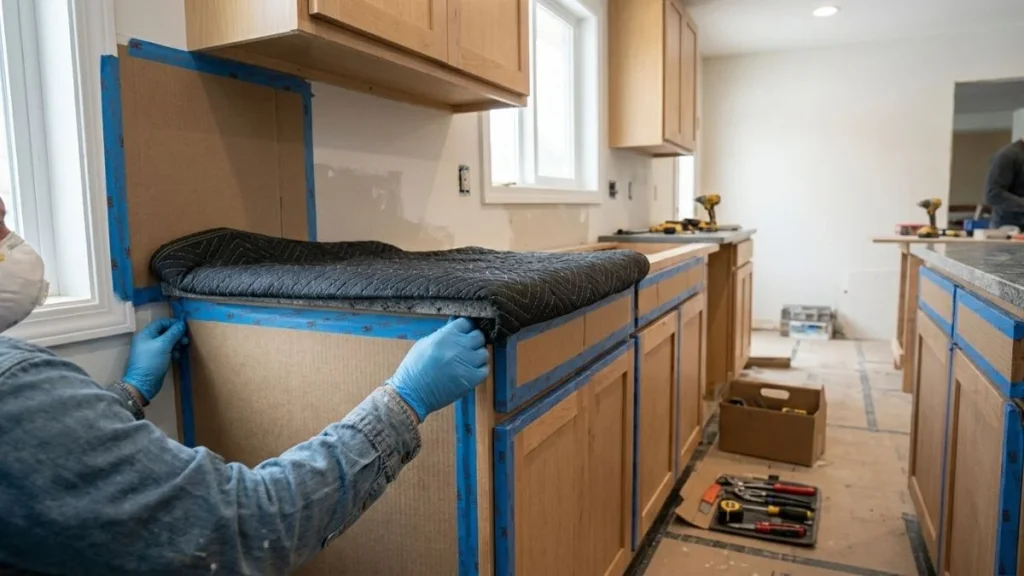
Barrier Setup Before Prying
Before any tool touches the countertop, tape cardboard panels directly to every cabinet face frame within reach of your work area. Use painter’s tape, not masking tape — painter’s tape releases cleanly without lifting the finish. Wrap a double layer of plastic sheeting over the top edges of the cabinet boxes where your pry bar will make contact. Cushion the crowbar or flat bar tip with a folded rubber pad or a thick cloth secured with tape. This single step prevents the concentrated metal edge from crushing the cabinet rim veneer on contact.
Proper Prying Technique and Cabinet Weak Points
Safe prying technique is about angle and force distribution, not raw leverage. Keep your flat bar at a maximum 30-degree angle from horizontal, directing pressure upward into the countertop underside rather than downward into the cabinet structure. Never position a pry point directly over a cabinet seam or corner joint — these are the weakest structural locations in any box-construction cabinet. Stock cabinets built from 1/2-inch particleboard, common in builder-grade kitchens, fail quickly under concentrated leverage. Work 3–4 pry points simultaneously along the countertop run, advancing each point incrementally rather than fully releasing one section before moving to the next.
Repair Options for Minor Damage
Minor surface gouges respond well to Minwax wood filler matched to your cabinet stain color, sanded flush after drying. Edge splits on veneer-wrapped cabinet faces are cleanly repaired with iron-on veneer repair tape, available in standard wood species like oak, maple, and cherry. If damage is widespread across multiple cabinet faces, a full cabinet refinishing with a product like Rust-Oleum Cabinet Transformations costs $200–$400 and restores the finish without replacement.
Disconnecting Sink, Dishwasher, and Utilities
Skipping utility disconnection before countertop removal is the most common mistake that turns a straightforward job into an emergency. Water, electrical, and plumbing connections must be fully cleared before any prying begins.
Sink Removal Sequence
The countertop sink disconnection procedure starts at the water supply valves — turn both hot and cold valves clockwise until fully closed, then open the faucet to bleed residual pressure from the lines. Disconnect the P-trap by loosening the slip-joint nuts by hand or with channel-lock pliers, then place a bucket underneath before separating — residual water in the trap will spill. Loosen the mounting bolts from the sink underside, typically 4 bolts on a drop-in sink, using a basin wrench for tight spaces. Critical step: support the full sink weight with one hand or a prop before removing the final bolt. A standard stainless steel kitchen sink weighs 15–30 lbs and will drop without warning. Cut the caulk ring around the sink rim with a utility knife before lifting to prevent tearing the countertop substrate.
Dishwasher and Appliance Fasteners
Dishwasher mounting screws removal requires locating the 2 bracket screws at the top of the unit — these screw into the cabinet frame on most models, not the countertop itself. Before touching any electrical connection, go to your breaker panel and shut off the dedicated dishwasher circuit, labeling it clearly. Disconnect the electrical outlet or junction box behind the unit next. Pull the dishwasher forward on its leveling legs before countertop removal — leaving it in place creates uneven weight redistribution as the countertop shifts during prying. Cap both the water supply line and drain hose with compression fittings and a hose clamp respectively to prevent leaks during the renovation window.
Breaking Adhesive and Caulk Bonds
Adhesive and caulk bonds — not screws — are what cause cabinet damage during countertop removal. A countertop that lifts unevenly because of an uncut caulk line will peel the finish right off a cabinet face frame.
Cut the Caulk First, Always
Run a sharp utility knife along the full caulk perimeter before any prying attempt. This means the backsplash line, the wall edges, and the cabinet rim contact line. Use a fresh blade — a dull blade drags and tears instead of cutting cleanly. Hold the knife at a low angle and make 2 passes: one to score, one to fully sever. This single step eliminates the most common cause of cabinet surface tears during kitchen renovation prep.
Heat Gun Application
A heat gun softens polyurethane adhesive — the rigid construction glue common in granite and laminate installations — without damaging cabinet wood if used correctly. Set the heat gun between 200–300°F and apply 30–60 second bursts directly to the countertop edge above the adhesive line. Adhesive begins softening at 120–180°F. Keep the nozzle moving and maintain at least 4 inches of distance from cabinet wood surfaces, which can scorch or delaminate above 250°F sustained exposure.
Chemical Adhesive Removers
For polyurethane construction adhesive, a solvent like Goo Gone Pro-Power or 3M Adhesive Remover penetrates the bond without damaging cabinet finishes when applied carefully. Older contact cement — common in glued-on laminate countertop installations from the 1980s — responds specifically to acetone. Test any solvent on a hidden cabinet surface first. Apply along the cabinet rim contact line and allow 10–15 minutes of dwell time before attempting to pry. Rushing this step wastes the chemical entirely — the solvent needs time to migrate into the adhesive layer and break the molecular bond.
You May Read Also: Grout Or Caulk around Kitchen Sink?
Next Steps After Removal
Cutting the caulk fully and clearing every fastener before prying is what separates a preserved cabinet from a damaged one — that single sequence determines the outcome of the entire project. Seal the exposed cabinet top surfaces with a wood conditioner like Minwax Pre-Stain immediately after removal to prevent moisture absorption during the installation gap, then measure your cabinet run length, depth, and any cutout dimensions before contacting a countertop supplier.
Many suppliers, including IKEA and Home Depot, offer free templating services that require the old countertop to already be removed.