Are you looking to raise your floor height without spending a fortune? Using plywood is a smart and simple way to do just that.
Whether you want to fix uneven floors, add insulation, or prepare for new flooring, plywood can be your best friend. You’ll discover easy steps to raise your floor height with plywood, saving you time and money. Keep reading, and you’ll learn how to transform your space quickly and confidently.
Choosing The Right Plywood
Raising floor height with plywood is a practical method to level uneven surfaces or add insulation. Choosing the right plywood ensures the raised floor is strong, durable, and safe. Not all plywood works well for flooring projects. Some types are better suited for walls or furniture. Picking the proper plywood type, thickness, and moisture resistance affects the floor’s lifespan and stability.
Types Of Plywood Suitable For Flooring
Different plywood types exist, but only some work well for flooring. Flooring plywood needs strength and stability to support weight and use.
- Exterior Plywood: Made with waterproof glue, good for areas with moisture risk.
- Structural Plywood: Designed for load-bearing, strong, and durable.
- Marine Plywood: Highest resistance to water, best for very damp places.
- Underlayment Plywood: Smooth surface, often used under finished floors.
Most common choices for raising floor height are exterior plywood and structural plywood. Marine plywood is usually more expensive and reserved for wet areas.
Thickness And Grade Considerations
Thickness affects strength and stability. Thicker plywood supports more weight and reduces floor bounce.
Common thicknesses for raised floors:
- 12 mm (1/2 inch) – suitable for light loads or single layers.
- 18 mm (3/4 inch) – standard for most flooring projects.
- 25 mm (1 inch) – for heavy load areas or double layering.
Plywood grade shows surface quality and defects:
- A Grade: Smooth, few knots, best for visible surfaces.
- B Grade: Some knots and patches, good for subfloor.
- C/D Grade: More knots and imperfections, used under layers.
For raised floors, B grade plywood is a good balance of cost and quality. Avoid C/D grade for top layers because of weak spots. Use proper thickness based on load to keep floors safe and steady.
Moisture Resistance Features
Moisture damages plywood and weakens floors. Choose plywood with good moisture resistance to prevent warping and decay.
Key features to consider:
- Waterproof Glue: Bonds layers tightly, stops water from seeping inside.
- Treated Plywood: Chemicals added to resist mold and rot.
- Sealed Edges: Protects vulnerable edges from moisture absorption.
Marine and exterior plywood have the best moisture resistance. Structural plywood varies by brand and treatment. Avoid untreated plywood in damp or humid areas. Proper installation also helps. Use sealants and keep floors dry to extend plywood life.
Preparing The Existing Floor
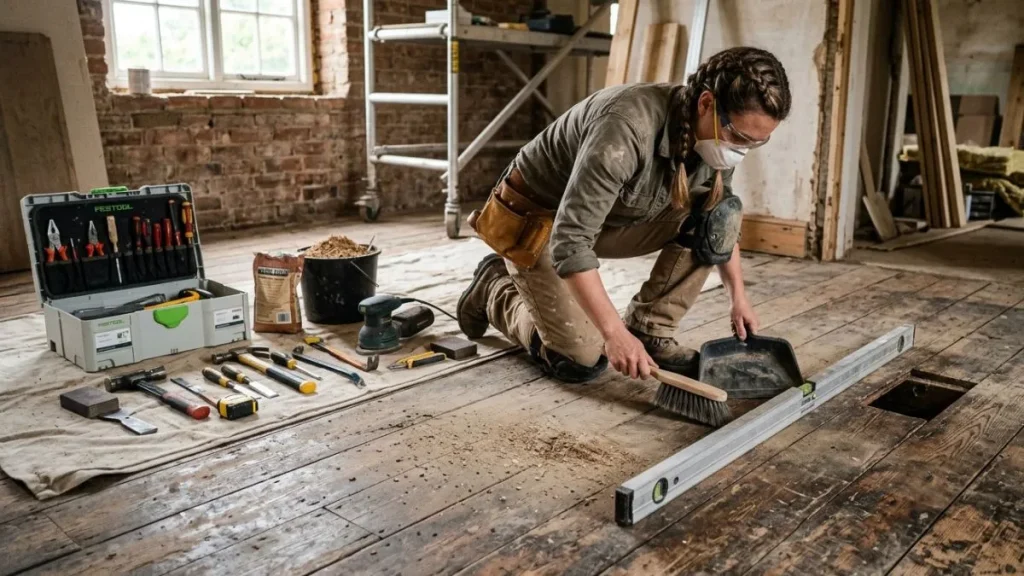
Raising the floor height with plywood is a practical way to adjust room levels or fix uneven floors. Preparing the existing floor before laying plywood is key for a strong, lasting result. This process involves cleaning, fixing damage, and precise measuring. Each step ensures the plywood sits well and keeps your floor sturdy.
Cleaning And Leveling The Surface
Start by clearing the floor of all dirt, dust, and debris. A clean surface helps the plywood stick better and prevents bumps. Use a broom or vacuum to remove loose particles. For sticky spots, mop with a mild cleaner and let it dry completely.
Next, check if the floor is level. Use a spirit level to find high or low spots. Small bumps can be sanded down. Low areas may need filling with a floor leveling compound. This step makes sure the plywood lays flat and avoids future problems.
- Sweep or vacuum the floor thoroughly.
- Clean stubborn stains or grease with a mild detergent.
- Dry the floor fully before continuing.
- Use a spirit level to spot uneven areas.
- Sand down raised spots carefully.
- Fill dips with leveling compound and let dry.
Tip: Wait for any filler or compound to dry fully before moving on. Moisture can weaken the plywood layer later.
Repairing Damages And Cracks
Damaged floors need fixing before raising the height. Cracks, holes, or loose boards can cause instability. Inspect the entire floor surface carefully. Mark all damaged spots.
Small cracks can be filled with wood filler or putty. Larger holes might require patching with new wood pieces. Loose boards should be nailed or screwed down tightly. This step prevents movement under the plywood and protects against future damage.
| Damage Type | Repair Method | Materials Needed |
| Small cracks | Fill with wood filler or putty | Wood filler, putty knife |
| Holes | Patch with wood pieces or filler | Wood patch, nails, hammer |
| Loose boards | Nail or screw firmly | Nails or screws, hammer or screwdriver |
Important: Sand the repairs smooth once dry. This creates an even surface for the plywood sheets.
Measuring And Marking
Accurate measuring and marking guide plywood placement. Use a tape measure to get room dimensions. Note length and width on paper. Plan plywood sheet layout to minimize cuts and waste.
Mark lines on the floor to show plywood edges. Use a pencil or chalk for clear but removable marks. Measure twice to avoid errors. Mark spots for screws or nails to secure plywood later.
- Measure the room length and width carefully.
- Sketch a simple floor plan with measurements.
- Plan plywood sheet arrangement for best fit.
- Mark plywood edges on the floor with pencil/chalk.
- Mark screw or nail points every 6-8 inches along edges.
Pro tip: Keep marks light but visible. This keeps the floor clean and helps during installation.
Step-by-step Installation Process

Follow these clear steps to make your floor stronger and properly elevated.
Cutting Plywood To Size
Start by measuring the floor area where you want to raise the height. Use a tape measure to get exact dimensions. Mark the plywood sheets with a pencil according to these measurements. Accuracy here is crucial to avoid gaps or overlaps later.
Use a circular saw or handsaw to cut the plywood along the marked lines. Follow safety tips:
- Wear safety goggles and gloves.
- Cut on a stable surface.
- Keep the saw blade straight for clean cuts.
Label each plywood piece to match the floor sections. This helps during installation. If your floor has odd shapes or corners, use a jigsaw for curved cuts. Check each panel against the floor before moving on.
Securing Plywood Panels
After cutting, place plywood panels on the floor to check fit. Adjust if needed. Secure panels firmly to avoid movement underfoot. Use screws or nails designed for wood flooring.
Follow these steps to fix the panels:
- Pre-drill holes to prevent wood splitting.
- Space screws about 6-8 inches apart along edges and every 12 inches in the center.
- Drive screws flush with the plywood surface.
- Start from one corner and work across the room.
Use a level to check each panel is flat and even. Shim small gaps under panels with thin wood strips for balance. Tight seams between panels improve strength.
Table showing recommended screw length based on plywood thickness:
| Plywood Thickness | Screw Length |
| 1/2 inch | 1-1/4 inch |
| 3/4 inch | 1-5/8 inch |
| 1 inch | 2 inch |
Sealing Joints And Edges
Sealing joints and edges protects the raised floor from moisture and dirt. It also creates a smooth transition between panels. Use wood filler or sealant made for plywood.
Steps to seal joints and edges:
- Clean gaps between panels from dust and debris.
- Apply wood filler with a putty knife, pressing it into joints.
- Let filler dry as per product instructions.
- Sand the filled areas lightly to smooth the surface.
- Seal edges around the room with caulk to block moisture.
Choose a sealant that matches your flooring environment. For rooms with humidity, waterproof sealants work best. Painting or staining the plywood after sealing adds extra protection and improves appearance.
Recommended: Cheapest Way to Raise Floor Height
Common Challenges And Solutions
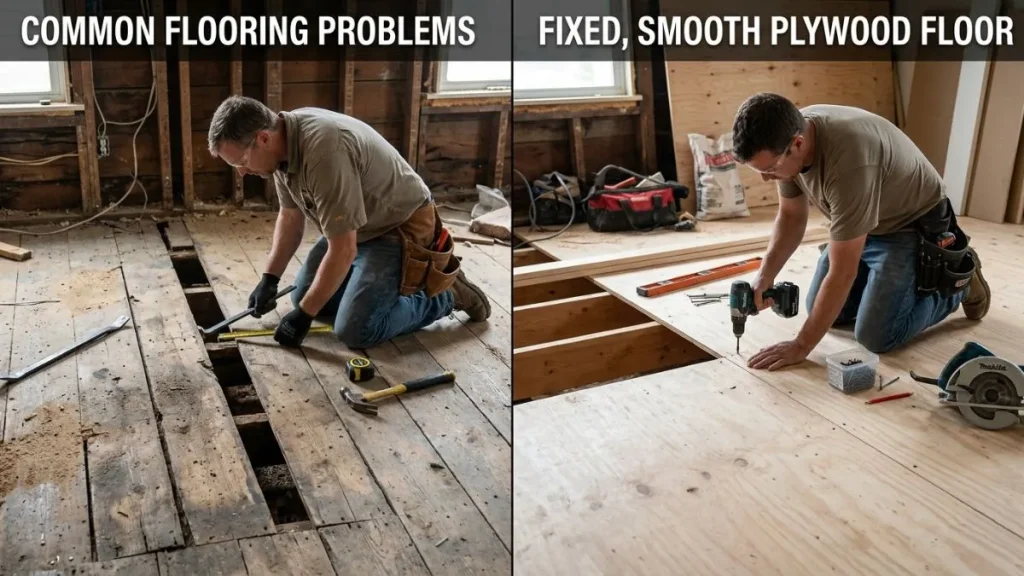
Below are key challenges and solutions related to uneven surfaces, plywood warping, and stable support.
Dealing With Uneven Surfaces
Uneven surfaces pose a major challenge when raising floor height with plywood. Uneven subfloors cause gaps, rocking, and instability in the raised floor. It is important to prepare the base properly before laying plywood.
- Inspect the surface: Check for high or low spots using a level or straightedge.
- Sand down high areas: Use a floor sander or hand plane to smooth raised spots.
- Fill low spots: Apply self-leveling compound or floor patch to fill dips and holes.
- Allow full drying: Let any filler or compound dry completely before installing plywood.
- Use shims if needed: Thin wooden shims can level small gaps under plywood panels.
Failing to address unevenness leads to squeaks and structural issues. A level base supports the plywood evenly, preventing damage and discomfort.
Preventing Plywood Warping
Plywood warping reduces the strength and appearance of the raised floor. Warping occurs due to moisture, uneven weight, or poor storage. Preventing warping requires careful handling and installation.
- Buy quality plywood: Choose exterior-grade or moisture-resistant plywood.
- Store properly: Keep plywood flat, dry, and off the ground before use.
- Seal edges: Apply wood sealant or paint on plywood edges to block moisture.
- Install with gaps: Leave small gaps (about 1/8 inch) between sheets for expansion.
- Use screws, not nails: Screws hold plywood firmly and reduce movement.
- Control room humidity: Use dehumidifiers or ventilation to keep moisture low indoors.
Ignoring moisture protection leads to curling, bubbling, and weak spots. Proper measures keep plywood flat and strong.
Ensuring Stable Support
Stable support under plywood is vital for safety and comfort. Weak or uneven support causes bouncing and damage. Solid substructure distributes weight evenly and prevents floor failure.
- Check joists: Confirm floor joists are level, strong, and spaced correctly (usually 16 or 24 inches apart).
- Add blocking: Install blocking between joists to reduce flexing and strengthen the frame.
- Use proper fasteners: Attach plywood to joists with screws or nails at recommended intervals.
- Consider support beams: For long spans, add beams or posts to prevent sagging.
- Test stability: Walk on the raised floor to detect any movement or squeaks.
Use this checklist for stable support:
| Support Element | Function | Notes |
| Joists | Main structural support | Must be level and spaced properly |
| Blocking | Reduces joist movement | Installed perpendicular between joists |
| Fasteners | Secure plywood | Use screws for better hold |
| Support Beams | Supports long spans | Optional but recommended if needed |
Conclusion
Raising floor height with plywood is a smart, simple solution. It adds space and fixes uneven floors easily. You can do this project with basic tools and little experience. Make sure to measure carefully and use good quality plywood. Taking your time will give better results.
A raised floor can improve your room’s look and feel. Try this method to make your floors stronger and more level. It’s an easy way to update your home without big costs or hassle.