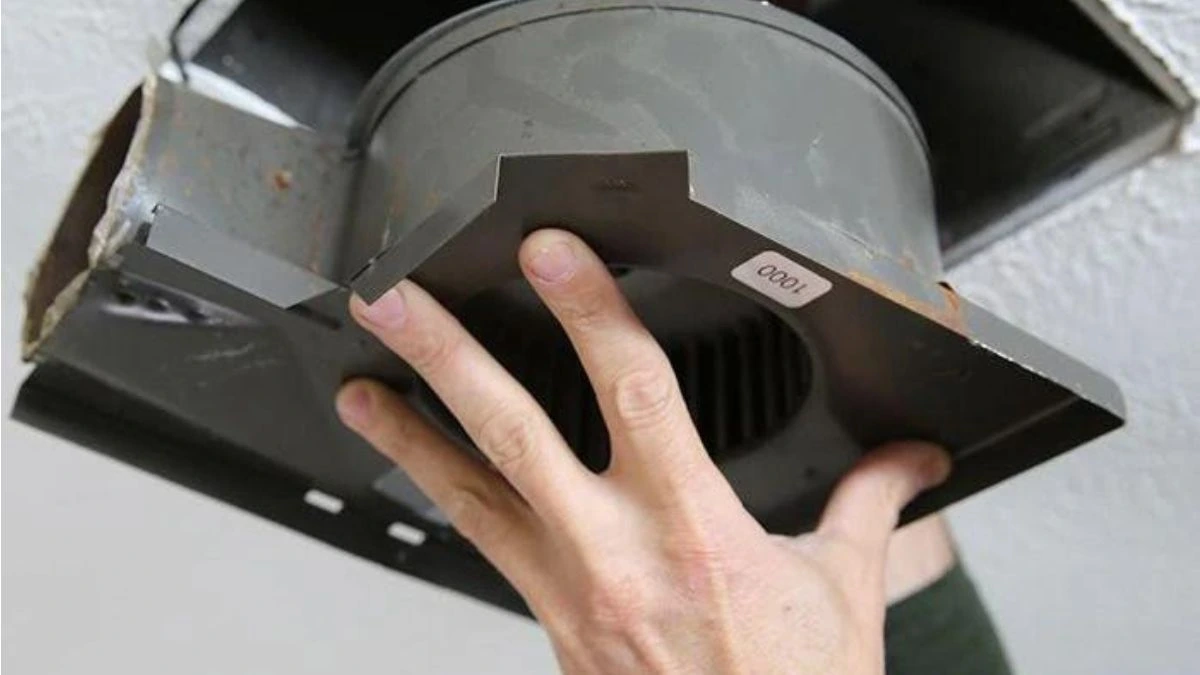
Is your Nutone bathroom fan making strange noises or just not working like it used to? Removing the old fan housing might be the first step to fixing the problem or upgrading to a better model.
But if you’ve never tackled this kind of project before, it can feel tricky and confusing. Don’t worry—this guide will walk you through each step clearly and simply. By the time you finish reading, you’ll know exactly how to remove your old Nutone bathroom fan housing safely and with confidence.
Locate The Fan Housing
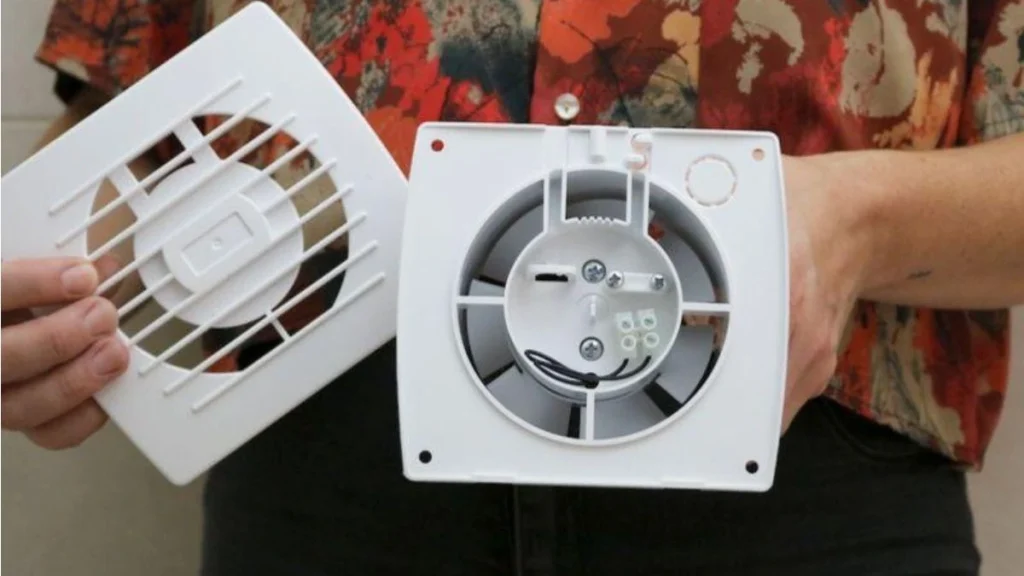
Locating the fan housing is the first step in removing an old NuTone bathroom fan. Knowing its exact position helps to work safely and avoid damage. The fan housing is the box that holds the motor and fan blades, usually hidden behind the grille or vent cover.
Check The Bathroom Ceiling
The fan housing is often installed in the ceiling. Look for a vent cover or grille that lets air pass through. It might be square or rectangular and blends with the ceiling.
Turn Off Power
Before touching anything, turn off the power at the circuit breaker. This prevents electric shock while working near wires.
Remove The Vent Cover
- Use a screwdriver or gently pull the cover down.
- Some covers have spring clips; squeeze them to release.
- Keep screws or clips safe for reinstallation.
Identify The Fan Housing
Behind the vent cover, the fan housing looks like a metal or plastic box. It holds the fan motor and blades inside. The housing connects to the duct that leads outside.
Use A Flashlight
Shining a light inside helps to see the housing clearly. Check how it is attached to the ceiling joists or drywall.
Note Attachment Points
Look for screws, brackets, or clips holding the housing. These points must be removed to take out the fan housing safely.
Disconnect Power Supply
Disconnecting the power supply is the first and most important step before removing your old Nutone bathroom fan housing. This step keeps you safe from electric shock and protects your home’s electrical system. Always treat electrical work with care.
Locate The Circuit Breaker
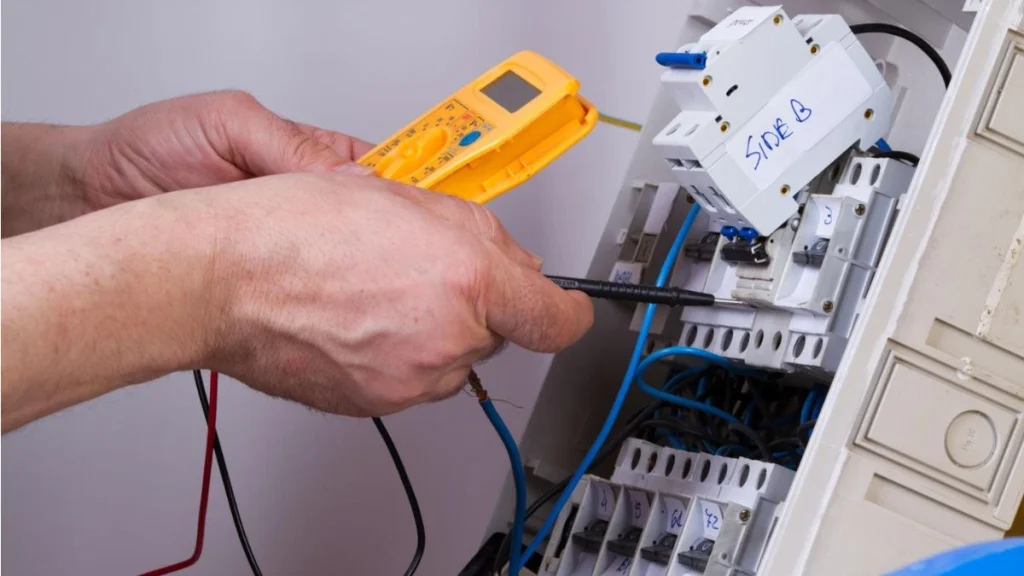
Find the circuit breaker box in your home. Usually, it is in the basement, garage, or utility room. Look for the breaker labeled for the bathroom or fan. If no label exists, turn off the main breaker to cut power to the entire house.
Turn Off The Correct Breaker
- Flip the switch of the correct breaker to the “off” position.
- Use a flashlight to check if the fan light or any bathroom outlets have lost power.
- Confirm no current is flowing to the fan before proceeding.
Verify Power Is Off Safely
Use a non-contact voltage tester to check the wires connected to the fan. This tool lights up or beeps if electricity is present. Do not touch wires directly with your hands or metal tools before testing.
| Step | Action | Tip |
| 1 | Locate circuit breaker box | Look for labels or turn off main breaker |
| 2 | Switch off the correct breaker | Use a flashlight to check power status |
| 3 | Test wires with voltage tester | Do not touch wires directly |
Why Disconnecting Power Matters
Electricity can cause serious injury or death. Turning off the power protects you while handling the fan. It also prevents damage to your home’s electrical system.
Remove Fan Grille
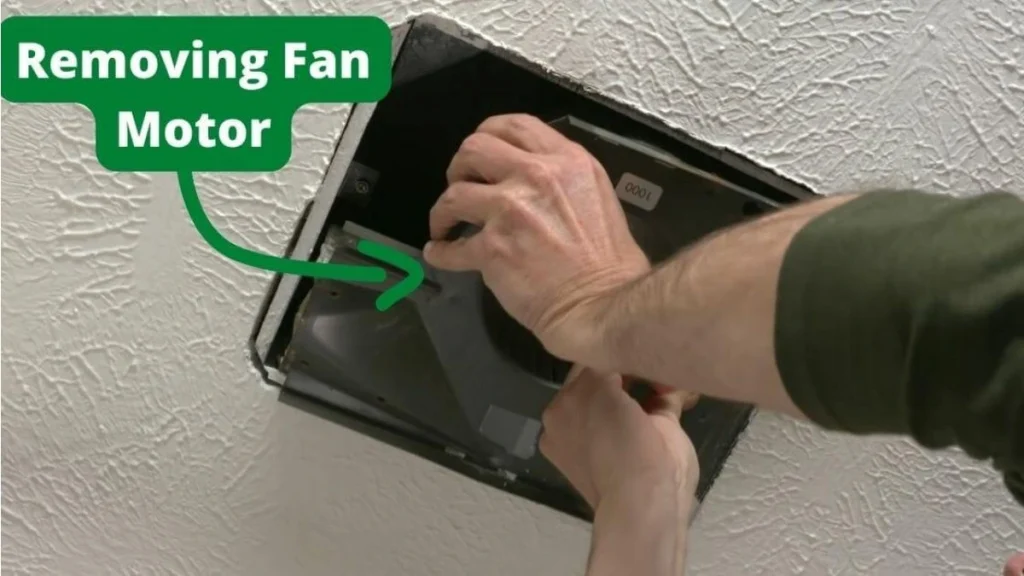
Removing the fan grille is the first step in taking out an old Nutone bathroom fan housing. The grille covers the fan and keeps dust out. Taking it off carefully helps avoid damage and makes the rest of the job easier. Follow these simple steps to remove the fan grille safely.
Prepare The Area
Start by turning off the power to the bathroom fan at the circuit breaker. This step keeps you safe from electric shock. Place a ladder or step stool under the fan to reach it comfortably. Lay down a cloth or plastic sheet on the floor to catch dust and debris.
Locate The Fan Grille
Look up at the ceiling to find the fan grille. Nutone fan grilles often have small slots or holes around the edges. These help hold the grille in place. Some models may have clips, screws, or a twist-lock mechanism.
Remove The Fan Grille
- Check for clips: Gently press or squeeze the sides of the grille. Clips will release the grille from the housing.
- Look for screws: Use a screwdriver to remove any screws holding the grille.
- Twist-lock type: Turn the grille counterclockwise to unlock it.
Once loose, carefully pull the grille down from the ceiling. Set it aside on the cloth or plastic sheet.
Clean The Grille
Use a soft brush or cloth to remove dust from the grille. This makes it easier to inspect and reuse. If the grille is damaged, consider replacing it with a new one.
Detach Fan Motor
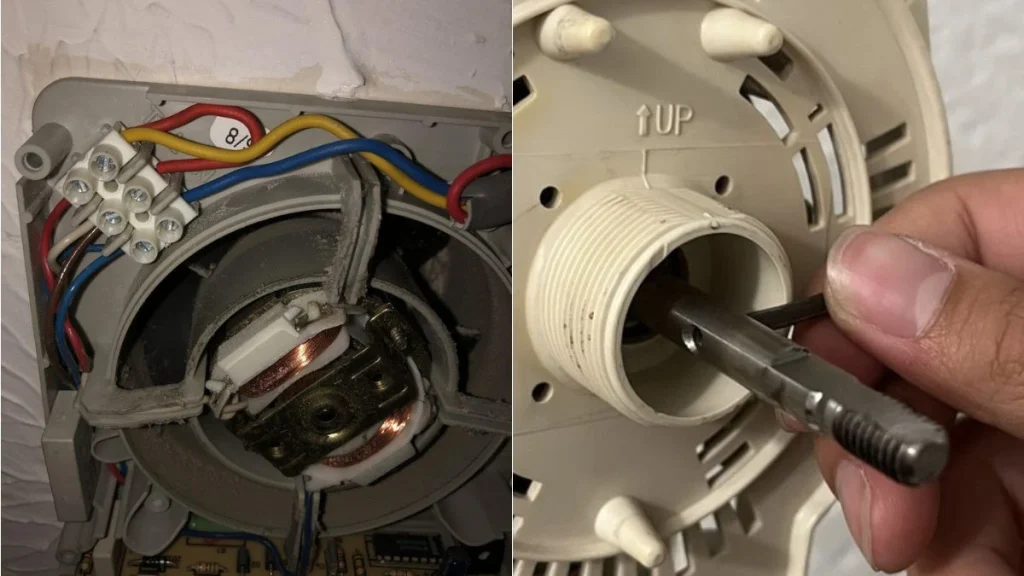
Removing the old Nutone bathroom fan housing requires detaching the fan motor first. This step is crucial to access the housing and replace or clean it properly. The fan motor is the part that spins the fan blades and moves air. Detaching it carefully prevents damage to the motor and wiring.
Turn Off Power Supply
Before starting, turn off the power to the bathroom fan at the circuit breaker. This ensures safety and prevents electric shock while working on the fan motor.
Remove Fan Grill
Take off the fan grill by gently pulling or unscrewing it. The grill covers the fan motor and housing. Set the grill aside carefully to avoid damage.
Locate the wiring connecting the fan motor. Use a voltage tester to confirm no power is running. Then, disconnect the wires by unscrewing wire nuts or pulling connectors apart.
Unscrew Fan Motor
Find the screws or clips holding the motor in place. Use a screwdriver to remove these fasteners. Keep the screws safe for reinstallation or disposal.
Detach The Fan Motor
Gently pull the fan motor out of the housing. Be careful not to force it. The motor may be attached with small clips or brackets that require light pressure to release.
Inspect And Clean
Once detached, inspect the fan motor for dust or damage. Clean the motor with a dry cloth or compressed air. This helps maintain performance if you plan to reuse it.
Unscrew Housing From Ceiling
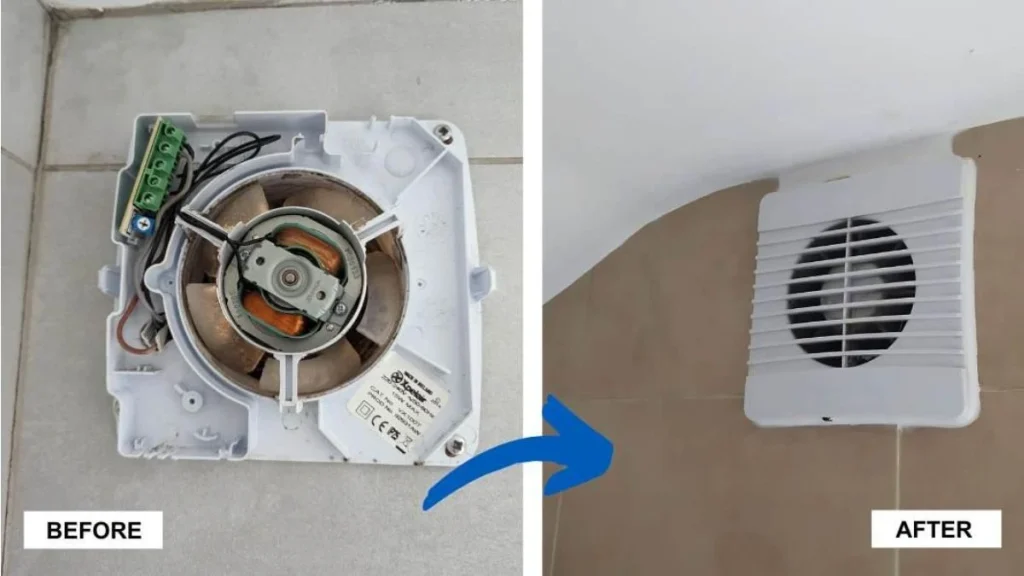
Removing an old Nutone bathroom fan housing starts with unscrewing the housing from the ceiling. This step is important because it frees the fan unit from its fixed place. Properly unscrewing the housing prevents damage to the ceiling and makes the removal process easier.
Gather Necessary Tools
Prepare the right tools before you begin. This saves time and avoids frustration.
- Phillips screwdriver or a drill with a screwdriver bit
- Flashlight to see inside the fan housing
- Step ladder for safe access to the ceiling
- Gloves to protect your hands
Turn Off The Power
Safety first. Switch off the power to the bathroom fan circuit at the breaker box. This stops any electrical accidents while working.
Remove The Fan Cover
Before unscrewing the housing, take off the fan cover. The cover usually snaps or screws off easily. Use gentle force to avoid breaking it.
Locate And Unscrew Housing Screws
Look inside the housing for screws holding it to the ceiling joists. Use your flashlight to find them clearly.
- Position the ladder securely under the fan.
- Use the screwdriver to remove each screw carefully.
- Keep the screws in a safe place for later use or disposal.
Handle The Housing Carefully
The housing may be attached to wiring or ductwork. Pull the housing gently to avoid damage. If it feels stuck, check for hidden screws or clips.
| Step | Tip |
| 1. Turn off power | Use a voltage tester to confirm power is off |
| 2. Remove fan cover | Use a soft touch to avoid breaking clips |
| 3. Unscrew housing | Keep screws organized for easy reassembly |
| 4. Gently pull housing | Watch for wiring or duct connections |
Disconnect Wiring
Disconnect Wiring is a key step in removing an old Nutone bathroom fan housing. It ensures safety and allows you to separate the fan unit from your home’s electrical system. Take your time and follow each step carefully to avoid any electrical hazards.
Turn Off Power At The Circuit Breaker
Before touching any wires, switch off the power to the bathroom fan at the main circuit breaker. This step prevents electric shock and protects your tools and wiring.
Remove The Fan Cover And Access The Wiring
Carefully take off the fan cover or grille. This exposes the fan housing and wiring connections. Use a screwdriver if needed, and keep screws safe for reassembly.
Identify And Label Each Wire
Locate the wires connected to the fan housing. Usually, you will find black (hot), white (neutral), and green or bare (ground) wires. Label each wire with tape for easy reconnection or future reference.
Disconnect The Wires Safely
Use a voltage tester to confirm no power is present. Then, gently unscrew wire nuts or disconnect connectors. Separate the wires carefully to avoid damage.
Secure Exposed Wires
Once wires are disconnected, cover the exposed wire ends with wire nuts. This protects the wires and prevents accidental contact.
Tools Needed For Disconnecting Wiring
| Tool | Purpose |
| Voltage Tester | Check power is off |
| Screwdriver | Remove fan cover and wire nuts |
| Wire Nuts | Cover exposed wire ends |
| Electrical Tape | Label wires |
Extract Housing From Ceiling
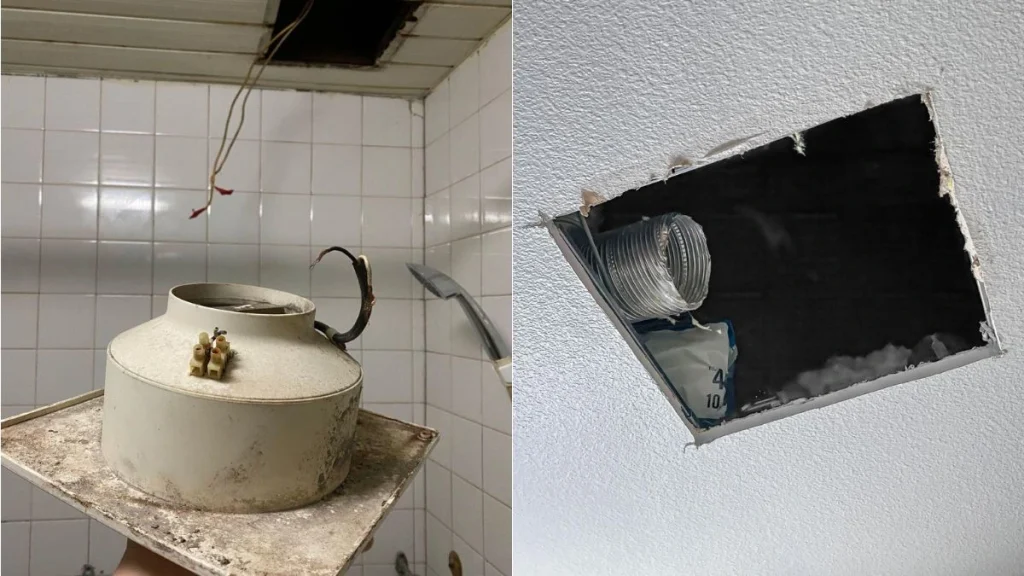
Extracting the old Nutone bathroom fan housing from the ceiling is a key step in removing the unit. This step needs care to avoid damage to your ceiling or electrical wiring. The housing is the metal box that holds the fan and attaches it to the ceiling joists.
Turn Off Power And Remove Fan Cover
Safety first. Switch off the circuit breaker powering the fan. Test with a voltage tester to confirm no electricity flows.
Remove the fan cover by gently pulling it off or unscrewing it. Set the cover aside carefully.
Disconnect Electrical Wires
Locate the electrical wires connected to the fan housing. Usually, black (hot), white (neutral), and green or bare (ground) wires.
- Use a screwdriver to loosen wire nuts or connectors.
- Carefully separate the wires and tuck them safely into the ceiling box.
Locate And Remove Mounting Screws Or Clips
Inspect the housing edges inside the ceiling. Nutone housings often have screws or clips holding them to joists.
- Use a screwdriver to remove all visible screws.
- If clips hold the housing, gently pry them open with a flat tool.
Lower Housing And Inspect For Additional Fasteners
Once screws or clips are removed, pull the housing down slowly. Watch for any hidden nails or staples securing it.
Use pliers or a pry bar to remove these fasteners. Do not rush this step to avoid ceiling damage.
Carefully Remove Housing From Ceiling Opening
After freeing the housing, maneuver it through the ceiling hole. Twist and tilt the box gently.
Keep a hand on the housing to control its fall. Place it on a safe surface to avoid damage.
Prepare For New Installation
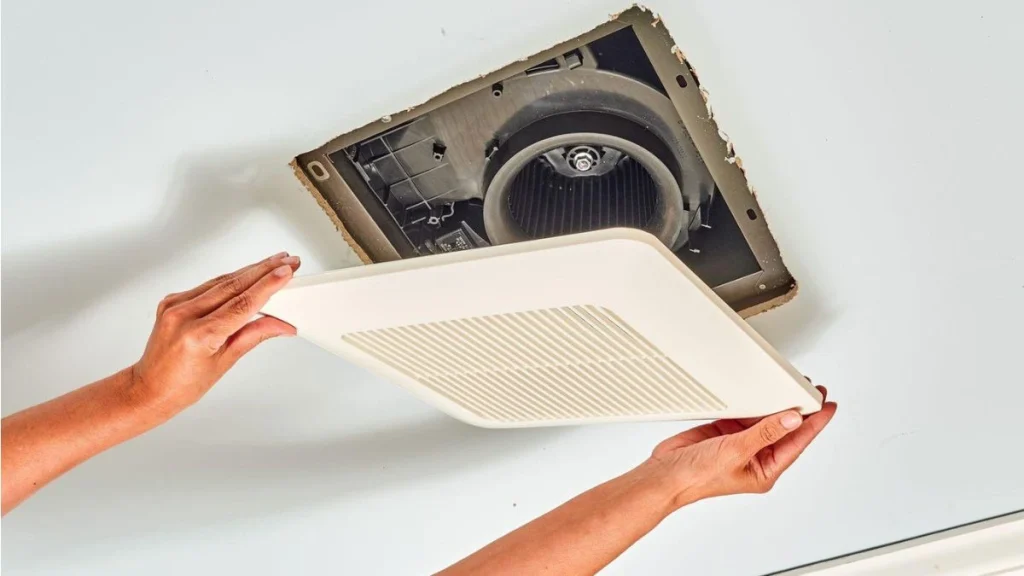
Removing the old Nutone bathroom fan housing is just the first step. Preparing for the new installation ensures the replacement fits well and works properly. This stage involves cleaning, checking the space, and gathering the right tools. Good preparation makes the installation smoother and faster.
Check The Electrical Connections
Before installing the new fan, inspect the electrical wiring. Turn off the power at the circuit breaker. Use a voltage tester to confirm no current flows to the fan wires.
- Look for damaged or frayed wires.
- Make sure wires are long enough for the new fan.
- Plan to replace any faulty wiring.
Safety first: Never touch wires with power on.
Measure The Ceiling Opening
Measure the existing hole where the old fan was removed. This helps pick a fan that fits perfectly.
| Step | Details |
| Width | Measure from one side of the hole to the other. |
| Length | Measure the longest side of the opening. |
| Depth | Check space above ceiling for fan housing depth. |
Note these dimensions to avoid buying a fan that does not fit.
Gather Tools And Materials
Collect all tools and materials needed before starting. This saves time and avoids interruptions.
- Screwdriver set
- Wire strippers
- Voltage tester
- Drill with bits
- New fan housing and grille
- Electrical tape and wire nuts
Having everything ready ensures a smooth installation process.
Clear And Clean The Work Area
Remove any dust, debris, or old insulation from the ceiling opening. A clean area helps the new fan fit tightly and prevents damage.
- Use a vacuum or brush to clear dust.
- Wipe the edges of the opening with a damp cloth.
- Remove any nails or screws left from the old fan.
Clear space also improves safety and comfort during installation.
You May Read Also: Can’t Remove Bathroom Fan Housing
Conclusion
Removing old Nutone bathroom fan housing does not have to be hard. Follow each step carefully and take your time. Use the right tools and stay safe during the process. Once removed, you can install a new fan or clean the space easily.
This simple task can improve your bathroom’s air quality and comfort. Keep this guide handy for future repairs or upgrades. Small projects like this save money and give a sense of accomplishment. Ready for your next home improvement?