Have you noticed a soft spot in your subfloor that feels wobbly or uneven underfoot? This problem can be more than just annoying—it can lead to bigger issues like damaged flooring or even safety hazards.
Fixing it might sound complicated, but you don’t need to be a pro to handle it. You’ll discover simple, step-by-step ways to identify the cause of the soft spot and repair it effectively. By the end, you’ll have the confidence to restore your floor’s strength and stability, making your home safer and more comfortable.
Identifying Soft Spots
Soft spots in a subfloor weaken the floor’s strength and safety. These spots feel spongy or sink underfoot. Identifying soft spots early helps prevent bigger damage.
Common Causes
Soft spots happen mainly because of damage or wear in the subfloor materials. Moisture is the top cause, as it makes wood swell and rot. Other causes include:
- Water leaks: Pipes or appliances leaking under the floor.
- High humidity: Constant moisture in basements or crawl spaces.
- Poor ventilation: Traps moisture, causing wood decay.
- Old age: Wood naturally weakens over time.
- Improper installation: Gaps or weak spots from the start.
Signs To Look For
Spotting a soft spot is easier if you know what to check. Walk slowly across the floor and pay attention to areas that:
- Feel spongy or bouncy underfoot.
- Make a creaking or squeaking sound.
- Have visible damage like cracks or discoloration.
- Appear warped or uneven.
Use your hands too. Press firmly on suspect areas. Soft spots will give way more than solid wood. Use a screwdriver or awl to poke the floor gently:
- If the tool sinks in easily, the wood is weak.
- Hard resistance means the wood is still strong.
Removing Damaged Subfloor
Fixing a soft spot in your subfloor starts with removing the damaged area. This step is essential to prevent further issues like mold or structural weakness. Removing damaged subfloor helps create a clean, strong base for new flooring. It involves careful cutting and proper disposal of old materials to prepare the area for repair. Taking time on this step ensures long-lasting results and a safe floor.

Cutting Out Soft Sections
Begin by identifying the soft spot on the subfloor. Press down gently to find the exact area that feels weak or spongy. Mark the damaged section using a pencil or chalk. Use a straightedge to draw clean lines around the soft spot for cutting.
Tools needed for cutting out the soft section:
- Jigsaw or circular saw
- Measuring tape
- Protective gloves and goggles
- Utility knife
Steps to cut out the damaged subfloor:
- Set the saw depth just to the thickness of the subfloor.
- Carefully cut along the marked lines, avoiding damage to joists.
- Remove the cut piece by lifting it gently.
- Check surrounding areas for any soft or damaged wood.
Tip: Cutting square or rectangular sections makes it easier to fit replacement plywood later.
Disposing Old Material
After removing the damaged subfloor, dispose of the old material properly. Old wood and debris can contain mold, dust, or nails, so handle it with care.
Steps for safe disposal:
- Wear gloves and a dust mask to protect yourself.
- Break large pieces into manageable sizes.
- Separate nails or screws from wood.
- Place debris in heavy-duty trash bags or a construction waste bin.
Check local regulations for disposal rules. Some areas require special handling for construction waste. Recycling centers may accept clean wood but not moldy or treated wood.
Tip: Keep the work area clean during disposal to avoid accidents and maintain efficiency.
Installing New Subfloor
Fixing a soft spot in a subfloor requires more than just patching the area. Installing a new subfloor section ensures a strong, stable base for your flooring. This process involves removing the damaged part and fitting fresh plywood panels precisely. Proper installation prevents future problems like squeaks or sagging. Follow clear steps to measure, cut, and secure the new subfloor correctly. This will restore the floor’s strength and safety.

Measuring And Cutting Plywood
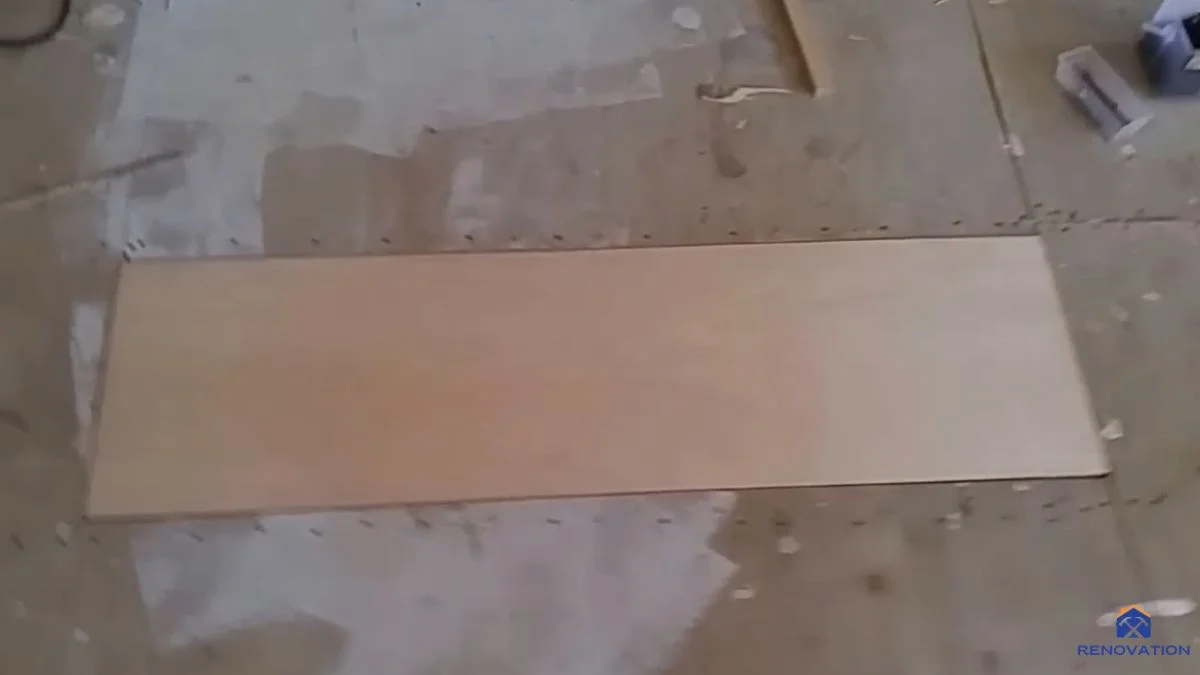
Start by measuring the damaged area carefully. Use a tape measure to find the length and width of the section that needs replacement. Add a small extra margin to each side—about 1/4 inch—to ensure a good fit. Mark these dimensions on the plywood sheet with a pencil. Use a straight edge to draw clean, straight lines for cutting.
Choose plywood that matches the thickness of the existing subfloor. Most subfloors use 3/4-inch thick plywood, but check your floor before buying. Cutting tools like a circular saw or handsaw work well. Always wear safety goggles and gloves for protection.
- Measure the damaged area twice to avoid mistakes.
- Mark the plywood with clear, straight lines.
- Cut slowly to keep edges smooth and even.
- Use a sanding block to smooth rough edges if needed.
Securing New Panels
Place the cut plywood piece into the open subfloor area. Check that it fits snugly without gaps or uneven spots. Use a level to confirm the panel sits flat. If needed, trim edges slightly to improve the fit. Secure the panel to the joists underneath using screws or nails designed for subfloor work.
Follow these tips for strong panel attachment:
- Use 2 1/2-inch screws or nails for firm hold.
- Drive fasteners every 6 to 8 inches along joists.
- Leave a 1/8-inch gap between panels to allow expansion.
- Apply construction adhesive on joists before placing plywood for extra strength.
Secure panels carefully to avoid squeaks or movement later. Tight fasteners and adhesive reduce noise and keep the floor stable. Test the area by walking on it to feel for firmness. If the panel feels loose, add more screws or nails.
Reinforcing The Subfloor
Reinforcing the subfloor is a key step to fix soft spots and prevent future damage. This process strengthens the floor structure beneath the surface. It helps restore stability and stops the floor from sagging or bouncing. Proper reinforcement supports the weight above and extends the life of the subfloor. Focus on adding support where the soft spot appeared and securing loose parts. Simple tools and materials often do the job well.
Adding Support Joists
Support joists add strength under the soft spot by distributing weight evenly. They act like extra beams that hold up the floor. Start by locating the floor joists around the soft area. Use a stud finder or tap the floor to hear where joists run. Measure the distance between existing joists to cut new ones that fit snugly.
Steps to add support joists:
- Remove the flooring above the soft spot carefully.
- Inspect joists for damage or rot.
- Cut new joists from quality lumber matching existing joist size.
- Place new joists perpendicular to existing ones, filling gaps.
- Secure joists with nails or screws to the subfloor and beams.
Adding joists requires careful measuring and cutting. Use a level to check that all joists are even. This ensures a flat and solid floor surface after repair.
Using Adhesives And Fasteners
Adhesives and fasteners bind the subfloor parts tightly, reducing movement and soft spots. Using glue with screws or nails helps stop squeaks and adds strength. The right combination creates a firm connection between plywood sheets and joists.
Follow these steps:
- Clean the subfloor and joist surfaces to remove dust.
- Apply construction adhesive along the joists before placing plywood.
- Fasten plywood sheets with screws or nails every 6 to 8 inches along joists.
- Drive fasteners flush to avoid damaging the flooring above.
- Fill any gaps between sheets with wood filler or caulk.
Types of adhesives and fasteners:
| Material | Purpose | Tip |
| Construction adhesive | Bonds plywood to joists | Use waterproof type for moisture areas |
| Coated screws | Secure plywood firmly | Pre-drill holes to prevent wood splitting |
| Nails | Fasten flooring quickly | Use ring-shank nails for better grip |
Using adhesives and fasteners together creates a strong, lasting repair. It reduces floor movement, which helps stop soft spots from returning. Check for loose boards and fix them with this method to improve overall floor durability.
Finishing Touches
After repairing the soft spot in your subfloor, the finishing touches ensure a smooth, stable base for your new flooring. These final steps improve the surface’s strength and appearance. Proper finishing prevents future issues like uneven floors or squeaks. Focus on sanding and leveling the area. Then, prepare the subfloor for the flooring material you plan to install. These steps make the repair last longer and look better.
Sanding And Leveling
Sanding and leveling create an even surface on the repaired subfloor. This step removes any high spots, rough edges, or leftover glue and debris. An uneven surface causes problems when laying your flooring. Follow these tips for effective sanding and leveling:
- Use a floor sander or hand sander with medium-grit sandpaper (around 60-80 grit).
- Wear a dust mask and goggles to protect yourself from dust.
- Sand in the direction of the wood grain to avoid scratches.
- Check the surface frequently by running your hand over it to feel for bumps.
- Vacuum or sweep the dust after sanding.
Leveling compounds can help if the surface is uneven after sanding. These compounds fill low spots and create a smooth finish. Use a putty knife or trowel to spread the leveling compound evenly. Allow it to dry fully before proceeding.
Preparing For Flooring Installation
Preparing the subfloor before installing flooring is critical. It helps the flooring material adhere better and prevents damage.
First, clean the subfloor thoroughly. Remove all dust, debris, and nails or screws sticking out. A clean surface improves glue or adhesive bonding.
Check for moisture. Use a moisture meter if possible. Too much moisture can cause mold or damage the flooring later.
- Seal the subfloor with a moisture barrier if needed.
- Make sure the subfloor is dry before continuing.
- Use underlayment if required by your flooring type.
Next, test for levelness. Place a long straightedge or level tool on the floor. Look for gaps or uneven spots. Fix these issues with more leveling compound or sanding.
Finally, leave the subfloor to settle for 24 hours after all preparations. This step ensures everything is stable before the flooring installation begins.
Conclusion
Fixing a soft spot in your subfloor protects your home from damage. Act quickly to stop the problem from growing. Use the right tools and materials for a strong repair. Check the area regularly to catch any new issues early.
A solid subfloor keeps your floors safe and stable. Simple steps can save you time and money later. Stay patient and follow each step carefully. Your home will feel safer and look better. Small repairs now prevent big headaches later.