Unfinished carpet edges on stairs are the leading cause of premature fraying and trip hazards — and knowing how to finish carpet edges on stairs correctly is the difference between a 5-year installation and a 20-year one.
Most homeowners don’t realize that edge finishing isn’t one-size-fits-all: the right method depends on carpet type, stair construction, and budget.
This guide covers 4 proven professional methods with step-by-step instructions, so you can choose confidently and execute cleanly — with or without hiring a contractor.
Waterfall vs. Step-by-Step Installation: Choosing Your Method
Before selecting an edge-finishing technique, you need to decide which installation approach your staircase requires — because each one demands a different set of edge solutions.

Waterfall Method: Continuous Carpet, Wrapped Nosing
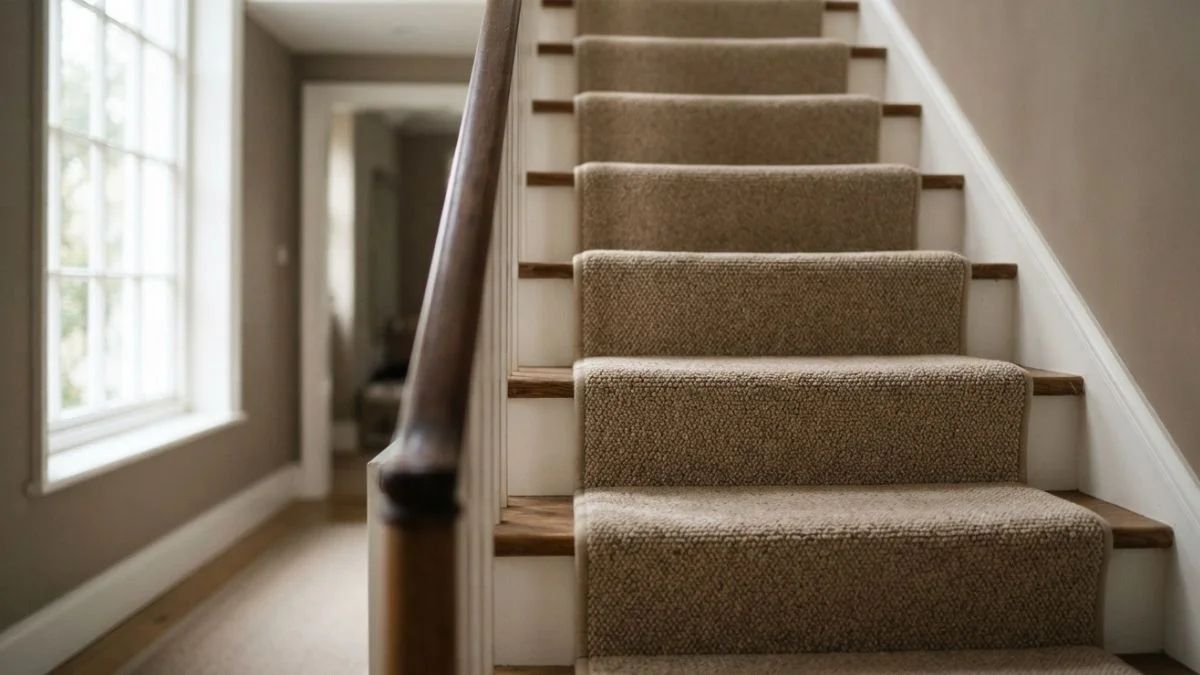
The waterfall method runs a single carpet piece continuously down the stairs, draping over each tread nosing without cutting at every step. This creates a smooth, uninterrupted visual flow that suits traditional and transitional interiors.
Here’s the problem: because the carpet wraps the nosing rather than being cut there, exposed carpet edges appear only at the top landing transition and the bottom riser. Those two points require either carpet binding, a metal stair nosing trim, or a landing carpet transition strip. Fraying prevention at the nosing itself is handled by the tack strip placement and the tension of the wrap, not by a separate edge treatment.
Mohawk and Shaw both recommend waterfall installation for loop-pile and Berber carpets, since cutting those fiber structures mid-step accelerates unraveling.
Step-by-Step Method: Individual Treads, More Edge Options
The step-by-step method cuts and secures carpet separately for each tread and riser, creating a clean horizontal seam at every nosing. This approach exposes more edges — meaning more finishing work — but opens up a wider range of stair nosing and riser transition options.
Each tread edge can be finished with carpet binding, tucked under a metal trim cap, or sealed with a heat-activated binding tape. This method suits cut-pile and patterned carpets where mid-step cuts don’t compromise fiber structure.
Which to choose: Waterfall works best on standard closed-riser staircases. Step-by-step suits open-riser stairs or when you want a more tailored, furniture-like finish.
Carpet Binding: The Most Common Edge Solution
Carpet binding is the most widely used exposed carpet edge solution for stairs because it works on nearly every carpet type and requires no structural modification to the staircase.

What Is Binding and Why It Works
Binding is a strip of woven cloth tape — typically cotton, polyester, or nylon — applied to the raw perimeter of a carpet edge to seal the fibers and prevent fraying. The tape wraps around the edge and bonds to both the face and the backing, creating a finished border that holds fiber structure intact under foot traffic.
The durability comes from two mechanisms: the adhesive or stitching locks individual fibers in place, and the tape itself absorbs edge wear that would otherwise fray the carpet directly.
Binding Tape vs. Sewn Binding
| Type | Application | Durability | Best For |
|---|---|---|---|
| Adhesive binding tape | Heat gun or iron | 5–8 years | DIY, light traffic |
| Sewn binding | Binding machine | 15+ years | High-traffic stairs |
| Hybrid (tape + topstitching) | Both | 10–15 years | Mid-budget projects |
Adhesive carpet binding tape — sold by brands like Roberts and Instant Carpet Binding Tape — activates with a household iron at around 300°F. Sewn binding requires a commercial carpet binding machine, which most flooring contractors own but few homeowners do.
DIY Binding vs. Professional Service
DIY binding saves 50–60% on labor costs and takes 2–4 hours per staircase for a patient, detail-oriented homeowner. The risk is visible mistakes: misaligned tape or lifted corners are immediately noticeable on stair tread nosings.
Professional binding guarantees clean, machine-stitched edges with a 15+ year lifespan. Expect to pay a flooring contractor $3–$6 per linear foot for sewn binding service on stair runner edge finishing.
Carpet-to-Hard Flooring Transitions: Landing and Base Solutions
Where carpet meets hard flooring — at the top landing or the base of the stairs — is the most structurally vulnerable point in any stair carpet installation. A poor transition creates a trip hazard, accelerates edge fraying, and looks unfinished.
Metal Threshold Strips
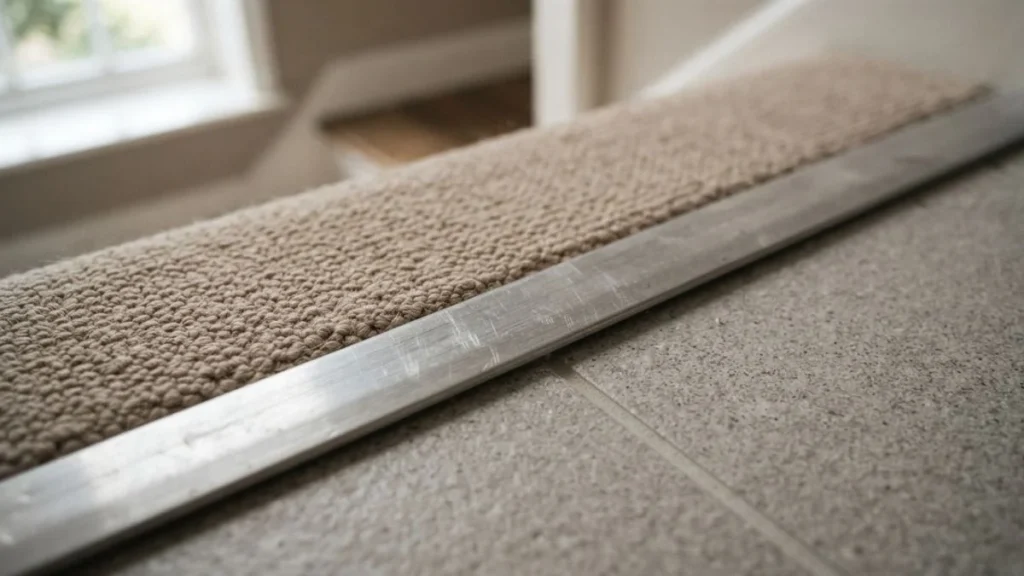
Aluminum and brass threshold strips are the most durable staircase flooring transition option. They bridge the height difference between carpet and hard flooring, hold the carpet edge firmly in a channel, and resist the repeated foot traffic concentrated at landing transitions.
Z-bar and T-bar profiles are the two most common configurations. Z-bar tucks under the carpet edge and nails to the subfloor — ideal for low-profile carpet. T-bar sits on top and suits transitions where both surfaces are at similar heights. Schluter and M-D Building Products both manufacture adjustable metal threshold strips sized for residential stair applications.
Wooden Transition Strips
Wood transition strips offer a warmer aesthetic and can be stained to match existing hardwood on landings. The trade-off is moisture vulnerability — wood swells in humid environments, which can lift the carpet edge and create a gap over time. Use wood transitions only in climate-controlled, low-moisture areas.
The Tucking Method
The tucking method hides the carpet edge entirely by sliding it beneath the hard flooring’s edge or under a baseboard. It produces a seamless, carpet-edging-without-seams result that looks fully professional.
The result? A near-invisible transition — but it requires precise measurement and a taut carpet fit. Even a 1/4-inch gap will be visible after installation.
Carpet-to-Tile at the Stair Base
Tile transitions in bathrooms or entryways demand water sealing along the carpet edge before the threshold strip is secured. Without sealing, moisture wicks into the carpet backing and causes mold within the padding layer.
Tools, Materials, and Step-by-Step Application
Having the right tools before you start is what separates a clean, professional edge finish from a re-do job. Gather everything listed below before cutting a single piece of carpet.
Essential Tools and Supplies
- Binding tape: Polyester tape for light-traffic stairs, nylon for moderate traffic, wool-blend for high-traffic or luxury installations. Roberts 12-inch carpet binding tape is a reliable DIY option.
- Heat gun or carpet iron: Activates adhesive binding tape. A standard household iron set to 300°F works for most adhesive tapes.
- Seaming iron and roller: The roller presses the activated tape firmly against the carpet backing for a gap-free seal.
- Utility knife and straight edge: For precise, clean cuts at each tread nosing and riser transition point.
- Knee pads and protective gloves: Non-negotiable for stair work — you will be kneeling on hard edges for 2–4 hours.
- Stair nosing trim: Metal (aluminum or brass) or wooden, pre-cut to tread width or custom-cut on site.
Preparation and Application Sequence
- Cut the carpet edge cleanly with a sharp utility knife and metal straight edge. A ragged cut makes binding tape application uneven and accelerates fraying.
- Vacuum and dry the edge completely. Dust and moisture prevent adhesive from bonding to the carpet backing.
- Position binding tape along the edge with slight outward tension — roughly 1/8-inch overlap on the face side.
- Heat-activate in 6-inch sections, pressing firmly with the roller immediately after each pass. Work slowly; rushing causes bubbles.
- At stair tread nosings and riser transitions, miter the tape corners at 45 degrees for a flat, wrinkle-free finish.
- Inspect every inch for bubbles, gaps, or lifted corners. Re-heat and re-roll any problem areas before the adhesive cools fully.
For permanent hold on high-traffic stairs, finish with topstitching along the tape edge using a carpet binding machine or a heavy-duty hand needle and nylon thread.
You May Read Also: How to Find Floor Joists Under Carpet
Next Steps for a Professional-Looking Finish
The edge-finishing method you choose matters less than how precisely you execute it — a well-applied adhesive binding tape outlasts a carelessly sewn binding every time. Measure your staircase, identify whether you’re using the waterfall or step-by-step installation approach, and purchase your binding tape or metal nosing trim before touching the carpet. If your stairs see heavy daily traffic, get one linear foot of sewn binding quoted by a local flooring contractor to compare against the DIY cost before committing.