Most homes built after 1950 follow a standard framing pattern with floor joists spaced 16 inches apart — a fact that makes knowing how to find floor joists under carpet far easier than most homeowners expect.
The real problem is that squeaky floors and structural repairs demand precise joist locations, yet pulling up carpet to find them risks permanent damage to flooring that costs $3–$12 per square foot to replace.
This guide covers 5 proven methods ranked from zero-tool techniques to specialized tools, so you can locate joists accurately without damaging your carpet or calling a contractor.
5 Methods to Find Floor Joists Under Carpet
Method 1: The 16-Inch Measurement Technique
Standard residential wood framing places floor joists 16 inches on center in most homes, meaning the distance from the middle of one joist to the middle of the next is 16 inches. Some older or custom builds use 12-inch or 24-inch spacing instead.
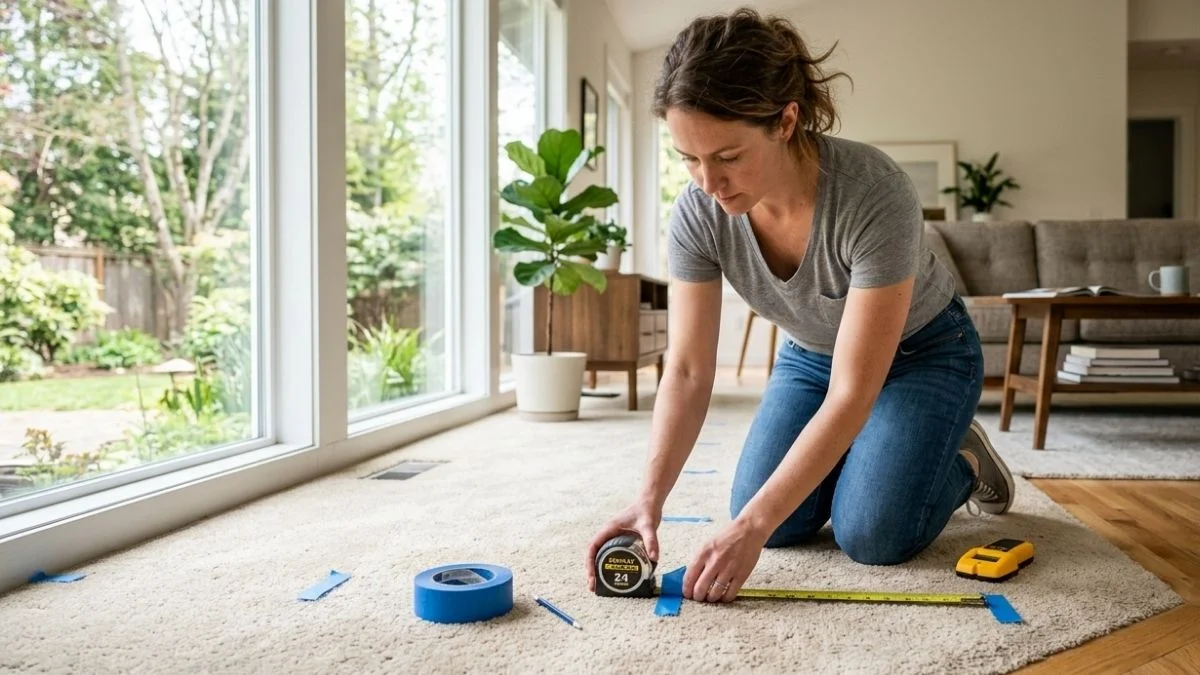
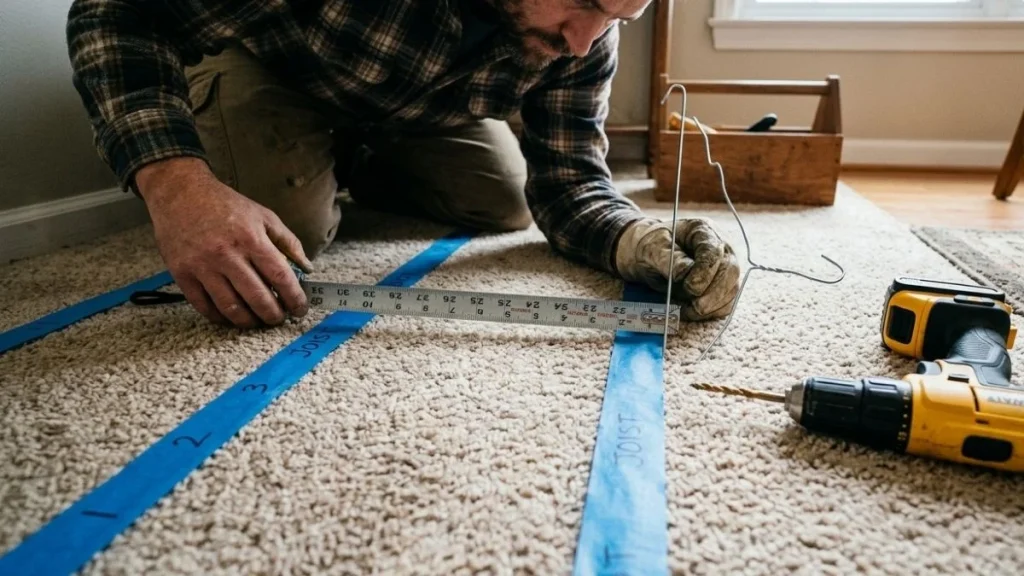
Start at the wall. Measure 16 inches out from the baseboard and mark that spot with painter’s tape. Tap the floor firmly with your knuckle — a solid thud confirms a joist beneath the subfloor, while a hollow knock means open space. Continue marking every 16 inches across the room to map the full joist layout.
Method 2: Strategic Drilling Through Carpet
A 3/32-inch drill bit creates a pilot hole narrow enough to disappear into carpet pile without visible damage, especially on non-woven or loop-pile carpet. Woven or cut-pile carpet is more forgiving than berber, which can snag and unravel.
Drill slowly at your predicted joist locations from Method 1. Stop the moment you feel resistance — that sudden firmness is the joist wood. Overshooting drives the bit through the joist entirely, giving you a false hollow result.
Method 3: Wire Hanger Probe
Straighten a metal coat hanger and push it straight down through the carpet pile and pad. When it hits solid wood framing, you feel immediate resistance. This near-zero-cost method leaves almost no visible mark and gives reliable tactile confirmation of subfloor joist identification.
Method 4: Joist-Finding Screws
Squeezeek No More screws are self-tapping fasteners engineered specifically for locating and fastening squeaky floor joists through carpet. The screw shaft snaps off at a preset depth once it bites into the joist, so it never punches through the wood. Each screw costs roughly $0.50–$1.00 and simultaneously fixes floor squeaks while confirming the joist location.
Method 5: Visual and Tactile Detection
Walk the carpeted floor slowly and pay attention to firmness underfoot. Bouncy or slightly springy sections indicate open space between joists. Firm, unyielding spots align with structural framing beneath. Squeaky floor locations are also reliable clues — squeaks occur where the subfloor pulls away from the joist, marking exactly where wood framing runs.
Recommended: How to Find Floor Joists
Tools, Supplies, and When Not to Use Them
Budget-Friendly Options
Locating floor joists without pulling carpet requires almost no investment for basic detection. A tape measure, a metal coat hanger, and a roll of painter’s tape cover Methods 1 and 3 entirely — total cost is under $5 if you already own a tape measure. Add a 3/32-inch drill bit for around $3–$6, and you have everything needed for non-destructive joist detection across all carpet types.
A stud finder is not necessary for initial floor joist location. The 16-inch spacing measurement technique outperforms most entry-level stud finders on carpeted surfaces because padding and subfloor material interfere with standard electromagnetic sensors.
Specialized Tools Worth Considering
Squeezeek No More screw kits retail for $15–$40 depending on pack size and are the only tool that locates and fixes squeaky floor joists in a single step. Each fastening hole is self-concealing once the screw shaft snaps flush. For homeowners dealing with multiple squeaky floor locations, the per-fix cost drops well below a contractor callout.
Radar-based stud finders like the Zircon MetalliScanner or Bosch D-TECT 150 can read through carpet and padding, but results vary significantly with thicker pad layers. These tools run $50–$200 and are rarely justified for a single floor repair job.
What Damages Carpet — Avoid This
Two mistakes cause most carpet damage during subfloor joist identification: using a drill bit wider than 1/8 inch, and drilling at an angle. Both create visible holes that carpet fibers cannot recover from. Cheap stud finders compound the problem — false positives send homeowners drilling in the wrong spots repeatedly, turning one fastening hole into five or six, none of which hit structural framing.
Protecting Carpet While Searching

Safe Technique Foundation
Before drilling a single hole, exhaust the 16-inch joist spacing measurement technique fully. Map every predicted joist location across the room with painter’s tape, then confirm each one by knocking and listening. Drilling should be a last resort for confirmation, not a first step.
Here’s the practical workaround most DIYers miss: start your search near walls or under furniture where any fastening holes stay permanently hidden. Baseboards typically sit directly above joist ends, giving you a reliable starting reference point and a forgiving location to make your first test hole if needed. Small pilot holes — 3/32 inch or narrower — in these low-visibility zones are effectively invisible once the tape is removed and carpet fibers settle back.
Carpet restoration after a small hole is possible using a blunt tool to push surrounding fibers back over the opening, but preventing the need for it is always the better outcome.
Carpet Type Impacts Method Selection
Not all carpet responds the same way to non-destructive joist detection methods. Non-woven carpet backing — common in builder-grade and apartment-style installations — tolerates small probe holes and pilot holes better than woven or hand-tufted constructions, where individual fiber loops can pull and create visible runs.
Dense foam padding underneath complicates finding joists through carpet pad because it compresses inconsistently, making tactile feedback from the wire hanger probe less precise. In these cases, apply more downward pressure slowly rather than pushing fast.
Peel back a small section of carpet at a doorway threshold to inspect the full stack — carpet face, backing, pad, and subfloor. Knowing the exact layer thickness helps you judge how far a drill bit or probe needs to travel before it reaches wood framing.
Choose Your Method Based on Your Situation
The 16-inch spacing measurement technique resolves most joist location problems before any tool touches your carpet. Start there — measure from the wall, tap for solid feedback, and mark every predicted joist with painter’s tape before committing to a drill bit or probe. If floor squeaks persist after locating the joists, Squeezeek No More screws fix the subfloor connection and confirm your location simultaneously for under $40.