

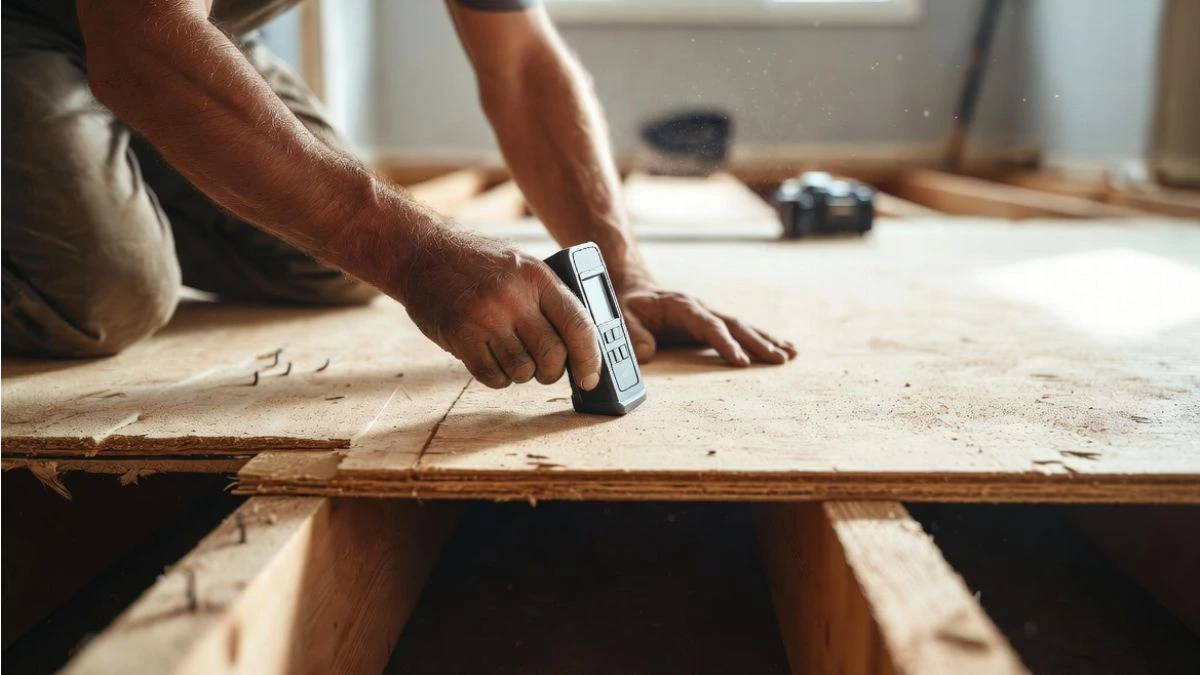
Are you planning a home project that involves your floors? Knowing exactly where your floor joists are is key to getting the job done right.
But finding them can feel tricky if you don’t know what to look for. Don’t worry—this guide will show you simple, effective ways to locate your floor joists quickly and safely. By the end, you’ll have the confidence to handle your project without guessing or causing damage.
Identifying Floor Joists
Finding floor joists is essential for many home projects, such as installing shelves, cabinets, or fixing floors. Identifying floor joists helps avoid damage and ensures your work is safe and strong. Joists are the wooden beams that support the floor above.
Visual Clues On The Floor
Look closely at the floor surface for signs of where joists might run underneath. Many floors show small hints that help you guess joist placement.
- Seams or joints: Floorboards often run across joists, so the seams between boards may follow the joist direction.
- Nail or screw heads: These fasteners usually go into the joists. Spotting a row of nails or screws can point to the joist line.
- Uneven or bouncy spots: Areas that feel weak or move when stepped on often indicate a gap between joists.
- Baseboard or molding nails: Sometimes nails in baseboards mark joist positions since they are attached to studs or joists.
Using a simple rule, joists usually run parallel to the longest wall. The space between joists ranges from 12 to 24 inches, commonly 16 inches on center.
| Common Joist Spacing | Description |
| 12 inches | Used for heavy loads or older constructions |
| 16 inches | Most common spacing in modern homes |
| 24 inches | Used in some light load or engineered floors |
Mark spots where nails or seams appear in a straight line. This line likely follows a floor joist under the floor surface.
Checking Basement Or Crawl Space
The basement or crawl space below your floor is a direct way to see the joists. This area shows the wooden beams holding up the floor above.
Follow these simple steps:
- Go to the basement or crawl space beneath the floor you want to check.
- Look up to see rows of wooden beams running across the space.
- Measure the distance between each joist to find the pattern (usually 16 inches on center).
- Note the direction of the joists and mark it on a floor plan or sketch.
In some cases, insulation, pipes, or ductwork might block your view. Use a flashlight and carefully move obstacles aside without causing damage.
Basement joists are often easy to spot because they are exposed and run parallel to the floor above. Knowing their exact location helps you mark the floor above accurately.
Check for these signs in the crawl space or basement:
- Joists resting on foundation walls or beams
- Metal hangers or brackets supporting the joists
- Joist ends connected to rim joists along the perimeter
Using this method confirms joist placement and spacing without guessing or guesswork.
Using A Stud Finder
A stud finder is a handy tool that detects changes in density behind walls or floors. It helps locate floor joists without damaging the surface.
Follow these tips for best results:
- Choose the right stud finder: Select one made for deep scanning or wood detection.
- Calibrate the device: Turn it on and follow instructions to set it correctly before scanning.
- Scan slowly: Move the stud finder across the floor surface in straight lines.
- Mark detected joists: When the device signals a joist, mark the spot with tape or pencil.
Most stud finders use sensors that detect wood or metal behind the surface. Some models beep or flash when over a joist.
Important points:
| Tip | Reason |
| Scan multiple times | Confirms joist location and avoids mistakes |
| Avoid scanning near metal pipes | Metal can confuse the sensor |
| Use in well-lit area | Easier to mark and spot signals |
Using a stud finder saves time and reduces guesswork. It works on many floor types, including hardwood, plywood, and laminate.
Measuring Joist Spacing

Measuring joist spacing is a key step in finding floor joists. Floor joists are the wooden beams that support your floor. Knowing the distance between joists helps with installing drywall, flooring, or other fixtures. Proper measurement avoids mistakes and damage to your structure.
Standard Spacing Distances
Floor joists usually follow standard spacing distances. These distances depend on the type of construction and load requirements. Most homes use these common spacing values:
- 16 inches on center (OC) – This is the most common spacing. It means joists are 16 inches apart from the center of one joist to the center of the next.
- 24 inches on center (OC) – Used in some floors with lighter loads or engineered wood.
- 12 inches on center (OC) – Less common but used for heavy loads or added strength.
Knowing these distances helps to find joists quickly. Measure from a known starting point like a wall or a visible joist edge. Use a tape measure and mark the standard intervals. This method works well with typical wood joists.
Marking Joist Locations
Marking joist locations is important to keep track during your work. After measuring the spacing, mark each joist clearly on the surface. Use a pencil or chalk for temporary marks. For longer projects, use masking tape to avoid losing marks.
Follow these steps:
- Start at a corner or an exposed joist edge.
- Measure the standard joist spacing distance (usually 16 inches OC).
- Make a small mark on the floor or ceiling at each interval.
- Use a straightedge or level to connect the marks for a clear line.
- Label the marks with numbers or letters for easy reference.
Locating Joists Without Access Below
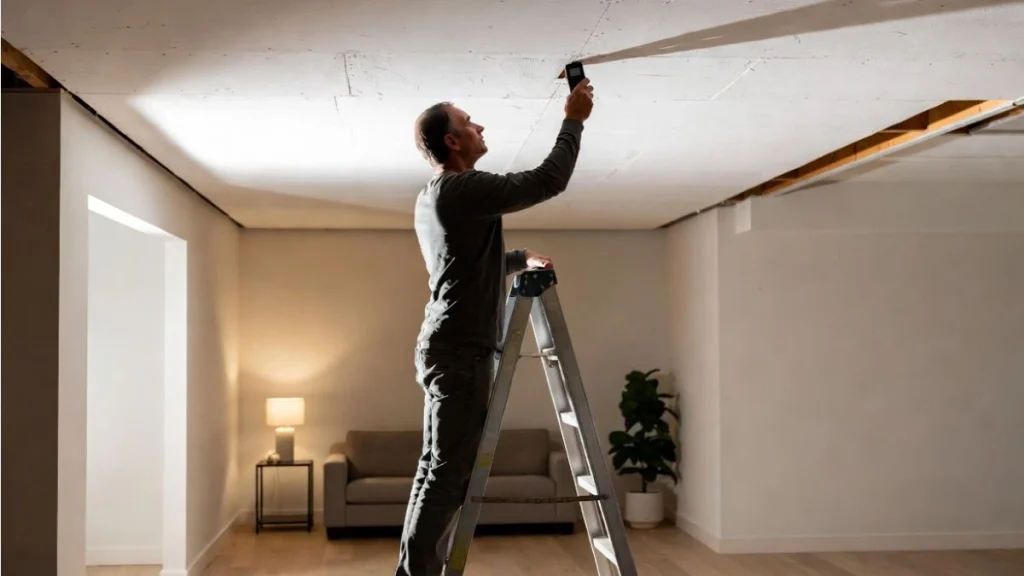
Finding floor joists without access to the space below can be tricky but doable. Many homes lack basements or crawl spaces, making it hard to see joists from underneath. Knowing how to locate joists from above helps with repairs, installations, or hanging heavy objects safely.
Tapping And Listening Techniques
Tapping and listening is a simple way to find floor joists by sound. Joists are solid wood beams, while spaces between them often have hollow or softer material. This difference changes the sound when you tap the floor surface.
Follow these steps for tapping and listening:
- Use a small hammer or your knuckles to tap gently on the floor.
- Tap in a grid pattern, about every 12 to 16 inches, which is the common spacing for joists.
- Listen carefully to the sound each tap makes.
Sound differences to note:
- Solid, less hollow sound: Indicates a joist underneath.
- Hollow, echoing sound: Likely a gap between joists.
This method works best in quiet rooms where you can hear subtle sound changes. Mark spots where the sound is solid using tape or a pencil. You can connect these marks to draw a line showing the joist’s direction.
| Tapping Location | Sound Type | Likely Structure |
| Over joist | Solid, dull | Wood beam (joist) |
| Between joists | Hollow, echoing | Open space or subfloor only |
Using A Magnet To Find Fasteners
Joists are fastened to the subfloor with nails or screws, which contain metal. A strong magnet can help find these fasteners, revealing joist locations under the floor surface. This method is especially useful on wooden floors covered with carpet, tile, or laminate.
Steps to use a magnet for locating joists:
- Select a powerful magnet, such as a rare-earth magnet.
- Slowly move the magnet over the floor in small sections.
- Notice any spots where the magnet sticks or pulls strongly.
- Mark these spots on the floor.
The magnet will attract nails or screws, which are typically spaced every 12 to 16 inches along each joist. Once you mark enough points, draw lines connecting the dots. These lines show the joists’ direction and spacing.
Tips for using a magnet:
- Use a magnet on bare wood or thin flooring for best results.
- Metal objects like wires or pipes may cause false signals.
- Move slowly and carefully to avoid missing fasteners.
You Should Read This: Splicing a Floor Joist
Conclusion
Finding floor joists does not have to be hard or confusing. Use simple tools like a stud finder or look for clues like nails or seams in the floor. Mark the joist locations carefully to avoid mistakes. Knowing where joists are helps with safe repairs and installations.
Take your time and check twice for accuracy. With patience and the right steps, you can find floor joists easily. This knowledge keeps your home strong and safe. Keep practicing these tips for better results next time.


