

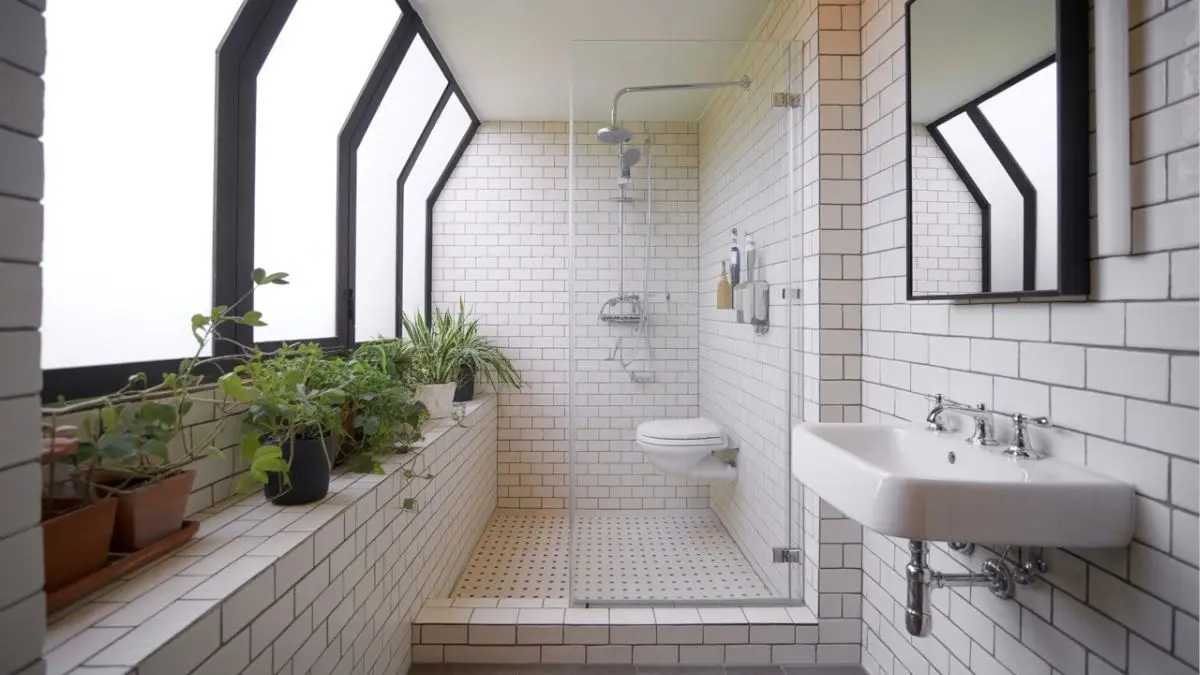
Thinking about turning your porch into a bathroom? You’re not alone.
Many homeowners want to make the most of their space without building an entirely new room. Converting your porch can add convenience, increase your home’s value, and give you extra comfort. But how do you start? What should you know before taking on this project?
Keep reading, and you’ll discover practical tips and important things to consider. By the end, you’ll feel ready to transform your porch into a beautiful, functional bathroom that fits your needs perfectly.
Assessing Porch Suitability

Converting a porch into a bathroom can add value and convenience to your home. Before starting this project, assessing the porch suitability is crucial. Not every porch can handle the change easily.
Structural Integrity Check
First, check the porch’s structure to see if it can support a bathroom. Bathrooms need strong floors, walls, and ceilings because of added weight from fixtures and plumbing. Many porches are built for light use, not heavy fixtures.
Look for these signs of weak structure:
- Soft or rotting wood
- Visible cracks in walls or floors
- Uneven or sagging surfaces
- Weak or missing support beams
Hire a professional to assess the foundation and framing. They can test load capacity and suggest reinforcements.
| Component | Check Point | Possible Issue |
| Floor | Stability and level | Needs reinforcement for heavy fixtures |
| Walls | Waterproofing and insulation | May require new framing and vapor barriers |
| Roof/Ceiling | Leak protection | May need upgrading to prevent moisture damage |
Proper structural support prevents problems like leaks, cracks, or collapse after conversion. This step cannot be skipped.
Space Requirements
Bathrooms need enough room for fixtures and comfort. A porch often has limited space or unusual shape. Measure the porch carefully to see if it fits a bathroom layout.
Minimum space guidelines include:
- Toilet area: at least 30 inches wide
- Shower or tub: minimum 30 by 30 inches
- Sink area: 20 to 30 inches wide
- Clear walking space: 21 inches or more
Consider the door swing and ventilation space. A cramped bathroom feels uncomfortable and hard to use.
| Fixture | Minimum Space Needed |
| Toilet | 30 inches wide by 48 inches deep |
| Shower | 30 inches by 30 inches |
| Sink | 20 to 30 inches wide |
Plan your layout on paper or use design software. Check that plumbing and electrical access fits the space. A well-planned bathroom feels spacious, even in a small area.
Local Building Codes
Local laws affect porch-to-bathroom conversions. Building codes set rules for safety, plumbing, electrical work, and ventilation. Ignoring these codes can lead to fines or problems selling your home later.
Important code points to check:
- Permits: Most areas require permits for bathroom remodeling.
- Plumbing: Proper drainage and venting must meet code standards.
- Electrical: GFCI outlets and correct wiring are required.
- Ventilation: Bathrooms need fans or windows for moisture control.
- Insulation: Walls and floors may need insulation to meet energy codes.
Contact your local building department early. Ask for specific rules about converting a porch and bathroom requirements. Many places offer guides or checklists to help.
Keep records of inspections and approvals. This ensures your project meets all legal standards and protects your investment.
Planning Bathroom Layout
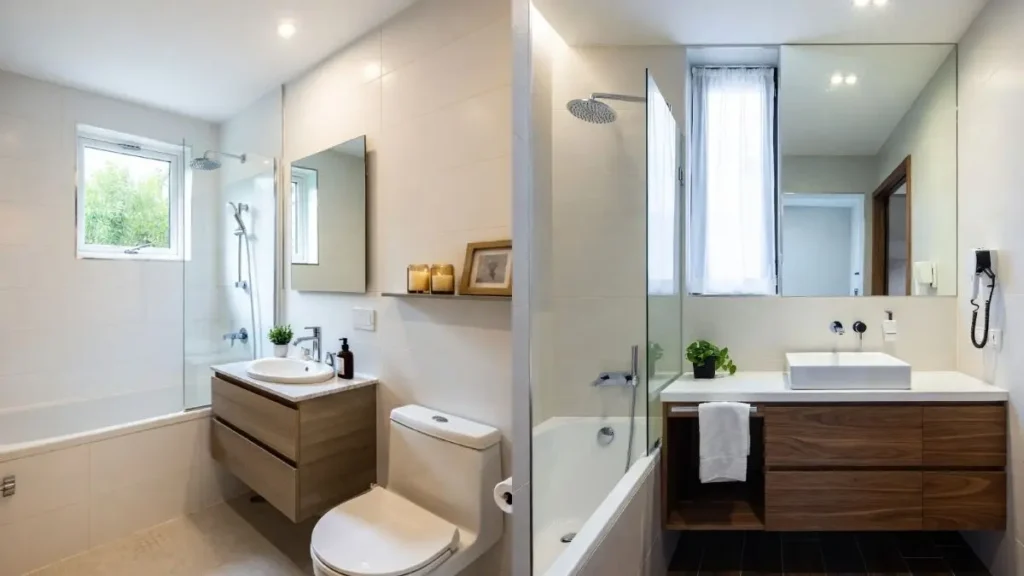
Converting a porch into a bathroom requires careful planning of the layout. This step ensures the new space is functional and comfortable. A good layout uses the available area wisely and fits all necessary fixtures. Planning also helps avoid costly changes later. Consider how each element fits and works together before starting construction.
Optimal Fixture Placement
Placing bathroom fixtures in the right spots makes the room easy to use. Think about the flow of movement and how people will enter and exit. Keep fixtures spaced well to avoid crowding. The main fixtures include the toilet, sink, and shower or bathtub.
- Toilet: Place it in a private corner or behind a small wall for privacy.
- Sink: Position near the entrance for quick access.
- Shower/Bathtub: Locate at the far end to keep water away from the door.
- Storage: Add shelves or cabinets near the sink or shower.
Plumbing Considerations
Plumbing is a key factor in converting a porch to a bathroom. Water supply and drainage must be planned carefully. The location of existing pipes affects where fixtures can go. Extending plumbing lines might increase costs.
Check the following plumbing points:
- Water supply lines: Ensure hot and cold water reach the sink, toilet, and shower.
- Drain pipes: Proper slope is needed for waste water to flow out easily.
- Vent pipes: Prevent sewer gases from entering the bathroom.
- Access points: Allow room for future repairs or maintenance.
Consider hiring a plumber to inspect the porch area. They can advise on pipe locations and upgrades. Use durable materials like PVC or copper for new pipes. Plan shut-off valves near each fixture for safety.
Ventilation Needs
Good ventilation prevents mold, mildew, and odors in a bathroom. Porches often lack proper airflow for bathrooms. Installing a ventilation system is essential for comfort and health.
Types of ventilation to consider:
- Exhaust fan: Removes moist air from the bathroom to the outside.
- Window: Natural ventilation if available and easy to open.
- Air vents: Help with continuous airflow between rooms.
Choose an exhaust fan with the right capacity. Use the formula:
CFM = (Bathroom Area in sq ft) × 1.1
This gives the fan power needed to clear humidity quickly. Install the fan near the shower or bathtub where moisture is highest.
Make sure vent ducts lead outdoors, not into attics or crawl spaces. Include a backdraft damper to stop outside air from entering. Regularly clean vents and fans to keep them efficient.
Permits And Approvals
Converting a porch into a bathroom can add value and comfort to your home. This project requires careful planning and following local rules. Permits and approvals are essential to ensure the work is safe and legal. Skipping these steps can cause delays and extra costs.
Applying For Permits
Before starting construction, you need to get the right permits from your city or county office. This step is important to confirm your project meets building codes and zoning laws. The permit process may seem complex, but knowing the requirements makes it easier.
Here are the common steps to apply for a permit:
- Check local regulations: Visit your municipal website or office to find specific rules about porch conversions.
- Prepare documents: Drawings of the new bathroom layout, plumbing plans, and electrical work details.
- Submit application: Fill out forms and submit them along with your plans and fees.
- Wait for approval: The permit office reviews your application and may ask for changes.
Important: Some areas require a licensed contractor to file the permit. Confirm this before applying.
| Permit Type | Purpose | Typical Cost | Processing Time |
| Building Permit | Approval for structural changes | $100 – $500 | 1 – 4 weeks |
| Plumbing Permit | Approval for new plumbing installations | $50 – $200 | 1 – 2 weeks |
| Electrical Permit | Approval for electrical wiring | $50 – $300 | 1 – 2 weeks |
Inspection Process
After getting permits, inspections are necessary to check if work follows building codes. Inspectors visit your home at different stages to verify safety and quality. Passing inspections is crucial to avoid fines and to ensure the bathroom is safe to use.
Common inspection stages include:
- Foundation Inspection: Checks porch foundation changes before pouring concrete or framing.
- Rough-In Inspection: Reviews plumbing, electrical, and framing before walls close.
- Final Inspection: Confirms all work is complete and meets code.
Failing an inspection can delay your project and increase costs. Be prepared to make corrections and reschedule. Staying organized and communicating with your inspector helps the process go smoothly.
Preparing The Porch Space
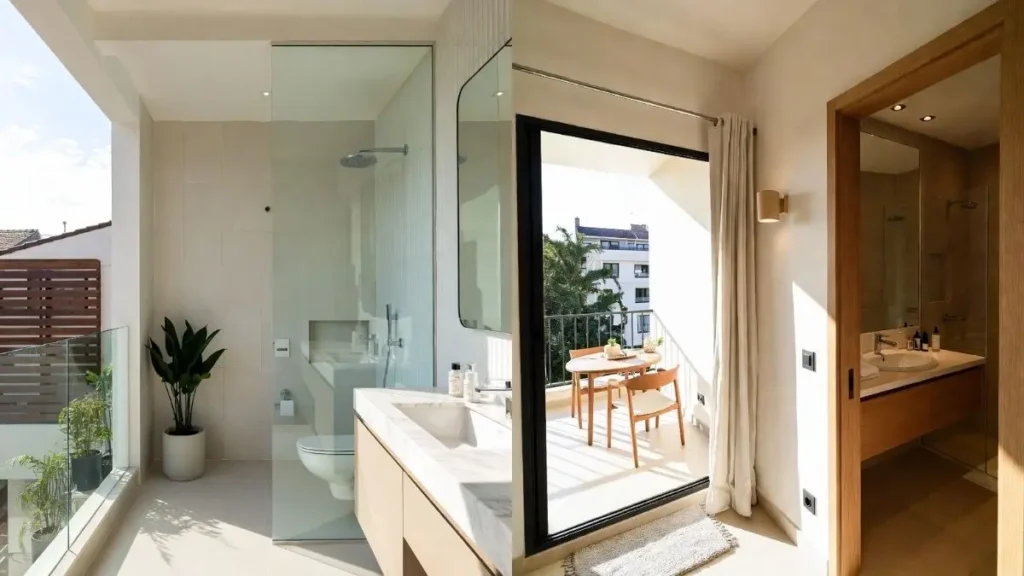
Converting a porch into a bathroom requires careful preparation of the space. Preparing the porch space is the first and most important step. It ensures the new bathroom will be safe, comfortable, and functional. The porch usually has different materials and structures than a bathroom. These need to be changed or improved before starting any plumbing or fixtures installation.
Removing Existing Elements
Start by clearing out the porch completely. This means removing any furniture, decorations, or stored items. Then, focus on the structural parts that do not fit a bathroom setup. Porches often have screens, wood paneling, or outdoor flooring. These materials may not handle moisture well.
- Remove screens or glass windows to allow for wall installation.
- Take out wood paneling or siding that is not water-resistant.
- Strip away old flooring like outdoor tiles or decking.
- Check for any damaged wood or rusted metal and remove or repair it.
Use tools such as crowbars, hammers, and screwdrivers to safely dismantle these elements. Dispose of debris properly to keep the work area clean. Removing these parts clears the way for new walls, plumbing, and fixtures that a bathroom requires.
| Element | Reason for Removal | Recommended Action |
| Screens/Windows | Not suitable for bathroom walls | Remove and replace with drywall or moisture-resistant panels |
| Wood paneling | Absorbs moisture, can rot | Remove, inspect framing for damage |
| Outdoor flooring | May not be waterproof | Remove and prepare for bathroom flooring |
Insulation And Waterproofing
Insulation and waterproofing protect the bathroom from moisture and temperature changes. Porches usually have little or no insulation. Bathrooms need good insulation to prevent heat loss and condensation. Waterproofing stops water from damaging walls and floors.
First, install insulation between the studs of exterior walls. Use materials such as fiberglass batts, foam boards, or spray foam. These keep the bathroom warm in winter and cool in summer. Focus on areas near plumbing pipes to avoid freezing.
- Choose moisture-resistant insulation to prevent mold growth.
- Apply waterproof membranes on walls and floors before tiling or painting.
- Seal all gaps and joints with waterproof tape or caulk.
- Install a vapor barrier to stop moisture from entering walls.
Use waterproof drywall, also called green board or cement board, for walls near showers or tubs. This material resists water better than regular drywall. Proper insulation and waterproofing extend the life of the bathroom and keep it healthy.
| Step | Material | Purpose |
| Insulation | Fiberglass batts, spray foam | Keep temperature stable, prevent freezing pipes |
| Waterproof membrane | Liquid membrane, sheet membrane | Protect walls and floors from moisture |
| Vapor barrier | Plastic sheeting, foil | Stop moisture entering walls |
| Waterproof drywall | Green board, cement board | Resist water damage near wet areas |
Flooring Installation
Bathroom floors must handle water, humidity, and frequent cleaning. Porch floors are often uneven or made from wood that can rot. Installing new flooring is key for a durable bathroom.
Start by leveling the floor. Use a self-leveling compound if needed to create a smooth surface. Choose flooring materials designed for wet areas. Popular options include ceramic tiles, vinyl, or waterproof laminate.
- Install a waterproof underlayment under the flooring to protect the subfloor.
- Use slip-resistant tiles for safety in wet conditions.
- Seal grout lines after tile installation to prevent water seepage.
- Consider heated flooring for extra comfort in colder climates.
Proper floor installation ensures the bathroom stays dry and safe. It also adds to the room’s overall look and value. Follow manufacturer instructions for all materials to get the best results.
| Flooring Type | Pros | Cons |
| Ceramic Tile | Waterproof, durable, easy to clean | Cold, can be slippery |
| Vinyl | Waterproof, soft underfoot, affordable | Less durable than tile |
| Waterproof Laminate | Looks like wood, water-resistant | Can be damaged by standing water |
Plumbing And Electrical Work
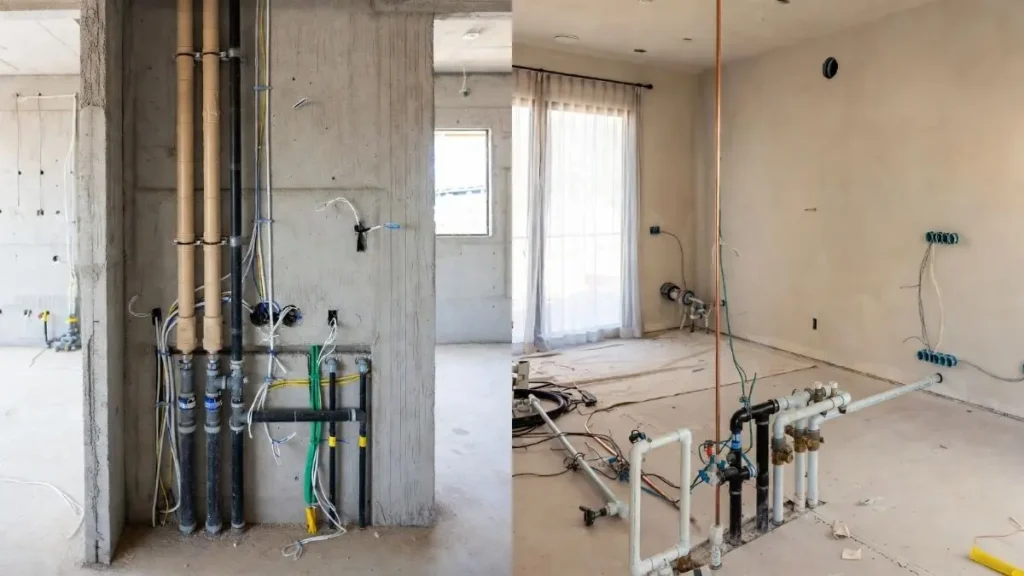
Converting a porch into a bathroom requires careful planning of plumbing and electrical work. These systems are essential for a fully functional bathroom. Proper installation ensures safety and convenience. Plumbing involves bringing water in and carrying waste out. Electrical work covers lighting, outlets, and ventilation. Both must meet local codes and standards. Skilled professionals often handle these tasks.
Installing Water Lines
Water lines bring clean water to the sink, toilet, and shower. The process starts with locating the main water supply. Then, pipes are run through walls and floors to the new bathroom space. Copper, PEX, or PVC pipes are common choices. Each type has pros and cons:
| Pipe Type | Benefits | Drawbacks |
| Copper | Durable, long-lasting, resistant to bacteria | Expensive, requires soldering |
| PEX | Flexible, easy to install, cost-effective | Can be damaged by UV light |
| PVC | Cheap, lightweight, corrosion-resistant | Less durable under heat |
Steps to install water lines:
- Turn off the main water supply.
- Measure and cut pipes to fit the space.
- Connect pipes to the water source using fittings.
- Run pipes to fixtures like sinks and toilets.
- Secure pipes to walls and floors to avoid movement.
- Test for leaks by turning water back on slowly.
Proper water pressure is crucial for a good bathroom experience. Pressure regulators may be needed. Insulating pipes prevents freezing in cold climates. Always check local plumbing codes to ensure compliance.
Drainage System Setup
A drainage system removes wastewater safely. It connects the bathroom drains to the home’s main sewer or septic system. Proper slope and venting are vital for smooth drainage and odor control. Drain pipes typically use PVC due to its resistance to corrosion and ease of installation.
Key elements of drainage setup:
- Drain Pipes: Carry wastewater away from sinks, toilets, and showers.
- Vent Pipes: Allow air to enter the system to maintain proper pressure.
- Traps: Prevent sewer gases from entering the bathroom by holding water.
Drainage installation steps:
- Plan the layout considering existing sewer lines.
- Install traps under each fixture.
- Connect drain pipes with proper slope (usually 1/4 inch per foot).
- Attach vent pipes extending above the roofline.
- Test drainage by running water through all fixtures.
Improper drainage can cause leaks, odors, and blockages. Hiring a licensed plumber reduces risks. Vent pipes must be correctly placed to prevent slow draining and gurgling sounds. Keep drain cleanouts accessible for maintenance.
Electrical Wiring And Lighting
Electrical work in a bathroom requires safety and functionality. Bathrooms need lighting, power outlets, and ventilation fans. The wiring must protect against water exposure and meet local electrical codes, often requiring GFCI (Ground Fault Circuit Interrupter) outlets to prevent shocks.
Important electrical considerations:
- Use waterproof light fixtures or ones rated for damp locations.
- Install GFCI outlets near sinks and water sources.
- Plan lighting layers: ambient, task (mirror lights), and accent.
- Include exhaust fans to reduce moisture and prevent mold.
Steps for electrical setup:
- Turn off the power supply to the work area.
- Run new wiring from the main electrical panel or existing circuits.
- Install electrical boxes for outlets, switches, and fixtures.
- Connect wires following color codes: black (hot), white (neutral), green/bare (ground).
- Test circuits with a voltage tester before closing walls.
- Mount lights, switches, outlets, and fans securely.
Proper lighting improves bathroom usability and safety. Use LED bulbs for energy efficiency and longevity. Consider dimmers for adjustable light levels. Electrical work must comply with the National Electrical Code (NEC) or local regulations. Consult a licensed electrician for complex installations.
Bathroom Fixtures Installation
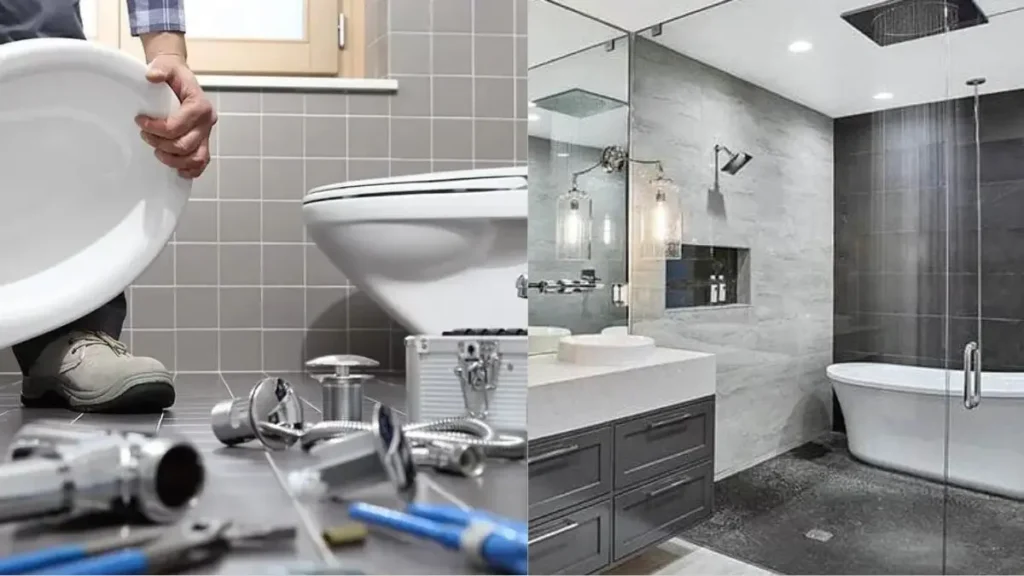
Converting a porch into a bathroom requires careful planning, especially for bathroom fixtures installation. Installing the right fixtures shapes the room’s function and comfort. Proper placement and quality fixtures make the new bathroom practical and inviting.
Toilet And Sink Setup
The toilet and sink form the bathroom’s core. Their installation must ensure efficient water use and easy access. First, check existing plumbing on the porch or plan for new lines. Toilets need a strong drain line and proper venting to avoid odors. Sinks require both hot and cold water supply lines. The setup should prevent leaks and allow comfortable movement.
Important steps for toilet and sink setup:
- Measure space carefully to fit fixtures without crowding
- Use water-efficient models to save water and reduce bills
- Install shut-off valves for easy maintenance
- Seal all connections tightly to avoid leaks
- Choose pedestal sinks or wall-mounted models for small spaces
Shower Or Bathtub Addition
Adding a shower or bathtub transforms the porch into a full bathroom. Space limits often guide the choice between shower and tub. Showers fit smaller areas and require less water. Bathtubs need more room but offer a relaxing option. Plumbing must be adapted for drainage and water supply to these fixtures.
Key points for shower or bathtub installation:
- Choose compact shower stalls or corner tubs for tight spaces
- Install waterproof wall panels or tiles to protect surfaces
- Ensure proper floor slope for water drainage
- Use tempered glass doors or curtains for showers
- Provide easy access with grab bars if needed
Storage Solutions
Storage is vital in a converted porch bathroom. Space is limited, so smart storage keeps the area organized. Fixtures with built-in storage save room. Wall shelves, medicine cabinets, and under-sink cabinets offer extra space without cluttering the floor.
Effective storage ideas include:
- Floating shelves above the toilet for towels and toiletries
- Vanity cabinets with drawers for daily items
- Recessed medicine cabinets for a neat look
- Hooks and racks on doors for robes and towels
- Corner shelves in the shower for soaps and shampoos
Use moisture-resistant materials like treated wood or plastic. Keep storage at reachable heights for convenience. Label containers and baskets to find items quickly. Proper storage enhances the bathroom’s function and keeps it tidy.
Finishing Touches
Converting a porch into a bathroom is a smart way to add functionality and value to your home. After installing plumbing, fixtures, and flooring, the project’s success depends on the finishing touches.
Painting And Trim
Painting and trim work define the bathroom’s style and protect surfaces. Choose paint designed for bathrooms. It resists moisture and prevents mold growth. Use semi-gloss or satin finishes for walls. They are easy to clean and stand up to humidity well.
- Pick light colors to make the small space feel larger and brighter.
- Accent walls add interest without overwhelming the room.
- Use mildew-resistant primer before painting to avoid damage.
Trim gives a neat, finished look. Baseboards, door casings, and window trim should be sealed and painted with moisture-resistant paint. Consider simple, clean trim styles to keep the look fresh. Crown molding adds a touch of elegance if the ceiling height allows.
| Trim Type | Material | Recommended Paint |
| Baseboards | PVC or painted wood | Semi-gloss enamel |
| Door Casings | Wood or MDF | Semi-gloss enamel |
| Crown Molding | Wood or polyurethane | Semi-gloss enamel |
Proper painting and trim work create a bathroom that feels clean, bright, and inviting. They protect your walls and frame your space with style.
Mirrors And Accessories
Mirrors and accessories add personality and function. Choose a mirror that fits your bathroom size and style. Large mirrors make the room look bigger and reflect light well. Frameless mirrors suit modern designs. Framed mirrors add warmth and charm.
- Install mirrors above the sink for daily grooming.
- Consider lighting around mirrors for better visibility.
- Add towel racks and hooks near the shower or sink for convenience.
- Use shelves or small cabinets for extra storage.
Accessories like soap dispensers, toothbrush holders, and decorative items bring color and style. Keep them simple to avoid clutter. Matching finishes on faucets, towel bars, and cabinet handles create a unified look.
| Accessory | Purpose | Placement Tips |
| Towel Rack | Hold towels dry and handy | Near shower or sink |
| Shelf | Store toiletries | Above toilet or near sink |
| Soap Dispenser | Keep soap clean | On sink counter |
The right mirrors and accessories improve bathroom function and style. Thoughtful choices make daily routines easier and more pleasant.
Final Clean-up
Final clean-up is crucial for a flawless finish. Remove dust, paint splatters, and debris left from construction. Clean all surfaces thoroughly to reveal the bathroom’s true beauty.
- Vacuum floors and corners to remove dust and dirt.
- Wipe down walls, trim, and mirrors with a damp cloth.
- Clean sinks, faucets, and toilets with suitable cleaners.
- Polish any metal fixtures for a shine.
- Dispose of all waste and leftover materials properly.
Check for touch-ups. Fix any paint spots or grout gaps. Make sure all fixtures work properly. This careful cleaning makes your new bathroom look professional and ready to use.
Remember: A spotless bathroom feels fresh, safe, and inviting. Taking time for final clean-up shows your care for quality and comfort.
Cost And Time Estimates
Converting a porch into a bathroom involves careful planning of costs and time. Understanding these estimates helps set clear expectations and manage resources effectively. Expenses can vary widely based on materials, labor, and the porch’s existing condition. The project duration depends on the scope and complexity of the work.
Budget Breakdown
The total cost of converting a porch to a bathroom usually ranges from $8,000 to $20,000. This wide range depends on factors such as plumbing, electrical work, and finishing materials. Here is a detailed budget breakdown:
- Plumbing: Installing water supply and drainage pipes can cost between $2,000 and $5,000.
- Electrical Work: Wiring for lights, outlets, and ventilation may add $800 to $2,000.
- Flooring and Walls: Waterproof materials like tiles typically cost $1,000 to $3,000.
- Fixtures: Toilets, sinks, showers, and cabinets usually total $1,500 to $4,000.
- Labor: Skilled workers charge $3,000 to $6,000 depending on the project size.
Unexpected costs may arise if the porch needs structural repairs or insulation. Planning a buffer of 10-15% of the total budget is wise. Choosing mid-range materials and fixtures can keep costs down while ensuring durability.
Project Timeline
The time to convert a porch to a bathroom varies from 3 to 6 weeks. This depends on the size of the porch and the complexity of plumbing and electrical installations. Here is a typical timeline:
- Planning and Permits (1 week): Obtain necessary permits and finalize the design.
- Demolition and Preparation (2-3 days): Remove porch elements and prepare the space for construction.
- Plumbing and Electrical (1-2 weeks): Install pipes, wiring, and ventilation systems.
- Flooring and Walls (3-5 days): Lay tiles, waterproof walls, and paint.
- Fixture Installation (2-3 days): Fit toilets, sinks, showers, and cabinets.
- Final Inspection and Cleanup (1-2 days): Check all systems and clean the area.
Delays can occur due to weather, permit approval time, or material availability. Keeping communication open with contractors helps avoid surprises. Preparing the porch before starting saves time and money.
Conclusion
Converting a porch to a bathroom adds comfort and value to your home. Plan carefully to fit plumbing and space needs. Choose materials that resist moisture and last long. Keep the design simple for easy cleaning and use. Small changes can make a big difference in daily life.
Start with a clear idea and take it step by step. This project can make your home more useful and cozy.


