Is your concrete laundry sink drain leaking or clogged? A faulty drain can cause serious water damage and disrupt your daily routine.
You need a quick and reliable fix to keep your laundry area clean and functional. You’ll discover simple and effective ways to repair your concrete laundry sink drain. By the end, you’ll feel confident handling the problem yourself or knowing exactly what to ask a professional.
Common Drain Issues
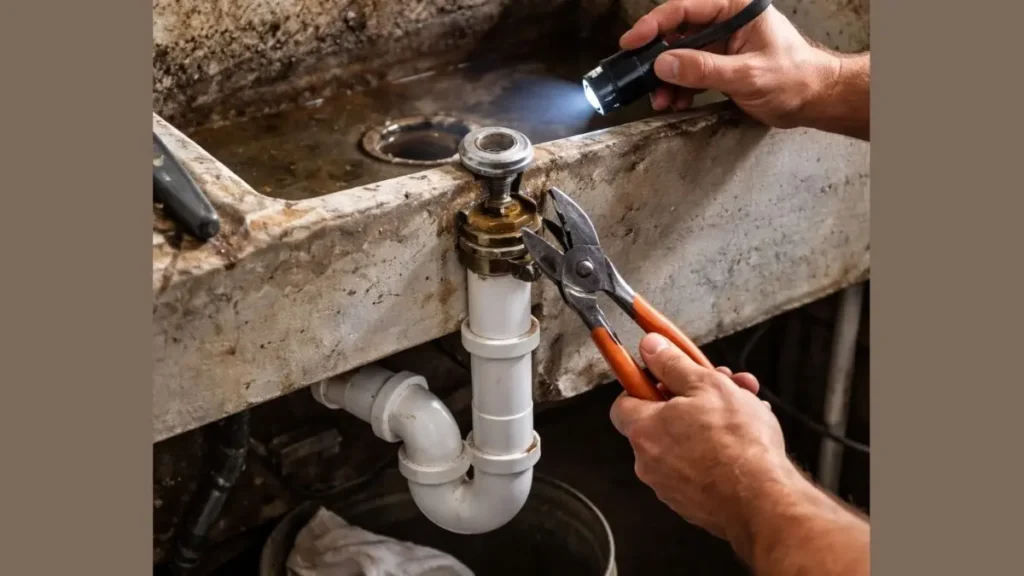
Concrete laundry sink drains face several common issues that affect their performance. These problems can cause water to back up, leak, or drain slowly. Knowing the usual drain troubles helps in fixing them quickly.
Clogs And Blockages
Clogs happen when dirt, lint, soap, or other debris build up inside the drain pipe. These blockages stop water from flowing freely. In a concrete laundry sink, clogs can form more easily because rough surfaces catch debris.
Common causes of clogs:
- Soap scum sticking to pipe walls
- Lint from clothes accumulating
- Small objects like hairpins or buttons
- Hard water deposits
Signs of a clog include slow draining water, gurgling sounds, and bad odors near the sink. Ignoring clogs can lead to water backup and damage.
Leaks And Cracks
Leaks and cracks in concrete laundry sink drains cause water to escape, leading to damage around the sink area. Concrete is strong but can crack over time due to pressure, temperature changes, or poor installation.
Common reasons for leaks and cracks:
- Age-related wear and tear
- Shifts in the foundation or floor
- Impact or heavy objects hitting the sink
- Improper sealing or joint failure
Signs of leaks include damp spots on the floor, mold growth, and a musty smell. Cracks may appear as hairline fractures or larger gaps on the sink or pipe surface.
Slow Drainage Problems
Slow drainage occurs when water takes too long to leave the laundry sink. This problem may result from partial clogs, pipe damage, or poor slope in the drain pipe.
Causes of slow drainage:
- Partial blockages inside the drain
- Pipe sagging or improper installation
- Corrosion inside metal pipes
- Build-up of grease or soap residue
Slow drainage can cause standing water in the sink, unpleasant smells, and increased risk of mold. It also makes laundry tasks less efficient.
Preparing The Sink For Repair
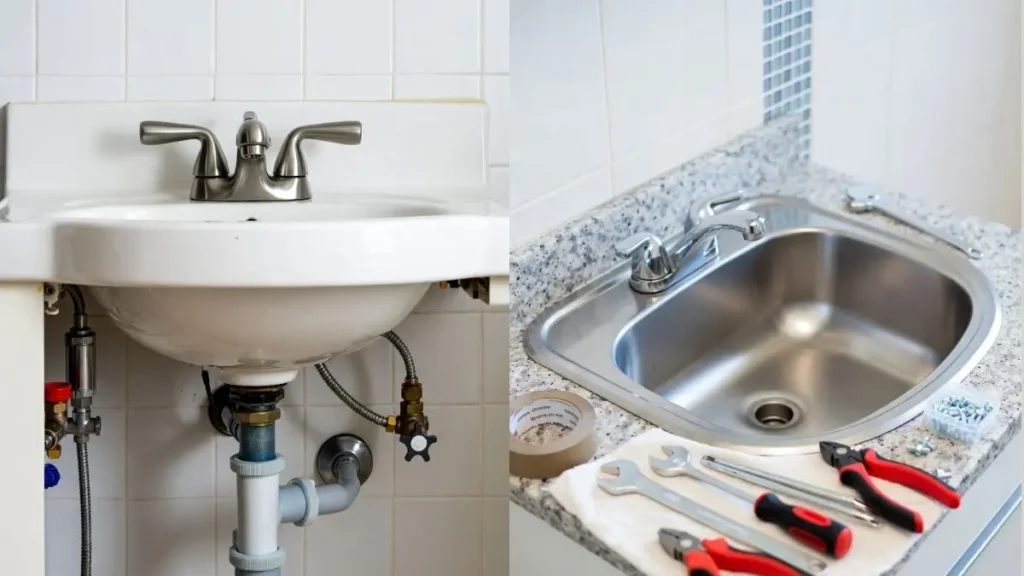
Preparing the sink for repair is a key step in fixing a concrete laundry sink drain. Proper preparation helps avoid damage and ensures the repair work is effective. Taking time to prepare the sink carefully saves effort later.
Turning Off Water Supply
Stopping the water supply is the first and most important step before starting any repair. This action prevents water from leaking or flooding the area while you work on the drain. Most laundry sinks have a dedicated shut-off valve nearby. If not, the main water valve for the house can be closed.
Steps to turn off the water supply:
- Locate the shut-off valve under the sink or near the laundry area.
- Turn the valve clockwise until it stops. This closes the water flow.
- Open the sink tap to release any remaining water in the pipes.
- If no local valve exists, close the main water supply valve for the house.
| Valve Location | Action | Notes |
| Under Sink | Turn clockwise to close | Usually easy to reach |
| Main Water Valve | Turn clockwise to close | Shuts off water to entire house |
Ensuring the water supply is off helps keep the work area dry and safe. It also prevents further damage during the repair.
Cleaning The Drain Area
Cleaning the area around the drain prepares the sink surface for repair work. Dirt, grease, and debris can stop repair materials from sticking well. A clean surface improves the quality and durability of the repair.
Steps to clean the drain area:
- Remove any loose debris or dirt using a brush or cloth.
- Scrub the sink surface gently with warm water and mild soap.
- Use a small brush to clean inside the drain opening.
- Rinse the area thoroughly with clean water.
- Dry the surface completely with a clean cloth or let it air dry.
Removing Old Drain Components
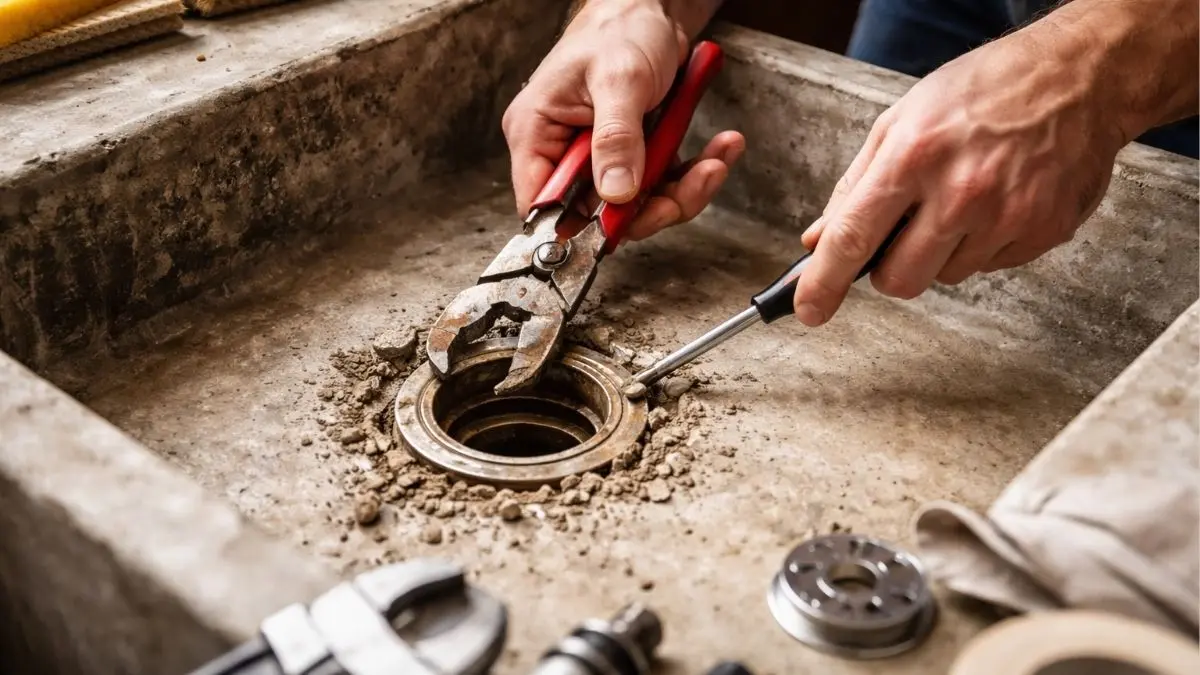
Removing old drain parts is necessary for inspecting damage and installing new components. Old parts may be worn, clogged, or broken, causing leaks or poor drainage.
Steps to remove old drain components:
- Use a wrench or pliers to loosen the drain flange or trap.
- Carefully unscrew or pull out the drain parts.
- Check for any rust, cracks, or buildup on the pipes and fittings.
- Dispose of damaged or worn parts properly.
- Clean the drain opening again to remove leftover debris.
Fixing Drain Clogs
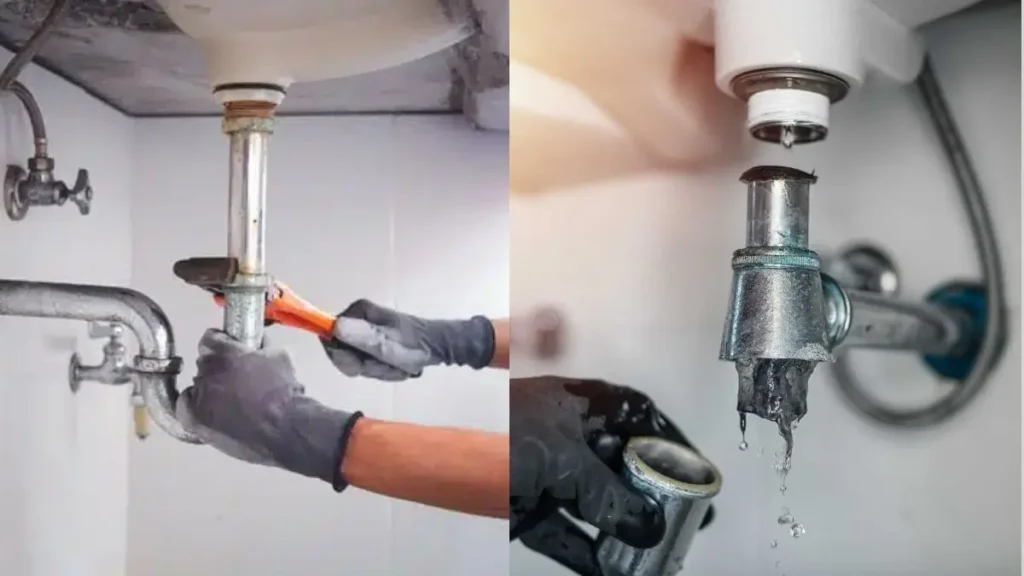
Fixing drain clogs in a concrete laundry sink is a common task that helps keep water flowing smoothly. Clogs form from debris, soap scum, lint, and dirt building up inside the drain. These blockages can cause slow drainage or standing water, leading to bad smells and potential damage.
Using Drain Snakes And Augers
Drain snakes and augers are effective tools for clearing tough clogs in concrete laundry sink drains. These tools reach deep into the drain pipe to break up or pull out the blockage. Using a drain snake is straightforward and does not require chemicals.
- Choose the right size: Small, flexible snakes work best for laundry sink drains.
- Insert carefully: Push the snake slowly into the drain until you feel resistance.
- Rotate the handle: Turn the snake clockwise to catch or break the clog.
- Pull out debris: Slowly withdraw the snake to remove the clog pieces.
For tougher clogs, a hand auger with a larger coil can be used. It provides more force and reach. Avoid forcing the tool too hard to prevent damage to the concrete or pipes.
Applying Chemical Cleaners Safely
Chemical cleaners can dissolve clogs caused by soap, grease, and organic matter. Use these cleaners with care to protect your concrete sink and pipes. Follow label instructions exactly to avoid damage or injury.
Important safety tips include:
- Wear gloves and eye protection. Chemicals can irritate skin and eyes.
- Ventilate the area well. Open windows or use fans to avoid fumes.
- Use only recommended amounts. Excess chemicals can harm pipes and the environment.
- Avoid mixing products. Combining cleaners can cause dangerous reactions.
Choose biodegradable or enzyme-based cleaners for a gentler option. These break down clogs naturally over time and are safer for concrete and plumbing.
| Type of Cleaner | Effectiveness | Safety Level |
| Caustic Cleaners | Strong, fast-acting | High risk of damage and injury |
| Enzyme-Based Cleaners | Slow but safe | Safe for pipes and environment |
Repairing Leaks And Cracks
Repairing leaks and cracks in a concrete laundry sink drain is essential to maintain its function and prevent water damage. Small leaks can turn into bigger problems if left unattended. Cracks weaken the structure and allow water to escape. Early repair keeps the sink working well and saves money on costly fixes later.
Identifying Leak Sources
Finding the exact source of a leak in a concrete laundry sink drain can be tricky. Water may appear in one spot but start leaking somewhere else. Start by checking common areas prone to leaks:
- Drain joints: Look where pipes connect to the sink.
- Cracks on the sink surface: Examine visible cracks carefully.
- Sealant around drain edges: Check if old sealant is cracked or missing.
- P-trap connections: Inspect where the drain pipe bends under the sink.
Use a dry cloth or paper towel to wipe suspected areas. Then run water and watch for wet spots. Another method is to apply a small amount of food coloring to the water. This helps to trace the leak clearly.
| Leak Area | Signs of Leak | Inspection Tips |
| Drain joints | Water dripping or pooling | Look for rust or corrosion on metal parts |
| Cracks in concrete | Visible cracks, wet spots nearby | Use a flashlight to see thin cracks clearly |
| Sealant edges | Gaps or peeling sealant | Press gently to test looseness |
| P-trap connections | Water drops or stains under sink | Check for loose or damaged washers |
After identifying the leak source, decide whether a simple seal or part replacement is needed for repair.
Sealing Small Cracks
Small cracks in concrete laundry sink drains often cause minor leaks. Sealing these cracks stops water from escaping and prevents the crack from growing. Use the right materials and follow these steps:
- Clean the crack: Remove dirt and debris with a brush or vacuum.
- Dry the area: Ensure no moisture remains inside the crack.
- Apply concrete patch or sealant: Use a putty knife to fill the crack completely.
- Smooth the surface: Level the patch to match the sink surface.
- Let it cure: Follow the product instructions for drying time.
Common sealants for small cracks include:
- Epoxy fillers
- Polyurethane sealants
- Cement-based patching compounds
Use waterproof sealants designed for concrete to ensure durability. Avoid using materials that crack easily or peel off under water pressure.
Regular inspection and maintenance help catch new cracks early. Sealing cracks quickly preserves the sink’s structure and prevents leaks from worsening.
Replacing Damaged Sections
Large cracks or breaks in a concrete laundry sink drain often require section replacement. Replacement restores the sink’s strength and prevents leaks better than patching alone. Follow these steps for effective repair:
- Assess damage: Measure the size and depth of the damaged area.
- Remove damaged concrete: Use a hammer and chisel to carefully break away weak sections.
- Prepare replacement piece: Cut a new concrete section or use a pre-molded sink drain part.
- Apply bonding agent: Use concrete bonding adhesive between old and new parts.
- Install replacement: Fit and secure the new section firmly into place.
- Seal joints: Use waterproof sealant around all connections to prevent leaks.
- Cure properly: Allow the concrete to dry and harden fully before use.
Replacing sections requires more skill and time than sealing cracks. Sometimes, hiring a professional ensures the repair is long-lasting and safe. Use suitable tools and safety gear during removal and installation.
Installing A New Drain Assembly
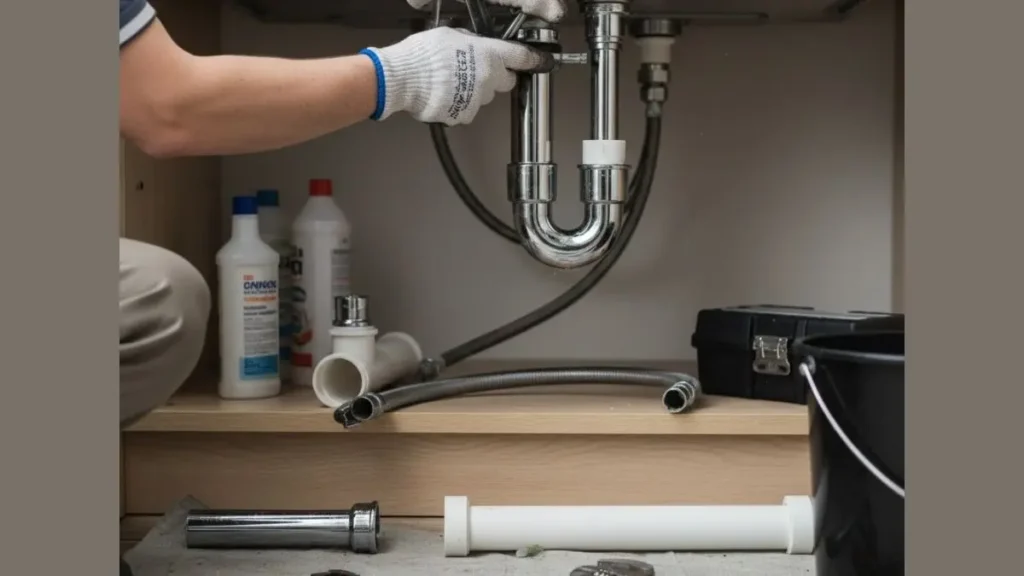
Installing a new drain assembly in a concrete laundry sink is a vital step in ensuring smooth water flow and preventing leaks. This process requires careful selection of parts and precise installation to maintain the sink’s function and durability. A well-installed drain assembly helps avoid water damage and costly repairs later.
Choosing The Right Drain Type
Selecting the correct drain type is the first step in installing a new drain assembly. Concrete laundry sinks need drains that can handle heavy use and resist corrosion. Drain types vary by material, size, and design. Here are common options:
- Plastic Drains: Lightweight and rust-resistant but less durable for heavy use.
- Metal Drains: Usually made from stainless steel or brass, these are sturdy and long-lasting.
- Strainer Drains: Include a basket to catch debris, preventing clogs.
- Grid Drains: Have a flat grate that allows water flow but blocks larger objects.
Fitting And Securing The Drain
Fitting and securing the new drain assembly correctly avoids leaks and damage. Start by cleaning the sink’s drain opening and removing old sealant or debris. Place the drain flange into the opening and apply plumber’s putty or silicone sealant underneath to create a tight seal.
Use these steps for a secure fit:
- Insert the drain body from above the sink.
- Attach the rubber gasket and metal washer under the sink.
- Tighten the locknut by hand, then use a wrench for a firm fit.
- Check that the drain is centered and straight.
- Remove excess sealant from around the flange.
Testing For Proper Drainage
Testing the new drain assembly confirms it works well and has no leaks. Begin by running water through the sink slowly. Watch the drain area closely for any drips or water pooling. Check underneath the sink for leaks at the gasket and connections.
Follow these testing tips:
- Run water for 5 to 10 minutes to test steady flow.
- Use a flashlight to inspect tight spots under the sink.
- Check the drain stopper function if installed.
- Look for slow drainage or backups.
If leaks appear, tighten the locknut slightly or add more sealant. Slow drainage may mean a clog or improper drain fit. Clear any blockages or adjust the assembly as needed.
Conclusion
Fixing a concrete laundry sink drain does not have to be hard. Small cracks and leaks can cause big problems later. Catch issues early to save time and money. Use the right tools and simple steps to repair the drain.
Keep the area clean and dry to avoid future damage. A well-maintained sink helps your laundry run smoothly. Take care of repairs soon to prevent bigger troubles. Good maintenance keeps your home safe and working well.