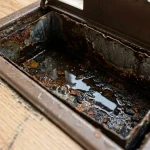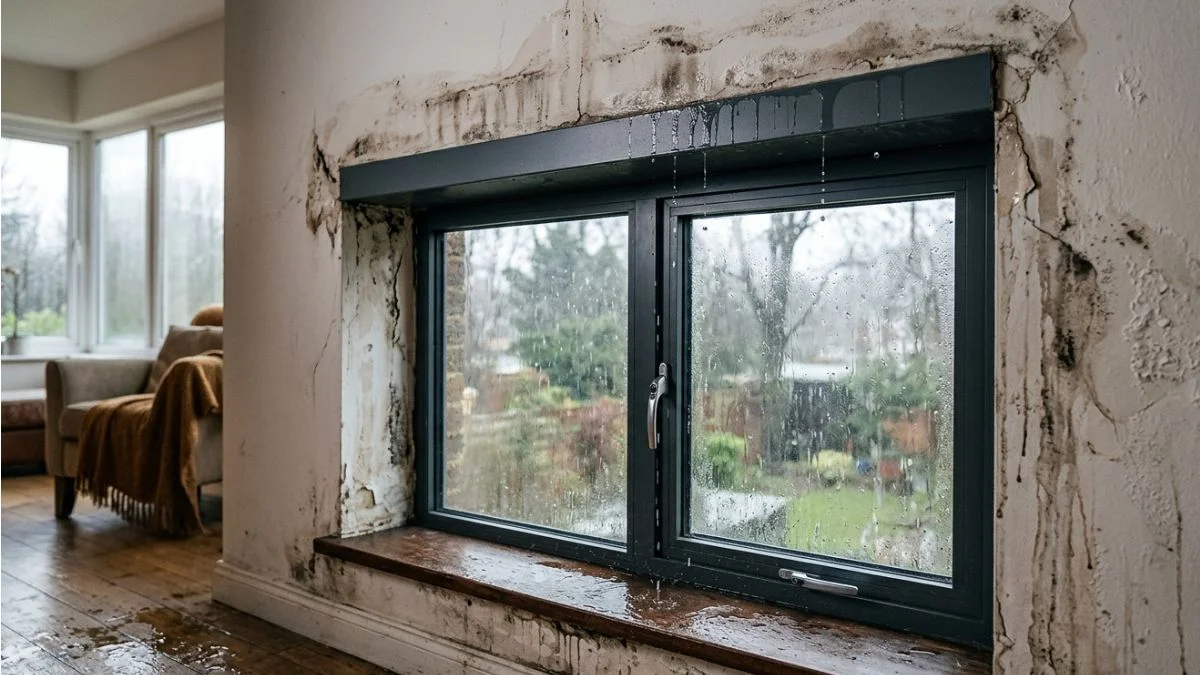
Have you noticed water leaking above your window frame? This problem might seem small at first, but it can quickly cause serious damage to your walls, ceiling, and even your home’s structure.
If you ignore it, you could face costly repairs down the line. But don’t worry—understanding why this happens and how to fix it can save you time, money, and stress. Keep reading to discover the common causes and simple solutions that will protect your home and give you peace of mind.
Common Causes
Water leaking above a window frame can cause serious damage to your home. Understanding the common causes helps prevent costly repairs. These leaks often result from problems in the window’s structure or the surrounding areas. Identifying the root cause makes it easier to fix the issue and keep your home dry.
Faulty Window Seals
Window seals play a crucial role in keeping water out. They are the barriers between the glass and the frame. Over time, these seals can wear out or crack. This allows water to seep inside the wall and cause leaks.
Here are key points about faulty window seals:
- Seals degrade due to sun exposure and temperature changes.
- Poor installation can cause gaps around the seal.
- Older windows often have brittle or missing sealant.
- Moisture trapped behind seals promotes mold growth.
Check your window seals regularly for damage. Signs of faulty seals include:
- Condensation between window panes.
- Visible cracks or gaps in the sealant.
- Water stains on the window frame or wall.
Proper sealing materials, like silicone caulk, can restore the barrier. Seals should be replaced if they no longer prevent water entry. This simple step protects both your window and the interior wall from water damage.
Damaged Flashing
Flashing is a thin metal or plastic strip installed around windows. It directs water away from the window frame. Damaged flashing is a common cause of leaks above windows.
Flashing issues include:
- Rust or corrosion on metal flashing.
- Cracks or breaks in flashing material.
- Improper installation leading to gaps.
- Flashing lifted by strong winds or impact.
Flashing must be continuous and properly sealed to work well. If flashing is missing or damaged, water can enter behind the siding or trim. This causes leaks and damages the wall structure.
| Flashing Problem | Effect | Solution |
| Corroded metal flashing | Water seeps through rust holes | Replace or cover with corrosion-resistant flashing |
| Cracked or broken flashing | Water leaks behind siding | Repair cracks or install new flashing |
| Improper installation | Gaps allow water entry | Reinstall flashing correctly with sealant |
Inspect flashing during heavy rain or roof work. Fixing damaged flashing stops leaks and protects your home’s structure.
Clogged Weep Holes
Weep holes are small openings at the base of window frames. They allow water to drain out. When these holes clog, water collects and leaks above the window frame.
Common causes of clogged weep holes include:
- Debris like leaves, dirt, or insects blocking the holes.
- Improper maintenance leading to buildup.
- Paint or sealant covering the holes by mistake.
Signs of clogged weep holes are:
- Water stains or mold near the window base.
- Pooling water on the window sill.
- Rot or damage to window frame materials.
Roof Or Gutter Issues
Problems with the roof or gutters often cause water to leak above window frames. Gutters collect rainwater and direct it away from the house. If gutters overflow or leak, water can run down walls and enter above windows.
Key roof and gutter problems include:
- Clogged gutters full of leaves and debris.
- Loose or damaged gutter sections.
- Roof shingles missing or broken near the window.
- Poor roof drainage causing water pooling.
Signs to watch for:
- Water stains on the wall above the window.
- Visible gutter leaks or sagging.
- Damaged or missing roof shingles.
Identifying Leak Sources
Water leaking above the window frame can cause serious damage to walls, insulation, and the window itself. Identifying the source of the leak is essential to fix the problem quickly. Pinpointing where water enters helps avoid costly repairs and keeps your home dry.
Inspecting Exterior Components
Start by examining the outside parts of the window. Damaged or missing seals, cracks in the siding, or blocked gutters often cause leaks. Look for these common issues:
- Damaged window flashing: This metal or plastic strip directs water away from the window. Check for rust, gaps, or loose sections.
- Cracked or missing caulking: Caulk seals gaps between the window frame and wall. Look for cracks or areas where caulk is missing.
- Blocked or overflowing gutters: Gutters clogged with leaves or debris cause water to spill onto the wall near the window.
- Damaged siding or trim: Cracks, holes, or gaps in siding or trim allow water to enter.
Checking Interior Signs
Look inside your home for clues about the leak. Water stains, peeling paint, or mold near the window frame often reveal the leak source. These signs help locate the exact spot:
- Water stains: Brown or yellow marks on walls or ceiling above the window.
- Peeling or bubbling paint: Moisture causes paint to lose adhesion.
- Mold or mildew: Black, green, or white spots indicate persistent moisture.
- Damp or soft spots: Press gently on the wall near the window for softness.
- Musty odor: A smell often signals hidden mold or dampness.
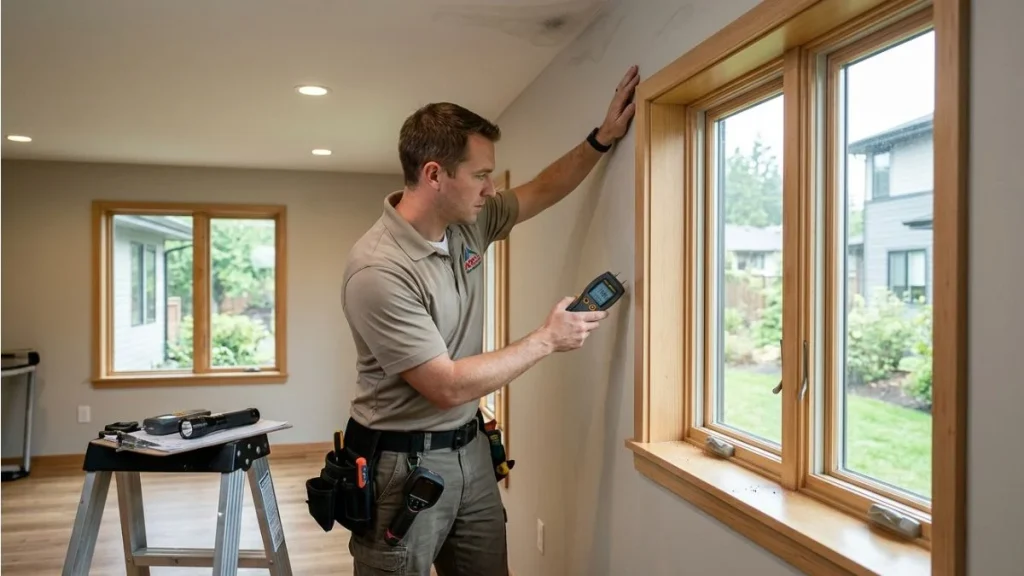
Map these signs on a sketch of your window. This helps trace the leak path and plan repairs. Use a moisture meter for precise detection if available.
| Interior Sign | What It Indicates | Action |
| Water Stains | Direct water intrusion | Locate and seal leak |
| Peeling Paint | Prolonged moisture | Check for hidden leaks |
| Mold/Mildew | Persistent dampness | Improve ventilation and fix leak |
| Damp Spots | Wet insulation or wood | Dry and repair affected areas |
| Musty Odor | Hidden mold or rot | Investigate walls and insulation |
Using Water Testing Methods
Water testing helps find leak points by simulating rain. Use a garden hose or a spray bottle to apply water in sections around the window. Follow these steps:
- Start at the bottom of the window and spray water upward slowly.
- Spray small areas for 5-10 minutes each.
- Have someone inside watch for leaks or use a moisture meter.
- Move spray to the sides, then the top of the window.
- Note where water appears inside.
This method isolates leak sources by testing one area at a time. Use these tips for better results:
- Test on a dry day for clear results.
- Use low pressure to avoid forcing water through small gaps.
- Document findings with photos or notes.
Water testing helps confirm if repairs are successful after sealing or replacing parts. It prevents guesswork and saves time.
Temporary Fixes
Water leaking above a window frame can cause damage to walls, ceilings, and even the window itself. Temporary fixes help reduce water entry and protect your home until a permanent repair is done. These quick solutions are easy to apply and can prevent further damage during rainy days or storms.
Applying Sealants
Sealants are a common and effective temporary fix for water leaks above window frames. They block gaps and cracks where water enters. Use silicone or acrylic sealant made for outdoor use. Follow these steps:
- Clean the area around the leak thoroughly.
- Remove old or damaged sealant using a scraper.
- Apply a smooth bead of sealant along the crack or gap.
- Use a caulking tool or finger to press the sealant into place.
- Let it dry as per the product instructions (usually 24 hours).
Benefits of using sealants:
| Feature | Details |
| Flexibility | Sealants can stretch and move with the window frame. |
| Water Resistance | Blocks water from entering small cracks and gaps. |
| Ease of Use | Simple to apply with basic tools and skills. |
Sealants provide a quick barrier against leaks. They are not permanent but can keep water out for weeks or months. Check the seal regularly and reapply if needed.
Using Waterproof Tape
Waterproof tape is another fast solution for leaks above window frames. It sticks tightly to surfaces and blocks water. This tape is designed for outdoor use and can handle rain and moisture well.
Steps to apply waterproof tape:
- Dry the window frame area completely.
- Cut the tape to the needed length.
- Press the tape firmly over the leak or gap.
- Overlap edges if using multiple strips.
- Check for air bubbles and smooth them out.
Advantages of waterproof tape:
- Quick to apply with no tools needed.
- Works well on different surfaces like wood, metal, and plastic.
- Temporary but strong barrier against rain.
Waterproof tape is best for small leaks or cracks. It is not a permanent fix but helps keep water out until professional repairs happen. Replace the tape if it starts peeling or losing stickiness.
Clearing Debris
Debris like leaves, dirt, and dust can block drainage paths above windows. This blockage causes water to pool and leak inside. Clearing debris is a simple and effective temporary fix.
How to clear debris:
- Use gloves to protect your hands.
- Remove leaves, twigs, and dirt from window sills and frames.
- Clean gutters and downspouts near the window area.
- Use a brush or cloth to clear smaller particles.
- Check for any signs of mold or mildew and clean if found.
Why clearing debris helps:
- Prevents water buildup that causes leaks.
- Allows water to flow away properly.
- Reduces damage to window frame materials.
Regularly clearing debris is important, especially before rainy seasons. This simple task lowers the risk of water leaks and keeps the window area clean and dry.
Permanent Solutions
Water leaking above window frames causes damage and discomfort. It can lead to mold, wood rot, and higher energy bills. Temporary fixes may stop leaks for a short time. Permanent solutions prevent future leaks and protect your home. These fixes focus on proper sealing, flashing, and roof care. Addressing the root cause ensures your windows stay dry and secure for years.

Replacing Window Seals
Window seals stop water from entering through gaps around the frame. Over time, seals crack, shrink, or peel away. Replacing them restores the barrier against moisture.
Steps to replace window seals:
- Remove old seals carefully using a putty knife.
- Clean the surface to remove dirt and residue.
- Choose high-quality, weather-resistant sealant or gasket tape.
- Apply new seals evenly around the window frame.
- Press the seal firmly for a tight fit.
- Allow sealant to dry as per instructions.
Repairing Or Installing Flashing
Flashing directs water away from windows and walls. Damaged or missing flashing lets water leak inside. Repairing or adding flashing stops water from reaching the frame.
Types of flashing used around windows:
- Step flashing: Installed in overlapping layers between roof and wall.
- Drip edge flashing: Directs water off edges.
- Continuous flashing: Runs horizontally above the window.
Steps to repair or install flashing:
- Remove old or damaged flashing carefully.
- Check the surface for rot or damage; repair if needed.
- Cut new flashing pieces to size using metal shears.
- Install flashing in overlapping layers to direct water outward.
- Seal edges with waterproof caulk to prevent gaps.
Proper flashing installation protects your home from leaks and structural damage. It is a critical step in long-term leak prevention.
Fixing Roof And Gutter Problems
Water can enter above windows due to roof or gutter issues. Clogged gutters overflow and spill water near windows. Damaged shingles or flashing on the roof let water run down the wall.
Common roof and gutter problems causing leaks:
- Clogged gutters with leaves and debris.
- Loose or missing shingles near window area.
- Broken or bent gutter sections.
- Improper gutter slope causing water pooling.
Steps to fix roof and gutter problems:
- Clean gutters thoroughly to ensure smooth water flow.
- Inspect roof shingles for damage; replace any broken ones.
- Check gutter alignment and adjust slope as needed.
- Repair or replace damaged gutter sections.
- Install gutter guards to reduce debris buildup.
Maintaining roofs and gutters is essential for keeping water away from window frames. It supports other sealing and flashing efforts for a dry home.
Preventive Measures
Water leaking above the window frame can cause serious damage to walls, ceilings, and even the structure of your home. Preventive measures reduce the risk of leaks and save money on repairs. Taking simple steps early helps keep windows dry and safe.

Regular Maintenance Tips
Regular care of windows and their frames stops leaks before they start. Dirt, debris, and small cracks let water inside. Check your windows often for signs of wear.
- Clean the window frames and sills to remove dirt and leaves.
- Check caulking and sealant around the window frame. Replace cracked or missing caulk.
- Inspect the flashing, the metal or plastic strip that directs water away from the window.
- Clear gutters and downspouts near windows to prevent overflow water.
- Ensure window locks and seals are tight and working well.
Here is a simple checklist for regular window maintenance:
| Task | Frequency | Purpose |
| Clean frames and sills | Monthly | Remove debris to prevent water buildup |
| Inspect caulking | Every 6 months | Seal cracks to stop leaks |
| Check flashing | Annually | Ensure water is directed away |
| Clear gutters | Seasonally | Prevent water overflow near windows |
Regular care helps windows last longer and keeps water out.
Proper Window Installation
Correct installation plays a key role in preventing water leaks above window frames. Improper fitting allows gaps where water enters. Choose experienced installers who follow good practices.
Key steps for proper window installation include:
- Use high-quality flashing tape around the window opening.
- Apply waterproof barriers on the wall before installing the window.
- Ensure the window is level and square to avoid gaps.
- Seal all edges with good caulk after fitting the window.
- Check for proper drainage by sloping the sill slightly outward.
Seasonal Inspections
Seasonal changes bring different weather challenges. Inspect windows at least four times a year to catch leaks early. Look for cracks, loose seals, and water stains near the window frame.
Focus on these tasks during inspections:
- Look for damaged or missing caulk after winter and rainy seasons.
- Check the flashing for rust or wear during spring and fall.
- Inspect gutters and downspouts before heavy rains.
- Test window operation to ensure it closes tightly.
- Examine interior walls for damp spots near windows.
Conclusion
Water leaking above a window frame can cause serious damage. Catching leaks early saves money and stress. Check seals and flashing to spot weak spots. Fix small problems before they get worse. Use simple tools or call a professional if needed.
Keeping your home dry protects walls and furniture. Regular inspection helps avoid future leaks. Don’t ignore water stains or damp spots. A dry window area means a safer, healthier home. Act quickly to stop leaks from spreading. Your home will thank you with lasting comfort.