

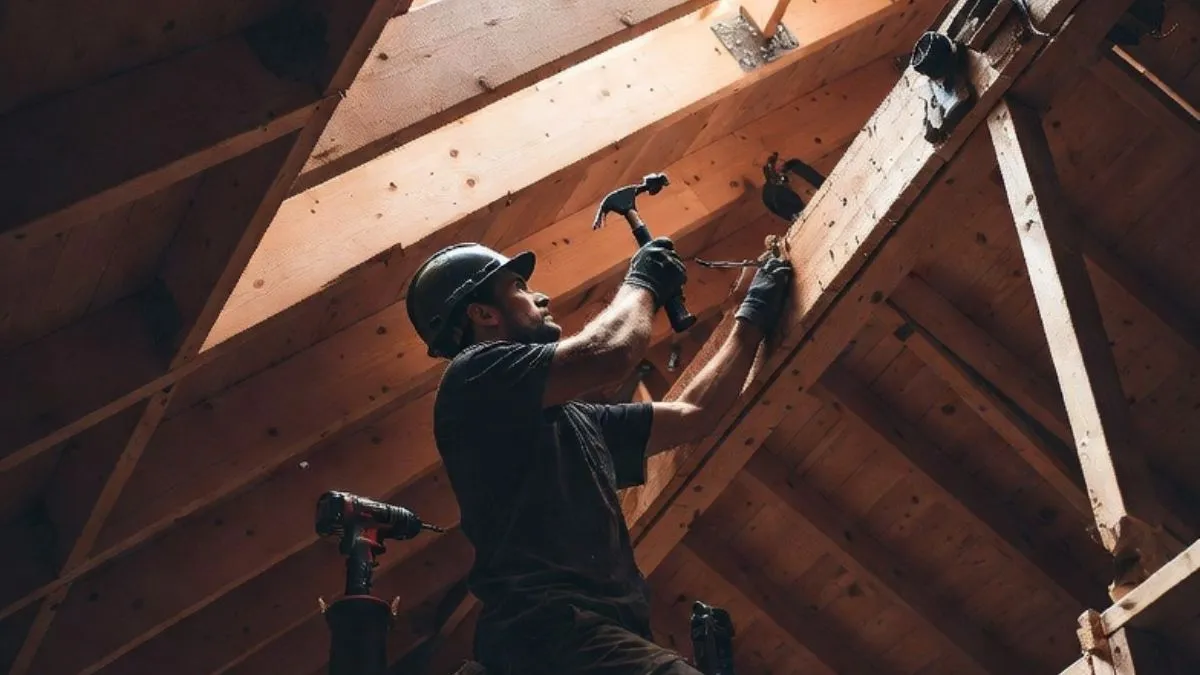
Is your roof showing signs of damage or sagging? Your roof support beams play a crucial role in keeping your home safe and sturdy.
Ignoring problems with these beams can lead to costly repairs and even put your family at risk. You’ll discover simple ways to identify issues with your roof support beams and learn effective repair tips that can save you time and money.
Signs Of Beam Damage
Roof support beams carry the weight of your entire roof. They keep your home safe and stable. Detecting early signs of beam damage can prevent costly repairs. Watch for changes that show your beams might be weak or broken. These signs often appear before big problems start.
Visible Cracks And Splits
One of the first signs of beam damage is visible cracks and splits in the wood. These cracks can be small or large. They may run along the grain or across the beam. Cracks show the wood is under stress and may soon fail.
- Look for thin hairline cracks or deep splits.
- Check both sides of the beam, including hidden areas.
- Cracks near joints or fasteners are more serious.
Cracks can grow over time. This weakens the beam’s strength. Sometimes, you may see small pieces of wood falling off. This means the wood is breaking down.
| Type of Crack | Possible Cause | Risk Level |
| Hairline Cracks | Normal drying and shrinking | Low |
| Longitudinal Splits | Heavy load or stress | Medium |
| Cross Grain Cracks | Rot or insect damage | High |
Pay close attention to cracks that grow or multiply. These often signal beam repair or replacement is needed.
Sagging Rooflines
Sagging rooflines tell a clear story of beam trouble. When beams weaken, they lose the power to hold the roof straight. The roof may dip or curve downward. This sagging is often easy to spot from outside.
Signs of sagging include:
- Uneven roof edges
- Visible dips or curves along the roof
- Doors and windows sticking or not closing properly
- Gaps appearing between walls and ceiling
Sagging can happen slowly. Sometimes it feels like the house is settling, but the real cause is beam damage. The longer sagging goes unchecked, the worse the damage gets.
Check for sagging inside your home too. Look at ceiling lines and corners for:
- Uneven surfaces
- Cracks where walls meet ceilings
- Bulging or bowing spots
These signs mean the beams may be bending or breaking under weight. Acting early can save your roof and home structure.
Water Damage Effects
Water is one of the worst enemies of roof support beams. It causes wood rot, softening the beams until they lose strength. Water damage often happens from leaks, poor drainage, or missing shingles.
Look for these water damage signs on beams:
- Dark stains or discoloration on the wood
- Soft or spongy texture when pressed
- Mold or mildew growth
- Musty or damp smells
Water damage leads to fungal decay. This decay breaks down the wood fibers. Over time, the beam can crumble or collapse.
Pest Infestation Impact
Insects like termites and carpenter ants cause serious harm to roof beams. They eat or tunnel through the wood, making it weak and unstable. Pest damage is a common cause of beam failure.
Watch for these signs of pest infestation:
- Small holes or tunnels in the wood
- Wood dust or frass near beams
- Visible insects or wings around the roof
- Soft or hollow-sounding wood
Pests can damage beams quickly or over years. Termite damage often looks like a maze inside the wood. Carpenter ants hollow out wood to make nests.
Check this pest damage checklist:
| Sign | Meaning | Urgency |
| Small Exit Holes | Active termite or ant presence | High |
| Wood Shavings | Fresh tunneling activity | High |
| Empty Tunnels | Old damage, possible weakening | Medium |
Ignoring pest damage leads to major roof problems. Early treatment and repair keep beams strong and safe.
Types Of Roof Support Beams

Roof support beams play a crucial role in holding up your roof and keeping your home safe. Different types of beams serve this purpose, each with unique features and benefits. Knowing about these types helps in making smart repair decisions and ensures long-lasting strength.
Wooden Beams
Wooden beams are the most traditional and widely used type of roof support. Made from solid timber, they offer natural strength and flexibility. Wood is easy to work with and can be cut or shaped on-site, which makes repairs simpler.
Benefits of wooden beams include:
- Good insulation properties
- Relatively low cost
- Availability in many sizes and types of wood
- Easy to install and replace
Common types of wood used for beams:
| Wood Type | Strength | Durability | Cost |
| Pine | Medium | Moderate | Low |
| Oak | High | High | High |
| Cedar | Medium | High (resistant to rot) | Medium |
Wooden beams require regular inspection for issues like rot, insect damage, and warping. Repair involves replacing damaged sections or adding reinforcement like steel plates or sister beams. Proper sealing and treatment extend the life of wood beams.
Steel Beams
Steel beams provide superior strength and durability compared to wood. They handle heavy loads and resist bending, making them ideal for larger or commercial buildings. Steel does not warp, split, or suffer from insect damage.
Advantages of steel beams:
- Very high load-bearing capacity
- Long lifespan with minimal maintenance
- Fire-resistant
- Can span longer distances without support
Steel beams come in different shapes and sizes, such as I-beams, H-beams, and box beams. Each shape suits different structural needs. Steel beams require welding or bolting during installation.
Important points to consider:
- Steel can corrode if not properly coated or painted.
- Requires professional installation and repair.
- Heavier than wood, so foundation strength matters.
Repairs usually involve removing rust, applying protective coatings, or replacing damaged sections. Steel beams offer a long-term solution for roof support but may cost more upfront.
Engineered Lumber
Engineered lumber is made by bonding wood strands, veneers, or fibers with adhesives. This creates strong, uniform beams with fewer defects than natural wood. Examples include laminated veneer lumber (LVL), glulam, and parallel strand lumber (PSL).
Benefits of engineered lumber:
- Consistent strength and size
- Less prone to warping or splitting
- Lighter than steel but stronger than solid wood
- Can be manufactured in long lengths
Engineered lumber is often used in modern construction for roof beams. It offers a balance of strength and ease of handling. Compared to solid wood, it resists moisture and insects better.
Repair tips for engineered lumber:
- Inspect for delamination or cracks
- Use epoxy or wood fillers for minor damage
- Replace severely damaged sections
Engineered beams are ideal for projects needing precise dimensions and reliable performance. They combine some advantages of both wood and steel, making them a popular choice for roof support.
Common Causes Of Beam Failure

Roof support beams are crucial for holding up your roof and keeping the structure safe. Over time, these beams can fail, causing serious damage and safety risks. Beam failure happens due to several reasons, often linked to environmental factors or construction mistakes. Identifying these causes ensures a stronger, longer-lasting roof.
Moisture And Rot
Moisture is one of the top reasons roof support beams fail. When water seeps into wood beams, it causes rot, weakening the wood fibers. This makes the beam soft and brittle, reducing its strength. Moisture can enter through roof leaks, poor ventilation, or plumbing issues.
Signs of moisture damage include:
- Dark stains or discoloration on beams
- Soft or crumbly wood texture
- Musty or damp smell in the attic
- Mold growth on or near the beams
Wood rot can be of two types:
| Type of Rot | Description | Effect on Beam |
| Dry Rot | Fungi attack dry wood when moisture is low but persistent. | Causes cracks and crumbling inside the wood. |
| Wet Rot | Occurs when wood stays wet for a long time. | Softens wood, making it spongy and weak. |
Fixing moisture problems fast prevents rot from spreading. Use good roof sealing and proper attic ventilation to keep beams dry.
Excessive Loads
Support beams are designed to carry a specific weight. Putting too much weight on them causes stress and damage. Excessive loads can come from:
- Heavy snow or ice buildup on the roof
- Adding new floors or heavy equipment without checking beam capacity
- Storing heavy items in the attic
- Structural changes that add more weight
Too much load causes beams to bend, crack, or even break. Signs of overload include:
- Visible cracks or splits in the beam
- Sagging or bowing roof lines
- Doors or windows that stick or don’t close well
- Unusual creaking sounds
Check beam load limits before making changes. Use professional advice to avoid overloading.
Improper Installation
Incorrect installation can weaken roof support beams from the start. Mistakes in measuring, cutting, or fixing beams lead to poor support. Common installation issues include:
- Wrong beam size or type for the roof design
- Insufficient fastening or loose nails/screws
- Missing or weak support columns or braces
- Incorrect placement causing uneven load distribution
These errors cause stress points that wear down beams faster. They also increase risk during storms or heavy loads.
Quality checks during installation are crucial. Always hire skilled workers and verify materials and methods meet building codes.
Natural Wear And Tear
Beams age and weaken over time. Natural wear and tear slowly reduces their strength. This happens even without visible damage or accidents. Causes include:
- Repeated exposure to temperature changes
- Wood drying out and shrinking
- Small cracks growing larger over years
- Insect damage like termites or carpenter ants
Natural aging can cause beams to lose their ability to hold weight safely. Regular inspections help find early signs of wear. Look for:
- Minor cracks or splits in the wood
- Changes in beam shape or straightness
- Signs of insect activity
Routine maintenance and timely repairs extend beam life and roof safety.
Inspection Techniques
Proper inspection of roof support beams is vital for safe and long-lasting repairs. Effective inspection techniques help identify damage early. They guide the repair process and prevent costly mistakes. Inspectors use a mix of visual checks, tools, and tests. These methods reveal issues like cracks, rot, or weakness in beams. Understanding each technique ensures accurate assessment and better repair results.
Visual Assessment
Visual assessment is the first and most basic step in inspecting roof support beams. Inspectors look for obvious signs of damage and wear. This method relies on a careful eye and experience.
- Cracks and Splits: Look for visible cracks or splits in the wood.
- Rot and Decay: Check for soft or crumbly areas indicating rot.
- Discoloration: Dark spots may show water damage or mold growth.
- Insect Damage: Small holes or tunnels suggest pests like termites.
- Warping or Bending: Bent beams can lose strength and stability.
Using a flashlight and a ladder helps inspect hard-to-reach spots. It is important to examine the entire length of each beam. A thorough visual check can catch many problems early, saving money and effort later.
| Issue | Visual Sign | Potential Cause |
| Cracks | Visible lines or splits | Stress, aging, or impact |
| Rot | Soft, dark, or crumbly wood | Water intrusion |
| Insect Damage | Holes and tunnels | Termites or beetles |
Moisture Meter Usage
Moisture meters measure the water content inside roof support beams. High moisture levels cause wood decay and weaken beams. This tool helps detect hidden water damage.
There are two main types of moisture meters:
- Pin-Type Meters: Use small metal pins that pierce the wood to measure moisture.
- Pinless Meters: Use electromagnetic signals without damaging the wood surface.
Steps to use a moisture meter:
- Turn on the meter and calibrate it according to instructions.
- Place the meter on different spots along the beam.
- Record moisture readings, focusing on high-value areas.
- Compare readings against safe moisture levels (usually below 20%).
High moisture readings mean the beam might need repair or replacement. Using a moisture meter can catch problems before they become visible. It is a simple and effective way to protect roof support beams.
Structural Load Testing
Structural load testing checks how much weight a roof support beam can safely hold. This method verifies the beam’s strength and stability. It is essential for older or damaged beams.
Load testing involves applying a controlled force to the beam and observing its response. The test may use hydraulic jacks or weights. Professionals monitor for excessive bending, cracks, or failure.
Key points of structural load testing:
- Test load is based on building codes and expected roof weight.
- Test is done slowly to detect weaknesses early.
- Results show if the beam meets safety standards.
- Failed beams require immediate repair or replacement.
This test provides clear data about a beam’s condition. It helps decide if repairs are enough or if full replacement is needed. Structural load testing adds confidence to roof safety and repair decisions.
Repair Methods
Repairing roof support beams requires careful choice of methods to restore strength and safety. Various repair methods suit different damage types and beam conditions. Selecting the right method ensures long-lasting support and prevents further issues. The most common approaches include sistering beams, full beam replacement, reinforcement with steel plates, and using epoxy with wood fillers. Each method has unique benefits and applications depending on the beam’s damage severity and location.
Sistering Beams
Sistering beams involves attaching a new beam alongside the damaged one to share the load. This method strengthens the existing beam without complete removal. It suits beams with minor cracks, splits, or sagging. Sistering is cost-effective and less disruptive than replacement.
Steps for sistering beams:
- Measure the damaged beam length.
- Select a new beam matching size and wood type.
- Clean the damaged beam surface.
- Secure the new beam beside the old one using bolts or screws.
- Ensure tight contact between beams for load distribution.
Benefits:
- Preserves original structure.
- Faster repair time.
- Less costly than full replacement.
- Improves load-bearing capacity.
Limitations: Not suitable for beams with severe rot or damage along the entire length.
Beam Replacement
Beam replacement means removing the damaged beam and installing a new one. This method is necessary for beams with extensive rot, cracks, or structural failure. Replacement restores full integrity but requires more work and expense.
Replacement process overview:
- Support the roof temporarily with jacks or props.
- Remove damaged beam carefully to avoid other damage.
- Cut and fit a new beam of the same dimensions and wood species.
- Install the new beam securely with nails, screws, or metal connectors.
- Remove temporary supports after confirming stability.
Advantages:
- Complete removal of damaged material.
- Restores original load capacity.
- Prevents future weakening from hidden damage.
Disadvantages:
- Higher labor and material costs.
- Longer repair time.
- Temporary disruption to the roof structure.
Reinforcement With Steel Plates
Steel plate reinforcement adds metal plates to damaged beams to increase strength. This method suits beams with cracks, splits, or surface damage but still mostly sound. Steel plates provide extra support without full replacement.
How it works:
- Cut steel plates to fit the beam’s damaged area.
- Clean the wood surface to ensure good contact.
- Attach plates using bolts, screws, or structural adhesives.
- Use multiple plates on both sides for balanced reinforcement.
Benefits:
- Strong reinforcement without changing beam size.
- Resists bending and splitting forces.
- Quick installation process.
- Minimal disruption to existing structure.
Considerations: Steel plates must be treated to resist rust. Visible plates may affect aesthetics but can be painted.
Epoxy And Wood Filler Application
Epoxy and wood filler repairs small cracks, holes, or decayed spots in beams. This method restores beam integrity and prevents further damage. It works best on minor or localized damage.
Repair steps:
- Remove loose or rotten wood from the damaged area.
- Clean and dry the surface thoroughly.
- Mix epoxy resin or wood filler according to instructions.
- Apply the mixture into cracks or holes using a putty knife.
- Shape and smooth the repair to match the beam surface.
- Allow proper curing time before applying paint or sealant.
Advantages:
- Cost-effective for small repairs.
- Restores structural strength in minor damage.
- Can be painted or stained to blend with wood.
- Prevents moisture entry and further decay.
Limitations: Not suitable for large or deep structural damage. Repairs may require monitoring over time.
DIY Vs Professional Repair
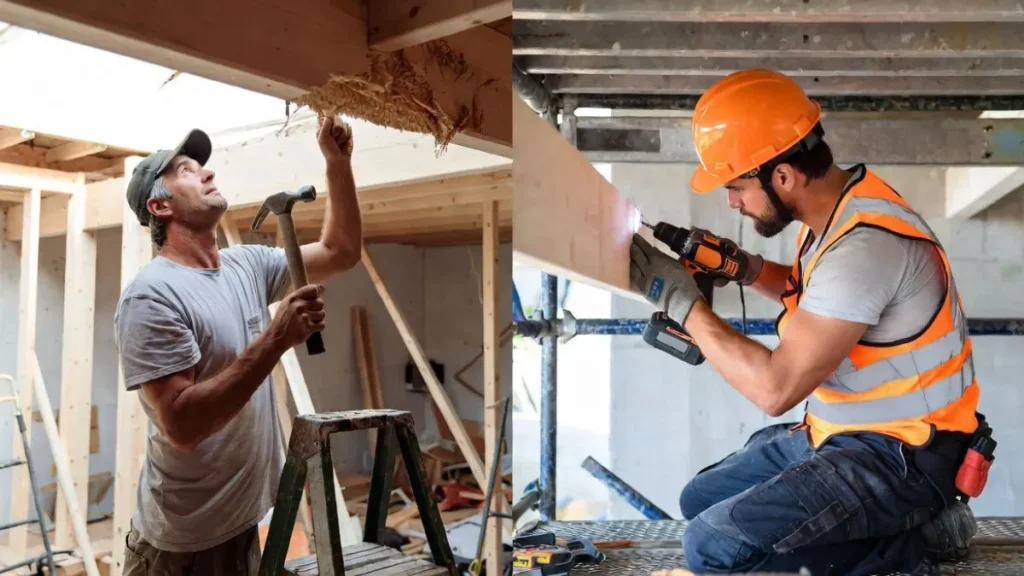
Repairing a roof support beam is a critical task. It protects your home’s structure and safety. Deciding between a DIY repair or hiring a professional is important. Both options have pros and cons.
When To DIY
Simple repairs on roof support beams can be done by homeowners. Small cracks or minor wood rot may only need basic fixes. DIY work saves money and gives a sense of accomplishment. Safety is the top priority. Avoid repairs that need heavy lifting or complex tools.
- Use protective gear like gloves and goggles.
- Check the beam for visible damage only.
- Follow clear instructions or videos.
- Have a helper for support and safety.
DIY is best when:
| Scenario | Reason |
| Small surface cracks | Easy to fill with wood filler or epoxy |
| Minor water damage | Can be sanded and sealed |
| Loose nails or screws | Simple to tighten or replace |
Stop and call a professional if the beam shows:
- Large cracks or splits
- Visible sagging or bending
- Signs of insect damage
- Structural instability
Hiring A Structural Engineer
Structural engineers evaluate the safety and strength of roof beams. They use knowledge and tools to spot hidden problems. Their inspection is critical for major damage or uncertain cases. Hiring an engineer ensures the repair is safe and done right.
Reasons to hire a structural engineer:
- Accurate diagnosis: They find root causes of damage.
- Load assessment: Check if the beam holds roof weight properly.
- Repair plan: Recommend best repair or replacement methods.
- Safety assurance: Prevent collapse or further damage.
Engineers often work with licensed contractors for repairs. Their report helps you get permits or insurance claims. A quick safety check by an expert can save thousands in costly mistakes.
Cost Considerations
Costs vary widely between DIY and professional repair. DIY saves labor costs but needs tools and materials. Professional repairs cost more but include expertise and warranty.
| Cost Factor | DIY Repair | Professional Repair |
| Materials | $50 – $200 (wood filler, sealant, nails) | Included in service |
| Tools | $20 – $100 (if not owned) | Included |
| Labor | Free (your time) | $500 – $2,000 (depends on damage) |
| Inspection | Self-assessed | $300 – $700 (structural engineer) |
Hidden costs may appear in DIY, like damage worsening or wrong fixes. Professionals reduce these risks. Budget carefully and weigh risks before choosing.
Conclusion
Strong roof support beams keep your home safe and sturdy. Repairing damaged beams prevents bigger problems later. Small cracks or rotting wood need quick attention. Use quality materials for lasting results. Regular checks help catch issues early on. Trust skilled workers to do the job right.
Protect your home by keeping beams in good shape. A solid roof means peace of mind every day. Don’t wait until damage gets worse. Act now to maintain a safe, strong roof.


