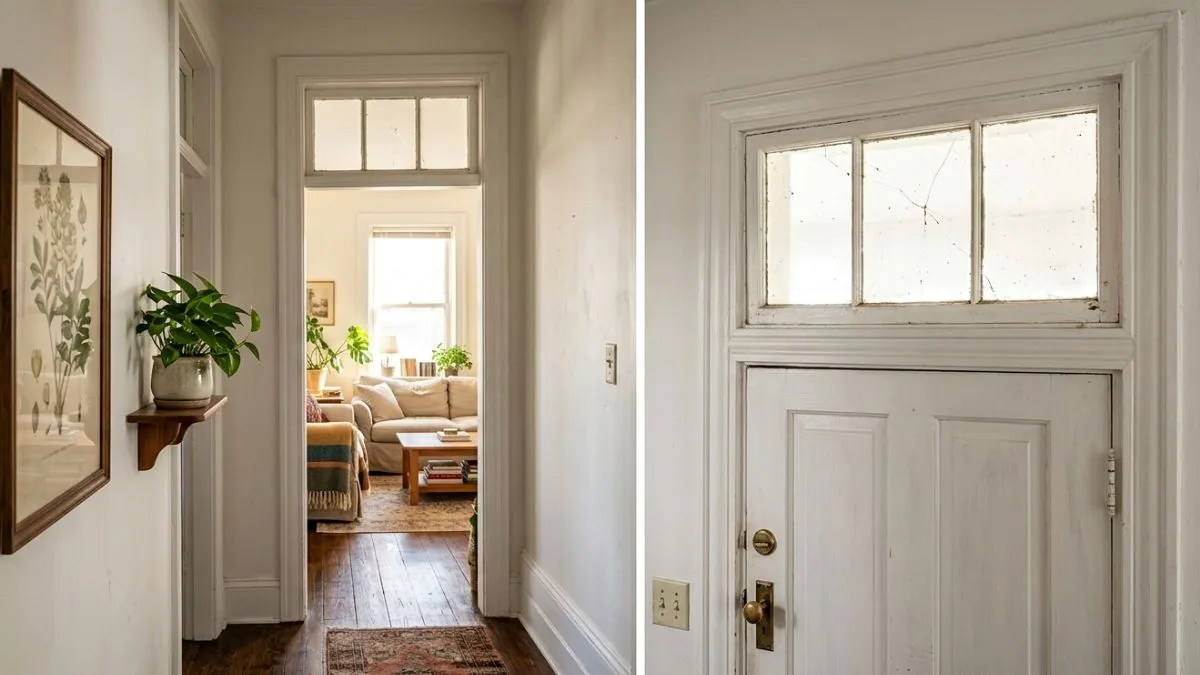
Have you noticed a crack or foggy spot on your transom window glass? It might seem like a small issue, but ignoring it can lead to bigger problems like drafts, water leaks, or even security risks.
Replacing your transom window glass yourself can save you money and give your home a fresh, clean look. You’ll find simple, step-by-step guidance that anyone can follow—no special skills needed. Keep reading, and you’ll learn how to tackle this task confidently, protect your home, and enjoy clear, beautiful windows again.
Removing Old Glass
Replacing transom window glass starts with carefully removing the old glass. This step is crucial to avoid damage to the window frame and to ensure the new glass fits well. The process requires patience, the right tools, and safety measures. Removing the old glass involves three main tasks: preparing the area, taking out the glazing, and lifting out the glass pane. Each task must be done with care to protect yourself and the window.
Preparing The Area
Before removing the old glass, prepare the workspace to keep it safe and clean. Clear the area around the window and cover surfaces to catch glass pieces or dust. Use a drop cloth or plastic sheet on the floor and furniture. Wear safety gear like gloves and goggles to protect from sharp edges.
Gather these essential tools:
- Utility knife
- Putty knife or scraper
- Glazing points or small nails
- Hammer
- Pliers
- Safety gloves and goggles
Check the weather before starting. Avoid removing glass on windy or rainy days to prevent accidents and dirt inside the home. Make sure the window is closed and locked to keep it steady during work.
| Step | Purpose | Tools Needed |
| Clear Area | Protect surfaces and keep space free | Drop cloth, plastic sheet |
| Wear Safety Gear | Prevent injuries from glass shards | Gloves, goggles |
| Gather Tools | Prepare for glass removal | Utility knife, putty knife, pliers |
Taking Out The Glazing
Glazing is the putty or seal that holds the glass in place. Removing it carefully prevents damage to the window frame. Start by softening the glazing with a putty knife or utility knife. Score along the edge of the glazing to break the seal. This step may take time if the putty is old and hard.
Use these tips for glazing removal:
- Work slowly to avoid cracking the frame
- Apply gentle pressure with the putty knife
- Use a heat gun or hairdryer to soften the putty if needed
- Remove glazing points or small nails with pliers
Once the putty is loose, scrape it away carefully. Collect all debris in a container to prevent mess. Dispose of old glazing materials according to local regulations, especially if they contain lead. Keep the frame clean and smooth for the new glass installation.
Lifting Out The Glass Pane
With the glazing removed, carefully lift out the glass pane. The glass may be fragile, so handle it with care. Wear thick gloves and ask for help if the pane is large. Use suction cups if available to get a better grip.
Follow these steps for safe glass removal:
- Loosen the glass by gently tapping around the edges
- Lift one corner slowly to test movement
- Slide the pane out carefully without forcing it
- Place the glass on a flat, cushioned surface
Inspect the frame for any damage or remaining putty. Clean the frame thoroughly before fitting new glass. Store the old glass safely if you plan to recycle or reuse it. Proper removal reduces the risk of injury and damage, making the next steps easier and safer.
Measuring And Cutting New Glass
Replacing transom window glass requires precise measuring and careful cutting to ensure a perfect fit. Measuring and cutting new glass is a critical step in this process. It ensures the glass fits securely in the frame and avoids drafts or damage.
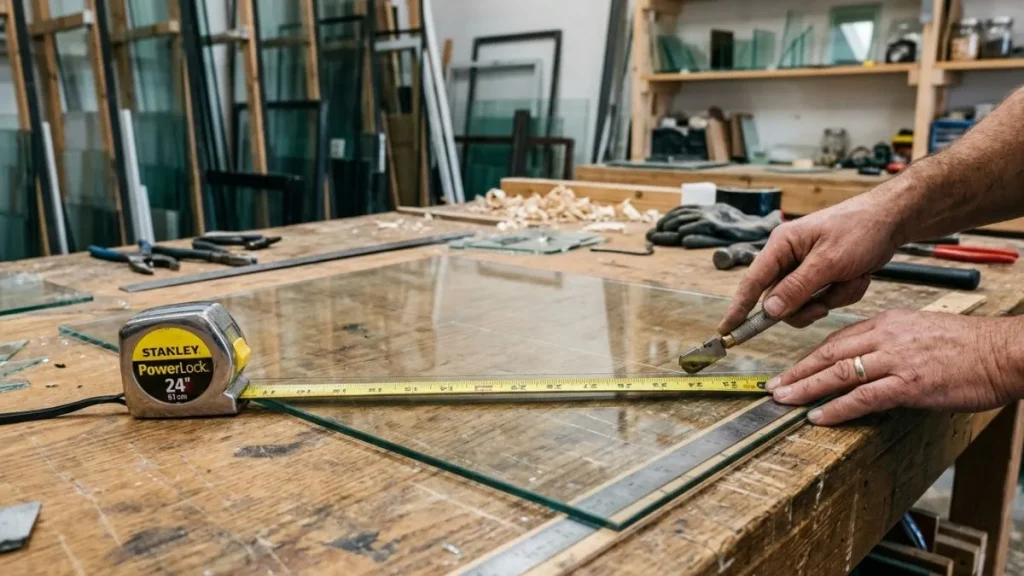
Accurate measurements prevent costly mistakes and wasted material. Cutting the glass properly reduces the risk of cracks or breakage during installation.
Taking Accurate Measurements
Start by removing any old glass and cleaning the frame thoroughly. Use a steel tape measure for the most accurate results. Measure the width and height of the transom window opening at three points: top, middle, and bottom for width; left, center, and right for height.
- Record the smallest measurement in both width and height. This ensures the glass will fit inside the frame without forcing it.
- Measure in millimeters or inches, depending on your preference, but stay consistent.
- Subtract 2-3 mm (about 1/8 inch) from both width and height to allow room for expansion and glazing putty.
Use a table to organize your measurements:
| Dimension | Top/Left | Center | Bottom/Right | Smallest Measurement | Final Size (Minus Clearance) |
| Width | … | … | … | … | … |
| Height | … | … | … | … | … |
Double-check all measurements before cutting. A small error can cause fitting problems. Write down measurements clearly and keep them handy during cutting.
Choosing The Right Glass Thickness
Glass thickness affects durability, insulation, and safety. Transom windows typically use thinner glass than larger windows but must still be strong enough to last. Common thickness options range from 2 mm to 6 mm.
Consider these points when selecting glass thickness:
- Frame type: Wooden frames can hold thicker glass, while metal frames often require thinner panes.
- Safety requirements: Tempered or laminated glass adds strength and safety, often in 4-6 mm thickness.
- Insulation needs: Double glazing or insulated glass units usually start at 4 mm thickness for each pane.
Here is a quick guide:
| Glass Thickness | Use Case | Advantages |
| 2-3 mm | Small transom windows, interior use | Lightweight, easy to cut |
| 4 mm | Standard single-pane exterior windows | Strong, good durability |
| 5-6 mm | Tempered or laminated safety glass | Extra strength, safety, insulation |
Choose glass thickness based on window size, safety, and climate. Thicker glass may add weight but improves durability and insulation.
Cutting Techniques
Cutting glass requires care and the right tools. Use a glass cutter with a sharp wheel and a straightedge for clean lines. Work on a flat, stable surface with enough space.
- Prepare the glass: Clean the surface and mark your measurements with a grease pencil or marker.
- Score the glass: Place the straightedge along the cutting line. Hold the glass cutter firmly and score the glass in one smooth motion. Do not score back and forth.
- Snap the glass: Align the scored line over the edge of a table or use running pliers. Apply gentle pressure to snap the glass along the score.
- Smooth edges: Use a rubbing stone or sandpaper to smooth sharp edges for safety.
Tips for success:
- Wear safety goggles and gloves to protect against shards.
- Practice on scrap glass before cutting your final piece.
- Keep the cutter wheel lubricated for smoother scoring.
Follow these steps to cut your transom window glass accurately and safely. Careful cutting reduces waste and ensures a clean fit.
Installing New Glass
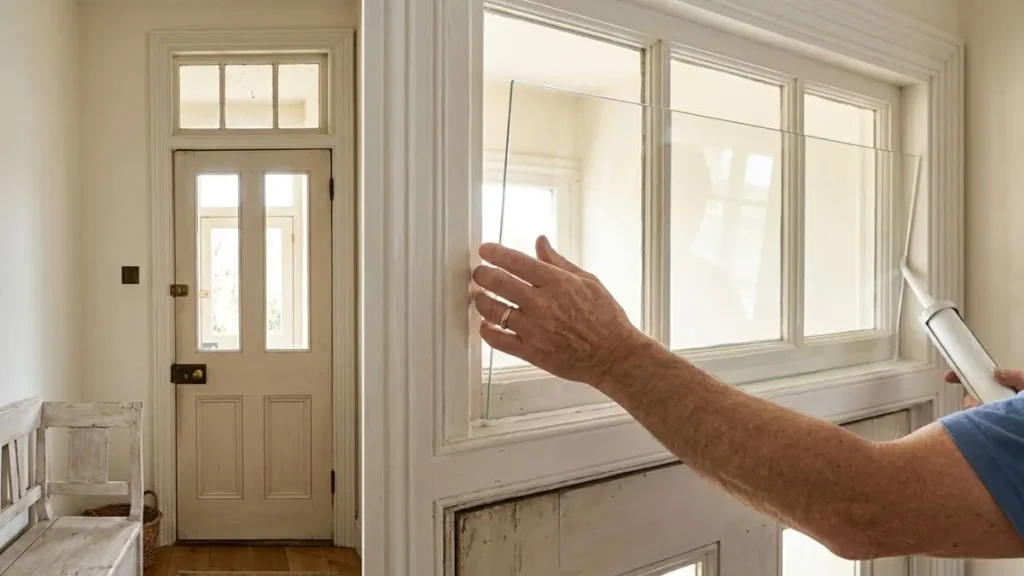
Replacing transom window glass requires careful attention during the installation process. Installing new glass is a crucial step that ensures the window looks good and functions well. It involves preparing the frame, placing the glass correctly, and securing it tightly. Proper installation prevents drafts, water leaks, and glass damage. Follow these simple steps to install new glass smoothly and safely.
Applying Glazing Compound
Start by applying glazing compound to hold the glass firmly in place. Glazing compound is a putty-like material that seals and cushions the glass. It also protects the window from moisture and air leaks. Use fresh compound for a better seal and longer-lasting results.
- Clean the frame: Remove old compound and dirt from the window frame using a putty knife.
- Soften the compound: Knead the glazing compound until it is soft and pliable.
- Apply a thin layer: Press a thin layer of compound into the frame where the glass will sit.
Applying the compound evenly is important to avoid gaps or uneven pressure on the glass. Use a putty knife to smooth the compound and create a clean surface. This helps the glass fit tightly and reduces the chance of cracks. Remember to wear gloves for a cleaner application and to protect your hands.
Setting The Glass
Carefully place the new glass into the frame on top of the glazing compound. Handle the glass by its edges to avoid fingerprints or damage. Align it evenly within the frame to ensure a perfect fit. Small adjustments may be needed to center the glass.
Use gentle pressure to press the glass into the soft glazing compound. This will create a tight seal around the edges. Check for any gaps or uneven spots. The glass should sit flush against the frame without rocking or moving.
| Step | Description | Tip |
| 1 | Hold glass by edges | Use gloves to avoid smudges |
| 2 | Place glass gently on compound | Do not force it into place |
| 3 | Adjust position for center fit | Check for even spacing |
Setting the glass correctly prevents leaks and ensures the window looks neat. Take your time for a smooth fit.
Securing With Glazing Points
Glazing points are small metal clips that hold the glass securely in place. They keep the glass from shifting before the compound hardens. Use a putty knife or glazing tool to press the points into the frame gently.
Place the glazing points evenly around the glass edges. Aim for spacing every 6 to 8 inches for a firm hold. Avoid pushing points too hard, which could crack the glass.
- Start at one corner and work your way around.
- Use enough points to prevent any movement.
- Check that points are flush with the frame.
After securing the glass, apply a final layer of glazing compound over the points. Smooth this layer with a putty knife to create a neat finish. Let the compound dry completely before painting or cleaning the window. Proper use of glazing points adds strength and safety to your transom window glass replacement.
Finishing Touches
Replacing transom window glass involves several careful steps. After fitting the new glass, the final stage is all about the finishing touches. This phase ensures the window looks neat and works well. Proper finishing also protects the glass and frame, helping them last longer. Focus on smoothing the glazing, cleaning the window, and allowing the right curing time. These steps make your repair both strong and attractive.
Smoothing The Glazing
Smoothing the glazing is key to a clean, professional look. It means shaping and tidying the putty or glazing compound around the glass edges. This step seals the glass and stops water or air leaks.
Follow these simple tips for smooth glazing:
- Use a putty knife or a glazing tool for even pressure.
- Work at a slight angle to press the compound firmly into the frame.
- Remove excess putty gently to avoid gaps or lumps.
- Smooth the surface with your finger dipped in water or mineral spirits for a neat finish.
Here is a quick overview of glazing tool options:
| Tool | Use | Benefit |
| Putty Knife | Apply and smooth putty | Easy to control edges |
| Glazing Tool | Shape and press compound | Creates clean lines |
| Finger (wet) | Smooth finish | Prevents sticking and cracks |
Take your time. Rushing can cause cracks or uneven glazing. Smooth, tight glazing improves durability and appearance.
Cleaning The Window
Cleaning the window after glazing is essential for a clear view and good looks. Dirt, dust, and smudges can hide the quality of your work. Also, fresh putty or sealant can attract debris if not cleaned properly.
Use these steps to clean your transom window:
- Wait a few minutes after glazing to let the compound set slightly.
- Use a soft cloth or sponge with warm, soapy water.
- Gently wipe the glass to remove fingerprints and smears.
- Use a plastic scraper to remove any stuck-on putty bits.
- Dry the glass with a clean microfiber cloth for a streak-free shine.
For tough spots, avoid harsh chemicals that can damage glazing. Instead, use mild soap or a vinegar-water mix. Pay special attention to corners where dirt collects. Clean edges show off your work best.
Curing Time
Curing time is how long the glazing compound needs to dry and harden fully. This step is vital. The longer the cure, the stronger the seal.
Typical curing times vary by product and weather:
| Glazing Compound Type | Average Curing Time | Notes |
| Oil-based Putty | 7 to 14 days | May skin over in 24 hours |
| Water-based Compound | 2 to 3 days | Faster drying in warm weather |
| Silicone Sealant | 24 to 48 hours | Fully cures in 7 days |
Temperature and humidity affect curing. Cooler, damp conditions slow drying. Avoid touching or painting the glazing too soon. Let the compound cure fully to prevent cracks and leaks.
Patience here saves time and expense. A well-cured window stays sealed and secure for years.
Read Also: How to Remove Glass Block Windows
Conclusion
Replacing transom window glass can improve your home’s look and safety. Taking time to measure and choose the right glass matters a lot. Using the right tools helps the job go smoothly. Small cracks or damage should not be ignored.
Fixing them early saves you money and trouble later. You can do this yourself or ask for help. Either way, clean and clear glass lets in more light. Bright rooms feel bigger and more welcoming. Keep your windows strong and beautiful with regular care.