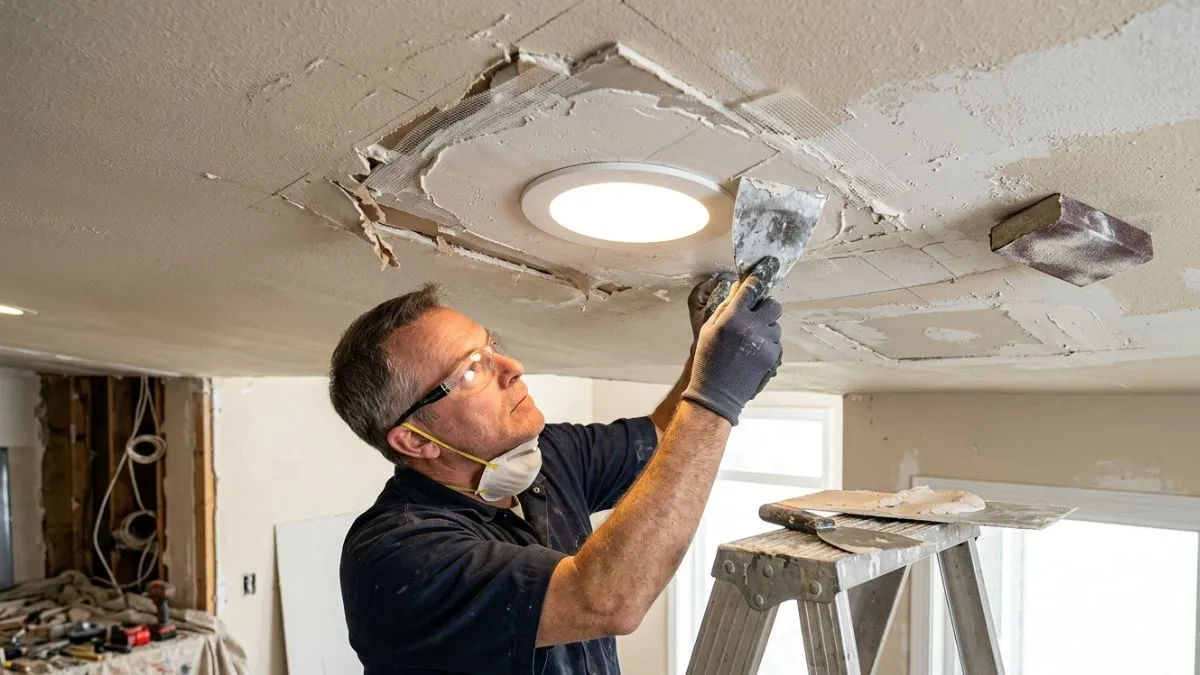
Have you noticed cracks or holes around your light fixture and wondered how to fix them? Repairing drywall near a light fixture can seem tricky, but you don’t have to be a pro to get it right.
Simple steps that save you time, money, and frustration. By the end, your ceiling will look smooth and clean, just like new. Keep reading—you’re closer than you think to a flawless repair that brightens up your whole room.
Assessing Drywall Damage
Repairing drywall around a light fixture requires careful assessment of the damage first. The area near the fixture often faces wear and tear from heat, moisture, or accidental bumps. Assessing drywall damage ensures the repair is done safely and correctly. It helps identify the problem’s extent and the right tools and materials needed for the job. Taking time to check the damage prevents future issues, such as cracks or electrical hazards.
Identifying Common Issues
Drywall around light fixtures can show several common problems. These usually include cracks, holes, and water damage. Cracks often appear from the fixture’s heat or from settling in the house. Small holes can happen during installation or when changing bulbs. Water damage may occur if there is a leak in the ceiling or pipes near the fixture.
Look closely for signs like:
- Cracks: Thin lines or splits in the drywall surface.
- Holes: Open spots where drywall is broken or missing.
- Discoloration: Yellow or brown stains from water leaks.
- Soft or crumbling drywall: Indicates moisture damage.
Use a flashlight to check inside and around the fixture’s edge. Sometimes damage hides behind the fixture’s trim or plate. Press gently around the area to find weak spots. Soft drywall means it must be replaced rather than patched.
Identifying the correct issue helps choose the best repair method. Small cracks might need simple patching. Water damage often requires cutting out and replacing drywall sections.
Safety Precautions Near Fixtures
Safety is key when working near light fixtures. Electricity poses a risk of shock or fire. Always turn off the power to the fixture at the circuit breaker before starting repairs. Use a voltage tester to confirm power is off.
Wear protective gear such as gloves and safety goggles to guard against dust and sharp edges. Avoid touching wires or metal parts inside the fixture.
Follow these safety tips:
- Switch off the circuit breaker for the fixture’s power.
- Use a voltage tester to check no electricity flows.
- Wear gloves to protect hands from sharp drywall or wires.
- Use safety goggles to keep dust out of eyes.
- Work in a well-lit area to see clearly.
- Keep tools organized to avoid accidents.
Be cautious of the fixture’s heat. Let bulbs cool down before touching the area. Heat can make drywall brittle and fragile.
Using a ladder safely is important too. Place it on a flat surface. Do not overreach or lean too far from the ladder’s center. Have someone nearby if possible.
Removing Damaged Drywall
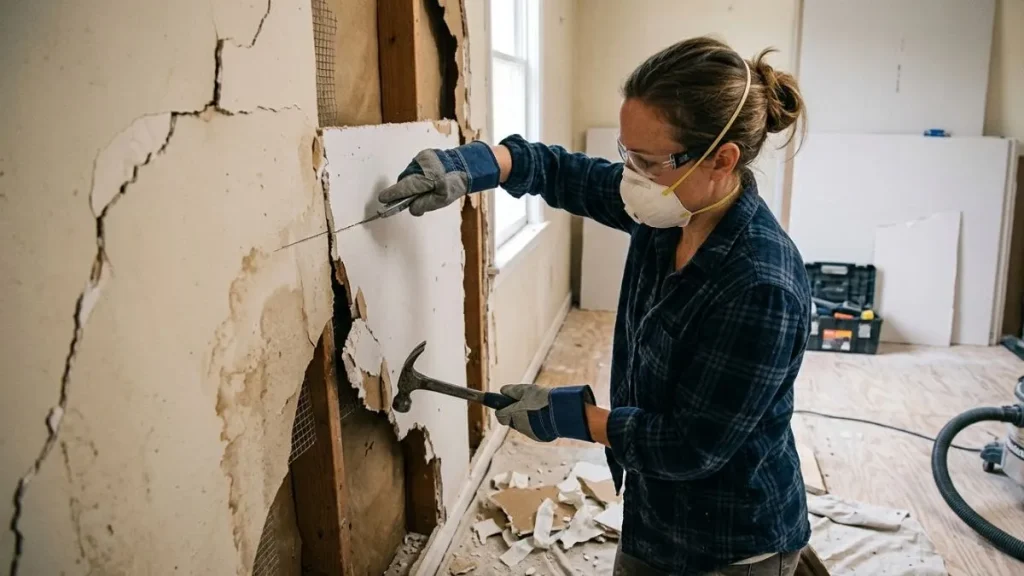
Repairing drywall around a light fixture often starts with removing the damaged section. This step requires care to avoid harming the fixture or electrical wiring. Drywall near fixtures can crack, chip, or get water damage.
Removing the damaged area cleanly helps create a solid base for the new drywall patch. Taking your time during removal prevents further damage and keeps the repair safe and effective.
Cutting Around The Fixture
Begin by turning off the power to the light fixture at the breaker box. Safety first.
Use a utility knife or drywall saw to cut out the damaged drywall around the fixture. Cut in a square or rectangular shape for easier patching later. Keep these tips in mind:
- Measure carefully so the new drywall patch fits well.
- Cut at least 1 inch beyond the visible damage to ensure strong edges.
- Work slowly near the fixture to avoid cutting wires or the fixture box.
Place a drop cloth or plastic sheet under the area to catch dust and debris.
Here’s a simple comparison of tools you can use:
| Tool | Best For | Notes |
| Utility Knife | Small, precise cuts | Requires scoring multiple times |
| Drywall Saw | Larger or deeper cuts | Faster but less precise |
| Oscillating Multi-Tool | Tight spaces near fixtures | Safe around wiring |
Keep the fixture intact. Avoid moving it while cutting. If needed, loosen screws slightly but do not disconnect wires yet.
Handling Electrical Components
After cutting the drywall, the electrical components need careful handling. Always confirm power is off by testing the fixture with a voltage tester. Never trust the switch alone.
Follow these steps for safe handling:
- Remove the fixture cover or shade to access wiring.
- Unscrew the fixture base from the electrical box gently.
- Do not pull on wires. Support the fixture as you work.
- Inspect wires for damage before proceeding.
- Use wire nuts to cap any exposed wires if disconnected.
Here is a checklist for electrical safety:
| Step | Action | Reason |
| 1 | Turn off breaker | Prevent shock |
| 2 | Use voltage tester | Confirm power off |
| 3 | Handle wires gently | Avoid damage |
| 4 | Cap loose wires | Safety during repair |
| 5 | Replace fixture securely | Prevent hazards |
Never skip safety checks. Damaged wiring can cause serious problems later. If unsure, call a professional electrician.
Installing Drywall Patch
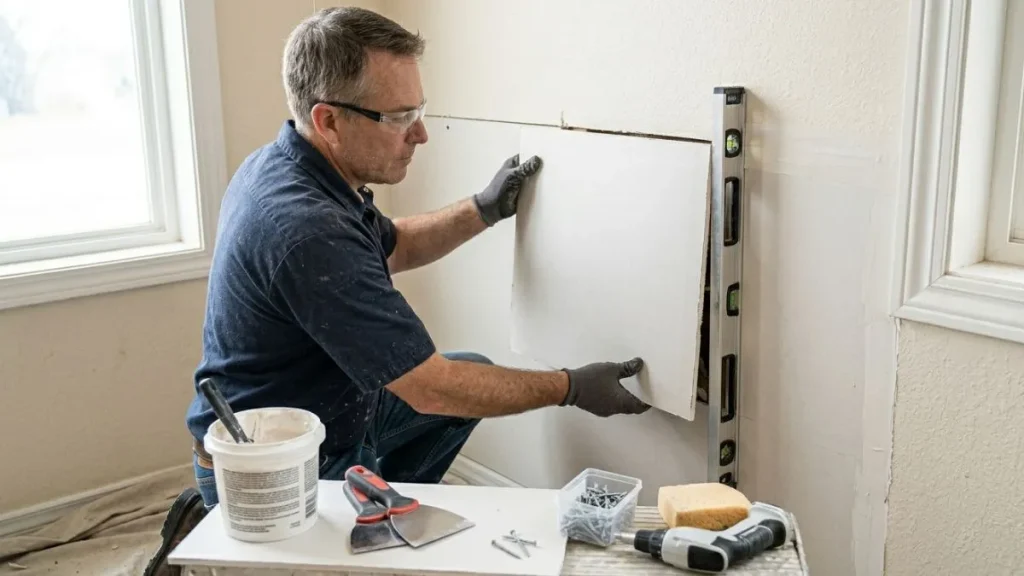
Repairing drywall around a light fixture requires careful attention to detail. Installing a drywall patch is a key step in this process. This step restores the wall’s surface and prepares it for finishing. A well-installed patch blends perfectly with the surrounding wall. It ensures safety around the electrical fixture and keeps your wall looking neat. Follow clear steps to measure, cut, and secure the patch for the best results.
Measuring And Cutting Patch
Start by measuring the hole or damaged area around the light fixture. Use a tape measure or ruler for accuracy. Measure the width and height of the damaged section. Add about half an inch to each measurement for a snug fit.
- Mark the dimensions on a new drywall sheet.
- Use a pencil for clear lines.
- Draw straight lines to form a rectangle or square.
Cut the patch using a utility knife or drywall saw. Score the drywall along the lines first. Then, snap the drywall along the scored lines. Cut slowly to avoid damaging the patch. Smooth the edges with sandpaper if needed.
| Tool | Purpose |
| Measuring Tape | Measure damaged area accurately |
| Utility Knife | Score and cut drywall patch |
| Drywall Saw | Cut through drywall easily |
| Pencil | Mark cutting lines |
Make sure the patch fits well around the light fixture. The patch should be slightly bigger than the hole. This allows space for securing the patch firmly in place.
Securing Patch In Place
Once the drywall patch is cut, place it into the damaged area around the light fixture. Check that it fits snugly and rests flat against the wall. Use drywall screws or nails to secure the patch to the wall studs or backing.
- Hold the patch firmly against the wall.
- Drive screws or nails around the edges, about every 6-8 inches.
- Make sure not to overtighten and damage the drywall.
For extra support, add furring strips or wood backing inside the wall if the hole is large. Attach these strips behind the patch. This gives the patch a solid frame.
Use drywall tape along the patch edges. This prevents cracks and blends the patch with the wall. Apply joint compound over the tape and screws. Smooth it out with a putty knife. Let it dry before sanding.
| Step | Action | Tip |
| 1 | Position patch in hole | Ensure flat, snug fit |
| 2 | Secure with screws/nails | Space every 6-8 inches |
| 3 | Add backing if needed | Supports larger patches |
| 4 | Apply drywall tape | Prevents cracks |
| 5 | Spread joint compound | Smooth and let dry |
Secure the patch carefully to avoid gaps. Gaps cause uneven surfaces and weak repairs. A tight patch leads to a smooth wall ready for painting.
Taping And Mudding
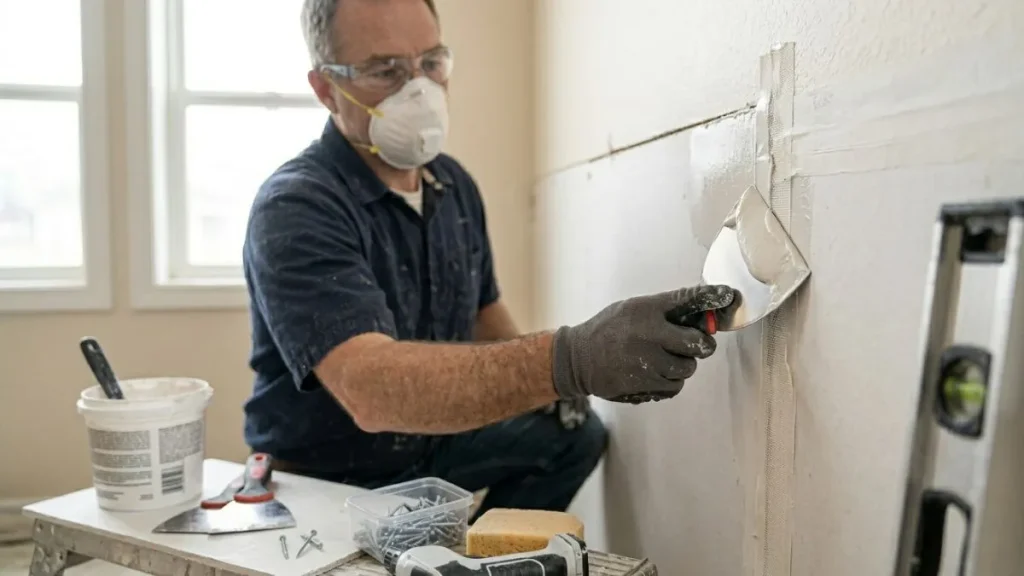
Repairing drywall around a light fixture requires careful attention to detail, especially during the taping and mudding process. Taping and mudding create a smooth, seamless finish that hides any cracks or gaps. These steps ensure the repaired area blends perfectly with the rest of the wall. This process strengthens the drywall and prepares it for painting. Patience and precision during taping and mudding improve the overall look of your repair.
Applying Joint Tape
Start with clean, dry drywall around the light fixture. Joint tape helps prevent cracks from forming along seams or damaged areas. Use paper or fiberglass mesh tape, depending on your preference. Paper tape is strong but needs a thin layer of mud under it. Fiberglass mesh is self-adhesive and easier for beginners.
- Cut the tape to fit the damaged area around the fixture.
- Apply a thin layer of joint compound over the seam or crack.
- Press the tape firmly into the mud using a drywall knife.
- Smooth out any bubbles or wrinkles carefully.
- Cover the tape with another thin layer of mud to seal it.
Use a 6-inch drywall knife for better control around tight spots near the fixture. Overlap tape edges slightly to avoid gaps. Avoid using too much mud under the tape; it should be thin and even. This technique prevents lumps and ensures a smooth finish. Let the mud dry completely before moving to the next step.
Layering And Sanding Mud
Once the tape is set, apply multiple layers of joint compound, called mud. Each layer should be thinner and wider than the last. This creates a smooth transition from the repair to the wall. Use a wider drywall knife for layering, such as 10 or 12 inches.
- Apply the first coat of mud over the taped area. Feather the edges outward.
- Allow the mud to dry fully, usually 24 hours.
- Lightly sand the dried mud with fine-grit sandpaper.
- Apply a second, thinner coat, extending it further out.
- Repeat drying and sanding.
- Apply a final thin coat to perfect the surface.
Sanding removes rough spots and prepares the surface for painting. Use a sanding block for even pressure. Wear a dust mask to avoid inhaling drywall dust. Check the surface under good light to spot imperfections. Smooth edges prevent visible repair lines after painting. Proper layering and sanding create a flawless finish around your light fixture.
Finishing Touches
Repairing drywall around a light fixture is almost done. The final steps bring a clean, polished look. These finishing touches make the repair blend with the ceiling perfectly. Careful priming, painting, and reinstalling the fixture complete the job. This section covers the crucial tasks that give your ceiling a smooth, neat finish.
Priming And Painting
Priming is the first step after drywall repair. It seals the repaired area and prepares it for paint. Use a high-quality primer suitable for drywall. This step stops paint from soaking unevenly and hides the patch better.
- Apply primer with a brush or roller.
- Cover the entire patched area and a little beyond.
- Let it dry completely before painting.
Painting comes next. Choose paint that matches your ceiling color. Use a flat or matte finish for a natural look. Follow these tips for best results:
- Use a small roller for smooth coverage.
- Paint in light, even coats to avoid drips.
- Allow the first coat to dry before applying a second coat.
Here is a simple table to guide your priming and painting process:
| Step | Action | Tips |
| 1 | Priming | Use drywall primer, cover patch and edges, dry fully |
| 2 | First Paint Coat | Light even coats, use roller, avoid drips |
| 3 | Second Paint Coat | Apply after first coat dries, ensure full coverage |
Priming and painting make the repair almost invisible. Take your time to do these steps well.
Reinstalling The Light Fixture
Reinstalling the light fixture is the last step. It must be done carefully to avoid damage and ensure safety. Before starting, turn off the power at the breaker.
Follow this process for reinstalling:
- Check the electrical box and wiring for damage.
- Attach the mounting bracket securely to the electrical box.
- Connect the wires: black to black, white to white, and ground wire to ground screw.
- Use wire nuts to secure connections and wrap with electrical tape.
- Carefully tuck wires into the box.
- Mount the fixture base to the bracket using screws.
- Install bulbs and attach any covers or shades.
- Turn the power back on and test the light.
Safety tips for reinstalling the fixture:
- Always ensure power is off before handling wires.
- Use a voltage tester to confirm no electricity is flowing.
- Do not force screws or parts; they should fit easily.
- Check for wobbling or loose parts after installation.
Reinstalling the fixture correctly ensures your light works well and looks great. Take time and be careful with each step.
You May Like Also: Repairing Drywall around Shower
Conclusion
Repairing drywall around a light fixture is simple with the right steps. Take time to cut and fit the drywall carefully. Use joint compound to fill gaps and smooth edges. Sand the area well to make it even. Paint the patch to match your wall color.
This fix keeps your ceiling safe and looking good. Small repairs prevent bigger problems later. A little effort saves money and stress. Keep your home bright and damage-free.