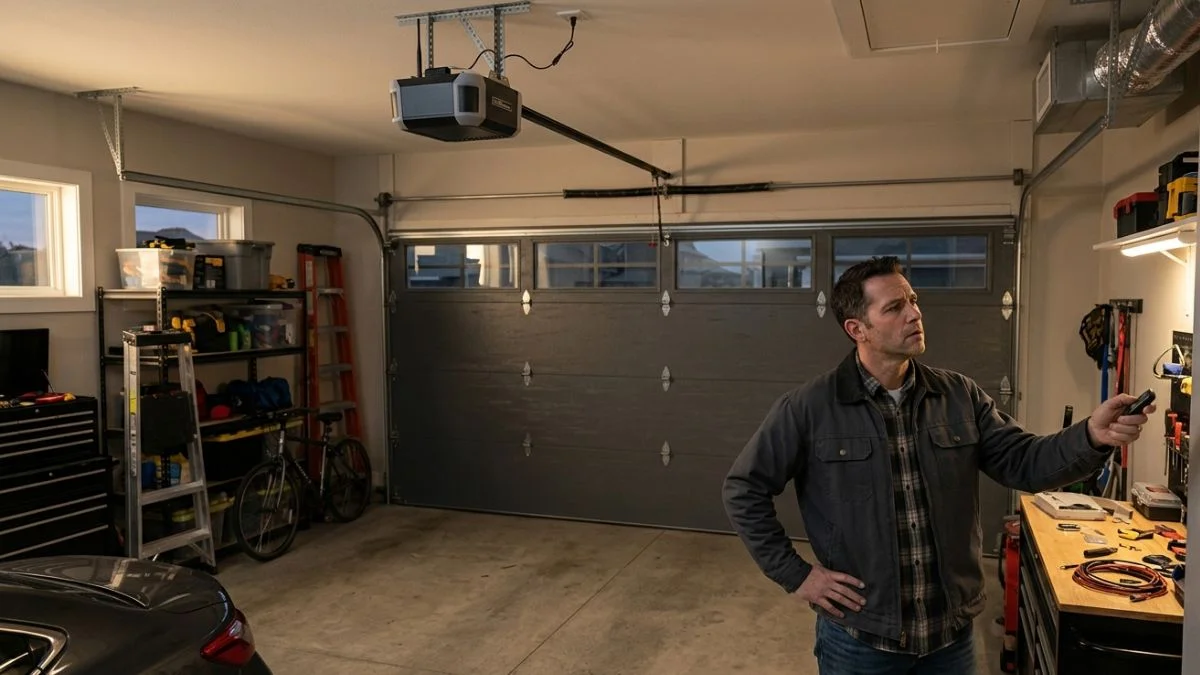
You press your LiftMaster remote, and the garage door doesn’t budge. You try again — still nothing. Frustrating, right?
The good news is that a LiftMaster garage door opener not working with remotes is a very common issue — and in most cases, it’s an easy fix you can handle yourself. A dead battery, signal interference, or a simple reprogramming is usually all it takes.
In this guide, you’ll learn exactly why your remote stopped working and how to fix it — step by step — without calling a technician.
Why Is Your LiftMaster Garage Door Opener Not Working with Remotes?
Before jumping into fixes, it helps to understand why this problem happens in the first place. LiftMaster remote issues can stem from several different causes — a dead battery, signal interference, a remote that’s lost its programming, or a damaged antenna on the opener unit. In some cases, something as simple as accidentally pressing the lock button on your wall panel can disable all your remotes without you even realizing it.
The reassuring part? Most of these causes are minor and fixable in under 15 minutes — no special tools or technical experience needed.
How LiftMaster Remotes Communicate with the Opener
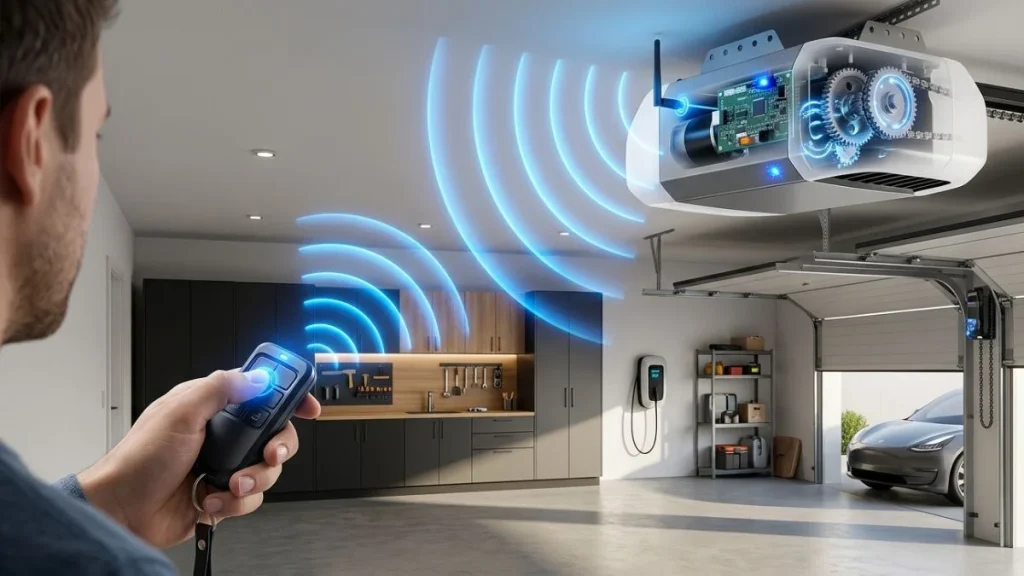
LiftMaster remotes work by sending a radio frequency signal to the opener’s receiver. When you press the button, the opener picks up that signal and responds by opening or closing the door.
What sets LiftMaster apart is its Security+ and Security+ 2.0 technology, which uses a rolling code system — meaning a new encrypted code is generated with every single button press. This makes the system very secure, but it also means that if the remote and opener fall out of sync, the door simply won’t respond.
Any disruption to that signal — whether from a weak battery, interference, or a misaligned antenna — is enough to break the connection completely.
Step-by-Step Troubleshooting — LiftMaster Remote Not Working
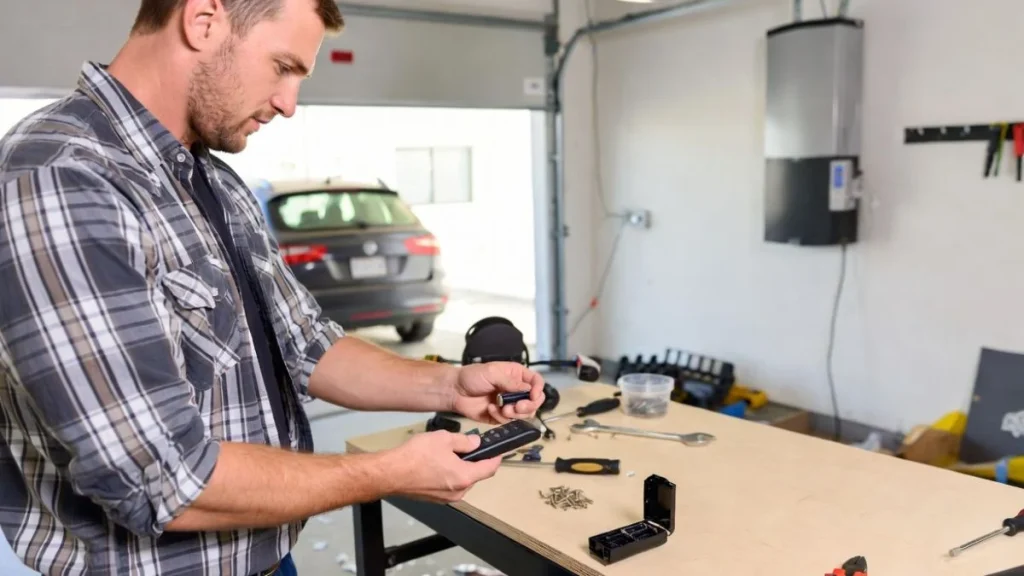
Working through these steps in order is the fastest way to find the problem. Start from the top — the most common and simplest causes — and move down from there. In most cases, you’ll find the fix well before you reach the end of this list.
Check the Remote Battery First
A dead or weak battery is the number one reason a LiftMaster remote stops working. Even a slightly weak battery can cause inconsistent behavior — working sometimes, failing other times, or only responding up close. Most LiftMaster remotes use a CR2032 or A23 12-volt battery. Replace it and test. If it still doesn’t work, try a second new battery from a different pack — brand-new batteries can occasionally be faulty right out of the package.
Check the Range and Signal Obstruction
LiftMaster remotes work reliably up to 100 feet under normal conditions. Metal doors, thick walls, and certain building materials can significantly reduce that range. Another common culprit is LED bulbs inside the opener unit — many standard LEDs emit interference that disrupts the remote signal. LiftMaster recommends using only opener-compatible LED bulbs. Test your remote from different distances and angles to confirm whether range or obstruction is the issue.
Inspect the Antenna on the Opener Motor Unit
The antenna is a thin wire hanging down from the motor unit. It should hang straight and fully extended. If it’s bent, coiled, or tucked away, simply straightening it can immediately restore signal reception. If the wire looks physically damaged or frayed, you may need a replacement antenna kit or logic board depending on your model. When in doubt, contact LiftMaster support before attempting a hardware repair.
Check for Interference from Other Devices
Nearby electronics operating on similar radio frequencies can block your remote’s signal entirely. Common sources include LED and CFL bulbs, Wi-Fi routers, baby monitors, and smart home devices. In some areas, proximity to military bases or broadcast towers can also be a factor. To find the source, turn off nearby devices one at a time and test your remote after each. When the remote starts working again, you’ve found your culprit.
Reprogram Your LiftMaster Remote
If everything above checks out, your remote may have simply lost its programming — common after power outages or memory resets.
Standard Models (Learn Button)
Press and release the Learn button on the motor unit. Within 30 seconds, press and hold your remote button until the opener light flashes or you hear two clicks. That confirms successful programming.
MyQ-Enabled Models
Follow the same Learn button process. You can also manage remotes through the MyQ app on your smartphone for added convenience.
Older DIP Switch Models
Open the remote and match the DIP switch pattern exactly to the one inside the opener motor unit. Even one switch out of position will prevent the remote from working.
Reset the LiftMaster Garage Door Opener
Press and hold the Learn button for 6 seconds until the LED goes out — this clears all stored codes from the opener’s memory. After a reset, every remote, keypad, and MyQ device must be reprogrammed from scratch. Make sure you have access to all remotes before doing this so you’re not locked out afterward.
Inspect the Logic Board and Receiver
If the opener responds to the wall button but ignores all remotes, the issue is likely the logic board or receiver. Other signs include the remote only working from inches away, no lights on the motor unit, or erratic behavior with no clear pattern. Replacing a logic board costs between $40 and $100 depending on the model. If your opener is over 10 years old, compare that cost against a full replacement — upgrading often makes more sense.
Check the Lock Button and Vacation Mode
LiftMaster’s lock or vacation mode disables all remotes as a security feature — and it’s easy to activate accidentally. When active, the wall button still works normally, but every remote appears completely dead. Look for a lock indicator light on your wall panel. To deactivate, press and hold the lock button for about 2 seconds until the light turns off. Test your remote immediately after — it should work without any reprogramming.
LiftMaster Remote Works Sometimes But Not Always — What’s Going On?
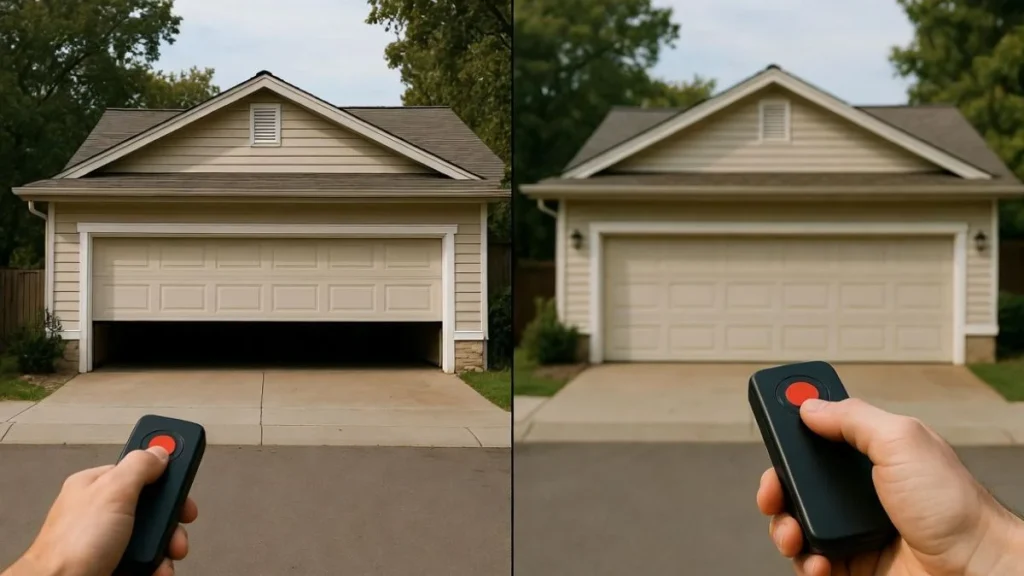
An intermittent remote is almost more frustrating than one that doesn’t work at all. When it works one minute and fails the next, it’s easy to second-guess yourself. But intermittent behavior always has a cause — it means the signal is getting through some of the time but not consistently enough to be reliable.
Intermittent Remote Issues and What Causes Them
A weak battery is the most frequent cause. As the battery gradually loses power, the signal becomes inconsistent — and cold temperatures make it worse by reducing battery output even further.
Rolling code sync issues are another common culprit. LiftMaster’s Security+ system generates a new code with every button press. If the remote and opener fall slightly out of sync — after interference or a power fluctuation — the opener may accept some codes and reject others, creating exactly that on-and-off behavior.
Marginal programming can also be the issue. If the remote was programmed under poor signal conditions — low battery, nearby interference, or too far from the opener — it may have been stored with a weak signal in the opener’s memory, leaving it right on the edge of reliable performance.
How to Fix an Intermittent LiftMaster Remote
Start by replacing the battery — even if it seems fine. A fresh battery eliminates the most common cause immediately.
Next, reprogram the remote from scratch using the Learn button. A clean reprogramming resolves most sync issues and gives the opener a strong, fresh signal to work from.
If the problem continues, pay attention to when and where the remote fails. A consistent pattern points toward interference or range issues rather than the remote itself.
If intermittent behavior persists after a new battery and fresh programming, the remote may be physically failing due to age or internal wear. Replacing it with a genuine LiftMaster remote is the most practical fix. If a brand-new remote still behaves the same way, the receiver inside the motor unit is the next place to investigate.
LiftMaster Remote Stopped Working After Power Outage
A power outage is one of the most common triggers for LiftMaster remote problems — and one of the most misunderstood. Many homeowners assume the outage damaged their opener or wiped out their remote’s programming permanently. In most cases, neither of those things is true.
When power is suddenly cut and restored, the opener’s internal system can experience a brief disruption that causes the remote and opener to fall out of sync — making it seem like the remote has stopped working entirely.
Does LiftMaster Lose Programming After a Power Loss?
In most modern LiftMaster models, remote programming is stored in non-volatile memory, meaning it survives power outages without being erased. What’s more likely is a rolling code sync issue caused by the disruption. A simple reprogramming using the Learn button is usually all it takes to fix it.
How to Restore Remote Function After a Power Outage
Unplug the opener, wait 30 seconds, then plug it back in. This soft reset clears any temporary errors from the power disruption. After it powers back up, test your remote. If it still doesn’t respond, reprogram it using the Learn button — and that should do it.
As a long-term precaution, plug your opener into a surge protector. Power surges at the moment electricity is restored are a leading cause of logic board damage — and a surge protector is a small investment that protects a much more expensive piece of equipment.
When to Replace Your LiftMaster Remote vs. Repair It
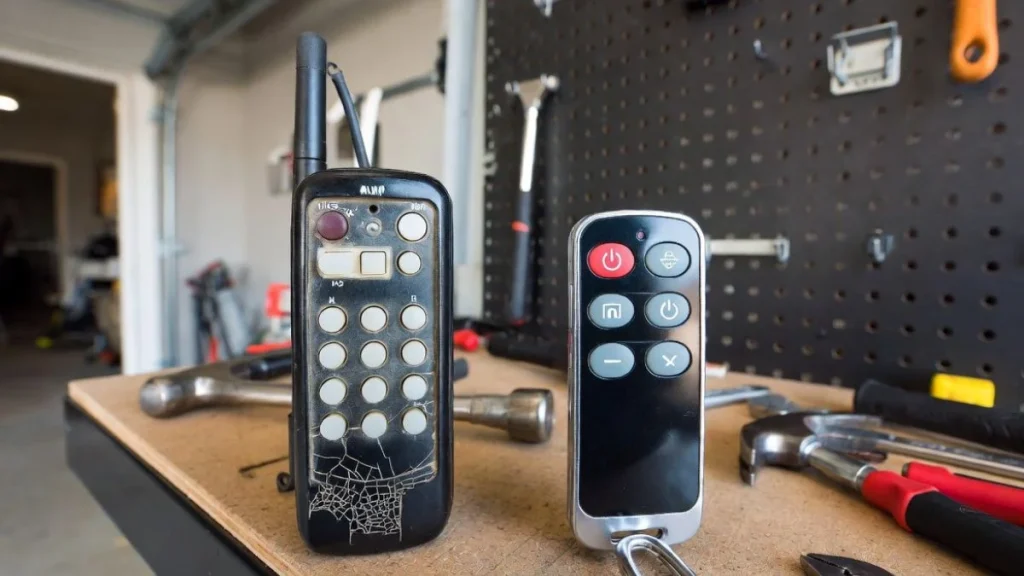
There comes a point where you have to ask — is it worth continuing to fix this remote, or is it time to replace it? The general rule is simple: if the remote has gone through all the basic fixes — fresh battery, reprogramming, interference check — and still isn’t performing reliably, the remote itself is likely the problem.
Signs Your Remote Needs to Be Replaced
Physical damage is the most obvious sign. A cracked casing, broken button, or corroded battery contacts aren’t practically repairable at home. If the remote has been dropped, run over, or exposed to water, internal damage is almost certain even if it looks fine on the outside.
Age is another reliable indicator. Most LiftMaster remotes last around 5 to 7 years under normal use. Beyond that, internal components degrade and signal output weakens — even with a fresh battery and clean programming.
If you’ve reprogrammed the remote multiple times and it keeps losing its connection, the internal memory or transmitter is likely failing. And if you’ve recently upgraded to a newer opener, your old remote may simply be incompatible — older fixed-code remotes won’t work with newer Security+ 2.0 systems, and no reprogramming will fix that.
Compatible Replacement Remotes for LiftMaster Openers
LiftMaster offers reliable replacement options for every need. The 371LM is a single-button remote ideal for one door. The 373LM offers three buttons for multiple doors or gates. The 893MAX is a three-button remote fully compatible with MyQ-enabled openers for smart home integration.
Universal third-party remotes are available but proceed with caution — not all support Security+ 2.0 rolling code technology. Sticking with genuine LiftMaster remotes is always the safer choice.
Genuine LiftMaster remotes are reasonably priced, typically $20 to $50, and available through the LiftMaster website, authorized dealers, and retailers like Amazon and Home Depot. Always buy from a reputable source to avoid counterfeit products.
How to Prevent LiftMaster Remote Problems in the Future
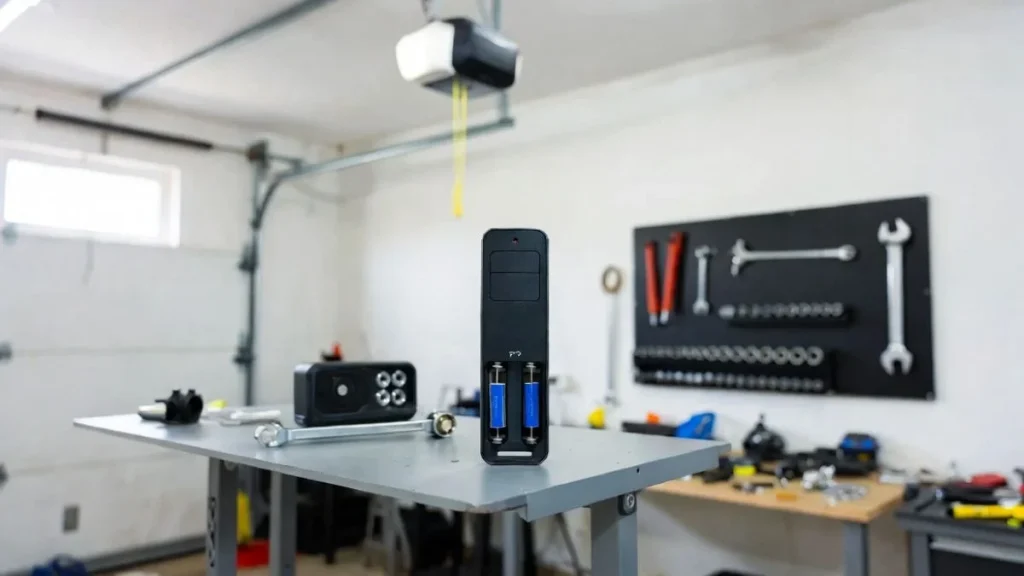
Fixing a remote problem once is frustrating enough — fixing the same problem repeatedly is even worse. Most LiftMaster remote issues are entirely preventable with a few simple habits.
Avoid leaving your remote in extreme heat or cold — temperature fluctuations gradually degrade the battery and internal components over time. Replace the battery proactively every one to two years rather than waiting for the remote to start failing.
Periodically check that the opener’s antenna wire hangs straight down from the motor unit and hasn’t been bent or blocked by stored items in your garage. Also switch to LiftMaster-compatible LED bulbs in your opener unit — standard LEDs are a well-documented source of radio frequency interference that disrupts remote signals.
Every few months, do a quick range test from the far end of your driveway. If the remote requires multiple presses or responds slowly, address it early before it turns into a bigger problem.
For the most reliable long-term setup, consider upgrading to a MyQ-enabled LiftMaster opener — it gives you real-time smartphone control and reduces your dependence on a physical remote entirely.
Read Also: Chamberlain Garage Door Opener Lights Not Working
Conclusion
A LiftMaster garage door opener not working with remotes is rarely a serious problem — and in most cases, it’s something you can fix yourself in just a few minutes. A dead battery, a simple reprogramming, a loose antenna, or an accidentally activated lock button are behind the majority of remote issues homeowners experience.
Work through the steps in this guide from top to bottom before spending money on a technician or a replacement opener. Chances are, the fix is simpler than you think.
If you’ve gone through every step and the remote still isn’t responding, that’s when it makes sense to look at replacing the remote itself or having the logic board professionally inspected. And once everything is working again, a few basic maintenance habits — fresh batteries, compatible bulbs, and a clear antenna — will go a long way toward keeping the problem from coming back.