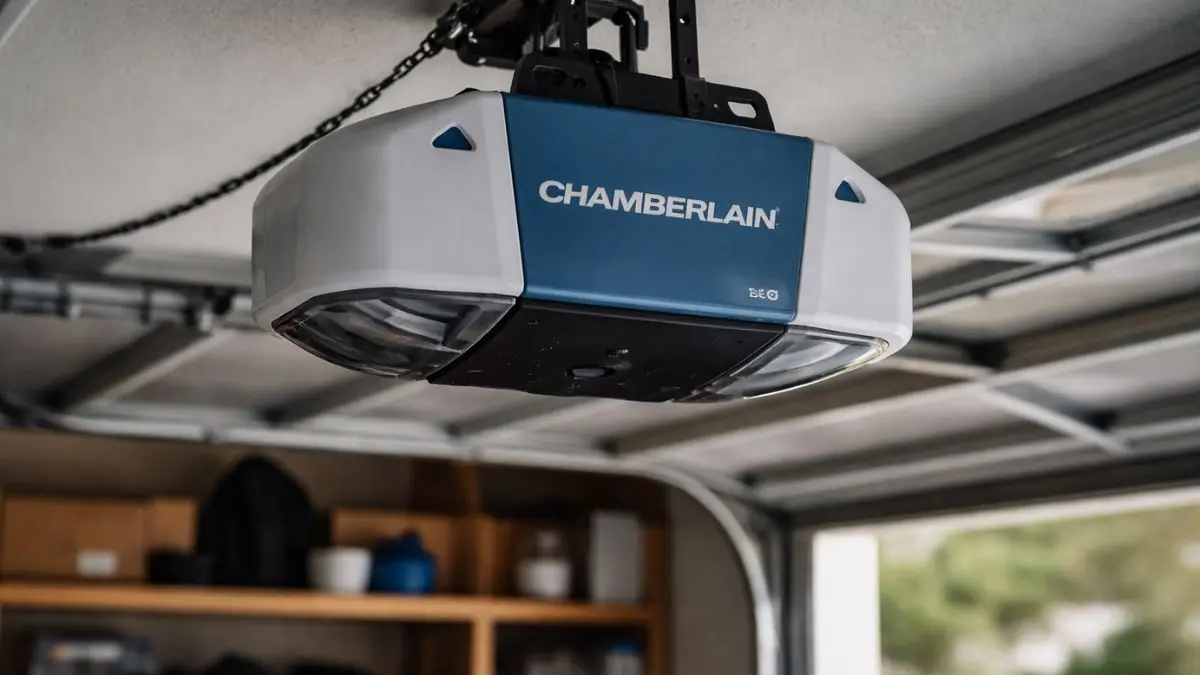
Are your Chamberlain garage door opener lights not working when you need them most? It’s frustrating when the lights fail, leaving you in the dark while you try to get in or out of your garage.
You might worry that something is seriously wrong or that fixing it will cost a lot of time and money. The good news? Most of the time, this issue is easy to solve. You’ll discover simple steps to get your garage door opener lights shining bright again—quickly and without stress.
Common Causes Of Light Failure
Chamberlain garage door opener lights not working can disrupt your routine and reduce safety. The lights help you see your garage clearly at night.
Burnt Out Bulbs
Burnt out bulbs are the simplest and most frequent reason for light failure. Over time, bulbs lose brightness and finally stop working. This issue is easy to check and fix.
- Bulb lifespan: Most bulbs last about 1,000 hours, but usage varies.
- Signs of burnout: Flickering or no light at all.
- Replacement: Use the correct bulb type for your Chamberlain model.
Check your bulbs regularly to avoid sudden failures. Always turn off power before replacing bulbs to prevent shocks. Using an LED bulb can last longer and save energy.
| Bulb Type | Average Lifespan | Energy Usage | Recommended |
| Incandescent | 1,000 hours | High | No |
| Halogen | 2,000 hours | Medium | Sometimes |
| LED | 25,000+ hours | Low | Yes |
Faulty Wiring Connections
Wiring problems often cause the lights to fail. Loose or damaged wires stop electricity flow. This issue needs careful inspection.
- Check connections: Inspect wires at the opener and light socket.
- Look for damage: Frayed or cut wires can cause failure.
- Secure wires: Tighten loose connections with a screwdriver.
Faulty wiring can cause flickering lights or no lights. Use a voltage tester to check if power reaches the bulb socket. Safety first: turn off the power before touching wires. If unsure, hire a professional electrician to avoid risks.
Power Supply Issues
Power supply problems affect the entire garage door opener, including lights. If the opener has no power, lights will not work.
- Check outlet: Make sure the power outlet is working.
- Inspect fuse or breaker: Replace blown fuses or reset tripped breakers.
- Test power cord: Look for cuts or damage in the cord.
Sometimes, a power surge can damage the opener’s internal system. A surge protector can prevent this. Regularly test the power source to keep the opener running smoothly.
| Power Issue | Symptom | Solution |
| No power at outlet | Lights off, opener dead | Test outlet with another device |
| Blown fuse or breaker | Sudden power loss | Replace fuse or reset breaker |
| Damaged power cord | Intermittent power | Replace or repair cord |
Malfunctioning Light Board
The light board controls the garage door opener’s lights. A faulty board can stop lights from working even if bulbs and wiring are fine.
- Signs of failure: Lights do not turn on or stay on constantly.
- Cause: Internal circuit damage or wear over time.
- Testing: Use a multimeter to check voltage output from the board.
- Replacement: Light board replacement may be necessary.
Replacing the light board requires some technical skill. Consult your Chamberlain manual for part numbers and instructions. In many cases, calling a technician is the safest choice. Keep your opener’s firmware updated to avoid electronic glitches that affect the light board.
Troubleshooting Steps
Chamberlain garage door opener lights not working can cause inconvenience and reduce safety. Troubleshooting these lights helps restore proper function quickly. Start with simple checks before calling a professional.
Checking The Bulbs
Begin by examining the bulbs in your Chamberlain garage door opener. Bulbs can burn out or become loose, causing the lights to stop working. Follow these steps:
- Turn off the power to the garage door opener to avoid electric shock.
- Remove the light cover carefully to access the bulbs.
- Check if the bulbs show any visible signs of damage, such as blackened or broken filaments.
- Gently tighten any loose bulbs by twisting them clockwise.
- Replace bulbs that look damaged or have burned out with new ones of the same type and wattage.
Use only bulbs recommended by Chamberlain to avoid electrical problems or voiding warranties. LED bulbs work well for longer life and better energy efficiency. After replacing or tightening bulbs, restore power and test if the lights turn on during door operation.
| Bulb Type | Recommended Wattage | Notes |
| Incandescent | 60 watts | Standard, less energy efficient |
| LED | Equivalent to 60 watts incandescent | Longer life, energy-saving |
Inspecting Wiring And Connections
Faulty wiring or loose connections can stop the opener lights from working. Inspect all wiring related to the light system carefully. Follow these key steps:
- Unplug the garage door opener or switch off the circuit breaker for safety.
- Locate the wiring near the light sockets and the opener’s motor unit.
- Look for damaged wires, frayed insulation, or disconnected connectors.
- Secure any loose wires by firmly reconnecting them or using wire nuts.
- Check for signs of corrosion or burnt marks on wiring terminals.
Use a multimeter to test wire continuity if you have one. Broken wires or poor connections cause power loss to the lights. Repair damaged wires with electrical tape or replace them if needed. Proper wiring ensures stable light operation and safety.
Testing The Power Source
The garage door opener lights depend on a steady power supply. Test the power source to rule out electrical issues. Here’s how:
- Confirm the garage outlet supplying power is working by plugging in another device.
- Check the circuit breaker panel for tripped breakers and reset if necessary.
- Use a voltage tester to measure the outlet voltage; it should read around 120 volts (in the US).
- Inspect the power cord of the opener for cuts or damage.
- Try plugging the opener into a different outlet to see if the lights respond.
Power interruptions or faulty outlets can prevent the opener lights from turning on. Ensuring good power supply helps maintain consistent garage lighting.
Resetting The Opener
Resetting the Chamberlain garage door opener can fix minor electronic glitches affecting the lights. Follow these steps:
- Unplug the garage door opener from the power outlet.
- Wait for at least 30 seconds to allow the system to reset.
- Plug the opener back into the power source.
- Press and hold the light button on the remote or control panel for a few seconds.
- Observe if the lights turn on and off properly during door movement.
If the lights still do not work, check the user manual for specific reset instructions for your model. Resetting often clears minor software errors and restores normal light function without complex repairs.
Replacing Garage Door Opener Lights
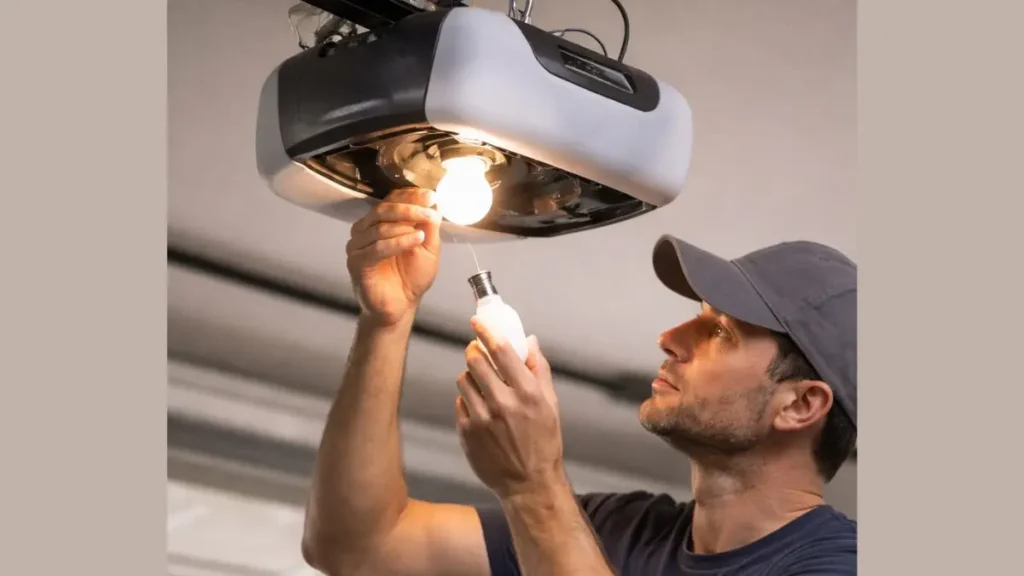
Chamberlain garage door opener lights can stop working due to burnt-out bulbs or electrical issues. Replacing the lights restores visibility and safety in your garage. This process is simple and can be done with a few tools and the right bulbs. Proper replacement helps keep your garage well-lit for daily tasks and improves the overall function of your garage door opener.
Choosing The Right Bulbs
Selecting the correct bulbs is key to getting your garage door opener lights back on. Chamberlain openers usually require bulbs with specific wattage and size. Using the wrong bulb can cause damage or poor lighting.
- Check your opener’s manual for bulb specifications.
- Common bulb types include 40-watt incandescent or LED bulbs designed for garage door openers.
- LED bulbs last longer and use less energy than incandescent bulbs.
- Avoid bulbs with wattage higher than recommended to prevent overheating.
| Bulb Type | Wattage | Average Lifespan | Energy Use |
| Incandescent | 40W | 1,000 hours | Higher |
| LED | 6-9W (Equivalent to 40W) | 25,000+ hours | Lower |
Choosing LED bulbs can reduce energy costs and require fewer replacements. Always buy bulbs from trusted brands to ensure quality and safety.
Step-by-step Replacement Guide
Replacing the garage door opener lights involves a few simple steps. Follow these instructions carefully to complete the task quickly.
- Unplug the opener from the power source to avoid electrical shock.
- Locate the light cover on the garage door opener unit.
- Remove the cover by sliding or unscrewing it, depending on your model.
- Take out the old bulb by gently twisting or pulling it out.
- Insert the new bulb carefully without touching the glass part with bare hands.
- Replace the cover securely back onto the unit.
- Plug the opener back in and test the new bulb by activating the door opener.
Keep a clean cloth nearby to handle bulbs and avoid oils from your fingers shortening bulb life.
Recommended: Garage Door Light Flashes 5 Times
Safety Precautions
Safety is crucial when replacing garage door opener lights. Follow these tips to protect yourself and your equipment.
- Always disconnect power before starting any work on the opener.
- Use a stable ladder or step stool to reach the unit comfortably.
- Wear gloves to prevent cuts or burns and protect the bulb from oils.
- Do not force parts when removing or installing bulbs or covers.
- Avoid touching the glass of the new bulb with bare fingers.
- Check for damage on wires or sockets before installing new bulbs.
- Keep the work area dry to prevent electrical hazards.
Following these safety steps reduces injury risk and ensures your garage door opener works smoothly.
Conclusion
Chamberlain garage door opener lights not working can cause frustration. Check the power source and bulbs first. Clean the sensors to ensure they work well. Resetting the opener often fixes small glitches. Regular maintenance helps avoid future problems. Small steps can bring your lights back quickly.
Keep tools and instructions nearby for easy fixes. Taking action today saves time and stress tomorrow. Your garage door opener will shine bright again.