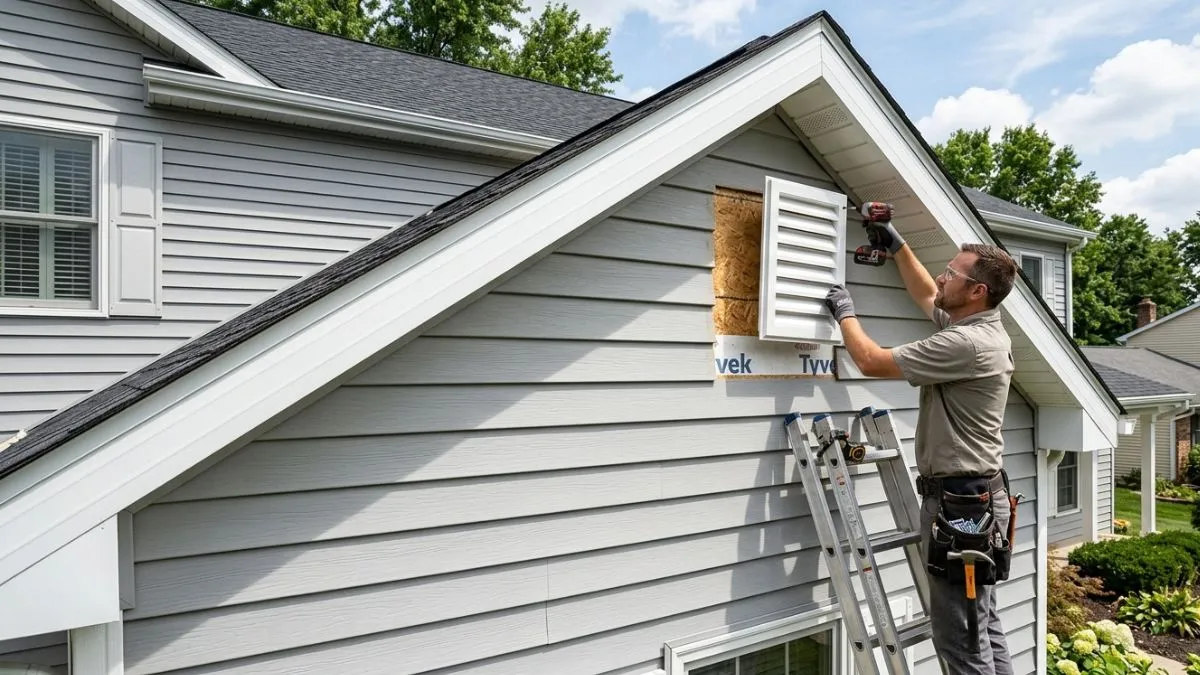
Are you looking to improve your home’s ventilation without tearing down your existing siding? Installing a gable vent over your current siding can be a smart and effective solution.
It helps keep your attic cool, prevents moisture build-up, and can even lower your energy bills. But how do you do it right, without damaging your siding or inviting leaks?
In this guide, you’ll discover simple steps and expert tips to install a gable vent smoothly and securely.
Choosing The Right Gable Vent
Choosing the right gable vent is key to improving attic ventilation and maintaining your home’s health. A well-selected gable vent controls airflow, reduces heat buildup, and prevents moisture damage.
Types Of Gable Vents
Gable vents come in several styles, each with unique features and benefits. Picking the right type depends on your attic’s ventilation needs and the home’s exterior design. Here are the most common types:
- Louvered Vents: Feature angled slats that allow airflow while keeping rain and debris out. They are simple and effective for most homes.
- Gable End Vents: Fit directly into the gable end of the roof. They provide large airflow and are easy to install over existing siding.
- Decorative Vents: Designed to add style with shapes like circles, stars, or arches. They combine function with curb appeal.
- Electric or Powered Vents: Use fans to improve airflow actively. These are best for homes needing extra ventilation but require power connection.
Material Options
Gable vents come in various materials, each affecting durability, cost, and maintenance. Choosing the right material ensures the vent lasts and matches your home’s look. Common materials include:
- Wood: Traditional and attractive with natural texture. Wood needs regular painting or sealing to prevent rot and insect damage.
- Vinyl: Low maintenance and resistant to moisture. Vinyl vents resist cracking and fading but may look less natural.
- Aluminum: Lightweight and rust-resistant. Aluminum works well in humid or coastal areas but can dent easily.
- Steel: Strong and durable with good weather resistance. Steel vents may require rust-proof coating and can be heavier to install.
Consider climate, maintenance needs, and budget when picking material. The table below compares key traits:
| Material | Durability | Maintenance | Appearance | Cost |
| Wood | Moderate | High | Natural | Medium |
| Vinyl | Good | Low | Plastic-like | Low |
| Aluminum | Good | Low | Metallic | Medium |
| Steel | High | Medium | Metallic | High |
Sizing Considerations
Choosing the correct size for a gable vent is critical for proper attic ventilation. A vent too small limits airflow, causing heat and moisture problems. A vent too large can affect wall strength and appearance. Follow these guidelines:
- Calculate Attic Space: Measure the attic’s square footage to estimate airflow needs.
- Match Vent Area: The vent’s net free area (NFA) should cover at least 1/150 of the attic floor space. This means 1 square foot of vent for every 150 square feet of attic.
- Balance Intake and Exhaust: Ensure intake vents (like soffit vents) and exhaust vents (gable vents) work together for airflow.
- Check Structural Limits: Avoid cutting large openings that weaken wall framing or siding support.
Preparing The Installation Area
Installing a gable vent over existing siding requires careful preparation to ensure a smooth fit and long-lasting results. Preparing the installation area is the first crucial step. It involves identifying the right spot for the vent, marking where to cut, and protecting the surrounding siding. Proper preparation saves time and prevents damage during installation. It also helps maintain the home’s appearance and structural integrity.

Locating The Vent Position
Finding the perfect spot for the gable vent is essential for proper airflow and aesthetic balance. Start by measuring the gable area to determine the center point horizontally and vertically. The vent should be centered between the roof peak and the eaves for optimal ventilation.
Consider these factors when locating the vent position:
- Avoid areas with wiring or plumbing behind the siding.
- Check for any obstructions inside the attic or wall cavity.
- Ensure the vent will not interfere with existing windows or other vents.
- Account for the vent size and shape to fit the space correctly.
Use a tape measure and a level to mark the center point clearly. Double-check all measurements before moving forward. Accurate positioning ensures the vent functions well and looks neat from the outside.
Marking The Cut Lines
Marking the cut lines precisely guides the cutting process and protects the siding. Start by placing the vent template or the vent itself on the chosen spot. Use a pencil or chalk to trace the outline of the vent on the siding.
Follow these steps for clear and accurate cut lines:
- Confirm the vent is level and centered.
- Trace the exact outer edge of the vent frame.
- Add a small gap of about 1/8 inch around the outline to allow for easy fitting.
- Use a straightedge or ruler for sharp, clean lines.
Marking the cut lines carefully prevents mistakes during cutting. Mistakes can damage the siding or cause poor vent fitting. Keep the marks visible but avoid heavy pressure that may damage the siding surface.
Protecting Existing Siding
Protecting the siding around the installation area prevents damage and keeps the house looking good. The siding may crack, chip, or scratch during cutting or vent fitting if not properly protected.
Use these tips to protect the siding:
- Cover the area with painter’s tape around the cut lines. This prevents paint chipping and surface scratches.
- Use a drop cloth or plastic sheet to shield the siding from debris.
- Handle tools carefully near the siding edges. Avoid pressing or scraping too hard.
- Wear gloves to keep a good grip and avoid slips that can damage siding.
Take time to prepare the siding before cutting. This step saves money on repairs and keeps the home exterior tidy. Proper protection also ensures the vent installation looks professional and lasts longer.
Cutting Through Siding And Sheathing
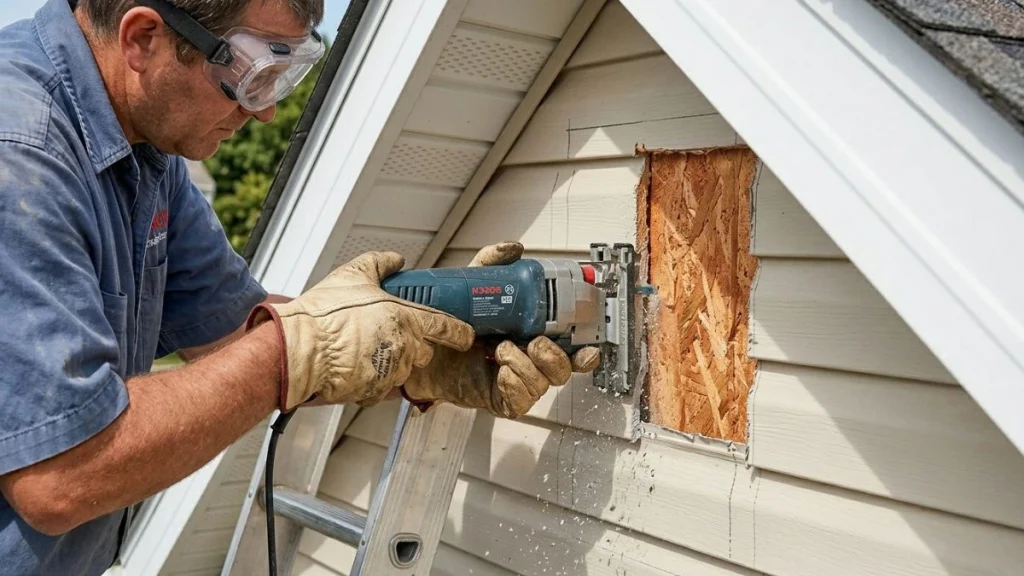
Installing a gable vent over existing siding requires precise cutting through both siding and sheathing. This step is crucial for proper ventilation and a clean finish. Cutting through the layers involves careful measurement and the right tools.
Using The Right Cutting Tools
Choosing the correct tools makes cutting through siding and sheathing easier and safer. The right tools reduce the risk of rough edges or accidental damage. Here are the common tools needed:
- Jigsaw: Ideal for curved or straight cuts in wood, vinyl, or fiber cement siding.
- Circular Saw: Best for straight, long cuts through sheathing and thicker siding types.
- Reciprocating Saw: Useful for demolition or uneven cuts but less precise.
- Utility Knife: Great for scoring vinyl siding before cutting with a saw.
- Drill with Hole Saw: Needed for starting holes in siding to insert saw blades.
Using sharp blades improves cutting quality. Dull blades cause splintering or tear out. Always wear safety goggles and gloves to protect yourself from debris.
| Tool | Best For | Tips |
| Jigsaw | Curved or detailed cuts | Use a fine-tooth blade for clean cuts |
| Circular Saw | Straight cuts on thick materials | Set blade depth carefully |
| Utility Knife | Scoring vinyl siding | Score several times before cutting |
Avoiding Damage To Surrounding Areas
Protecting the siding and sheathing around the cut area is vital. Damage can lead to water leaks or weaken the wall structure. Follow these tips to minimize risks:
- Mark the cut carefully: Use a pencil and level to draw clear lines.
- Score before cutting: For vinyl siding, score the cut line to prevent cracking.
- Use masking tape: Place tape over the cutting line to reduce splintering.
- Cut slowly and steadily: Avoid rushing to keep control and accuracy.
- Support the siding: Hold siding firmly to stop vibrations and movement.
After cutting, inspect the edges. Smooth rough spots with sandpaper or a file to prevent water infiltration. Seal gaps with exterior-grade caulk to protect against moisture.
Handling Different Siding Types
Different siding materials require different cutting methods and care. Knowing the type helps choose the right tools and techniques. Here are common siding types and handling tips:
| Siding Type | Cutting Method | Special Considerations |
| Vinyl | Score with utility knife, then cut with jigsaw or fine saw blade | Cut slowly to prevent cracking; avoid excessive force |
| Wood | Use circular saw or jigsaw with fine-tooth blade | Seal cut edges to prevent rot |
| Fiber Cement | Use carbide-tipped blade on circular saw | Wear mask to avoid dust; cut outside if possible |
| Metal | Tin snips or metal-cutting circular saw blade | Deburr edges; wear gloves to avoid cuts |
Test cuts on scrap pieces help prevent mistakes. Always follow manufacturer guidelines for siding materials. Handling siding properly ensures a neat installation and long-lasting results.
Installing The Vent Frame
Installing the vent frame is a key step when adding a gable vent over existing siding. This step ensures the vent fits securely and functions well. Proper frame installation creates a strong base for the vent and helps prevent air and water leaks. Taking time to install the frame correctly makes the rest of the project easier and more durable.
Securing The Vent To Wall Structure
Start by locating the wall studs behind the siding. Use a stud finder for accuracy. The vent frame must attach directly to these studs for stability. Avoid just fastening to the siding alone; this will not hold the vent firmly.
Follow these steps to secure the vent frame:
- Mark the stud locations on the siding.
- Cut an opening in the siding matching the vent size.
- Place the vent frame into the opening.
- Use long screws that reach the studs to fasten the frame.
- Check that screws are evenly spaced, about every 12 inches.
Tip: Use corrosion-resistant screws to avoid rust over time. This keeps the vent frame strong and safe.
| Tool/Material | Purpose |
| Stud finder | Locate studs behind siding |
| Long screws | Secure frame to studs |
| Drill or screwdriver | Drive screws into studs |
Ensuring Proper Alignment
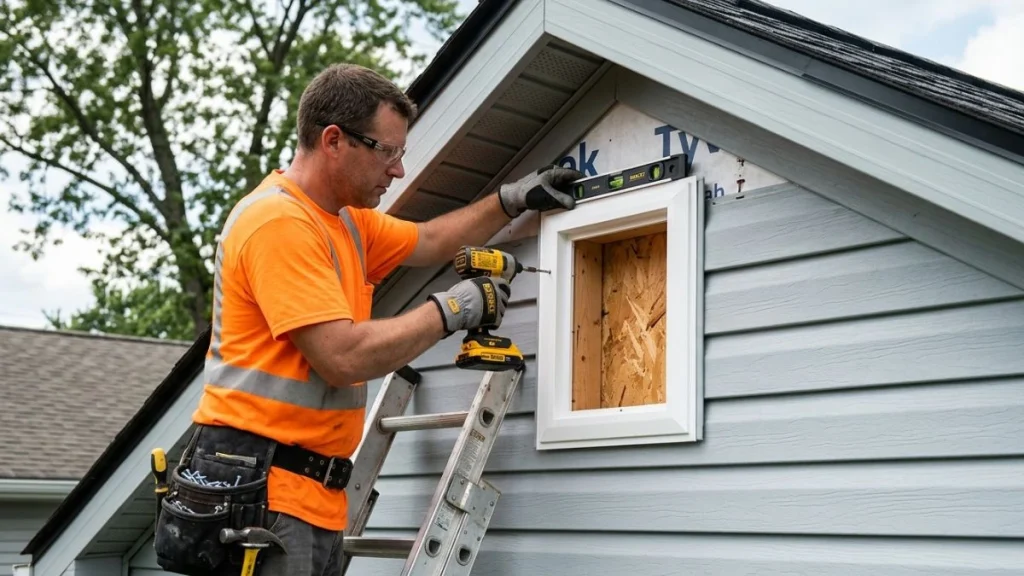
Proper alignment keeps the vent straight and level. This affects both the look and function of the vent. Use a level to check horizontal and vertical position before fastening.
Steps to ensure correct alignment:
- Hold the vent frame in the opening.
- Place a level along the top edge and adjust until it is perfectly horizontal.
- Use a level on the side to check for vertical alignment.
- Tighten screws slowly, checking alignment after each one.
- Make small adjustments as needed before fully securing.
Note: A misaligned vent can cause gaps and poor airflow. Take time to get this right for best results.
Sealing Around The Vent
Sealing prevents water and air leaks around the vent frame. Proper sealing protects your home and keeps the vent working efficiently. Use high-quality exterior caulk or foam sealant for best results.
Follow these sealing tips:
- Apply caulk around all edges of the vent frame.
- Use a caulk gun for even application.
- Press the caulk firmly into gaps to fill all spaces.
- Check for any holes or cracks and seal them completely.
- Allow sealant to dry fully before painting or finishing.
Pro tip: Choose a sealant that matches your siding color for a clean look. Proper sealing keeps moisture out and prevents damage over time.
Finishing Touches
Installing a gable vent over existing siding improves attic ventilation and adds curb appeal. The final steps, or finishing touches, ensure the vent looks great and works well. These tasks include painting, sealing gaps, checking for air leaks, and planning regular maintenance. Proper finishing protects your home from weather damage and keeps the vent efficient for years.
Painting And Caulking
Painting the gable vent and caulking around it are vital steps. They protect the vent and siding from moisture and pests. Use exterior-grade paint that matches your siding color. This creates a seamless look and enhances curb appeal.
Follow these tips for painting and caulking:
- Clean the surface before painting to remove dirt and dust.
- Use a primer if the vent material requires it.
- Apply at least two coats of paint for durability.
- Choose paint designed for outdoor use to withstand weather.
- Use high-quality exterior caulk to seal edges and gaps.
- Apply caulk in a smooth, continuous line for a tight seal.
Inspecting For Air Leaks
Air leaks around the gable vent reduce ventilation efficiency and waste energy. Inspect the vent area carefully after installation. Use the following checklist to find leaks:
- Look for visible gaps or cracks between the vent and siding.
- Check for loose or missing caulk.
- Feel for drafts by placing your hand near the vent edges.
- Use a flashlight inside the attic to spot light shining through gaps.
Seal any leaks promptly with exterior caulk or foam sealant. This keeps air moving properly through the vent and prevents moisture buildup inside walls.
Here is a simple inspection routine:
- Examine vent edges from outside.
- Apply extra caulk where needed.
- Inspect attic side for leaks or gaps.
- Repeat every six months or after storms.
Maintenance Tips
Regular maintenance keeps your gable vent functioning well. Follow these easy steps:
- Clean the vent to remove dirt, leaves, and nests twice a year.
- Check paint and caulk annually for cracks or peeling.
- Repair damaged siding around the vent promptly.
- Inspect for pests like insects or birds nesting inside.
- Clear nearby gutters to prevent water damage near the vent.
Use this table to plan your maintenance tasks:
| Task | Frequency | Purpose |
| Cleaning vent | Every 6 months | Remove debris, keep airflow clear |
| Inspect paint and caulk | Annually | Prevent water damage |
| Check for pests | Every 6 months | Avoid blockage and damage |
| Clear gutters | Twice a year | Prevent water overflow near vent |
Consistent care keeps your gable vent secure and effective for many years.
Read Also: Dryer Vent down Through Floor
Conclusion
Installing a gable vent over siding improves attic air flow. It helps reduce heat and moisture build-up inside your home. The process is simple and saves you from major siding work. Proper placement ensures your vent works efficiently. With careful measuring and cutting, you avoid damage to siding.
This small update can extend your roof’s life. Keep your home cooler in summer and drier in winter. A well-ventilated attic supports a healthier living space. Try this project to boost your home’s comfort and value.