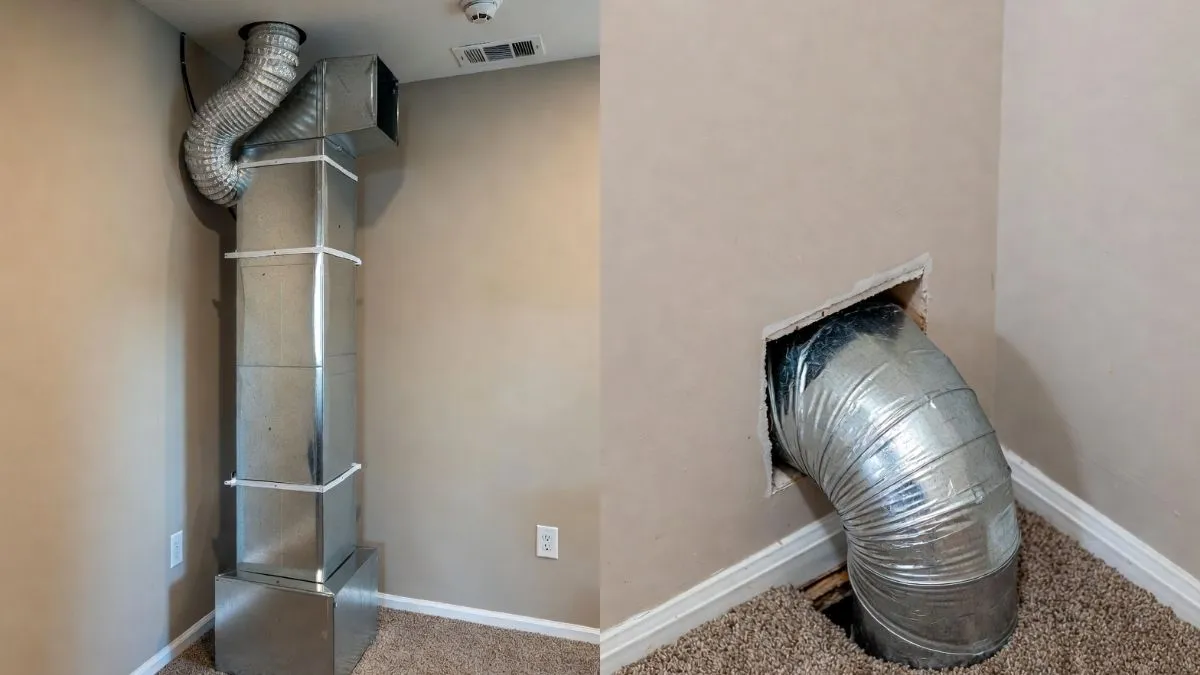
Is your dryer vent running down through the floor? You might not realize how important proper venting is for your dryer’s safety and efficiency.
When your dryer vent goes down through the floor, it can create unique challenges that affect your home’s air quality and even increase fire risks. You’ll discover what to watch out for, why it matters, and simple steps you can take to keep your dryer running smoothly and your home safe.
Choosing Vent Location
Choosing the right location for a dryer vent that goes down through the floor is essential. The vent must work safely and efficiently. Picking the proper spot helps prevent problems like poor airflow or damage to your home. Careful planning saves time and money during installation.
Assessing Floor Structure
Before installing the vent, check the floor structure carefully. Some floors have joists, beams, or pipes that can block the vent path. Knowing the floor layout helps find the best place for the vent opening.
Key points to consider:
- Locate floor joists: These are horizontal beams supporting the floor. Avoid cutting through them to keep floor strength.
- Check subfloor material: Wood, concrete, or other materials affect how you drill the vent hole.
- Measure thickness: Thicker floors may need longer vent pipes or different fittings.
Avoiding Obstructions
Clear the vent path from any obstructions inside walls or floors. Pipes, electrical wires, and ducts can block airflow or cause hazards.
Steps to avoid obstructions:
- Use a stud finder: Detect studs, wires, and pipes behind walls.
- Consult building plans: Find the location of plumbing and electrical lines.
- Inspect crawl spaces or basements: Check for obstacles under the floor.
- Mark safe drilling zones: Avoid any obstacles during vent hole cutting.
Common obstructions and solutions:
| Obstruction | Risk | How to Avoid |
| Water Pipes | Leaks or damage | Move vent location or reroute pipes |
| Electrical Wiring | Fire hazard | Shift vent path; hire electrician if needed |
| HVAC Ducts | Reduced airflow | Choose vent spot away from ducts |
Planning vent location with no obstructions keeps dryer vent safe and efficient. It also prevents future repairs and hazards.
Recommended: Can You Run a Dryer Vent Through Floor Joists?
Measuring And Marking
Installing a dryer vent down through the floor requires precise measuring and marking. This step ensures the vent fits correctly and works safely. Accurate measurements prevent leaks and blockages. Marking the right spots helps guide drilling and cutting without mistakes. Careful planning saves time and effort during installation.
Determining Vent Path
Start by finding the best path for the dryer vent from the dryer to the outside. This path must be as short and straight as possible. A long or curved vent can reduce dryer efficiency and increase fire risk.
Follow these steps to determine the vent path:
- Locate the dryer’s exhaust outlet.
- Check the floor directly below the dryer for a clear route.
- Identify joists, pipes, or wires that could block the path.
- Plan a route that avoids obstacles and maintains a straight line.
- Measure the distance from the dryer outlet to the floor and then to the outside vent.
Marking Drill Points
Marking drill points correctly is key to a clean, accurate hole for the vent pipe. The hole must be the right size and in the right place. Too large or off-center holes cause leaks and gaps.
Follow these steps for marking drill points:
- Measure the diameter of your vent pipe.
- Find the center point on the floor where the vent will pass through.
- Use a square or ruler to ensure the mark is straight and aligned with the vent path.
- Draw a circle matching the vent pipe diameter around the center point.
- Double-check measurements before drilling or cutting.
Tip: Use painter’s tape around the drill area to minimize wood splintering. Mark drill points on this tape for clearer visibility.
Cutting Through The Floor
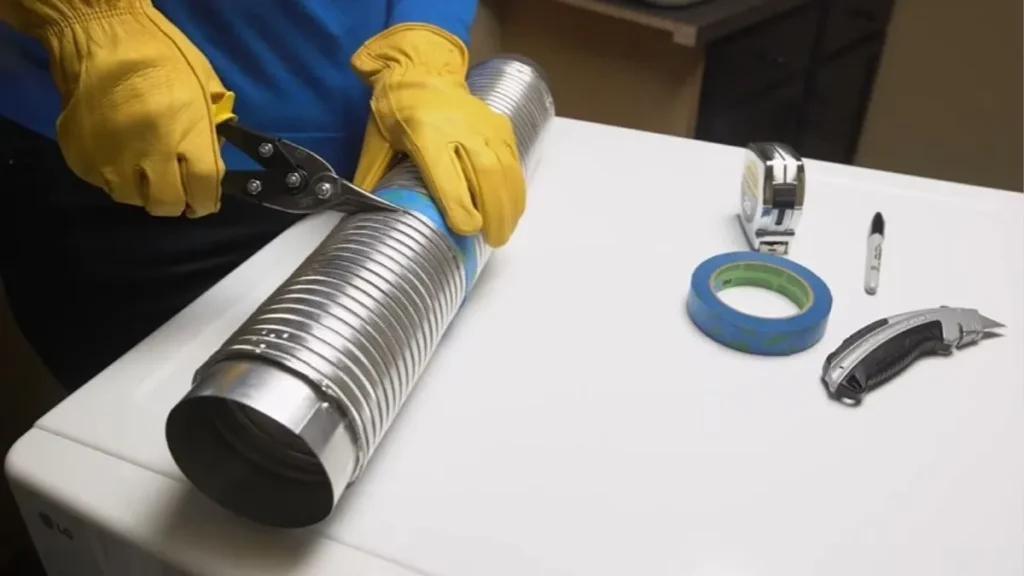
Proper cutting ensures the vent fits well without damaging the structure of your home. It also helps avoid leaks, drafts, or fire hazards caused by improper vent installation.
Safety Precautions
Safety is the top priority when cutting through the floor. Cutting into the floor can expose wiring, plumbing, or support beams. Taking the right precautions prevents accidents and costly repairs.
- Turn off power: Switch off electricity in the work area to avoid electric shock.
- Check for obstacles: Use a stud finder or wire detector to locate hidden wires, pipes, or joists.
- Wear protective gear: Safety goggles, gloves, and a dust mask protect your eyes, hands, and lungs.
- Clear the area: Remove furniture and rugs to have a safe, clean workspace.
- Ventilate the space: Cutting can create dust and fumes; open windows and doors.
Proper Cutting Techniques
Using the right tools and methods makes cutting through the floor easier and safer. Start by marking the vent hole clearly. Measure the vent diameter and add a small margin for fitting.
Follow these steps for clean and precise cutting:
- Mark the spot: Use a pencil and a template to outline the hole size.
- Drill a starter hole: Make a small hole inside the marked area to insert your saw blade.
- Choose the right saw: A jigsaw or hole saw works best for cutting through wood floors.
- Cut carefully: Follow the outline slowly to avoid splintering or uneven edges.
- Remove debris: Clean sawdust and splinters before installing the vent pipe.
Installing Vent Pipe
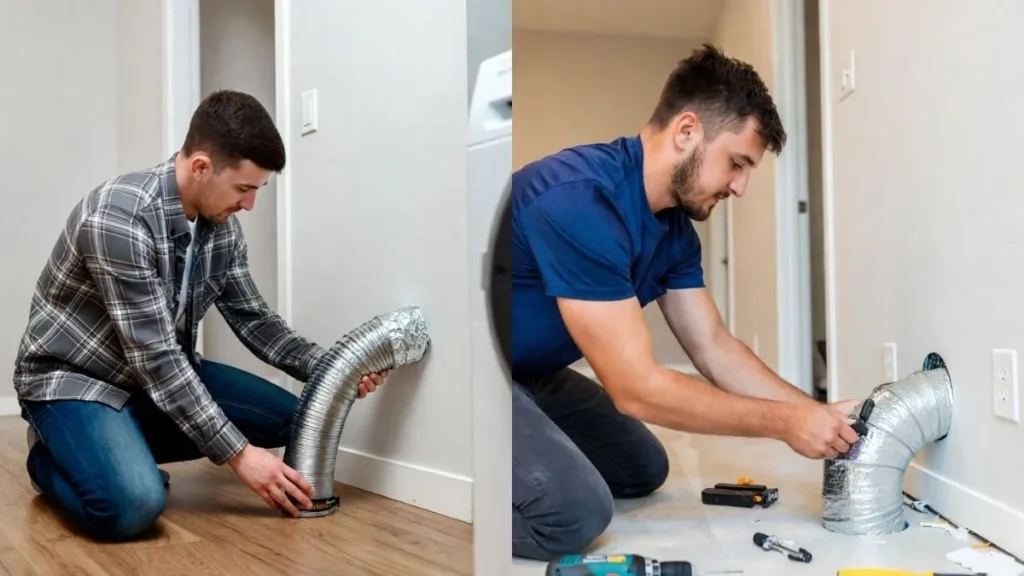
Installing a dryer vent pipe through the floor requires careful planning and precise work. The vent pipe carries hot, moist air from the dryer outside your home. Proper installation helps prevent lint buildup and reduces fire risk. It also improves dryer efficiency by allowing air to flow freely. This guide covers the key steps for installing a vent pipe down through the floor safely and effectively.
Fitting Pipes Through Floor
To fit the vent pipe through the floor, start by choosing the right location. Mark the spot where the pipe will pass through, avoiding electrical wires and plumbing. Use a drill and hole saw to cut a hole slightly larger than the pipe diameter. This extra space allows for easy pipe fitting and slight adjustments.
Next, prepare the vent pipe. Measure the distance from the dryer outlet to the floor hole. Cut the pipe to the correct length using tin snips or a hacksaw. Smooth any sharp edges to avoid damage during installation.
- Use rigid metal vent pipes for better airflow and safety.
- Keep pipe runs as short and straight as possible.
- Avoid using flexible plastic or foil vents, which can trap lint.
- Ensure the pipe slopes slightly downward toward the outside to prevent moisture buildup.
Securing Connections
Securing all vent pipe connections is essential to prevent leaks and lint buildup. Use metal foil tape or clamps to hold joints tightly. Avoid duct tape, which loses adhesive over time and can cause leaks.
Start by pushing pipe sections fully together. Then wrap the joint with metal foil tape. Use at least two wraps for a strong seal. For additional security, use a screw clamp around the joint. Tighten it firmly but do not crush the pipe.
Important tips for securing connections:
- Always use metal foil tape designed for ducts.
- Check each joint for gaps or loose fit.
- Secure connections at every bend and joint.
- Inspect regularly to catch any damage or loosening.
The following table shows common connection methods and their pros and cons:
| Method | Advantages | Disadvantages |
| Metal foil tape | Strong seal, heat resistant, flexible | Needs careful application, no gaps |
| Screw clamps | Firm grip, adjustable | Can crush pipe if overtightened |
| Duct tape | Easy to apply | Not heat resistant, peels off quickly |
Properly secured vent pipes ensure safe dryer operation. Tight connections reduce lint buildup and prevent air leaks, keeping your home safe and your dryer efficient.
Sealing And Insulating
When a dryer vent runs down through the floor, proper sealing and insulating become very important. These steps keep your home safe and energy-efficient. Sealing stops air leaks that waste energy and can cause drafts. Insulating helps keep the vent from getting too cold or hot. Both protect your floors and walls from damage. Good sealing and insulation also improve dryer performance and reduce fire risk.
Preventing Air Leaks
Air leaks around the dryer vent can cause many problems. Cold air can enter your home in winter. Warm air can escape in summer. This makes your heating and cooling systems work harder. Sealing gaps stops this energy loss. Use a high-quality, heat-resistant caulk or foam sealant around the vent pipe where it passes through the floor.
- Check for gaps: Look where the vent pipe meets the floor and walls.
- Use proper sealants: Choose materials that withstand heat and do not crack easily.
- Seal both sides: Apply sealant on the floor and the vent pipe’s outside edge.
Good sealing prevents drafts and keeps dust and pests from entering. It also helps your dryer work better by directing airflow properly. Below is a simple table showing common sealing materials:
| Material | Heat Resistance | Best Use |
| High-temp silicone caulk | Up to 500°F | Sealing vent joints and floor gaps |
| Expanding foam | Moderate heat | Filling larger gaps around vent pipe |
| Metal foil tape | Up to 600°F | Sealing duct seams |
Moisture Protection
Dryer vents carry warm, moist air outside. Moisture can build up in or around the vent if not sealed and insulated well. This causes mold and wood rot. Insulating the vent pipe reduces condensation. Use insulation designed for ducts or pipes. Wrap it tightly around the vent pipe inside the floor cavity.
Moisture protection tips:
- Use vapor barrier insulation: Prevents water vapor from reaching cold surfaces.
- Seal all joints: Keeps moist air from leaking into walls or floors.
- Check for water damage: Inspect vent area regularly for signs of mold or rot.
Proper moisture control keeps your home healthy and protects structural parts. It lowers the chance of costly repairs. Insulating and sealing also help your dryer dry clothes faster by moving air efficiently.
Testing Airflow
Testing airflow in a dryer vent that runs down through the floor is important for safety and efficiency. Poor airflow can cause clothes to take longer to dry and increase fire risk. Checking airflow helps find problems early and keeps the vent working well.
Checking For Blockages
Blockages in the dryer vent reduce airflow and cause the dryer to overheat. Dust, lint, and small debris often build up inside the vent pipe. It is important to check for these blockages regularly.
- Start at the dryer end: Disconnect the vent hose and look inside. Use a flashlight to spot lint or debris.
- Inspect the vent pipe: Use a vent cleaning brush or a flexible rod to reach down the pipe. Move the brush back and forth to remove buildup.
- Check the floor vent exit: Look outside where the vent ends. Make sure the flap or cover opens freely and is not blocked.
Ensuring Proper Ventilation
Proper ventilation is necessary for good airflow and dryer performance. The vent path must be clear and allow air to flow out easily. Poor ventilation causes moisture buildup and increases fire risk.
Steps to ensure proper ventilation:
- Use the right vent material: Choose smooth, rigid metal ducting instead of flexible plastic or foil. Metal ducts have less resistance to airflow.
- Keep vent length short: Long vent runs reduce airflow. Keep the vent pipe as short and straight as possible.
- Seal connections tightly: Use metal foil tape to seal joints and prevent air leaks.
- Provide vent outlet clearance: Make sure the vent exit outside is free from snow, leaves, or other obstructions.
Check airflow by holding your hand near the vent exit while the dryer runs. You should feel a strong flow of warm air. Use an airflow meter if available for more accurate reading.
Conclusion
Dryer vents going down through the floor need careful planning. Clear and short vent paths help the dryer work well. Clean vents often to avoid dust build-up and fire risks. Use the right materials and check local rules. Small steps can keep your home safe and dryer efficient.
Always watch for signs of trouble like heat or bad smells. A well-installed vent makes laundry easier and safer every day.