


Are your pavers looking uneven or feeling loose underfoot? If so, your outdoor space might be crying out for polymeric sand paver repair.
This simple fix can transform your driveway, patio, or walkway, making it safer and more beautiful in no time. You don’t have to live with cracks, weeds, or shifting stones any longer. Keep reading to discover how you can restore your pavers quickly and enjoy a smooth, long-lasting surface that adds value and charm to your home.
Causes Of Polymeric Sand Damage
Polymeric sand is a popular choice for filling gaps between pavers, offering stability and a clean look. Despite its benefits, polymeric sand can suffer damage over time. Common causes include weather effects, improper installation, and regular wear and tear. Each factor plays a role in how well the sand holds up under different conditions.
Weather Effects
Weather has a major impact on the durability of polymeric sand. This material reacts to moisture, temperature changes, and sunlight, which can cause it to break down or wash out.
- Rain and Moisture: Excess water can wash away the sand, especially if the sand hasn’t fully cured. Heavy rain soon after installation is a common cause of damage.
- Freezing and Thawing: In colder climates, water trapped in the sand expands when frozen. This expansion can crack or loosen the sand, leading to gaps.
- Heat and UV Exposure: Prolonged sun exposure can dry out the sand too much, causing it to crumble and lose adhesion between pavers.
Improper Installation
Incorrect installation is a leading cause of polymeric sand failure. Even the best materials can fail if not applied properly. Many common mistakes reduce the sand’s effectiveness and durability.
- Insufficient Cleaning: Dirt, debris, or moisture in joints prevents the sand from bonding well with pavers.
- Incorrect Sand Application: Applying too little or too much sand can cause weak joints or excess residue on pavers.
- Inadequate Compaction: Failing to compact the sand tightly leaves gaps, allowing water and weeds to enter.
- Improper Water Activation: Over-watering or under-watering during activation weakens the polymer binder.
Wear And Tear
Daily use naturally wears down polymeric sand over time. Foot traffic, vehicles, and environmental debris contribute to gradual degradation.
Common wear and tear factors include:
- Heavy Foot Traffic: Constant walking or running can dislodge sand particles and reduce joint stability.
- Vehicle Movement: Driveways or areas with cars cause vibration and pressure that can crack or loosen the sand.
- Debris and Dirt: Dust and small particles grind into joints, wearing down the sand’s surface.
- Weed Growth: Weeds push through weakened joints, breaking apart sand and paver alignment.
Steps To Remove Old Polymeric Sand
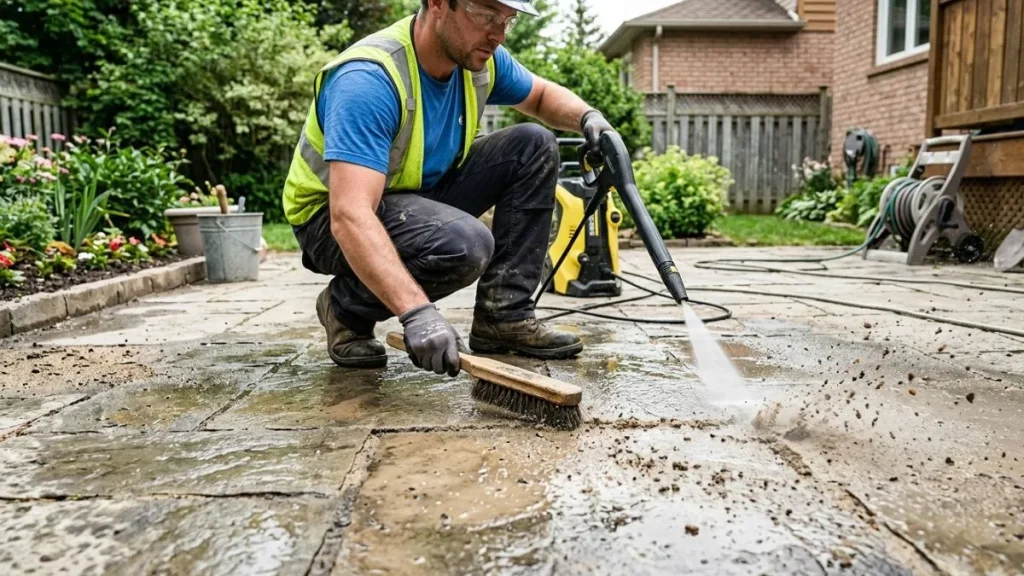
Below are the key steps to remove old polymeric sand effectively, setting the stage for a fresh, durable joint fill.
Cleaning The Surface
Start by clearing the paver surface of dirt, debris, and loose sand. A clean surface helps spot damaged areas and makes sand removal easier. Use a broom or leaf blower to remove loose particles from the joints and paver tops.
- Sweep thoroughly: Remove all loose debris and dirt.
- Use a pressure washer carefully: If the joints are clogged with dirt, a low-pressure wash can help but avoid high pressure that might erode the paver edges.
- Dry the surface: Let the pavers dry completely to prevent mud or slurry formation during sand removal.
Check the joints after cleaning. Old polymeric sand may harden and form a crusty layer that needs special attention. Proper cleaning ensures that tools can reach the sand effectively during removal.
Using A Joint Saw Or Brush
Removing hardened polymeric sand requires mechanical action. A joint saw or a stiff wire brush works well to break up and extract the old sand without damaging the paver edges.
- Choose the right tool: A joint saw with a diamond blade cuts through old sand. A stiff wire brush scrubs loose sand from the joints.
- Work in small sections: Focus on a few feet at a time for better control and thorough removal.
- Cut or scrub carefully: Avoid deep cuts into the pavers. The goal is to remove sand only from the joints.
- Vacuum or sweep debris: After cutting or brushing, clean out loosened sand and dust to keep joints clear.
This step may take time but ensures the joints are free from old sand, allowing new polymeric sand to settle properly.
Preparing For New Sand
After removing the old sand, prepare the joints for the new fill. Proper preparation improves adhesion and prevents future cracking or erosion.
- Check joint width and depth: Joints should be at least 1/4 inch wide and 1-2 inches deep for optimal sand application.
- Fill gaps if needed: Use jointing sand or crushed stone if the joint depth is too low.
- Clean once more: Remove any dust or loose particles to ensure strong bonding.
- Dry joints: Moisture in joints can affect the curing of new polymeric sand.
Following these steps prepares your paver joints for new polymeric sand, ensuring a strong, lasting repair.
Applying New Polymeric Sand
Applying new polymeric sand is a key step in repairing pavers. It helps lock pavers in place and prevents weed growth. The process improves the strength and appearance of your paved surface. Careful application ensures long-lasting results and a neat finish. Follow these steps for best outcomes.
Choosing The Right Sand Type
Choosing the correct polymeric sand is essential for a strong repair. Polymeric sand contains special binders that harden when wet. This helps fill gaps and stops erosion. Not all sands are the same. Pick a sand designed for your paver size and joint width.
- Fine sand works well for narrow joints under 1/8 inch.
- Medium sand fits joints between 1/8 and 3/8 inch.
- Coarse sand suits wider joints over 3/8 inch.
Here is a simple guide for sand choice:
| Joint Width | Recommended Sand Type |
| Less than 1/8 inch | Fine Polymeric Sand |
| 1/8 to 3/8 inch | Medium Polymeric Sand |
| More than 3/8 inch | Coarse Polymeric Sand |
Choose sand with a color that matches or complements your pavers. This keeps the surface looking natural. Avoid using regular sand or play sand. They do not harden and may wash away easily.
Filling The Joints
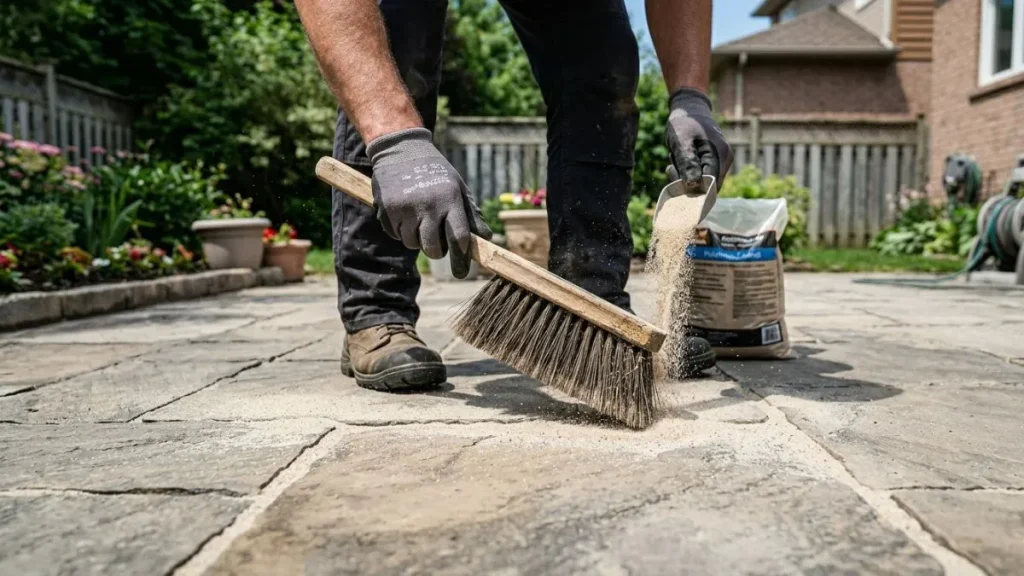
Filling joints with polymeric sand requires care to avoid gaps and unevenness. Begin by cleaning the paver surface and joints thoroughly. Remove debris, dust, and old sand for better adhesion. Use a broom to spread sand evenly over the pavers.
- Pour sand onto the paver surface in small amounts.
- Use a stiff broom to sweep sand into the joints.
- Fill all joints fully, avoiding empty spots.
- Repeat sweeping until joints appear tightly packed.
Avoid leaving sand on the paver surface. Loose sand can cause staining after activation. For deeper joints, fill in layers. Compact each layer before adding more sand. This prevents air pockets and weak spots.
Check the joints from different angles to ensure uniform filling. Proper joint filling is critical for the sand to bond well and hold pavers firmly.
Compacting The Sand
Compacting polymeric sand strengthens the repair and prevents sand loss. After filling, use a plate compactor or hand tamper to press sand into the joints. This removes air gaps and settles the sand tightly.
- Start with low pressure to avoid shifting pavers.
- Apply even pressure across the entire surface.
- Compact in multiple directions for better coverage.
For small areas, use a hand tamper or rubber mallet on a board to protect pavers. For larger areas, a plate compactor works best. Avoid over-compacting, which can crack pavers.
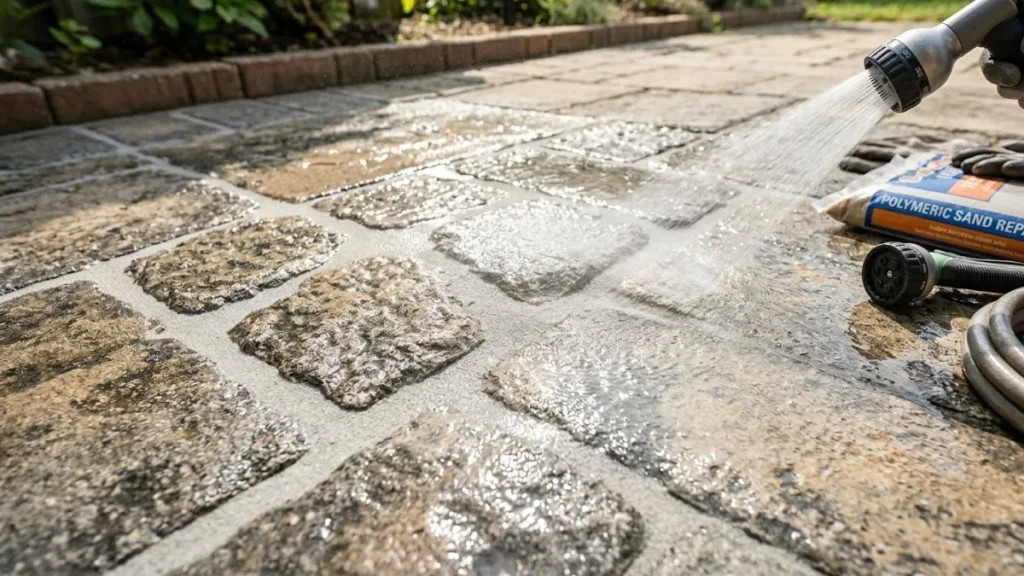
After compacting, sweep off excess sand from the surface. Then, lightly mist water over the joints to activate the binding agents. This hardens the sand and locks it in place. Avoid flooding the area; a gentle spray is enough.
Proper compaction and activation ensure the polymeric sand stays firm and durable. This step completes the repair and restores your paver surface’s stability and beauty.
Sealing And Curing
Sealing and curing are crucial steps in the polymeric sand paver repair process. These steps protect the pavers and sand joints from water, dirt, and weed growth. Proper sealing enhances the paver’s durability and keeps the surface looking fresh longer. Curing allows the sand and sealant to harden, locking everything in place. Skipping or rushing these steps can cause sand erosion and paver shifting. Taking time to seal and let the surface cure ensures a strong, lasting repair.
Applying Sealant
Applying sealant correctly creates a protective layer over the polymeric sand and paver surface. This layer stops water and debris from penetrating the joints. Use a high-quality sealant made for pavers. Follow these steps for best results:
- Clean the surface: Remove dirt, dust, and loose sand before sealing.
- Choose the right sealant: Pick one suitable for your paver type and climate.
- Use a sprayer or brush: Apply an even coat without pooling or over-application.
- Avoid sealing in direct sunlight: Sealant dries too fast and may not bond properly.
Apply sealant in thin, even layers. Thick layers take longer to dry and can trap moisture underneath. The sealant should cover both the pavers and the joints. This coverage boosts resistance against stains and weather damage.
Proper Drying Time
Allowing enough drying time after sealing is key to a strong bond and long-lasting repair. The sealant needs time to cure fully before use. Walking or driving on the surface too soon can cause damage and reduce protection.
Drying time depends on several factors:
- Sealant type: Some dry faster, others need longer curing.
- Temperature and humidity: Warm, dry weather speeds drying; cold or humid slows it down.
- Application thickness: Thicker coats need more time.
Follow the manufacturer’s drying time instructions carefully. Generally:
- Light foot traffic: 24 hours
- Vehicle traffic: 48-72 hours
- Complete curing: up to 7 days
Keep the area protected from rain and heavy use during drying. Cover with a tarp if needed. This care prevents washing away or damaging the sealant.
Maintenance Tips
Maintaining sealed polymeric sand pavers helps extend their life and appearance. Regular care prevents common problems like sand erosion, stains, and weed growth.
- Clean regularly: Sweep or blow away dirt and debris weekly.
- Remove stains promptly: Use mild soap and water for spills; avoid harsh chemicals.
- Inspect for damage: Check for cracks or loose sand quarterly.
- Re-seal every 2-3 years: Refresh the sealant to keep protection strong.
- Avoid power washing: High pressure can erode the sand joints.
Proper maintenance reduces repair frequency and keeps your paver surface safe and attractive. Treat sealed pavers gently and keep them clean to enjoy a long-lasting, beautiful outdoor space.
Conclusion
Polymeric sand repair keeps your pavers strong and neat. It stops weeds and insects from growing between stones. Fixing cracks and gaps helps prevent water damage. Clean and refill the sand regularly for best results. A well-maintained patio or driveway lasts longer and looks great.
Small repairs now save you from costly fixes later. Take time to check your pavers often. Healthy pavers mean a safer and more beautiful outdoor space. Simple care makes a big difference in your home’s curb appeal.


