

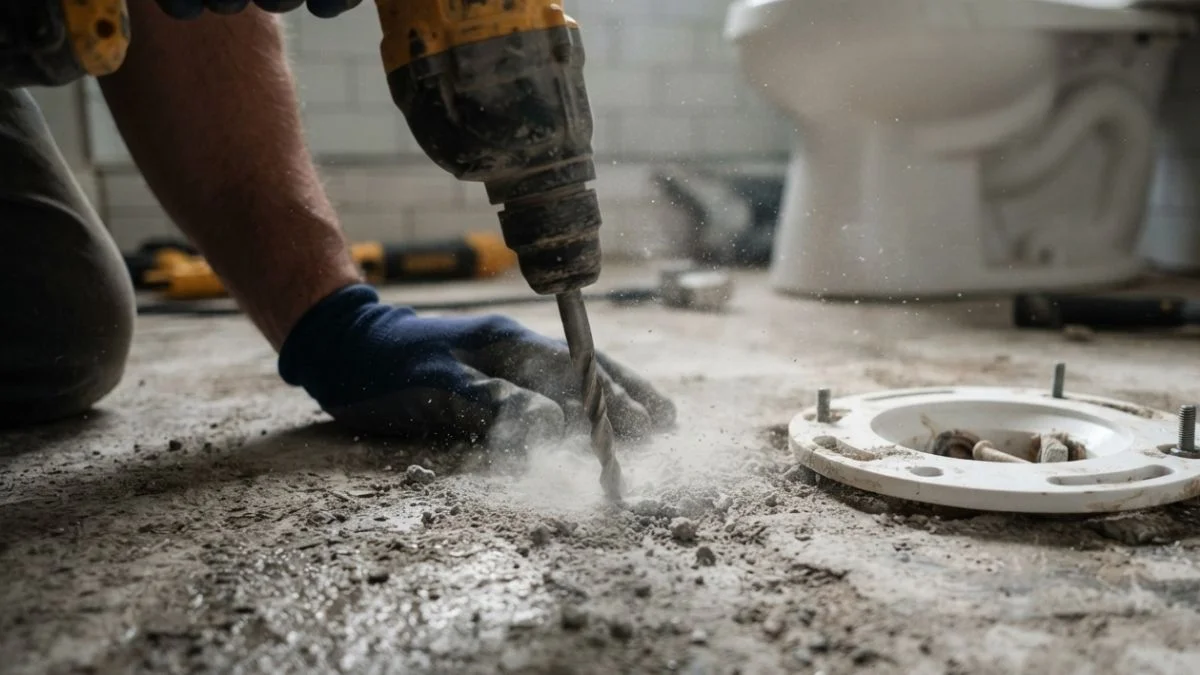
When there is nothing to screw a toilet flange to on a concrete floor, the toilet rocks, the wax seal fails, and water damage follows — a repair that can cost $1,000 or more if ignored.
Crumbling concrete, missing anchor holes, or a slab that has never been drilled correctly leaves the flange sitting loose with no solid purchase for standard fasteners.
This guide covers 4 tested methods — epoxy anchors, Tapcon screws, expansion anchors, and repair mortar — so you can secure the flange permanently without calling a plumber.
Why Your Concrete Floor Has Nothing to Screw Into
Most concrete slabs are poured without any pre-drilled anchor points for plumbing fixtures. Toilet flanges — also called closet flanges — require 3 or 4 pilot holes drilled into the slab to accept concrete anchor fasteners. On a fresh slab, those holes don’t exist until someone drills them.
The Slab Was Never Prepped for Fasteners
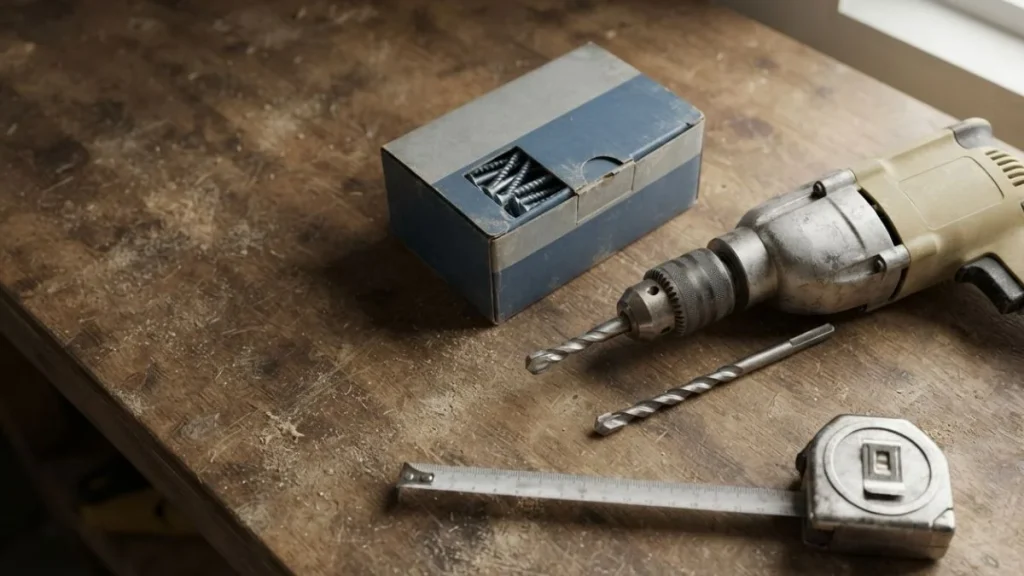
Builders often set the drain pipe during the pour but skip drilling flange bolt holes, expecting the installer to handle it later. This is common in older homes and budget construction. The result: a PVC coupling or cast iron flange sitting flush on bare concrete with nothing to grip.
Concrete Deterioration Around the Drain
Water is the main culprit here. A failed wax ring seal allows toilet water to seep under the base for months or years. That moisture breaks down the concrete around the drain opening, leaving a soft, crumbling ring where masonry screws simply won’t hold. Tapcon concrete screws, for example, require a minimum embedment depth of 1 inch into solid concrete — deteriorated material won’t meet that threshold.
Stripped or Damaged Holes from a Previous Installation
Wood screws are sometimes used on concrete floors by inexperienced installers. They strip out immediately and leave oversized, ragged holes. Attempting to drive new masonry screws or Tapcon screws into those same locations fails every time because the hole diameter is already too large for a fresh bite.
Knowing which problem you have determines which of the 4 solutions actually works.
Best Fastening Methods for Concrete Floors
Choosing the wrong fastener wastes time and risks a loose flange that fails within months. Here are the 4 options ranked by reliability.
Tapcon Masonry Screws (Recommended)
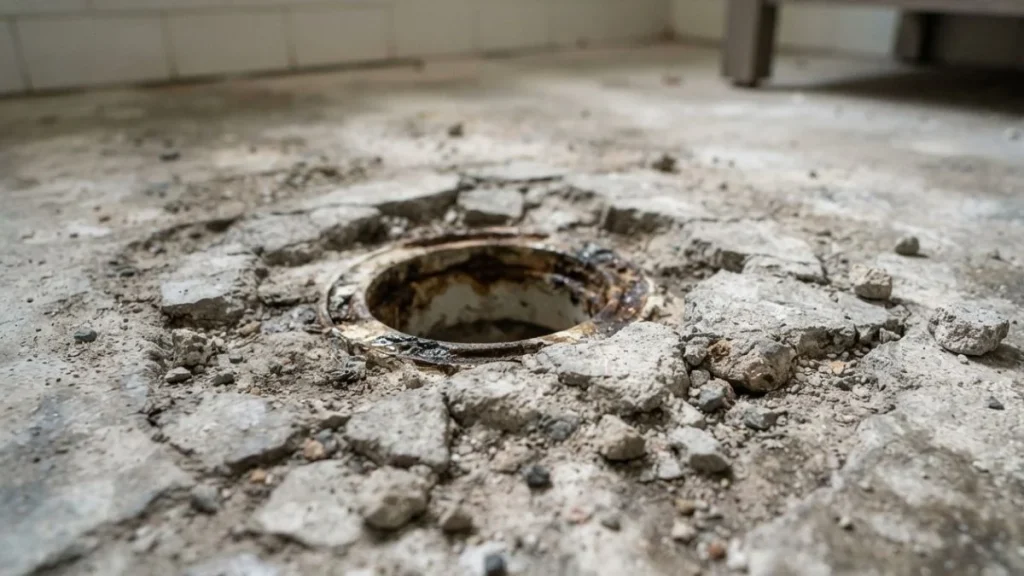
Tapcon screws are hardened steel with concrete-specific threading designed to cut into masonry rather than relying on friction. For closet flange fastening, use 3/16-inch diameter Tapcons with a minimum 1.75-inch embedment depth. Drill pilot holes with a 5/32-inch carbide-tipped masonry bit. A single 3/16-inch Tapcon handles roughly 270 lbs of shear load in solid concrete — far exceeding what a toilet base requires. They cost approximately $0.50–$1.00 per screw and last decades when installed correctly.
Wood Screws with Proper Pilot Holes
Wood screws work only when there is a treated wood nailer or plywood subfloor layer embedded in or fastened over the concrete. Driving wood screws directly into a bare concrete slab strips the hole immediately. If a wood backer is present, use #10 or #12 coarse-thread screws with pre-drilled pilot holes to avoid splitting.
Concrete Anchors and Wedge Bolts
Expansion anchors — such as sleeve anchors or wedge bolts — expand against the hole wall when tightened. They outperform screws in deteriorated concrete because they grip a wider surface area. Use 1/4-inch diameter sleeve anchors at 1.5-inch embedment minimum.
Fastener Comparison
| Fastener | Cost (each) | Longevity | Tools Required | Main Failure Mode |
|---|---|---|---|---|
| Tapcon screw | $0.50–$1.00 | 20+ years | Hammer drill, masonry bit | Crumbling concrete |
| Wood screw | $0.10–$0.20 | 2–5 years | Standard drill | No wood substrate |
| Sleeve anchor | $0.75–$1.50 | 15+ years | Hammer drill | Over-torquing |
| Wedge bolt | $1.00–$2.00 | 20+ years | Hammer drill | Misaligned pilot hole |
Step-by-Step Installation Process
Follow these steps in order. Skipping the alignment phase causes flange bolt hole misalignment, which means the toilet won’t sit flush and the wax ring seal won’t compress evenly.
Marking and Alignment
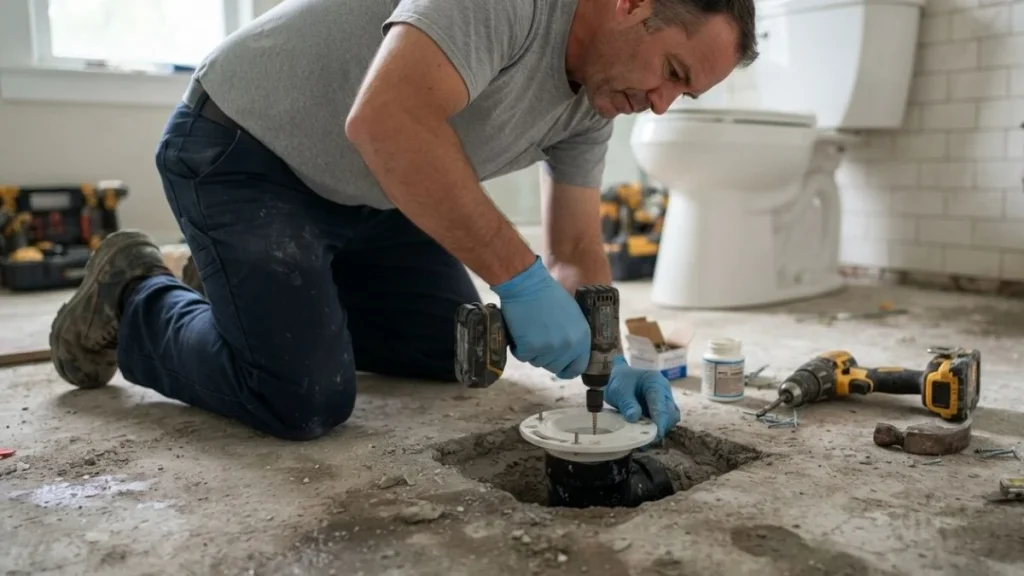
Set the flange over the drain pipe and rotate it until the bolt slots face perpendicular to the wall behind the toilet. Use a permanent marker to trace each anchor hole directly onto the concrete. If the old flange is damaged, create a paper template by pressing it against a replacement flange and punching through the anchor points.
Drilling Pilot Holes Correctly
A hammer drill is mandatory — a standard drill cannot penetrate concrete slab consistently without damaging the bit or cracking the surface. For Tapcon masonry screws, use a 5/32-inch carbide-tipped bit. For sleeve anchors, match the bit diameter exactly to the anchor diameter. Drill 1/4 inch deeper than the fastener’s embedment length to allow for dust clearance at the bottom of the hole.
Installing and Tightening Fasteners
Drive fasteners in a cross pattern — opposite holes first — to seat the flange evenly without rocking it into misalignment. Hand-tighten all screws before applying final torque. For Tapcon concrete screws, stop when snug; over-tightening strips the masonry threads and destroys the hole.
Post-Installation Seal Integrity
Press down firmly on all four corners of the flange after fastening — zero movement confirms a solid installation. After setting the toilet, run water for two full flush cycles and inspect the base for moisture. Any seeping indicates incomplete wax ring compression and requires reseating.
Alternative Solutions When Standard Fastening Won’t Work
When concrete deterioration is too severe for any screw or anchor to grip, these 4 alternatives restore a solid, code-compliant installation without replacing the entire slab.
PVC Coupling and Concrete-Fill Method
This approach works when the concrete around the drain pipe has crumbled into a wide, irregular void. Cut out the damaged material to create a clean, uniform opening. Set the PVC coupling or new closet flange in position, then pack hydraulic cement or fast-setting concrete mix — Quikrete Fast-Setting Concrete is a reliable product for this — around the flange base. Let it cure for 24 hours before applying any load. The cured material bonds to the existing slab and gives Tapcon masonry screws or sleeve anchors a fresh, solid substrate to bite into.
Epoxy Adhesive Anchoring
Construction epoxy — specifically two-part anchoring epoxy like Simpson Strong-Tie SET-XP — bonds the flange directly to concrete when drilled holes won’t hold fasteners. Inject epoxy into the pilot hole, insert a threaded rod or masonry screw, and allow full cure per manufacturer specs before torquing. This method delivers pull-out strength exceeding standard Tapcon performance in compromised concrete.
Raising the Flange with Underlayment
If new flooring raises the finished floor height above the flange, use a flange extender ring rather than shimming with random material. Oatey and Fernco both manufacture code-compliant extender kits.
When to Call a Professional
Call a licensed plumber if the drain pipe itself has shifted, if the void extends more than 6 inches from the drain center, or if subfloor moisture indicates an active leak below the slab.
Read Also: How to Get Your Toilet Flange 1/2 Inch Above the Floor
Know Your Code Before You Start
The International Plumbing Code requires closet flanges to be secured to the floor with a minimum of 4 fasteners, and local jurisdictions — particularly in seismic zones — sometimes require more. Pull your local permit requirements before purchasing fasteners, because a failed inspection means pulling the toilet and redoing the work. Start with Tapcon masonry screws and a hammer drill rental from Home Depot or Lowe’s — that combination solves the majority of concrete fastening problems in a single afternoon.


