

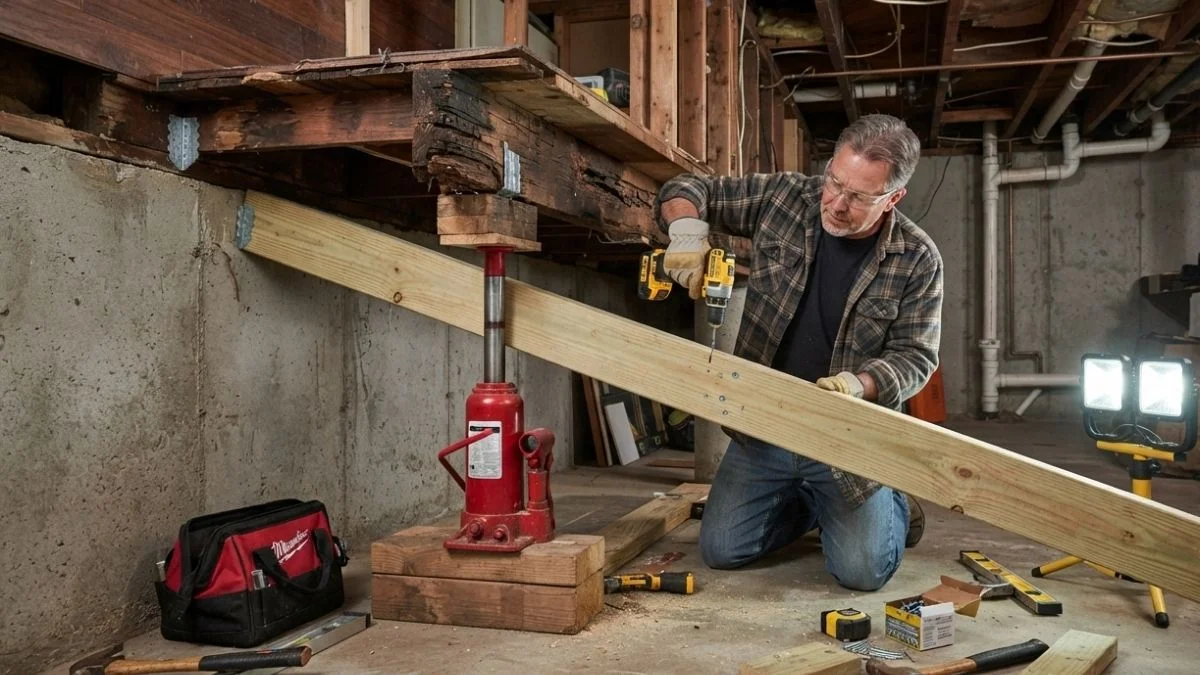
If you’ve noticed your floor bouncing a little too much when you walk across it, or maybe there’s a soft spot near the bathroom that wasn’t there a year ago — your floor joists might be trying to tell you something. The good news? You don’t always have to rip up your flooring to fix the problem.
Replacing a damaged floor joist without removing the floor is absolutely possible in most homes — especially if you have access from a basement or crawl space below. It’s not the easiest DIY project, but with the right tools, the right method, and a clear step-by-step process, homeowners tackle this repair every day without spending thousands on a full floor demo.
This guide walks you through everything you need to know — from spotting the warning signs to finishing the repair safely and correctly.
What Is a Floor Joist and Why Does It Matter?
Before getting into the repair process, it helps to understand exactly what a floor joist is and what it does inside your home.
Floor joists are the horizontal framing members — typically made from dimensional lumber like 2×8, 2×10, or 2×12 boards — that span the open space between your foundation walls, beams, or load-bearing walls. They run parallel to each other, usually spaced 12, 16, or 24 inches apart, and they carry the entire weight of your floor system: the subfloor, the finished flooring, your furniture, and everything (and everyone) on top of it.
Think of floor joists as the backbone of your floor. When they’re healthy and properly installed, you never think about them. But when one starts to fail — whether from rot, pest damage, or age — the entire floor above it becomes unstable. What starts as a minor bounce or squeak can turn into a serious structural issue if left untreated.
Common Causes of Floor Joist Damage
Floor joists don’t fail overnight. In most cases, the damage builds up gradually over months or years. Here are the most common reasons joists go bad:
- Moisture and wood rot — This is the number one culprit. Leaking pipes, poor crawl space ventilation, or groundwater seeping in can keep wood perpetually damp, leading to rot that eats away at the joist’s strength.
- Termite and pest damage — Termites silently hollow out wood from the inside. By the time you notice the floor bouncing, the joist may already be severely compromised.
- Age and deterioration — In older homes, joists that have been in place for 50–80 years may simply be worn out, especially if they were undersized to begin with.
- Improper notching or drilling — Plumbers and electricians sometimes cut notches or drill holes in joists to run pipes and wires. When done incorrectly, this weakens the joist significantly.
- Overloading — Heavy appliances, water beds, or added living space without proper structural planning can stress joists beyond their design limits.
Signs You Have a Damaged or Failing Floor Joist

Catching joist damage early saves you time, money, and stress. Your home will usually give you clear warning signs before things get serious. The trick is knowing what to look for.
The most obvious sign is a floor that feels spongy or bouncy when you walk across it. If the floor flexes more than it used to — especially in one specific area — that’s a red flag worth investigating. A healthy floor should feel solid and firm underfoot with very little give.
Sagging or dipping in the floor surface is another major indicator. If you notice a visible low spot or a section of flooring that seems to slope downward, a joist below may have partially failed or cracked under the load. This is especially common in older homes with bathrooms or laundry rooms, where moisture exposure is highest.
Loud, persistent squeaking and creaking can also point to joist problems, though they can have other causes too. When a joist has shifted, rotted, or pulled away from the subfloor above, it creates movement that generates noise with every step.
Pay attention to doors and windows that suddenly start sticking or won’t close properly. As floor structure shifts, it can alter the shape of the frame around openings — a subtle but important sign that something has changed structurally.
Finally, if you have access to a basement or crawl space, do a visual inspection. Look for discoloration, dark staining, visible cracks or splits, soft spots you can press with your finger, or any signs of mold and mildew. A musty smell from below the floor is also a warning sign you shouldn’t ignore.
Can You Replace a Floor Joist Without Removing the Floor?

This is the question most homeowners ask first — and the honest answer is: yes, in most situations, you can.
The key requirement is access from below. If your home has a basement or a crawl space tall enough to work in, you can perform the repair entirely from underneath without touching a single floorboard above. This saves you the cost and hassle of demo work, and it keeps your finished flooring completely intact.
However, there are situations where floor removal becomes unavoidable — for example, if the joist is severely damaged at a point that can only be reached from above, or if there’s no crawl space access at all (common in slab-on-grade homes). In those cases, partial floor removal may be necessary.
Two Main Repair Methods
| Method | Best For | Difficulty | Cost |
| Sistering | Partial damage, limited rot | Moderate | Lower |
| Full Replacement | Severe or full-length damage | Higher | Higher |
Sistering means installing a new, full-length joist right alongside the damaged one, nailing them tightly together. The new joist carries the load while the old one stays in place. It’s faster, less invasive, and works well when damage is localized.
How to Replace a Floor Joist Without Removing the Floor — Step-by-Step
Prepare Your Workspace and Stay Safe
Start by turning off any electrical circuits that run through the joist bay you’ll be working in. If plumbing passes through the area, know where your shutoff valve is just in case. Clear out the crawl space or basement area below the damaged joist so you have room to work. Put on your safety gear before crawling under.
Locate and Assess the Damage
Use a flashlight to fully inspect the damaged joist. Press along its length with your finger or a screwdriver — soft spots indicate rot. Mark the full extent of the damage with a pencil. This helps you decide whether sistering or full replacement is the better call.
Support the Floor Above (Never Skip This)
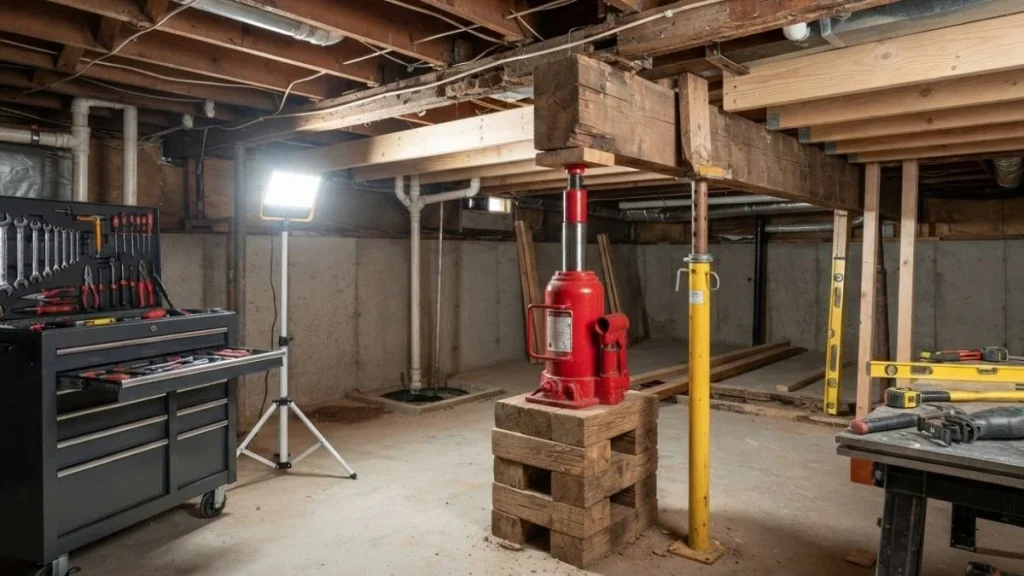
This is the most critical safety step in the entire process. Before you do anything to the joist, you need to temporarily support the floor above it.
Place a hydraulic jack beneath a support beam that runs perpendicular to the damaged joist. Slowly raise the jack until the beam makes firm contact with the subfloor above — don’t over-jack, just enough to take the load off the damaged joist. Use jack stands for added safety. Never rely on the jack alone to hold the floor while you work.
Remove or Prepare the Damaged Joist
For sistering: You don’t need to remove the old joist. Just clean up the damaged area — remove any crumbling or soft wood, treat the area with a wood preservative, and let it dry before proceeding.
For full replacement: Use your reciprocating saw to carefully cut through the damaged joist. Detach it from the rim joist, ledger board, or beam at both ends. Work carefully to avoid cutting into subfloor material or any wiring/plumbing nearby.
Cut and Install the New Joist
Measure the span carefully and cut your new lumber to the correct length. For sistering, the new joist should run the full length of the bay — not just the damaged section. Slide it into position alongside (or in place of) the old joist.
Apply a bead of construction adhesive along the top edge of the new joist before lifting it into final position. This bonds it tightly to the subfloor above and eliminates future squeaking.
Fasten the Joist Securely
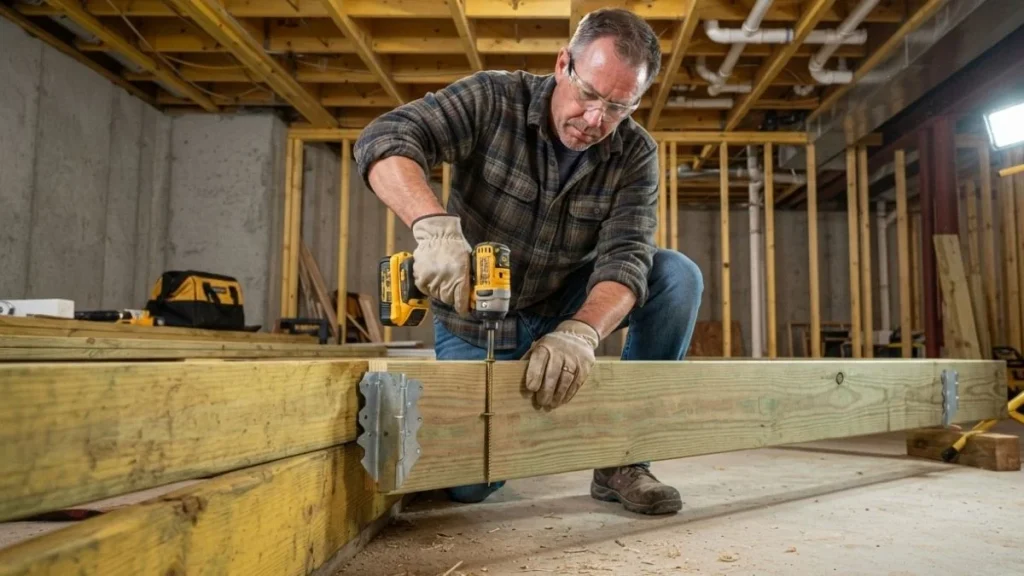
Nail or screw the new joist into place. For sistering, drive 16d nails or 3-inch structural screws through both joists in a staggered pattern every 12–16 inches. At each end, install metal joist hangers and secure them with the appropriate hanger nails. This is a critical connection point — don’t skip the hardware.
Treat the Wood and Address Moisture
Apply a borate-based wood preservative to the new lumber and any surrounding wood that showed early signs of moisture exposure. More importantly — find and fix the moisture source. Whether it’s a leaking pipe, poor drainage, or inadequate crawl space ventilation, leaving the moisture problem unaddressed means you’ll be back doing this repair again in a few years.
Lower the Jack and Test
Slowly release the hydraulic jack and allow the floor to settle onto the new joist. Walk the floor above to check for bounce or flex. It should feel noticeably firmer. Do a final visual check of all connections from below, restore any insulation you moved, and you’re done.
Recommended: How to Repair Cut Floor Joist?
How Much Does It Cost?
| Repair Type | DIY Cost | Professional Cost |
| Sistering (per joist) | $50 – $150 | $200 – $500 |
| Full replacement (per joist) | $100 – $300 | $400 – $1,000+ |
| Multiple joists / full repair | $300 – $800 | $1,500 – $5,000+ |
DIY costs mainly cover lumber, hardware, and tool rental. If you already own a hydraulic jack and a reciprocating saw, your material costs can be quite low. Professional costs vary significantly based on your region, the extent of damage, and whether permits are required.
DIY vs. Hiring a Professional
This is a project that many handy homeowners can handle on their own — but it’s not right for everyone.
DIY makes sense if you’re comfortable with basic carpentry, you have good access to the joist from below, the damage is limited to one or two joists, and you have the time to do the job carefully and safely.
Hire a professional if you find widespread rot or termite damage affecting multiple joists, the crawl space is too tight or unsafe to work in, a structural engineer has identified serious issues, or your local building code requires a permit and professional sign-off for structural repairs. Always check local codes before starting — unpermitted structural work can cause real problems when you go to sell your home.
How to Prevent Floor Joist Damage in the Future
The best floor joist repair is the one you never have to do. A little prevention goes a long way.
Control moisture aggressively. Fix any plumbing leaks immediately, make sure your crawl space has proper ventilation, and install a quality vapor barrier on the ground surface below your floor. In humid climates, a crawl space dehumidifier is worth every penny.
Schedule termite inspections every one to two years, especially in warmer regions where termites are active year-round. Treat exposed wood with borate-based products that repel insects without being harmful to humans or pets.
Make it a habit to inspect your crawl space or basement every two to three years. Catching a small soft spot or a little discoloration early costs you next to nothing. Ignoring it until the floor sags can cost you thousands.
Conclusion
A damaged floor joist isn’t something to put off. What starts as a minor bounce or a soft spot underfoot can develop into a serious structural problem if ignored long enough. The encouraging part is that in most homes, you can replace a floor joist without removing the floor — saving yourself significant time, money, and disruption.
Whether you choose to sister the damaged joist or replace it entirely, the process is manageable with the right preparation. Take the time to support the floor properly, use the correct materials, and don’t skip the moisture fix. Do those things right, and your floor will be solid for decades to come.


