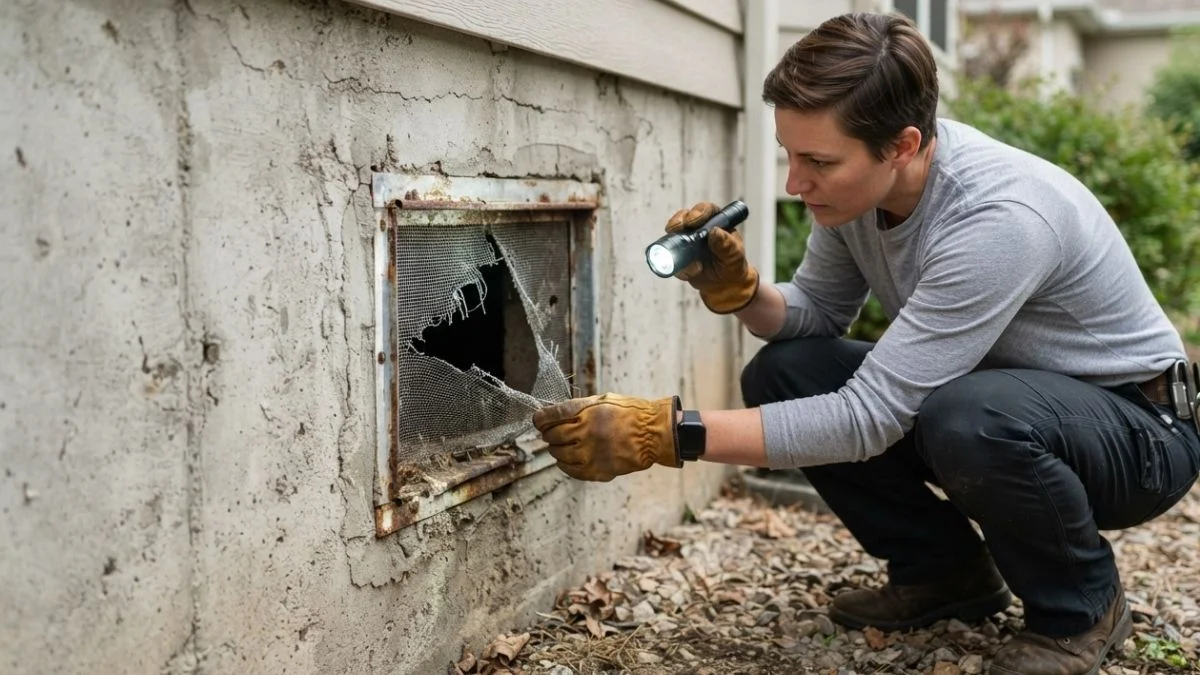
A single torn crawl space vent screen gives rodents, insects, and moisture a direct path into your home’s foundation — and most repairs cost under $30 in materials when you know how to repair crawl space vent screen damage yourself.
The real problem is knowing whether your screen needs a quick patch or a full replacement, and which materials actually hold up against weather and pests long-term.
This guide gives you a clear repair decision framework, step-by-step methods, and honest product comparisons so you can fix it right the first time.
Assessing Damage and Choosing Your Approach
Before buying materials or touching a tool, spend five minutes inspecting the screen. That inspection determines whether you need a simple patch or a full crawl space vent replacement — and getting that wrong wastes both time and money.
What Does the Damage Actually Look Like?
Pull out a flashlight and examine each vent screen up close. You are looking for four specific conditions:
- Small tears or holes under 3 inches — patchable with mesh tape or a foundation vent repair kit
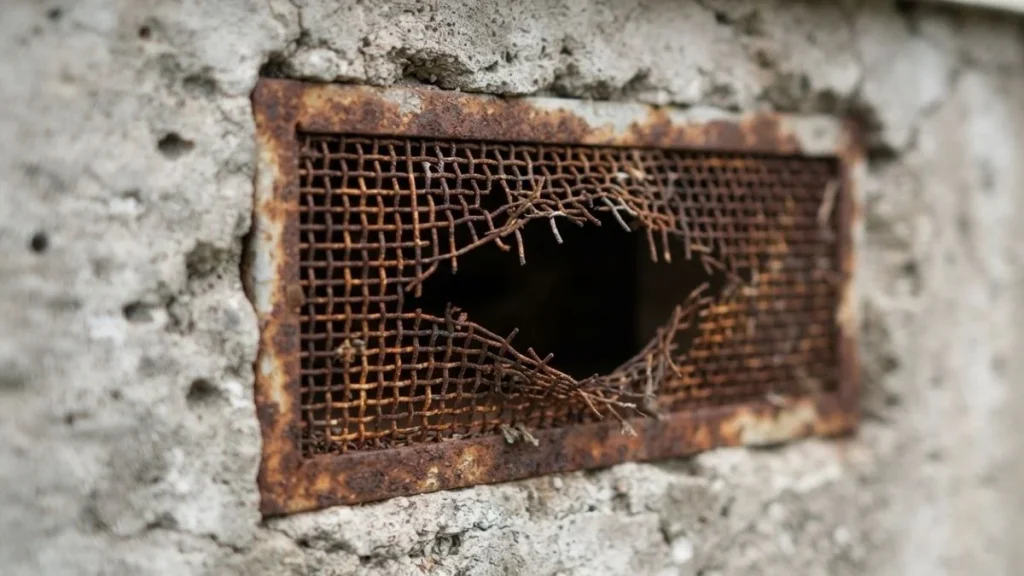
- Rust, corrosion, or crumbling wire — the mesh is structurally compromised; replace the whole screen
- Bent or broken frame — patching the mesh won’t matter if the frame no longer seals against the concrete vent opening
- Active pest entry signs (droppings, gnaw marks, nesting material near the vent) — replace fully and inspect the sub-floor ventilation channel for secondary damage
A screen with one clean tear but an intact galvanized frame is a strong patch candidate. A screen showing rust spots across more than 30% of its surface needs full replacement, regardless of how structurally sound it looks from a distance.
Temporary Patch vs. Full Replacement: Which One Is Right?
A DIY vent screen fix using aluminum mesh tape or fiberglass patch material typically holds 12 to 24 months in dry climates. In high-moisture regions — coastal areas, the Pacific Northwest, or anywhere with frequent freeze-thaw cycles — expect 6 to 12 months before the patch degrades.
Full crawl space vent replacement with a galvanized or vinyl-framed screen lasts 10 to 20 years. The upfront cost difference is small: patch materials run $5 to $15, while a replacement screen costs $8 to $35 depending on the concrete vent opening size.
Here’s the practical rule: patch if the frame is solid and the damage is isolated. Replace if there’s corrosion, frame damage, or any sign of pest intrusion.
Step-by-Step Repair Instructions
Removing and Preparing the Vent Opening
Start with safety. Old vent mesh often has sharp wire edges that cause deep cuts — wear cut-resistant gloves before touching any damaged screen. If the vent is set into a stucco vent installation, probe around the frame edges carefully; crumbling stucco can fall into your eyes.
To remove the old screen, use a flathead screwdriver or pry bar to pop the frame away from the concrete vent opening. Work gently around all four edges to avoid widening any cracks in the surrounding masonry. Once removed, measure the opening’s height and width to the nearest 1/8 inch — replacement screens are sized precisely, and a loose fit defeats the purpose of the repair.
Installing a Patch or Replacement Screen
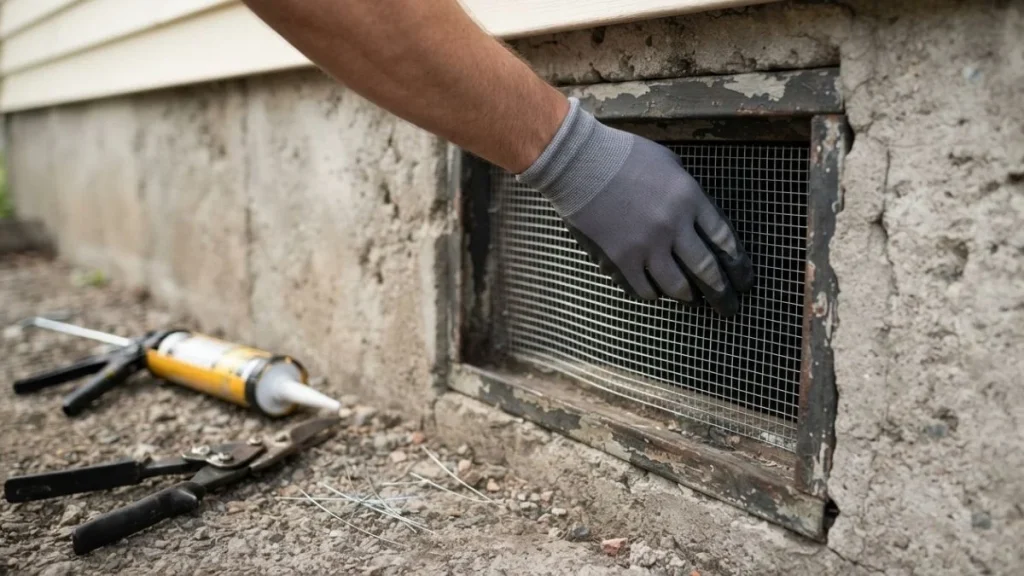
For patching vent mesh damage on an intact frame, cut aluminum or fiberglass mesh 2 inches larger than the tear on all sides. Press it flat, then secure it with self-adhesive mesh tape from a standard foundation vent repair kit. Press firmly along every edge.
For full crawl space vent replacement, mesh material choice matters significantly:
- 16-gauge galvanized hardware cloth with 1/4-inch openings blocks mice, rats, and most insects while maintaining sub-floor ventilation airflow
- Fiberglass window screen mesh is cheaper but stops insects only — rodents chew through it within weeks
- Vinyl-coated hardware cloth resists corrosion better than bare galvanized metal in high-moisture environments
Secure the new screen using barb-end connectors if the frame has pre-drilled channels, or apply a continuous bead of polyurethane caulk around the perimeter for a moisture-tight seal. According to the IRC Section R408, foundation vents must provide 1 square foot of net free ventilation area per 150 square feet of crawl space — confirm your replacement screen’s listed net free area before finalizing the installation.
Pest Prevention and Moisture Control
The mesh opening size determines what gets in. Anything larger than 1/4 inch allows mice entry — a mouse can compress its body through a gap the size of a dime. Stick with 1/4-inch hardware cloth as the minimum standard for pest exclusion.
Proper edge sealing does double duty: it blocks insects that squeeze past loose frames and reduces humid outside air infiltrating the crawl space, which directly lowers mold risk on wood joists and sub-floor structures.
You May Read Also: How to Insulate a Floor With No Crawl Space
Get It Right the First Time
The single decision that determines success is choosing 1/4-inch hardware cloth over cheaper fiberglass mesh — everything else in this repair is straightforward once that material is in hand. This weekend, grab a flashlight and inspect every crawl space vent screen for corrosion, frame damage, and pest entry signs, then pick up a roll of 1/4-inch galvanized hardware cloth and polyurethane caulk at your local hardware store for under $30.