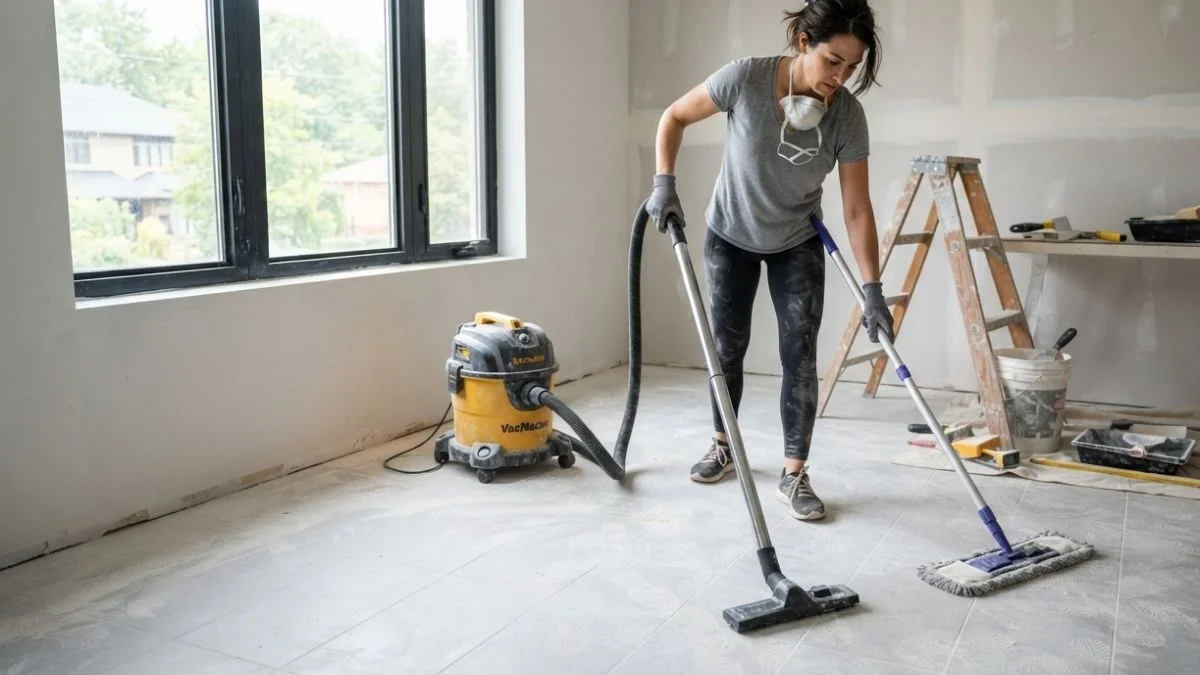
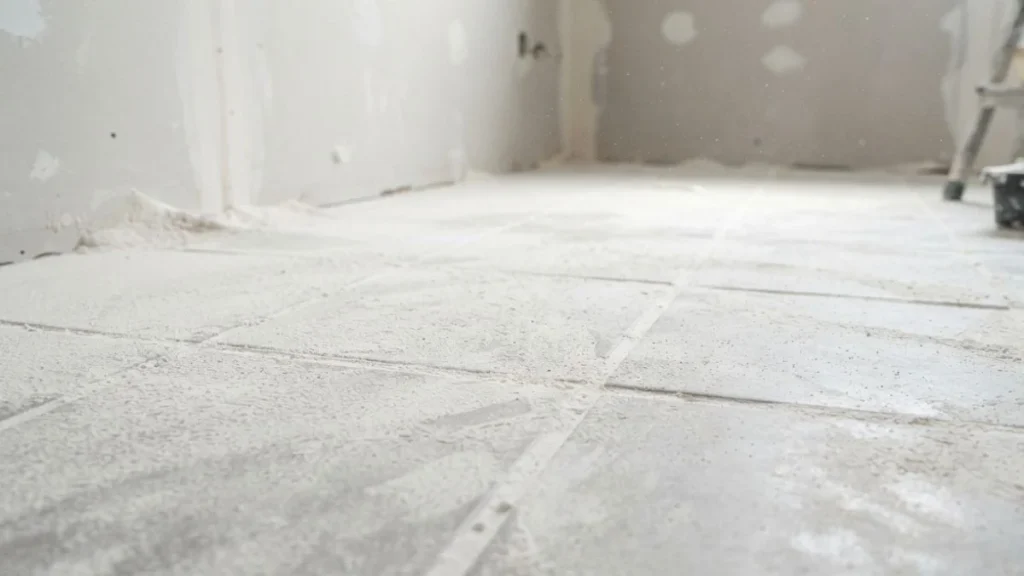
You finally finished the renovation. The drywall is up, the walls look great — but then you look down at your tile floors and your heart sinks. There’s a thin, chalky white film covering everything. You grab a broom, start sweeping, and suddenly the dust is floating everywhere. You try mopping, and now you’ve got streaky, cloudy smears across the entire floor.
Sound familiar? You’re not alone. Cleaning drywall dust off tile floors is one of the most frustrating parts of any home renovation project — and most people make it worse before they make it better, simply because they approach it the wrong way.
Here’s the good news: removing drywall dust from tile floors isn’t complicated once you understand why it behaves the way it does and what order to tackle the cleanup. This guide walks you through every step — from the right tools to use, to the exact mopping technique that leaves your tile spotless, streak-free, and scratch-free.
Why Drywall Dust Is So Difficult to Clean Off Tile Floors
Before jumping into the cleanup process, it helps to understand what you’re actually dealing with. Drywall dust isn’t like regular household dust. It’s made primarily of gypsum, a fine calcium sulfate compound, and when it settles on your tile floors, it behaves in ways that catch most homeowners completely off guard.
What Makes Drywall Dust Different from Regular Dust
The particles in drywall dust are extremely fine — much finer than everyday dirt or debris. This means they settle into every tiny pore, grout line, and surface texture on your tile floor. When you try to sweep it dry, the particles become airborne almost instantly and simply resettle somewhere else. When you mop it with too much water, the gypsum particles absorb the moisture and turn into a thin, paste-like slurry that smears across the tile surface and dries into a stubborn white haze.
Another thing most people don’t realize is that drywall dust is mildly abrasive. While gypsum itself is relatively soft, dragging it across a tile surface with a stiff broom or rough scrubbing pad can dull the glaze on ceramic or porcelain tiles over time. Natural stone tiles like marble and travertine are even more vulnerable because they’re porous and can absorb the fine dust before you even get a chance to clean it.
Common Mistakes Homeowners Make
- Dry sweeping immediately — This launches fine particles into the air and pushes them deeper into grout lines
- Mopping without vacuuming first — Water turns drywall dust into paste, leaving streaks and haze on the tile
- Using a standard household vacuum — Without a HEPA filter, it recirculates fine dust particles back into the room
- Scrubbing with abrasive pads — Risks scratching the tile surface or finish
- Using hot water — Heat can set the drywall residue and make it harder to lift cleanly
Understanding these mistakes is half the battle. Once you know what not to do, the right approach becomes much clearer.
What You’ll Need Before You Start
Getting the right tools together before you start saves you time and protects your floors. Here’s everything you need for a safe, effective drywall dust cleanup:
| Tool / Supply | Purpose |
| HEPA filter vacuum | Captures fine dust without recirculating it |
| Microfiber dust mop | Gentle dry pickup after vacuuming |
| Two buckets | One for cleaning solution, one for rinsing |
| pH-neutral floor cleaner | Safe for tile and grout, no harsh residue |
| Soft microfiber flat mop | Streak-free, scratch-safe mopping |
| Soft-bristle grout brush | Loosens dust from grout lines |
| N95 dust mask | Protects your lungs during dry cleanup |
| Rubber gloves | Hand protection during wet cleanup |
What to avoid: Steel wool, abrasive scrub pads, bleach-based cleaners, acidic cleaners, standard cotton string mops, and dry paper towels. These either scratch the tile, spread the dust around, or leave their own residue behind.
How to Remove Drywall Dust from Tile Floors — Step-by-Step
This is the section that matters most. Follow these steps in order — skipping ahead or combining steps is where most people run into problems.
Step 1 — Ventilate the Room First
Before you touch anything, open every window and door in the room. If you have a box fan, place it facing outward in a window to pull dust-laden air outside. If you have an air purifier with a HEPA filter, turn it on now.
Then wait. Give the room at least 15 to 30 minutes before you start any cleanup work. During and after drywall work, a significant amount of fine dust is still floating in the air. If you start vacuuming immediately, you’ll be pulling that airborne dust down and spreading it around. Letting it settle first means less dust to deal with during the dry cleanup phase.
Step 2 — Dry Vacuum the Floor (Never Sweep)
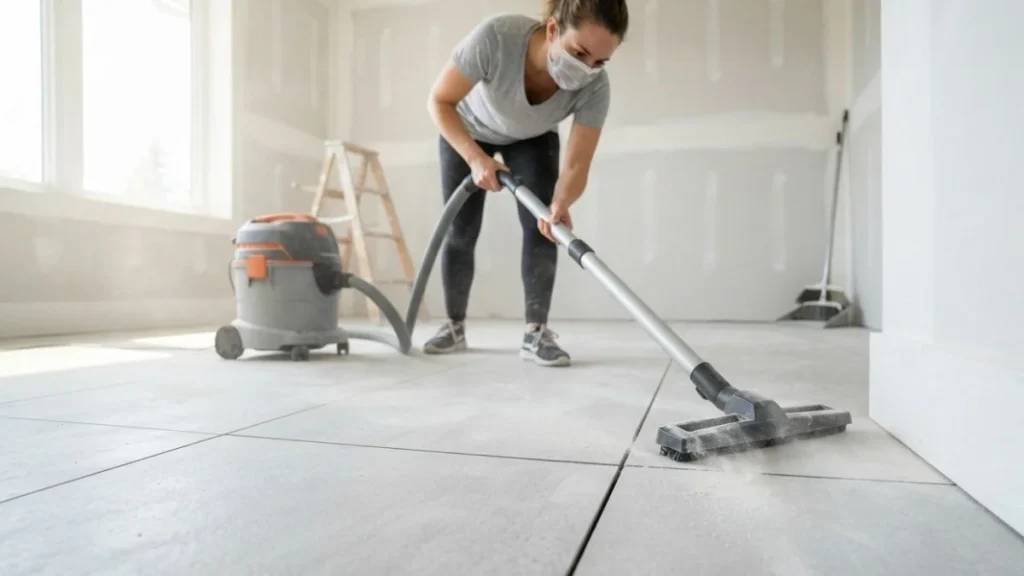
This is the most important step of the entire process. Put the broom away and grab your HEPA vacuum. Set it to the lowest suction setting that still picks up debris — too much suction can scatter fine particles rather than capturing them.
Work your way across the floor in slow, straight passes, all moving in the same direction. Use a brush attachment to carefully vacuum along baseboards and into corners. Pay extra attention to grout lines — drywall dust settles into them heavily and you want to pull as much out as possible before introducing any moisture.
When you’re done, take the vacuum canister or bag outside before emptying it. Opening it indoors immediately sends a cloud of fine dust right back into the room you just cleaned.
Step 3 — Follow Up with a Microfiber Dust Mop
After vacuuming, there will still be a fine layer of dust on the tile surface that the vacuum couldn’t fully capture. A microfiber dust mop is the right tool for this phase. The microfiber material creates a static-like attraction that grabs and holds fine particles rather than pushing them around.
Use slow, overlapping strokes and work toward a single exit point — don’t walk back over areas you’ve already cleaned. If the mop head becomes visibly loaded with dust, fold it to a clean section or replace it entirely. Never shake the mop head indoors.
Step 4 — Prepare Your Two-Bucket Cleaning Solution
Fill one bucket with warm (not hot) water and add one to two tablespoons of a pH-neutral floor cleaner per gallon of water. Fill the second bucket with plain, clean water — this is your rinse bucket.
The two-bucket system is important. With a single bucket, every time you rinse your mop you’re putting dirty water back into your cleaning solution. Within a few passes you’re essentially mopping the floor with drywall-dust water, which is exactly how streaks and haze happen.
Step 5 — Mop in Small Sections

Dip your microfiber flat mop into the cleaning solution and wring it out thoroughly. The mop should be damp — not dripping wet. Excess water is your enemy here. It soaks into grout lines, takes longer to dry, and increases the chance of leaving residue behind.
Work in small sections of about three by three feet at a time. Mop each section, then rinse the mop head in the plain water bucket and wring it out before moving to the next section. Start at the far corner of the room and work your way toward the door so you’re never stepping on freshly cleaned tile.
Change both buckets of water as soon as the water looks cloudy or discolored. In a heavily dusty room, you may need to change the water two or three times. Clean water is non-negotiable here.
Step 6 — Tackle Grout Lines and Stubborn Residue
Even after mopping, you may notice white residue sitting in the grout lines or small patches of stubborn haze on the tile surface. Apply a small amount of your cleaning solution directly to the problem area and let it sit for two to three minutes. Then use your soft-bristle grout brush to gently scrub the grout lines in a back-and-forth motion.
Wipe the area clean with a damp microfiber cloth and rinse thoroughly with clean water. Don’t let the cleaning solution dry on the tile — it leaves its own residue if not rinsed properly.
Step 7 — Dry the Floor and Inspect
Let the floor air dry completely. Then get down low with a flashlight or position yourself so natural light hits the floor at a low angle — this reveals any remaining haze, streaks, or residue that’s hard to see under direct overhead lighting.
If you spot streaks or a lingering dull film, do one final pass with a clean microfiber mop dampened with plain water only — no cleaner. This usually clears up any remaining residue left by the cleaning solution itself.
Special Considerations for Different Tile Types
Not all tile responds the same way to drywall dust cleanup. Here’s what you need to know based on your specific floor type.
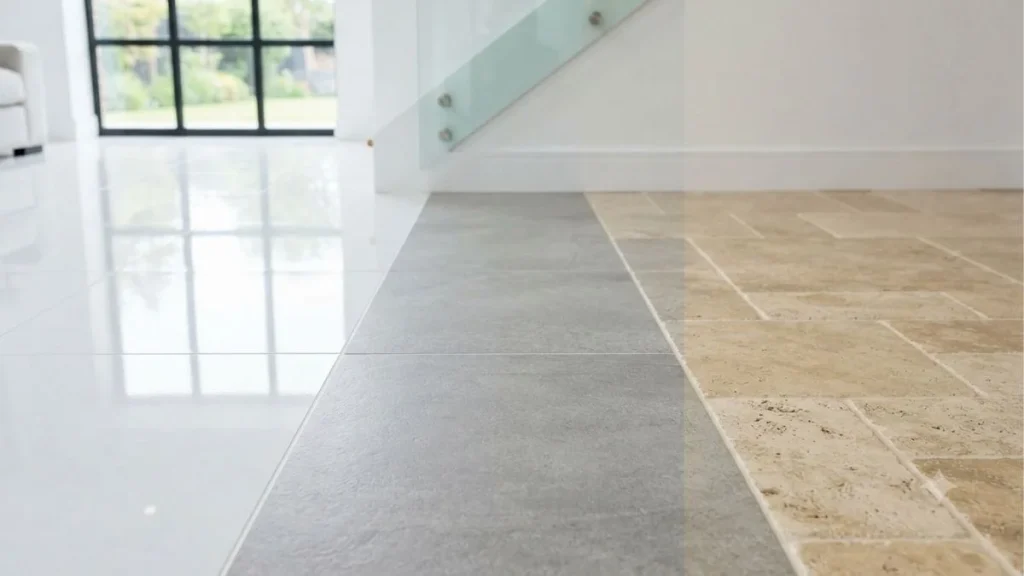
Ceramic and Porcelain Tile are the most forgiving. They have a hard, non-porous glazed surface that resists absorption, so drywall dust sits on top rather than soaking in. The step-by-step method above works perfectly for both. Just avoid abrasive scrubbers that can dull the glaze over time.
Natural Stone Tile — including marble, travertine, and slate — requires extra care. These materials are porous, meaning drywall dust can begin to penetrate the surface if it sits for too long. Always use a stone-safe, pH-neutral cleaner and avoid anything acidic (including vinegar, which is often suggested as a natural cleaner but will etch and damage natural stone). The dry vacuum and dust mop phase is even more critical here than with ceramic tile.
Textured or Matte Finish Tile holds dust in its surface texture, so you may need to go through the vacuuming and dust mopping phase twice before any moisture touches the floor. A soft-bristle brush attachment on your vacuum helps loosen particles embedded in the texture.
How to Prevent Drywall Dust from Spreading During Renovation
The best cleanup is the one you barely have to do. A little preparation before drywall work starts can cut your cleanup time dramatically.
Lay down rosin paper or heavy-duty plastic sheeting over your tile floors before any drywall sanding or cutting begins. Tape the edges to the baseboards with painter’s tape to keep dust from sneaking underneath. Close off doorways with plastic sheeting and seal HVAC vents to prevent dust from traveling to other rooms.
During the work itself, use a drywall sanding vacuum attachment — these connect directly to a sander and capture the majority of dust at the source before it ever reaches your floor. Where possible, wet-sanding drywall produces significantly less airborne dust than dry sanding, though it does require more skill to do correctly.
Related Read: How To Clean Floor Tile Grout Without Scrubbing
Conclusion
Removing drywall dust from tile floors comes down to one principle: always go dry before you go wet. Vacuum thoroughly, follow up with a microfiber dust mop, then tackle the wet mopping in small sections with clean water and a pH-neutral cleaner. Handle grout lines with a soft brush, inspect under good lighting, and do a final rinse pass if needed.
It takes a bit of patience, but done right, your tile floors will come out clean, streak-free, and completely unscratched — looking just as good as the day they were installed.