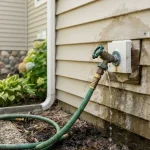
If you’ve noticed a brownish stain creeping across your bathroom ceiling, you’re not alone. It’s one of the most common complaints homeowners deal with — and one of the most ignored. That ugly brown patch might seem like a minor cosmetic issue, but in most cases, it’s your home trying to tell you something is wrong.
Brown spots on bathroom ceilings don’t appear out of nowhere. They’re caused by something — whether it’s a slow leak, poor ventilation, mold growth, or a failing roof. The good news? Most of these problems are fixable. The bad news? Ignoring them only makes things worse and more expensive down the road.
You’ll learn exactly what causes brown spots on bathroom ceilings, how to figure out what’s behind yours, and — most importantly — how to fix it the right way so it doesn’t come back.
What Are Brown Spots on a Bathroom Ceiling?
Brown spots on a bathroom ceiling are discolored patches that form due to moisture, water damage, mold, or a combination of all three. They usually appear as yellowish-brown rings, dark spreading patches, or faded stains that seem to grow over time.
You’ll most commonly find them directly above the shower or bathtub, near exhaust vents, in the corners of the ceiling, or right in the center if there’s a leak from above. Their size can range from a small coffee-cup ring to a large spreading patch that covers several square feet.
Here’s what makes them tricky — not all brown spots look the same, and they don’t all have the same cause. A yellow-brown ring usually points to a water leak or moisture issue. A gray or greenish patch often signals mold. An orange or reddish-brown stain can indicate rust from corroded pipes behind the ceiling.
Some brown spots are purely cosmetic — old stains from a leak that was already fixed. Others are active warning signs of an ongoing problem. Knowing the difference is the first step toward fixing it properly.
Common Causes of Brown Spots on Bathroom Ceilings
Understanding the root cause is everything. If you paint over the stain without addressing what’s causing it, that brown spot will be back within weeks. Here are the most common culprits.
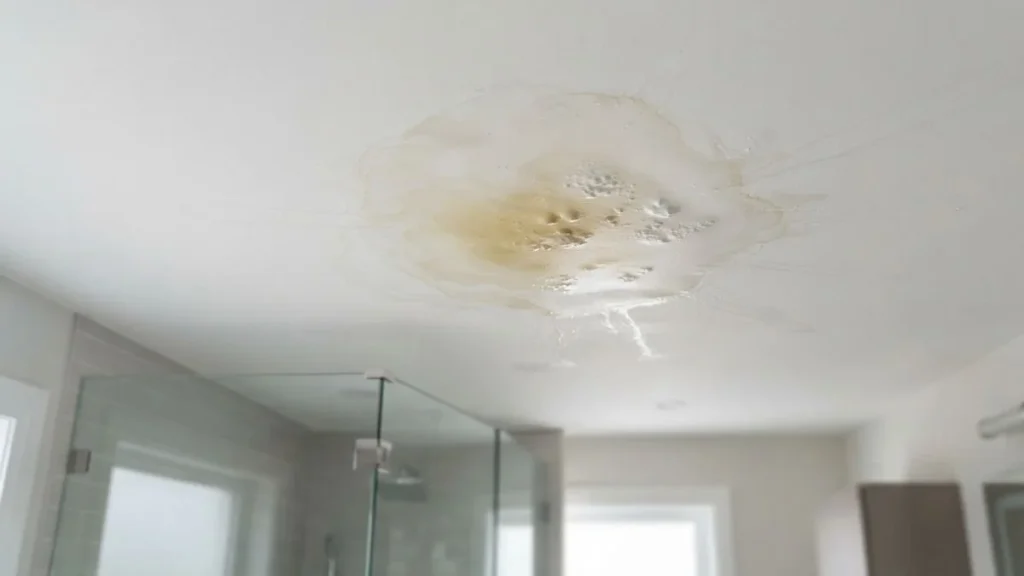
1. Moisture and Poor Ventilation
This is the number one cause of brown ceiling stains in bathrooms. Every time you take a hot shower, steam rises and settles on the ceiling. If your bathroom doesn’t have proper ventilation — or if your exhaust fan is too weak or rarely used — that moisture has nowhere to go. Over time, it soaks into the drywall and paint, leaving behind brown discoloration.
Bathrooms without windows are especially vulnerable. Without airflow, humidity levels inside can stay elevated long after you’ve finished showering, giving moisture time to penetrate surfaces repeatedly.
2. Water Leaks from Above
If there’s a bathroom, laundry room, or plumbing running above your bathroom ceiling, a slow leak from those pipes can drip down and stain the ceiling below. These leaks are often slow enough that you don’t notice them right away — by the time the stain appears, the water has already been sitting in your drywall for a while.
Roof leaks are another major cause. Rainwater finding its way through a damaged or aging roof will often travel along rafters and appear as a brown stain on an interior ceiling — sometimes far from the actual entry point.
3. Mold and Mildew Growth
Bathrooms are the perfect breeding ground for mold. Warm temperatures, constant moisture, and low ventilation create exactly the conditions mold needs to thrive. Mold stains tend to look darker — gray, green, or black — but they can also appear brownish, especially in early stages or when growing beneath paint.
The problem with mold isn’t just cosmetic. Certain mold types, including black mold (Stachybotrys chartarum), can pose serious health risks, especially for people with respiratory conditions, allergies, or weakened immune systems.
4. Condensation Buildup
Condensation happens when warm, humid air inside the bathroom meets a cooler ceiling surface. This is especially common in winter, when ceiling surfaces stay cold while shower steam rises. The repeated cycle of moisture hitting the ceiling and slowly evaporating leaves mineral deposits and staining behind over time.
5. Old or Damaged Roof
A failing roof is a silent culprit. Cracked shingles, damaged flashing around vents, or worn-out underlayment can all allow water to seep in during rain. That water travels downward and often shows up first in upper-floor bathrooms as brown ceiling stains.
6. Rusty or Corroded Pipes
In older homes with galvanized steel or iron pipes, corrosion inside the pipes can cause rust-colored water to seep through small cracks and stain the ceiling. These stains tend to have an orange or reddish-brown tint and are more common in homes built before the 1970s.
How to Tell What’s Causing the Brown Spot
Before you buy a single can of paint or pick up a brush, you need to figure out what you’re actually dealing with. Here’s how to read the clues.
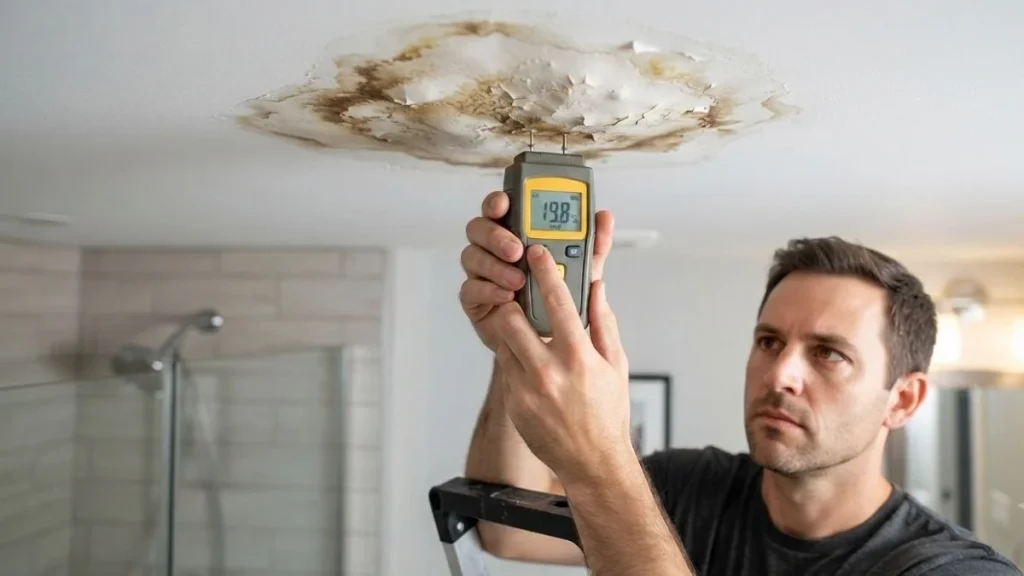
Color is your first hint:
| Stain Color | Likely Cause |
| Yellow-brown ring | Water leak or moisture |
| Gray, green, or black | Mold or mildew |
| Orange or rust-red | Corroded pipes |
| White or chalky | Condensation / mineral deposits |
Texture tells you how bad it is:
- Bubbling or peeling paint means moisture has been sitting there a while
- Soft or spongy drywall means water damage has gone deep
- A hard, dry stain with no texture change is usually an old, inactive stain
The smell test works: If the stain has a musty, damp odor, mold is almost certainly involved. A clean-smelling stain that’s dry to the touch is more likely old water damage.
The wet vs. dry test: Check the stain after a rainstorm and again after a few showers. If it darkens or grows after rain, the issue is roof-related. If it gets worse after showers, ventilation or plumbing above is the problem.
When in doubt, use a moisture meter — an inexpensive tool available at most hardware stores — to check if the drywall is still holding moisture.
How to Fix Brown Spots on a Bathroom Ceiling
Once you know the cause, fixing the stain is a straightforward process — as long as you do it in the right order. Skipping steps is how homeowners end up repainting the same spot three times.
Fix the Root Cause First
This is non-negotiable. Before any cleaning or painting happens, the source of the problem must be resolved.
- If it’s a leak, get it repaired by a plumber
- If it’s a roof issue, have a roofer inspect and fix the damaged area
- If it’s ventilation, upgrade your exhaust fan before anything else
- If mold is involved, treat it completely before closing up the ceiling
Painting over an active problem is just wasting time and money.
Assess the Damage
Once the source is fixed and the area is completely dry (give it at least 24–48 hours), inspect the ceiling carefully.
- Press lightly on the stained area — if it feels soft or crumbles, the drywall needs to be replaced
- If the surface is firm and solid, you can clean and repaint without replacing
- Check the surrounding area for any signs the damage has spread beyond the visible stain
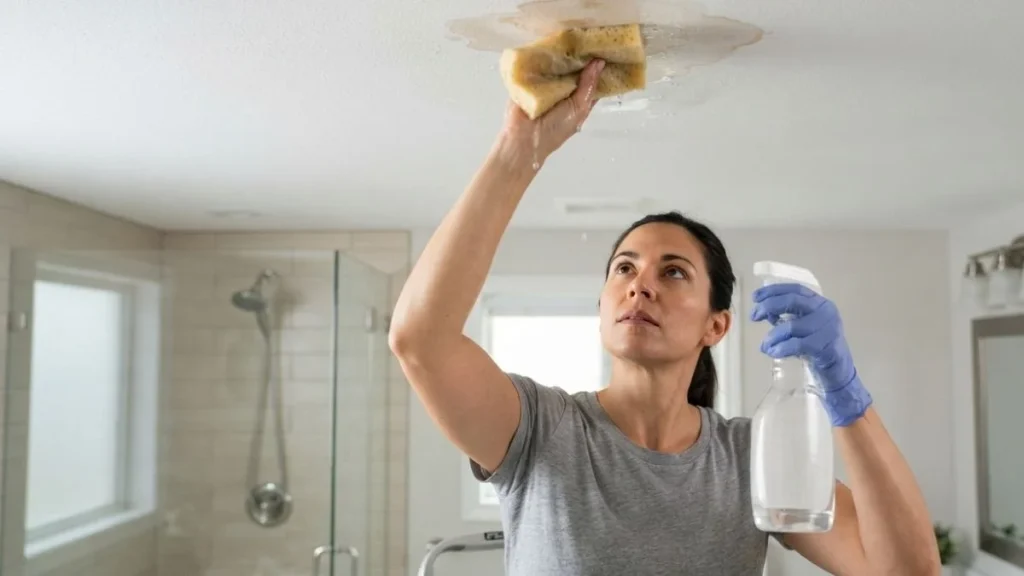
Clean and Treat the Stained Area
For water stains: Mix one part bleach with three parts water in a spray bottle. Apply it to the stained area, let it sit for 10–15 minutes, then scrub gently with a soft brush. Rinse with clean water and allow it to dry completely. Always wear gloves and ensure the room is ventilated.
For mold stains: Use a commercial mold-killing solution or a mixture of white vinegar and water. For heavier mold, a diluted bleach solution works well. Apply, let sit, scrub, and rinse. Wear gloves, a mask, and eye protection. If the mold covers an area larger than 10 square feet, stop and call a mold remediation professional — DIY treatment won’t be enough.
For rust stains: Use a rust-specific stain remover available at hardware stores. Light sanding after treatment helps the primer adhere properly. Remember, you’ll also need to address the corroded pipe to prevent the stain from returning.
Apply a Stain-Blocking Primer
This step is where most DIYers go wrong. Regular primer will not block ceiling stains. You need a dedicated stain-blocking primer — either oil-based or shellac-based. These create a seal over the stain so it doesn’t bleed through the new paint.
Apply one even coat, allow it to dry fully according to the product instructions, and check that the stain is no longer visible through the primer before moving on.
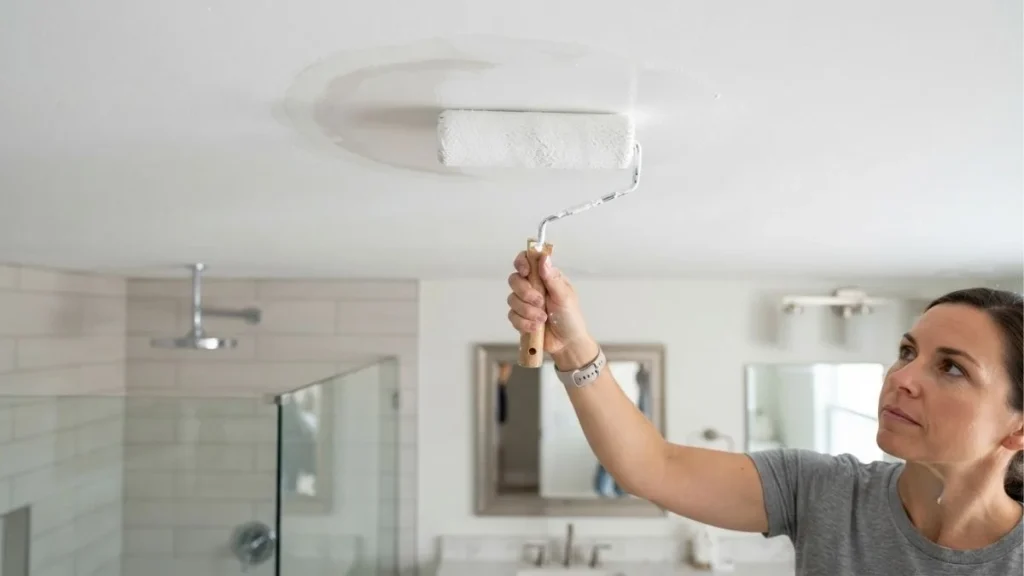
Repaint the Ceiling
Use a moisture-resistant or mold-resistant paint specifically designed for bathrooms. These paints contain antimicrobial agents that help prevent future mold and mildew growth on the surface.
Apply two coats for the best result, allowing full drying time between coats. If you’re only repainting the stained section, feather the edges carefully to blend with the surrounding ceiling.
Replace Damaged Drywall If Necessary
If the drywall is soft, crumbling, or shows signs of structural damage, painting over it won’t help. The damaged section needs to be cut out and replaced with moisture-resistant drywall (often called “green board” or “blue board”), which is specifically designed for high-humidity environments like bathrooms.
This job is manageable as a DIY project for those with some experience, but if you’re not comfortable working overhead or cutting drywall, hiring a contractor is the smarter move.
How to Prevent Brown Spots from Coming Back
Fixing the stain is only half the battle. If you don’t change the conditions that caused it, you’ll be back in the same situation within a year.
Improve ventilation first. Install an exhaust fan with a CFM (cubic feet per minute) rating appropriate for your bathroom size — a general rule is 1 CFM per square foot of bathroom space. Run the fan during your shower and keep it running for at least 15–20 minutes afterward. Humidity-sensing fans do this automatically and are worth the upgrade.
Fix leaks the moment you spot them. Don’t wait to see if a drip “fixes itself.” Inspect caulk and grout around your tub and shower regularly, and schedule an annual roof inspection if your home is more than 10 years old.
Switch to mold-resistant materials. When repainting or remodeling, use mold-resistant drywall, moisture-barrier primer, and mold-resistant ceiling paint. These products cost only slightly more but make a significant difference in high-humidity rooms.
Keep indoor humidity in check. The ideal indoor humidity level is between 30% and 50%. A small hygrometer (humidity monitor) placed in the bathroom costs very little and gives you real-time readings. If humidity consistently runs high, a dehumidifier or better ventilation is the fix.
DIY vs. Hiring a Professional
| Situation | DIY or Pro? |
| Small stain, confirmed source fixed | DIY |
| Surface-level damage, no mold | DIY |
| Mold covering large area | Pro |
| Recurring stains after multiple repairs | Pro |
| Suspected structural or roof damage | Pro |
| Major plumbing issues above the ceiling | Pro |
For small, straightforward stains, a confident DIYer can handle the entire repair for $30–$80 in materials. Professional ceiling repair, depending on the extent of the damage, typically runs between $200 and $800. Mold remediation and roof repairs are priced separately and can run significantly higher depending on the scope.
You May Like Also: Roof Leaking Where Porch Meets House
Conclusion
Brown spots on your bathroom ceiling are more than just an eyesore — they’re a sign that something in your home needs attention. Whether it’s a slow leak, poor ventilation, mold growth, or a roofing issue, the spot itself is just the symptom. The real problem is underneath.
The fix isn’t complicated, but it has to be done in the right order: find the cause, fix it, clean the stain, prime with a stain blocker, and repaint with the right product. Skip any of those steps and you’ll be doing it all over again in a few months.
If the damage is extensive, the mold is widespread, or you can’t track down the source of the leak, don’t hesitate to call a professional. Catching a problem early is always cheaper than dealing with the consequences of letting it go.