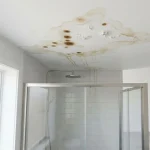
You notice a dark stain spreading across your siding near the outdoor faucet. Maybe the paint is bubbling, or the wood feels soft when you press on it. You run the hose and everything seems fine — no obvious drip, no puddle on the ground. But something is clearly wrong.
A leaking outdoor spigot behind your siding is one of those problems that sneaks up on homeowners. The water isn’t dripping where you can see it. It’s seeping into your wall cavity, soaking insulation, and quietly rotting the framing behind your siding. By the time visible damage appears, the problem has usually been going on for weeks — sometimes months.
The good news? You don’t need to rip your wall apart to find it or fix it. Most of the time, this is a repair any determined homeowner can handle with basic tools and a couple of hours on a weekend. This guide walks you through everything — finding the leak, assessing the damage, fixing it the right way, and making sure it doesn’t happen again.
How an Outdoor Spigot Is Connected to Your Home
Your outdoor spigot — also called a hose bib or sillcock — isn’t just screwed onto the outside of your house. It passes through your siding, sheathing, and wall framing, connecting directly to your interior plumbing. That wall penetration point is sealed with caulk and a cover plate called an escutcheon, but over time, those seals break down.
There are two main types of outdoor spigots: standard and frost-free. A standard spigot shuts off water right at the faucet handle. A frost-free model (also called an anti-siphon spigot) has a longer stem that shuts the water off several inches inside the wall, where it’s warmer, allowing the pipe to drain and preventing freeze damage. Frost-free models are far more common in newer homes, but both types can develop leaks behind the siding if they’re not maintained properly.
Common Causes of a Spigot Leaking Behind the Siding
Understanding what caused the leak helps you fix it correctly the first time. Here are the most frequent culprits:
- Failed or cracked caulk around the escutcheon plate — the single most common cause
- Freeze damage — water left in the pipe expands during winter and cracks fittings or the spigot body
- Worn washer or O-ring inside the spigot, causing a slow internal leak
- Loose or corroded pipe connections at the point where the spigot meets the supply line
- Improper installation — if the spigot isn’t pitched slightly downward, water pools inside and eventually works its way into the wall
- Cracked pipe fittings caused by age, water hammer, or physical stress
Why This Leak Is So Easy to Miss
Water is unpredictable once it gets inside a wall. It doesn’t just drip straight down — it travels along pipes, lumber, and insulation before it shows up anywhere visible. A spigot that looks perfectly fine on the outside could be directing water into your wall every time you use the hose. By the time you see staining, bubbling siding, or smell mustiness, the moisture has likely been building up for a while.
Warning Signs Your Outdoor Spigot Is Leaking Behind the Siding
Catching this problem early saves you a significant amount of money. Here’s what to look for on both sides of the wall.
Exterior Warning Signs
Walk up to your outdoor spigot and take a close look at the area around it. These are the red flags you’re looking for:
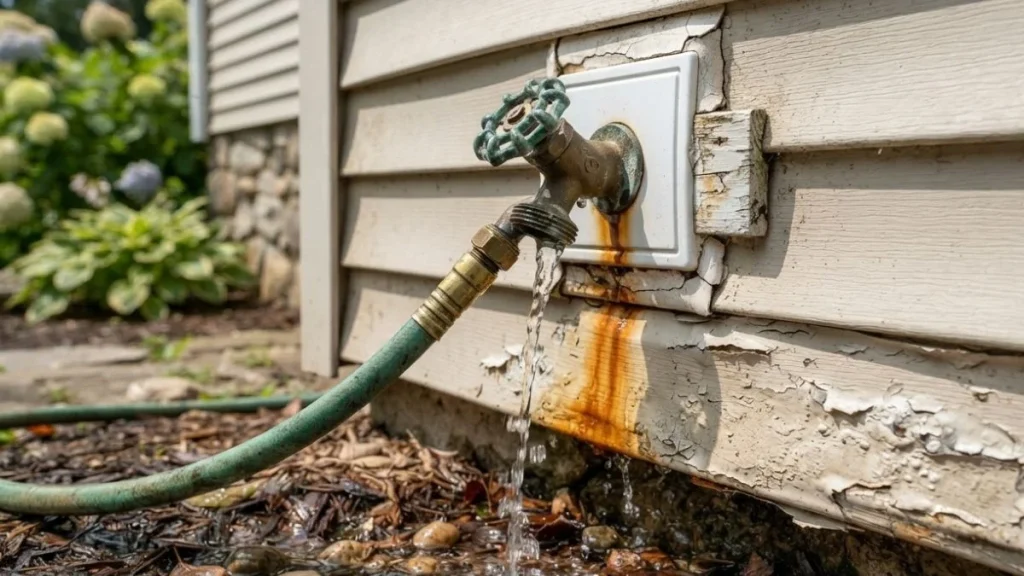
- Siding that looks warped, bubbled, or discolored near the spigot
- Paint that is peeling or blistering around the faucet area
- Siding that feels soft or spongy when you press on it firmly
- Rust-colored streaks running down from the escutcheon plate
- Caulk that is cracked, shrunken, or pulling away from the wall
Any one of these signs is worth investigating further. Two or more together is a clear signal that water has been getting into your wall.
Interior Warning Signs
Go inside your home and check the wall that backs up to the outdoor spigot. Depending on your layout, this might be a laundry room, a kitchen wall, or a basement ceiling.
- Water stains or discoloration on drywall near the spigot’s interior location
- A musty or damp smell that persists even after airing the room out
- Visible mold or mildew growth on drywall, insulation, or wood framing
- An unexplained increase in your monthly water bill
If you’re seeing interior signs alongside exterior ones, you’re likely dealing with ongoing water intrusion that needs immediate attention.
How to Find the Exact Source of the Leak Without Removing Siding
Tools You’ll Need
Before you start, gather these items:
| Tool | Purpose |
| Moisture meter | Detect hidden moisture in siding and framing |
| Flashlight + mirror | Inspect behind the escutcheon plate |
| Utility knife or caulk tool | Remove old caulk for inspection |
| Screwdriver | Remove the cover plate |
| Garden hose | Simulate normal water use for testing |
Step-by-Step Leak Detection
Remove and Inspect the Escutcheon Plate
Unscrew the decorative cover plate sitting flush against your siding around the spigot. Behind it, you’ll find the pipe collar and the point where the spigot body passes through the wall. Look carefully for moisture, rust staining, discoloration, or daylight gaps where water could enter. Even a small gap in the caulk at this point is enough to let in significant water during rain or heavy hose use.
Use a Moisture Meter on the Surrounding Siding
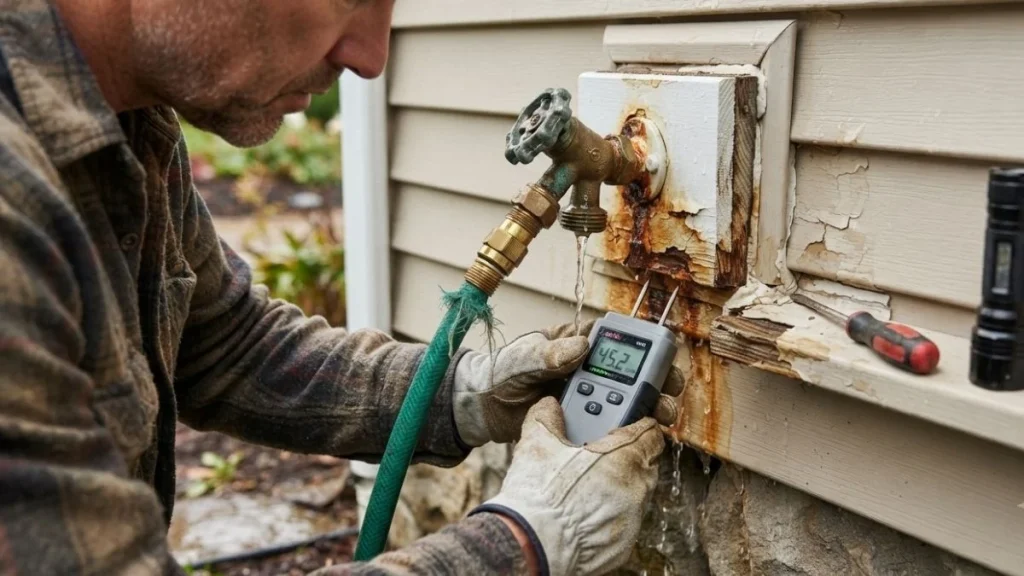
A moisture meter is the most reliable way to find hidden water without opening your wall. Press the probes against your siding in a grid pattern around the spigot — covering about a two-foot radius. Normal wood moisture content sits between 6% and 12%. Anything above 17% indicates trapped moisture. This tool also helps you map out how far the damage has already spread.
Run a Controlled Water Test
Attach your garden hose and run water at normal household pressure for two to three minutes. Watch the escutcheon area, the pipe collar, and the siding immediately below the spigot for any dripping or moisture. Have someone inside the house watch the corresponding interior wall at the same time. This test often reveals the exact leak point quickly.
Check the Interior Access Point
If you have access to the pipe from inside — through a basement, crawl space, or utility room — shine a flashlight along the pipe and fittings near where it exits the wall. Look for mineral deposits (white or greenish buildup), corrosion, wet insulation, or visible dripping at threaded connections.
How to Fix a Leaking Outdoor Spigot Behind the Siding

Recaulk Around the Spigot Plate
This is the most common fix and should always be your first step. If the caulk around the escutcheon plate is cracked, missing, or pulling away from the siding, water is getting in every time it rains or you run the hose.
Use 100% silicone or polyurethane exterior caulk — not latex, which breaks down faster outdoors. Start by removing every trace of the old caulk with a utility knife and caulk remover tool. Clean the surface with rubbing alcohol and let it dry completely. Apply a continuous, unbroken bead of fresh caulk all the way around the plate, pressing it firmly into the gap. Smooth it with a wet finger and allow it to cure fully — typically 24 hours — before using the spigot again.
This single fix resolves a large percentage of outdoor spigot leaks behind siding. It costs almost nothing and takes less than an hour.
Replace the Washer or O-Ring
If the spigot drips when you’re using it, or continues to drip slowly after you turn it off, the problem is usually a worn rubber washer or O-ring inside the spigot body. These components are under pressure every time you use the faucet and wear out over time.
Shut off the water supply to the spigot at the interior shutoff valve before starting. Unscrew the packing nut behind the handle — it usually requires a wrench. Pull out the stem and look at the rubber washer on the end. If it’s flat, cracked, or deformed, replace it with an exact match from your hardware store. While you’re in there, check the O-ring around the stem too and replace it if it looks worn. Reassemble everything, restore water pressure, and test for dripping.
Reseal or Tighten the Pipe Connection
If your moisture meter readings point to a deeper leak inside the wall, the threaded pipe connection where the spigot body meets the supply line may be the problem. Shut off the water and unscrew the spigot from the pipe. Wrap the threads with three to four layers of plumber’s thread seal tape (Teflon tape), then apply a thin coat of pipe joint compound over it for extra security. Reinstall the spigot, hand-tighten first, then snug it with a wrench. Restore the water and check carefully for any weeping at the joint.
Replace the Entire Hose Bib
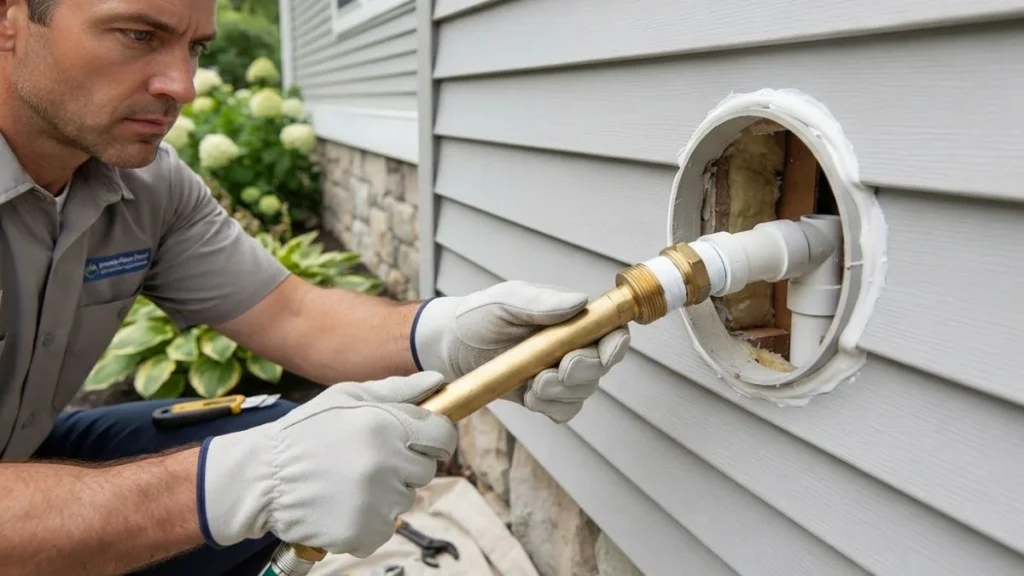
Sometimes the spigot itself is beyond saving — cracked from freeze damage, corroded through, or simply too old to seal properly anymore. In that case, a full replacement is the right call. If you’re replacing it anyway, upgrade to a frost-free model. They cost between $20 and $50 at any hardware store and are well worth it in any climate that drops below freezing.
Shut off the interior water supply, unscrew the old spigot, apply Teflon tape to the new spigot threads, and install the replacement. Make sure the spigot is pitched slightly downward toward the outside so water drains away from the wall naturally. Recaulk the escutcheon plate after installation.
Address Existing Water Damage in the Wall
If moisture has already made its way into the wall cavity, fixing the spigot alone isn’t enough. You need to dry out the affected area to prevent mold from taking hold.
Remove the escutcheon plate and any caulk around the spigot opening. Point a small fan or dehumidifier toward the gap and run it for 48 to 72 hours. Use your moisture meter to track the drying progress. If readings don’t come down to normal levels, or if you detect mold growth, you may need to remove a small section of siding for proper inspection and drying. At that point, a water damage restoration professional is worth calling in.
How to Prevent Your Outdoor Spigot from Leaking Again
Fixing the current leak is only half the job. A few simple habits will keep this problem from coming back.
Every fall before the first frost, disconnect your garden hose from the spigot. A hose left attached traps water in the pipe and prevents it from draining — even on frost-free models. Shut off the interior supply valve and open the outdoor spigot to release any remaining water pressure. Install an insulated faucet cover over the spigot for the winter months. They cost a few dollars and can prevent hundreds of dollars in freeze damage.
Each spring, inspect the caulk around the escutcheon plate as part of your seasonal home checkup. Press on the surrounding siding. Run the hose and watch for any signs of moisture. Catching a small caulk crack in March costs you $10. Ignoring it until August could cost you $2,000 in wall repair.
How Much Does It Cost to Fix an Outdoor Spigot Leaking Behind Siding?
| Repair Type | DIY Cost | Professional Cost |
| Recaulking the escutcheon plate | $5 – $15 | $75 – $150 |
| Washer / O-ring replacement | $2 – $10 | $100 – $200 |
| Full spigot replacement | $20 – $60 | $150 – $300 |
| Wall cavity drying & minor repair | $30 – $80 | $500 – $1,500 |
| Extensive water damage restoration | N/A | $1,500 – $3,000+ |
The pattern here is clear — the earlier you catch it, the cheaper it is to fix.
Read Also: Water Spigot Inside Garage
Conclusion
A leaking outdoor spigot behind your siding is one of those home problems that feels bigger than it is — until you ignore it long enough for it to actually become big. The truth is, most of these leaks start with something as simple as dried-out caulk or a worn rubber washer, and they’re entirely fixable without demolishing your wall.
Start with the simplest fix first — recaulk the escutcheon plate, check the washer, reseal the pipe connection. Use a moisture meter to understand what’s happening inside the wall before you assume the worst. And if the damage has already spread, address it now rather than hoping it dries out on its own.
Your outdoor spigot gets more use than most people realize. A little seasonal attention — disconnecting hoses before winter, checking the caulk each spring — goes a long way toward keeping it working properly for years to come. When in doubt, a licensed plumber can assess the situation quickly and give you a clear picture of what you’re dealing with.