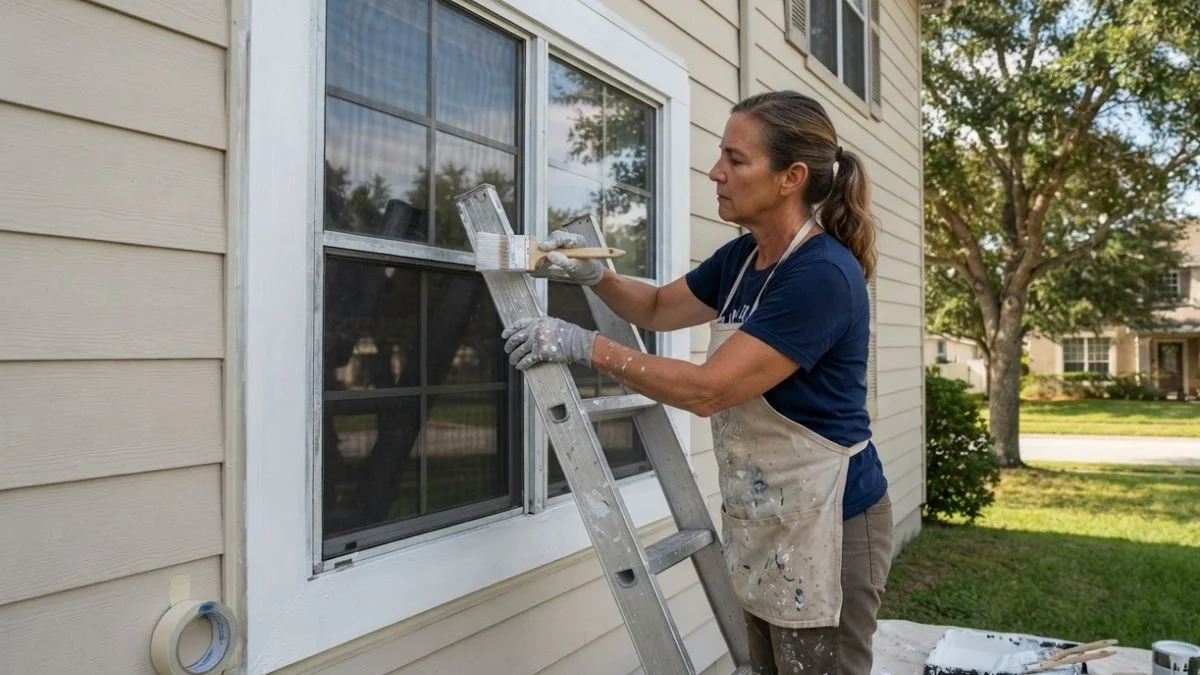
If your home’s aluminum window trim is looking faded, chalky, or starting to peel, you’re not alone. Aluminum trim is one of the most common exterior features on homes built between the 1960s and 1990s — and over time, weather, UV exposure, and moisture take a serious toll on its appearance.
The good news? You don’t need to replace it. A properly done paint job on aluminum window trim can restore your home’s curb appeal and last a decade or more. The key word there is properly done. Most DIY paint jobs on aluminum fail not because of the paint itself, but because of skipped steps during preparation.
This guide walks you through everything — from choosing the right materials to applying the final coat — so your results actually hold up long-term.
Why Painting Exterior Aluminum Window Trim Is Worth It
Before picking up a brush, it helps to understand why repainting makes sense — both financially and practically.
Replacing aluminum window trim entirely can cost anywhere from $300 to $900 per window when you factor in materials and labor. A full DIY repaint, on the other hand, typically runs $50 to $150 in total supplies for the entire house, depending on size. That’s a significant difference, especially if you have 10, 15, or 20 windows to address.
Beyond cost, repainting is also the greener choice. Aluminum is recyclable, but manufacturing new trim products still consumes energy and resources. Extending the life of what you already have is always the more sustainable option.
From a curb appeal standpoint, faded or peeling window trim is one of the first things people notice about a home. Fresh trim gives the entire exterior a cleaner, more updated look — even if nothing else has changed. For homeowners thinking about selling, this is a low-cost improvement with a noticeable visual return.
Signs your aluminum trim needs repainting:
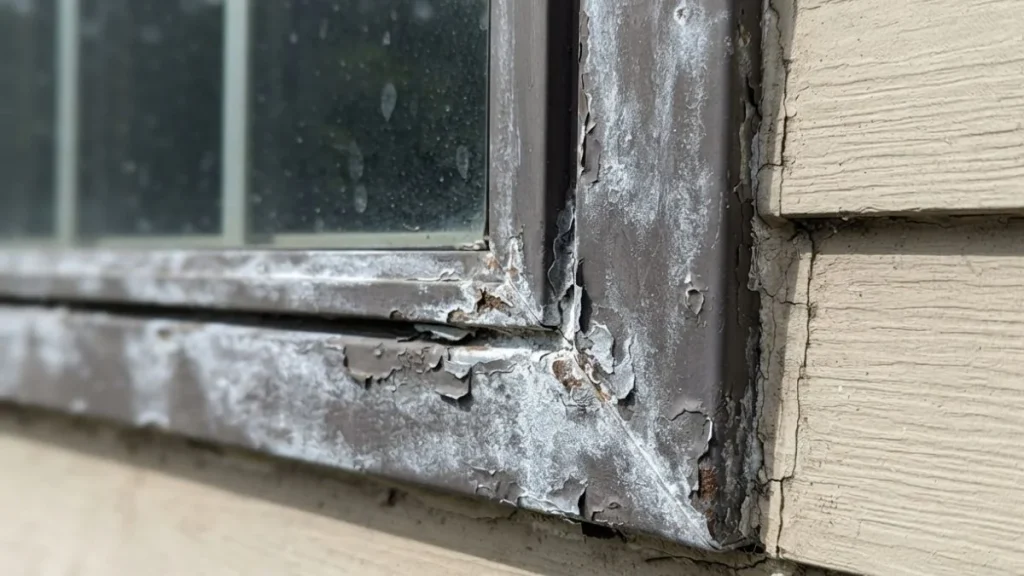
- White, chalky residue on the surface (oxidation)
- Paint that’s bubbling, cracking, or peeling away
- Visible fading or discoloration from sun exposure
- Pitting or surface roughness from years of moisture exposure
If you’re seeing any of these, the trim can still be saved — but the right prep process is everything.
What You Need Before You Start
Getting organized before you begin saves time and prevents mid-project runs to the hardware store. Here’s what to gather:
Tools:
- Angled sash brush (2–2.5 inch)
- Fine-grit sandpaper (320–400 grit) or a sanding sponge
- Tack cloth or microfiber rags
- Painter’s tape (FrogTape or 3M ScotchBlue recommended)
- Drop cloths or plastic sheeting
- Garden hose or pressure washer
Materials:
| Item | What to Look For |
| Cleaner | TSP substitute or degreaser |
| Primer | Self-etching or bonding primer for metal |
| Paint | 100% acrylic latex, exterior-grade, satin or semi-gloss |
| Caulk | Paintable exterior silicone or polyurethane caulk |
On paint sheen: satin and semi-gloss both work well on trim. Semi-gloss offers slightly more durability and is easier to clean, which is why most professionals prefer it for window trim specifically.
Prep Work — The Step That Determines Whether Your Paint Job Lasts
This is where most DIY paint jobs either succeed or fail. Aluminum has a naturally smooth, non-porous surface that doesn’t bond well with paint on its own. Without proper preparation, even the best paint will start peeling within a year or two.
Clean the Aluminum Trim Thoroughly
Start by washing the entire surface with a TSP substitute (trisodium phosphate alternative) or a strong degreaser mixed with warm water. This removes dirt, grease, mildew, and the oxidation layer that builds up on unpainted or weathered aluminum.
Apply the cleaning solution with a stiff-bristle brush, scrub the surface well, then rinse completely with a garden hose. If you have a pressure washer, use it on a low to medium setting — avoid high pressure directly on aluminum as it can cause surface denting or force water behind the trim.
Allow the surface to dry completely — at least 24 hours in normal weather — before moving to the next step. Painting over any moisture, even slight dampness, is one of the fastest ways to cause adhesion failure.
Sand the Surface
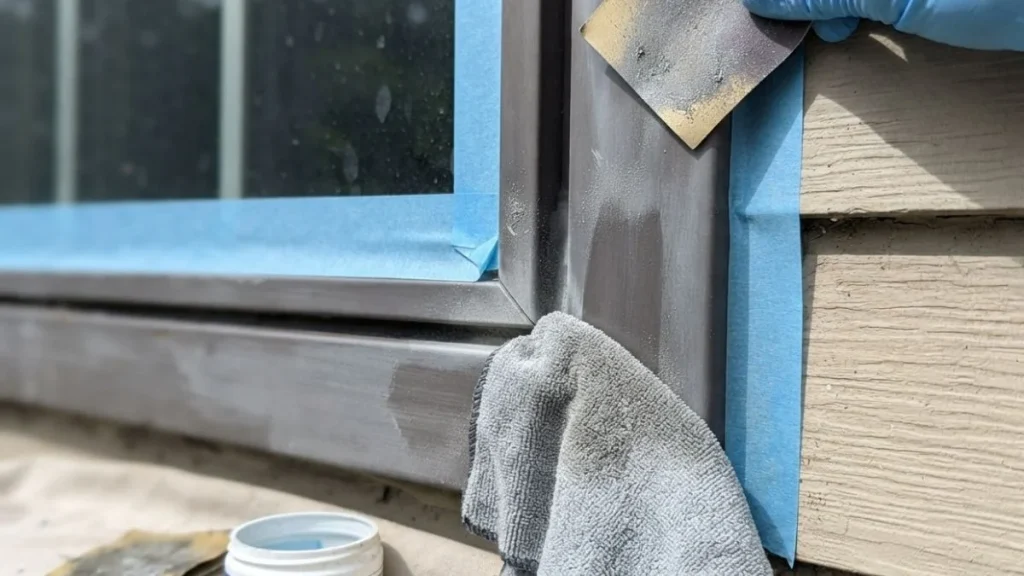
Once clean and dry, lightly sand the entire trim surface using 320–400 grit sandpaper or a fine sanding sponge. You’re not trying to strip anything — you’re creating microscopic scratches in the surface so the primer has something to grip onto.
Use smooth, consistent strokes in one direction. After sanding, wipe down every inch of the surface with a tack cloth to remove all dust. Any dust left behind will show up under the primer and affect the final finish.
Tape Off the Glass and Surrounding Areas
Apply painter’s tape carefully along the edge where the aluminum trim meets the glass. Take your time here — a steady hand and good tape makes the difference between a clean, professional-looking result and a sloppy one.
Also protect any adjacent siding, brick, or stucco with tape and drop cloths. Paint drips on siding are difficult to remove once dry, especially on textured surfaces.
Check the Weather
Exterior paint needs the right conditions to cure properly. The ideal temperature range is between 50°F and 85°F (10°C–29°C). Avoid painting in direct sunlight, which causes the paint to dry too fast and leads to brush marks. Also avoid painting when rain is forecast within 24 hours or when humidity is above 70%.
Early morning or late afternoon — when the surface is in shade — is usually the best time to work.
How to Prime Exterior Aluminum Window Trim
Primer is not optional on aluminum. This is worth repeating because it’s the single most skipped step in DIY projects, and it’s the main reason painted aluminum trim fails prematurely.
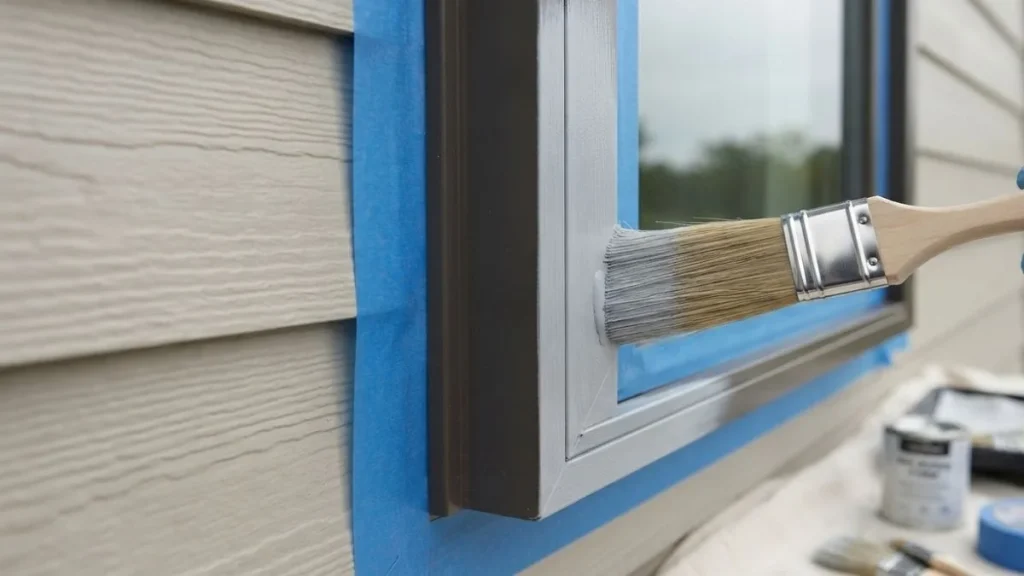
Aluminum’s smooth surface simply doesn’t hold paint well without a bonding layer in between. Beyond adhesion, primer also seals the surface, prevents oxidation from continuing underneath the paint, and gives the topcoat a uniform base to adhere to.
Which primer to use:
For bare or previously unpainted aluminum, use a self-etching primer. It contains a mild acid that chemically bonds to the metal surface, creating an extremely strong foundation for the topcoat. For aluminum that already has some paint on it (and that paint is in decent condition), a bonding primer works well and is easier to apply.
Both types are available in spray can or brush-on form. Spray primers give a thinner, more even coat — especially useful on detailed or narrow trim pieces. Brush-on primers are better if you’re working in a tight space where overspray would be hard to control.
Apply one thin, even coat of primer. Don’t try to cover everything in one heavy application — thin coats bond better and dry more evenly. Allow the primer to dry fully according to the manufacturer’s instructions before applying paint, usually 1–4 hours depending on the product and conditions.
How to Paint Exterior Aluminum Window Trim Step by Step
With the surface cleaned, sanded, taped, and primed, you’re ready for the actual painting. At this point, the hard work is already done — the application itself is straightforward if you’ve prepared correctly.
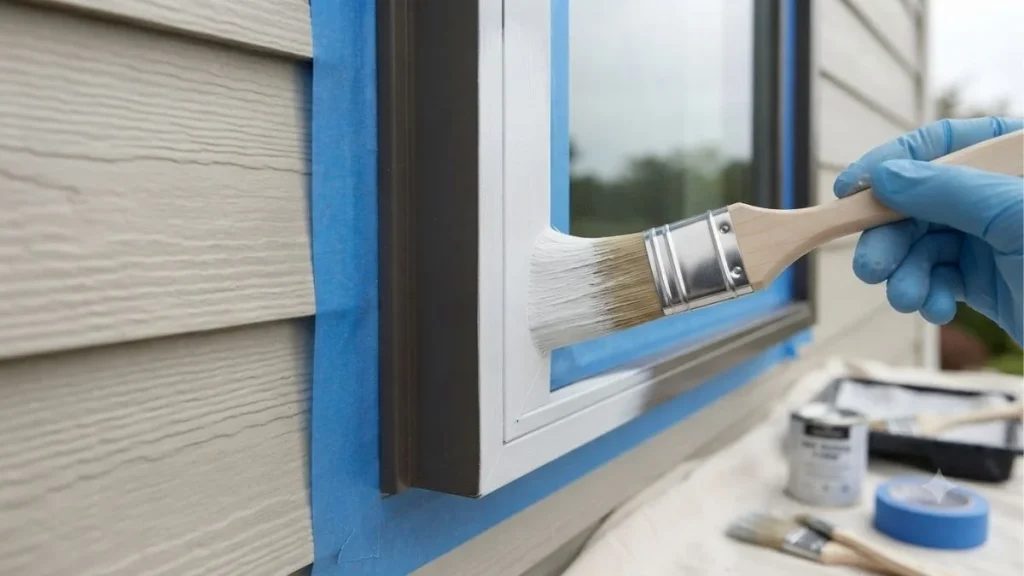
Applying the First Coat
Load your angled sash brush moderately — not dripping, but not dry either. Start at one end of the trim and work in smooth, long strokes following the length of the piece. Avoid overworking the paint; once you’ve laid it down, leave it. Going back over semi-dry paint causes dragging and brush marks.
The first coat will likely look thin and slightly uneven in coverage. That’s completely normal. Its job is to bond to the primer and begin building color depth — not to achieve a finished look on its own.
Drying Time Between Coats
Wait at least 4–6 hours between coats in normal weather conditions (around 70°F, moderate humidity). In cooler or more humid conditions, wait longer — up to 24 hours if needed. Running your finger lightly across the surface is a reliable test: if it feels dry and doesn’t leave a mark, it’s ready for the second coat.
Rushing this step is a common mistake. Paint that hasn’t fully dried before the next coat is applied can wrinkle, peel, or develop a soft texture that never fully hardens.
Applying the Second Coat
The second coat is your finishing layer. Apply it the same way as the first — thin, even strokes with a quality brush. This coat should bring full, even color coverage with a smooth finish.
Check for any thin spots, drips, or areas where coverage looks uneven. A small artist’s brush is useful for touching up tight corners or areas where the trim meets the glass.
Two coats is the minimum. If you’re working with a deep color change (for example, going from white to dark bronze), a third thin coat may be needed for consistent color saturation.
Removing the Tape
Remove painter’s tape while the final coat is still slightly tacky — not wet, but not fully dry either. Pull it back slowly at a 45-degree angle. If the paint has already dried hard, score along the tape edge with a utility knife first to prevent peeling.
Common Mistakes to Avoid
Even experienced DIYers run into problems with aluminum trim painting. Here are the most common ones and how to avoid them:
Skipping the cleaning step — Oxidation and surface grease are invisible to the naked eye in many cases. Even trim that looks clean will have a layer of contaminants that prevents adhesion. Always clean, even if the surface looks fine.
Using interior paint — Interior acrylic paint is not formulated to handle UV exposure, temperature swings, or moisture. It will fade and peel significantly faster than exterior-grade products.
Painting in direct sun or extreme heat — High surface temperatures cause paint to skin over before it has bonded properly, leading to poor adhesion and a rough texture.
Applying paint too thick — Thick coats seem efficient but they sag, crack, and take far longer to cure. Two thin coats always outperform one thick one.
Not caulking the edges — Gaps between the trim and surrounding surfaces allow moisture to get underneath the paint film. Always seal edges with exterior-grade caulk before or after painting (depending on the product).
How to Make Your Paint Job Last 10 Years or More
A good paint job on aluminum trim, done with quality materials and proper prep, should realistically last 8–12 years. A few simple habits can push that even further.
Every spring, do a quick visual inspection of your window trim. Look for small chips, hairline cracks, or areas where caulk has shrunk or separated. Addressing these minor issues early — with a small touch-up brush and a tube of caulk — prevents moisture from getting underneath and turning a small problem into a full repaint.
Avoid pressure washing painted aluminum trim at high settings. Low-pressure rinsing is fine for routine cleaning, but high-pressure water can force itself behind the paint edge and break the seal.
If you live in a coastal area or a region with extreme seasonal temperature swings, consider adding a clear exterior topcoat or sealer over your finished paint job. It adds another layer of UV and moisture protection without changing the appearance.
You May Read Also: Painting Trim around Garage Door
Conclusion
Painting exterior aluminum window trim isn’t complicated — but it is detail-oriented. The difference between a paint job that lasts a decade and one that starts peeling by next summer almost always comes down to preparation. Clean thoroughly, sand the surface, use the right primer, and apply two thin coats of quality exterior acrylic paint.
Follow this process once, do it right, and you won’t have to think about your window trim again for years.