Have you ever accidentally gotten spray foam on your vinyl windows and wondered how to get it off without causing damage? Removing cured spray foam can feel tricky and frustrating, especially when you want your windows to stay spotless and intact.
But don’t worry—this guide will walk you through simple, effective steps to safely remove that stubborn foam. By the end, you’ll know exactly what to do to restore your windows and keep them looking great. Keep reading—you’re just a few easy moves away from a clean, clear finish!
Mechanical Removal Techniques
Removing cured spray foam from vinyl windows can be tricky. Mechanical removal techniques help break down and lift the foam without harming the window surface. These methods use physical tools and controlled heat to safely soften or scrape off the foam. They work well for stubborn, hardened foam that chemicals cannot easily dissolve. Mechanical removal requires care and patience to avoid scratches or damage. The right tools and steps make the job easier and cleaner.
Scraping Off Excess Foam
Scraping is the first step in removing dried spray foam. Use sharp but gentle tools to peel or chip away the bulk of the foam. A plastic putty knife or a razor blade scraper works best. Metal tools may scratch or damage vinyl, so avoid them or use with extreme care.
Start by loosening the edges of the foam carefully. Once the edges lift, slide the scraper underneath to pry off larger chunks. Work slowly to avoid gouging the vinyl surface.
- Hold the scraper at a low angle to prevent scratches.
- Apply light pressure to avoid damaging the window frame.
- Remove foam in small pieces instead of forcing large chunks.
- Clean the scraper often to keep it effective.
Below is a simple tool comparison for scraping foam:
| Tool | Pros | Cons |
| Plastic Putty Knife | Safe on vinyl, flexible, easy to control | May wear down quickly, less sharp |
| Razor Blade Scraper | Very sharp, effective on tough foam | Risk of scratching if not careful |
| Metal Scraper | Strong, durable | High risk of damaging vinyl |
Scraping removes most of the foam but some residue usually remains. Use other methods to clean the leftover bits.
Using Heat To Soften Foam
Heat softens cured spray foam, making it easier to remove. Use a heat gun or hair dryer to warm the foam gently. Avoid high temperatures that can warp or discolor vinyl windows.
Hold the heat source about 6–8 inches from the foam. Move it slowly to heat the area evenly. The foam will become sticky and pliable within a minute or two.
- Heat only small sections at a time for control.
- Wear gloves to protect hands from hot surfaces.
- Do not overheat to prevent vinyl damage.
- Work in a well-ventilated area to avoid fumes.
After heating, use a plastic scraper or cloth to wipe off the softened foam. Repeat the process if foam remains hard. Heat also helps loosen foam stuck in corners or crevices.
Here is a quick guide to heat settings:
| Heat Source | Recommended Distance | Temperature Range | Duration |
| Heat Gun | 6–8 inches | 200–300°F (93–149°C) | 1–2 minutes per section |
| Hair Dryer | 6–8 inches | 120–140°F (49–60°C) | 3–5 minutes per section |
Use heat carefully to avoid damage. This method pairs well with scraping to clean vinyl windows thoroughly.
Chemical Removal Methods
Removing cured spray foam from vinyl windows demands careful techniques to avoid damage. Chemical removal methods offer effective solutions by softening or breaking down the foam. These methods require choosing the right product and applying it safely. Chemicals work best when physical scraping alone cannot remove hardened foam. Proper use minimizes risk to the vinyl surface while maximizing foam removal.

Applying Foam Removers
Foam removers are specially formulated chemicals designed to dissolve cured spray foam. They usually contain solvents that break the foam’s structure, making it easier to wipe away.
Follow these steps to apply foam removers effectively:
- Test First: Apply a small amount of remover on a hidden window spot to check for any damage or discoloration.
- Wear Gloves: Protect your skin with chemical-resistant gloves.
- Apply Generously: Use a brush or cloth to spread the remover over the foam stains.
- Wait Patiently: Allow the remover to sit for 5 to 15 minutes, depending on product instructions.
- Scrape Gently: Use a plastic scraper to lift softened foam without scratching the vinyl.
- Clean Residue: Wipe the area with a damp cloth to remove leftover chemical and foam.
Here is a quick overview of common foam removers and their features:
| Product Type | Active Ingredient | Application Time | Safety Notes |
| Foam Solvent Gel | Dimethyl ether | 10-15 minutes | Use gloves, ventilate area |
| Acetone-based Remover | Acetone | 5-10 minutes | Highly flammable, avoid sparks |
| Alcohol-based Cleaner | Isopropyl alcohol | 10-15 minutes | Use in well-ventilated space |
Do not use harsh scrapers or metal tools. They can scratch or damage vinyl surfaces. Foam removers work best with gentle mechanical aid.
Safe Use Of Acetone Or Alcohol
Acetone and isopropyl alcohol are common solvents that dissolve cured spray foam. They evaporate quickly and leave less residue. These chemicals can safely remove foam if handled properly.
Follow these safety tips:
- Ventilate: Work near open windows or outdoors to avoid inhaling fumes.
- Avoid Flames: Keep acetone away from heat or sparks, as it is highly flammable.
- Wear Protection: Use gloves and safety glasses to protect skin and eyes.
- Apply Sparingly: Use a cloth dampened with acetone or alcohol. Do not soak the vinyl.
- Test Spot: Try on a small hidden area to ensure no vinyl discoloration occurs.
Steps for removing foam with acetone or alcohol:
- Dampen a clean cloth with acetone or isopropyl alcohol.
- Rub gently on the foam residue until it softens.
- Use a plastic scraper or your fingernail to lift the softened foam.
- Repeat the process as needed, avoiding excess solvent.
- Clean the window with soap and water after removal.
Note: Avoid prolonged contact of acetone with vinyl. Prolonged exposure may dull or weaken the material. Use quick, light applications to protect your windows.
Cleaning Residue From Vinyl
Cleaning residue from vinyl windows after removing cured spray foam requires care and the right approach. Vinyl is durable but can scratch or discolor if treated harshly. Proper cleaning helps maintain the window’s look and function. The goal is to remove leftover foam bits and stains without harming the vinyl surface. Use gentle, effective methods to ensure the vinyl stays smooth and clean.
Wiping With Mild Detergents
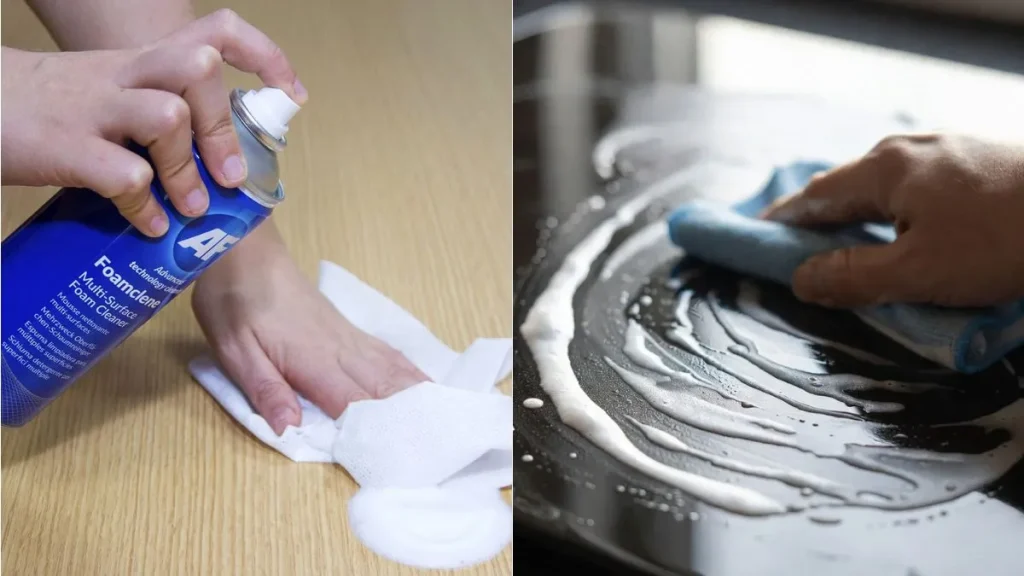
Start with a mild detergent solution to clean the vinyl surface. Use warm water mixed with a few drops of dish soap or a gentle cleaner designed for vinyl. This mixture helps break down sticky residues without damaging the material.
Follow these steps for best results:
- Mix warm water and mild detergent in a bucket.
- Dip a soft cloth or sponge into the solution.
- Wring out excess water to avoid soaking the vinyl.
- Gently wipe the affected area using circular motions.
- Rinse the cloth often to remove foam residue.
- Use clean water to wipe the surface again, removing soap traces.
- Dry with a soft towel to prevent water spots.
Use a soft cloth or sponge only. Avoid rough scrubbers or brushes that can scratch. Mild detergents do not contain harsh chemicals, so they are safe for vinyl. This method removes sticky spray foam bits and light stains effectively.
Avoiding Surface Damage
Vinyl windows can scratch or discolor if handled roughly. Protect the surface during cleaning to keep windows looking new. Use soft tools and avoid harsh chemicals or abrasive materials.
Key tips to avoid damage:
- Never use steel wool or rough scrub pads. They create tiny scratches.
- Avoid strong solvents like acetone or paint thinner. They can melt vinyl.
- Test any cleaner on a small hidden area before full use.
- Do not apply too much pressure while wiping.
- Use plastic or nylon tools for scraping leftover foam gently.
Keep these points in mind to protect vinyl windows:
| Common Mistake | Result | Safe Alternative |
| Using abrasive scrubbers | Scratches and dull finish | Soft cloth or sponge |
| Applying strong solvents | Vinyl warping or discoloration | Mild detergent solution |
| Excessive scrubbing pressure | Surface damage | Gentle wiping |
Handle vinyl windows gently. Regular cleaning with mild products keeps them safe. Avoid shortcuts that cause permanent damage. This care extends window life and maintains appearance.
Preventing Future Foam Stains
Spray foam stains on vinyl windows cause frustration and damage. Preventing future stains is easier than removing old ones. Careful planning and simple steps can protect windows during foam application. These steps save time and keep windows clean and intact. Follow practical tips to avoid foam stains and keep vinyl windows looking new.
Masking Windows Before Application
Masking windows is the first step to prevent spray foam from sticking. Use the right materials to cover the window frame and glass fully. This creates a barrier that stops foam from reaching the vinyl surface.
Essential masking materials include:
- Painters tape: Choose a tape that sticks well but removes easily without leaving residue.
- Plastic sheeting: Use clear plastic sheeting to cover large window areas.
- Cardboard or paper: For extra protection on edges and corners.
Follow these steps for effective masking:
- Clean the window surface to remove dirt and dust.
- Apply painters tape along window edges carefully.
- Cover the glass and frame with plastic sheeting or paper.
- Secure edges with more tape to prevent foam from seeping underneath.
Masking takes time but prevents costly cleaning or damage. Always check for gaps before starting foam application.
Proper Application Techniques
Applying spray foam correctly reduces the chance of stains on vinyl windows. Use controlled methods and follow product instructions closely. Avoid rushing or over-applying foam near windows.
Key application tips include:
- Use low-expansion foam: It expands less and is easier to control around windows.
- Apply in thin layers: Build foam gradually to avoid overflow onto window surfaces.
- Keep a steady hand: Move the applicator smoothly to target spaces precisely.
- Maintain distance: Hold the foam gun 8-12 inches away from the area.
Follow this simple foam application checklist:
- Read the foam product instructions carefully.
- Practice on scrap material to control foam flow.
- Mask windows properly before starting.
- Apply foam slowly, layer by layer.
- Clean tools and spills immediately with recommended solvents.
Proper technique saves time and prevents damage. It ensures foam fills gaps without touching vinyl windows. Patience and care lead to neat, stain-free results.
Conclusion
Removing cured spray foam from vinyl windows takes patience and care. Use gentle tools and safe cleaners to avoid damage. Work slowly and check your progress often. Small spots come off easier than large ones. Keep your windows clean after removal to prevent buildup.
You can restore your windows without costly repairs. Stay calm and follow these simple steps for best results. Your vinyl windows will look neat and clear again.