

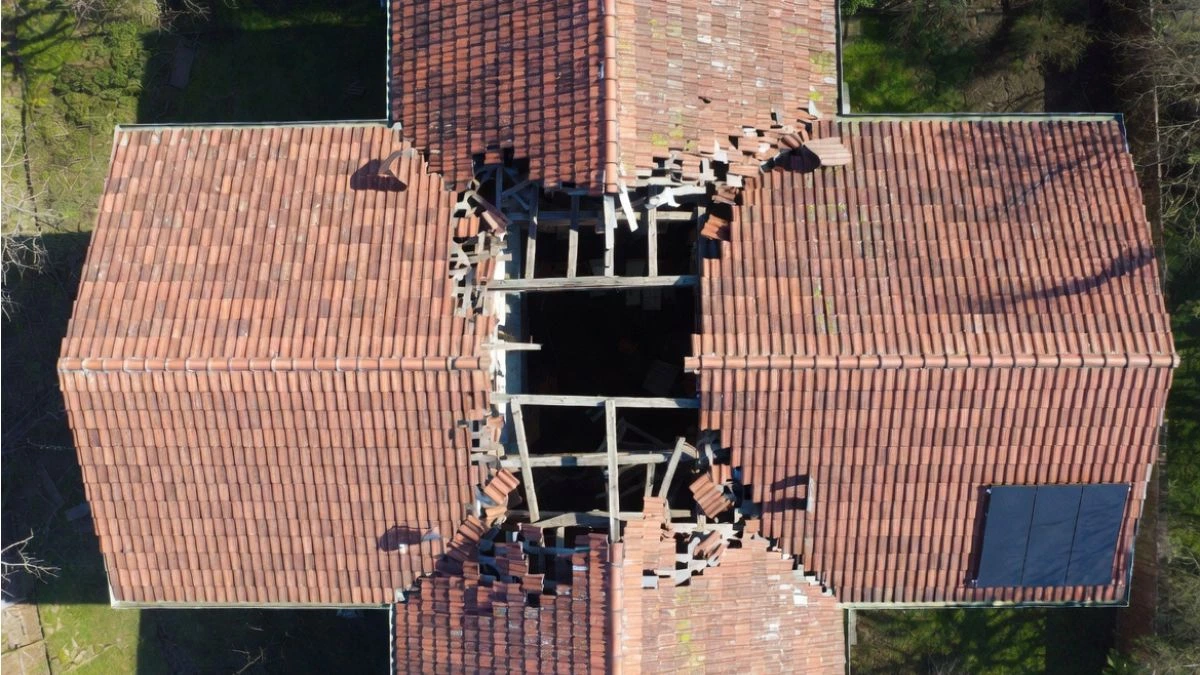
Have you noticed a hole in your roof after installing a satellite dish? It can be frustrating and worrying to see damage where your roof should keep you safe.
But don’t worry—you can fix it yourself before small problems turn into big, costly repairs. This guide will show you simple, clear steps to patch those holes quickly and effectively. By the end, you’ll feel confident protecting your home and keeping your roof strong.
Identifying Roof Damage From Satellite
Identifying roof damage caused by a satellite dish is the first step in effective repair. Satellite installations can sometimes lead to small holes or cracks on your roof. These damages may not be visible from the ground but can cause leaks or weaken the roof structure over time. Knowing how to spot these problems early helps prevent bigger repairs and costly damage.

Common Causes Of Satellite-related Holes
Satellite dishes attach to roofs using mounting brackets and bolts. These attachments can create holes or punctures in roofing materials. Over time, weather, wind, and movement of the dish can worsen these holes. Below are the most frequent causes of holes related to satellite installations:
- Improper Installation: Drilling holes too large or in weak spots.
- Loose Mounting Hardware: Bolts or brackets that shift or loosen.
- Weather Damage: Rain, snow, and wind cause expansion and contraction around the holes.
- Dish Movement: Wind can move the dish, enlarging holes or creating cracks.
- Corrosion: Metal parts rust, weakening the roof surface around the mounts.
Checking the satellite mount and roof surface regularly can catch these issues early. Simple maintenance keeps the roof safe and dry.
Signs Of Damage On Your Roof
Detecting satellite-related roof damage early helps avoid leaks and costly repairs. Look closely for these common signs:
- Water Stains or Leaks: Discoloration inside ceilings or walls near the satellite mount.
- Visible Holes or Cracks: Small punctures or splits around mounting bolts.
- Loose or Rusty Hardware: Bolts that move easily or show rust.
- Damaged Shingles or Roofing Material: Cracked or missing shingles near the dish.
- Mold or Mildew Growth: Damp spots on the roof or inside the home.
Use binoculars or a drone to inspect your roof safely. Note any changes over time and mark spots needing repair.
| Damage Sign | What to Check | Potential Problem |
| Water Stains | Ceiling and wall discoloration | Roof leak near satellite mount |
| Holes or Cracks | Roof surface around bolts | Potential entry points for water |
| Loose Hardware | Mounting bolts and brackets | Movement causing damage |
| Damaged Shingles | Shingles near satellite dish | Weakened roof protection |
| Mold or Mildew | Roof surface and attic areas | Moisture damage inside roof |
Regular roof checks after storms or strong winds help catch damage early. Quick repairs prevent leaks and extend your roof’s life.
Preparing The Roof For Repair
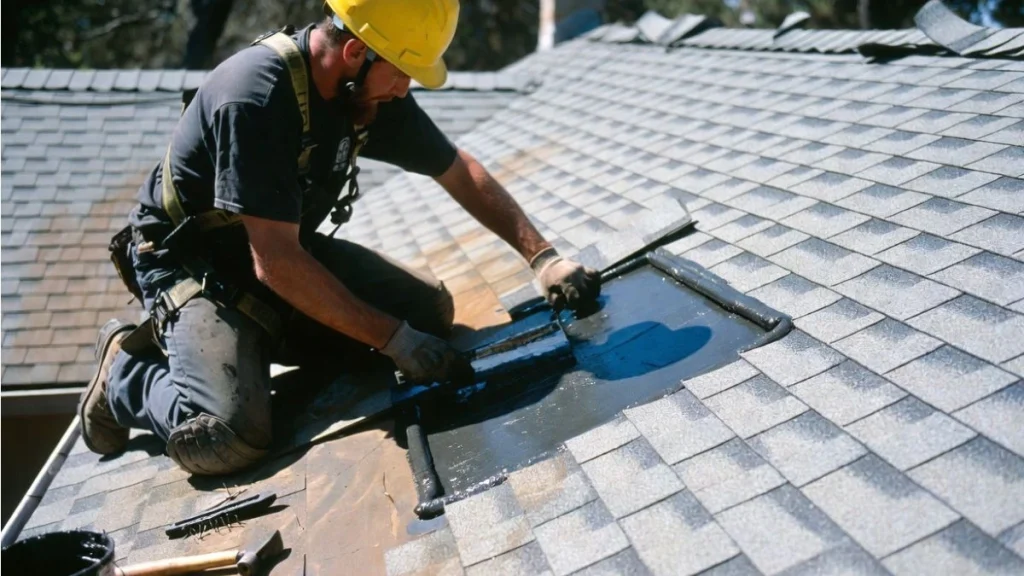
Patching holes in a roof detected by satellite images starts with proper preparation of the repair area. Getting the roof ready is crucial for a lasting fix. This step involves thorough cleaning and strict safety measures. A clean and safe workspace ensures the repair materials stick well and prevents accidents during the job. Follow these steps carefully to prepare the roof effectively before patching any holes.
Cleaning The Damaged Area
Cleaning the damaged section of the roof is the first step toward a successful repair. Dirt, debris, and loose materials can stop patches or sealants from bonding correctly. Start by removing all loose shingles, broken pieces, or remnants around the hole.
Use the following methods to clean the area:
- Brush off dirt and dust: Use a stiff-bristled brush to clear away loose particles.
- Clear debris: Remove leaves, sticks, or other objects that could block the patch.
- Wash the surface: Lightly rinse with water to eliminate stubborn dirt, but avoid soaking the roof.
- Dry thoroughly: Let the area dry completely before applying any patch material.
Ensuring Safety While Working
Roof repairs can be dangerous. Ensuring safety while working on the roof protects you from falls and injuries. Start by checking the roof’s condition to confirm it can hold your weight safely.
Follow these key safety tips:
- Wear proper footwear: Use slip-resistant shoes for better grip.
- Use safety gear: Wear a harness, helmet, and gloves.
- Set up a stable ladder: Place it on level ground and secure it firmly.
- Work during good weather: Avoid wet, windy, or icy conditions.
- Keep tools organized: Use tool belts or buckets to avoid dropping items.
- Have a helper: Someone nearby can assist or call for help if needed.
Step-by-step Hole Patching Process
Patching holes in a roof after satellite installation requires careful steps. A proper patch keeps water out and protects your home. This step-by-step hole patching process helps you fix any damage safely. Follow clear instructions to restore your roof’s strength and avoid leaks.
Sealing Small Holes
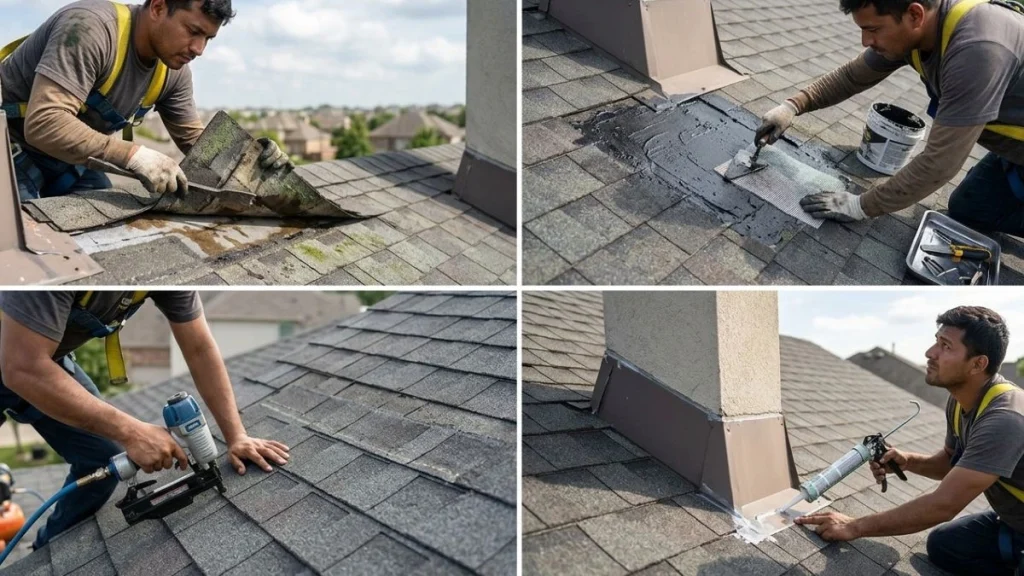
Small holes from satellite cables or bolts are common. These holes can cause leaks if not sealed quickly. Start by cleaning the area around the hole. Remove dirt, dust, and loose materials to ensure the patch sticks well.
- Use a wire brush or sandpaper to roughen the surface slightly.
- Apply a roofing primer if available, to improve adhesion.
- Use roofing sealant or caulk designed for outdoor use.
Apply the sealant with a putty knife or caulking gun. Press it firmly into the hole and spread evenly beyond the edges. Allow the sealant to dry fully before exposing it to rain.
| Material | Purpose | Tips |
| Wire brush/sandpaper | Clean and roughen surface | Use gentle strokes to avoid damage |
| Roofing primer | Improves sealant adhesion | Apply thin layer, let dry |
| Roofing sealant/caulk | Seals the hole tightly | Choose UV-resistant type |
Check the patch after drying by gently pressing around it. A firm seal means the hole is properly closed. Repeat the process if needed for extra protection.
Fixing Larger Or Structural Damage
Large holes or structural damage needs stronger repairs. Start by removing any loose shingles or damaged materials around the hole. This creates a clean work area and prevents further damage.
Follow these steps:
- Cut a patch from similar roofing material. The patch should be larger than the hole.
- Apply roofing cement around the hole edges.
- Place the patch over the hole, pressing firmly.
- Nail the patch in place using roofing nails, spaced evenly.
- Cover nail heads and edges with roofing cement to prevent leaks.
Use safety gear such as gloves and a stable ladder. Check weather conditions before starting. Dry, calm days work best for roof repairs.
| Step | Action | Important Notes |
| 1 | Remove damaged material | Clean edges for patching |
| 2 | Cut patch material | Use matching shingles or metal |
| 3 | Apply roofing cement | Spread evenly around hole |
| 4 | Place and nail patch | Use roofing nails with care |
| 5 | Seal nails and edges | Prevents water seepage |
Inspect the repair regularly after storms. Early detection of new damage keeps your roof safe. Larger repairs may need a professional roofer for best results.
Preventing Future Damage
Preventing future damage to your roof after patching holes caused by satellite installation is crucial. Small holes can turn into big problems if not handled properly. Protecting your roof ensures safety, lowers repair costs, and keeps your home dry. Taking simple steps now will save you from costly repairs later. Focus on securing satellite equipment and scheduling regular roof inspections to keep your roof strong and intact.
Securing Satellite Equipment
Properly securing satellite equipment stops it from moving or causing new holes. Loose mounts or cables can damage shingles or roofing materials over time. Use strong brackets and fasteners designed for roofs. Avoid drilling unnecessary holes during installation. Seal all mounting points with waterproof sealant to keep water out.
- Use weather-resistant mounts: Choose mounts made for outdoor use to resist rust and wear.
- Check tightness regularly: Loose bolts or screws can loosen further with wind and rain.
- Protect cables: Secure cables with clips to prevent them from rubbing on the roof surface.
- Apply sealant: Use silicone or roofing sealant around mounts to prevent leaks.
Regular Roof Inspections
Regular roof inspections catch issues early before they grow. Inspect after strong winds, heavy rain, or storms. Look for new holes, loose shingles, or worn sealant around satellite mounts. Early detection saves money and effort.
Use a checklist during inspections:
- Check satellite mounts for rust or looseness.
- Look under and around mounts for cracks or holes.
- Inspect shingles near satellite equipment for damage.
- Examine sealant condition and reapply if cracked or missing.
- Look for signs of water stains or mold inside the attic.
Consider hiring a professional roofer yearly for detailed inspections. They spot hidden problems and suggest repairs. Document all inspections and repairs for future reference. A small effort now keeps your roof strong and your home safe.
Read Also: How to Patch Small Hole in Subfloor
Conclusion
Fixing holes in your roof from a satellite is important for home safety. Small holes can turn into big problems fast. Use the right materials to keep water out. Check your work carefully to avoid leaks later. Regular roof care helps your house stay strong.


