If your second floor feels like it’s slowly turning into a roller coaster, you’re not alone. Thousands of homeowners deal with sloping, sagging, or bouncy second floors every year — and the good news is that most cases are fixable without gutting your entire home.
An uneven second floor can range from a minor annoyance to a serious structural warning sign. Sometimes it’s just normal house settling that happens over decades. Other times, it points to damaged floor joists, moisture problems, or even foundation issues that need immediate attention.
The key is knowing how to diagnose the problem correctly before jumping into repairs. Fix the wrong thing, and you’ve wasted time and money. Fix the right thing at the right time, and you’ll protect your home’s value and your family’s safety.
This guide walks you through everything — from identifying why your second floor is uneven, to choosing the right fix, to knowing when a professional needs to step in. Whether you’re a confident DIYer or just trying to understand what a contractor is telling you, this article has you covered.
What Causes an Uneven Second Floor?
Natural House Settling vs. Structural Problems
Not every uneven floor is a crisis. Homes naturally settle over time, especially in the first 5–10 years after construction. Wood framing dries out, soil compacts beneath the foundation, and minor shifts occur throughout the structure. This kind of settling usually produces very slight, gradual unevenness that doesn’t worsen over time.
The problem starts when settling crosses into structural territory. If your floor has developed a noticeable slope, a visible dip, or has gotten progressively worse over months or years, that’s no longer normal settling — that’s a structural issue that needs to be addressed.
Older homes built before the 1980s are especially prone to floor movement because building codes were less strict, lumber was sometimes undersized, and decades of moisture exposure have taken a toll on the framing beneath the floors.
Common Causes of an Uneven Second Floor
Understanding the root cause is the most important step. Here are the most common culprits:
Damaged or Weakened Floor Joists
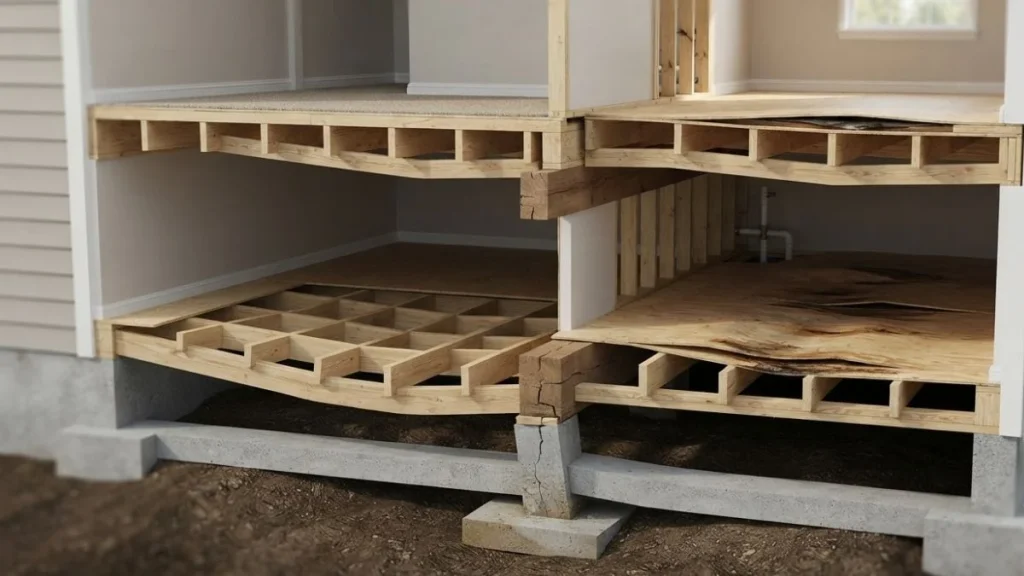
Floor joists are the horizontal framing members that support your second floor. When they crack, rot, or get weakened by pest damage, the floor above starts to sag or dip. Joists that have been improperly notched or drilled during plumbing or electrical work are also a frequent cause of localized floor weakness.
Sagging or Damaged Subfloor
The subfloor sits directly on top of the joists and beneath your finished flooring. Water leaks, chronic humidity, and moisture infiltration can cause plywood subfloors to delaminate or soften, creating spongy, uneven spots underfoot.
Poorly Sized or Spaced Joists
In some homes — especially older ones — the floor joists were simply not built to modern standards. They may be too far apart, too thin, or made from lower-grade lumber that has weakened over time.
Foundation Settlement or Shifting
When the foundation moves, everything above it moves too. Soil erosion, poor drainage, or expansive clay soils can cause one part of the foundation to drop lower than another, creating a slope that runs through the entire floor system.
Beam or Post Failure
Main support beams and the posts that hold them up carry enormous loads. If a beam develops rot or a support post shifts, the floors above will sag noticeably — often right in the center of the room.
Signs Your Second Floor Is Uneven
- Visible slope or dip when looking across the floor
- Doors or windows that stick, won’t latch, or are visibly out of square
- A bouncy or springy feeling when walking across the floor
- Gaps developing between the floor and baseboards
- Cracks appearing in drywall near ceiling lines or room corners
- A marble or ball rolls consistently toward one spot on the floor
How to Diagnose an Uneven Second Floor
Before you spend a single dollar on repairs, you need an accurate diagnosis. Rushing into fixes without understanding the cause is one of the most expensive mistakes homeowners make.
Tools You’ll Need
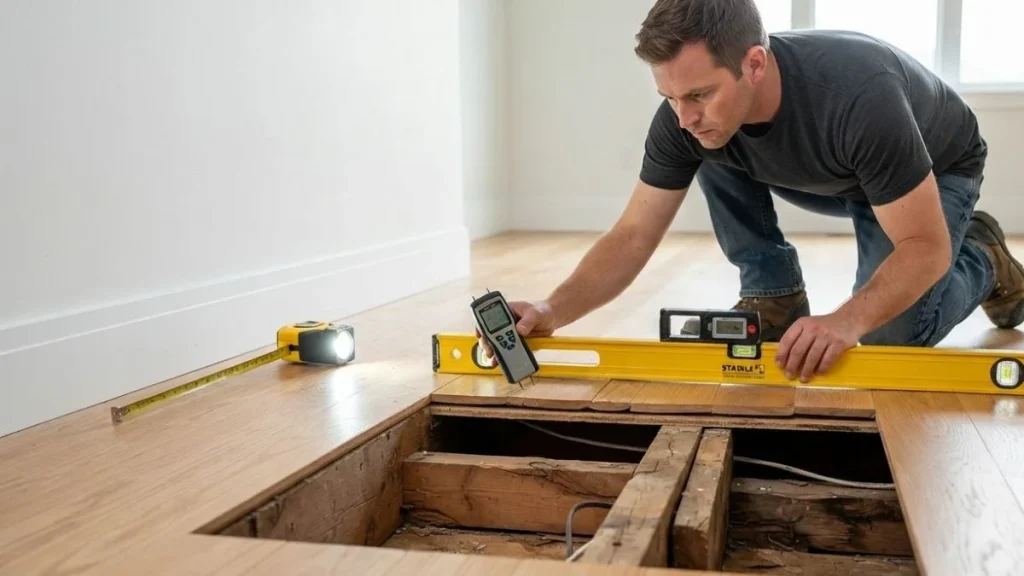
- 4 to 6-foot level or laser level
- Tape measure
- Flashlight and inspection mirror
- Moisture meter
- Marble or golf ball (for a quick slope test)
Step-by-Step Floor Inspection Process
Measure the Slope
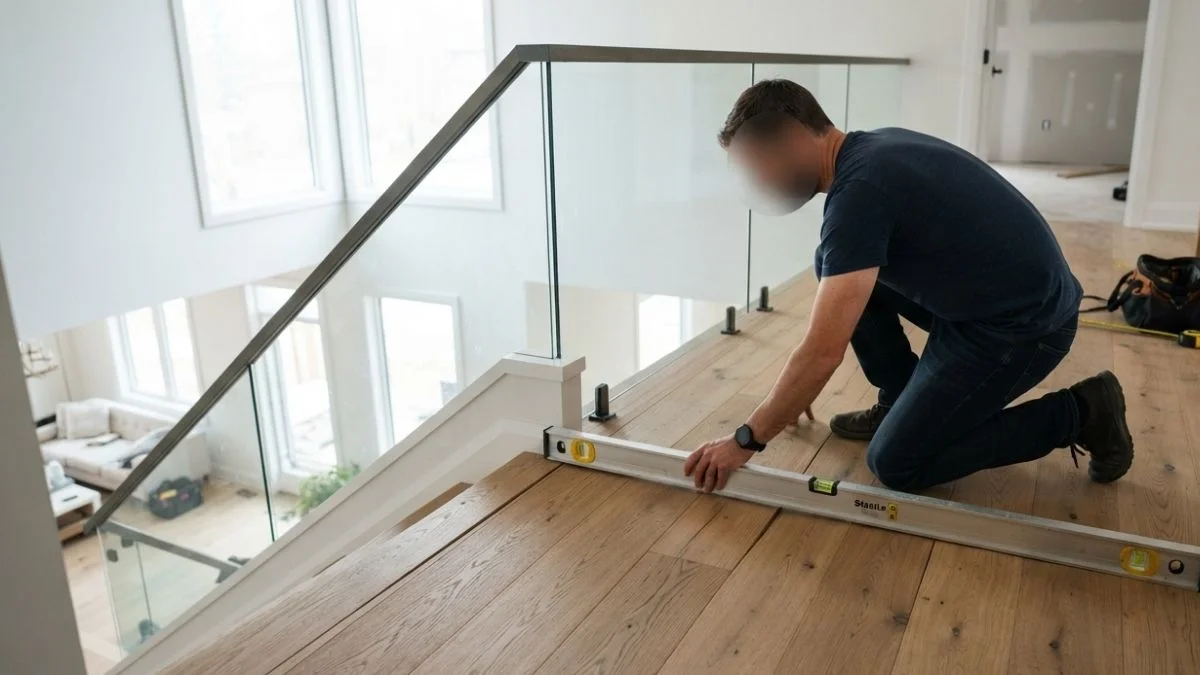
Place a 4-foot level flat on the floor in multiple directions across the room. Note where the bubble sits. A slope of up to 1/8 inch per foot is generally considered within normal range. Anything beyond 1/4 inch per foot warrants a closer look. Use a tape measure to check the gap under the level at its lowest point to get an exact measurement.
Inspect the Subfloor
If you have access from below through a basement or crawl space, go under the floor and inspect the underside of the subfloor. Look for dark staining, soft spots, crumbling wood, or delaminated plywood layers. These are signs of moisture damage that need to be fixed before anything else.
Check the Floor Joists
While you’re underneath, inspect the joists carefully. Look for cracks running along the grain, splits, sagging in the middle, signs of rot (soft, discolored wood), or pest damage (small tunnels, sawdust-like frass). Also check whether any joists have been notched or drilled in the wrong location for pipes or wires — this is a very common cause of localized weakness.
Check for Moisture
Use a moisture meter on both the joists and the subfloor. Wood moisture content above 19% puts it at risk for rot and mold. If you find elevated moisture, track it to the source — whether that’s a plumbing leak, poor crawl space ventilation, or exterior drainage problems — and fix that first. No structural repair will hold long-term if moisture continues to attack the wood.
Assess the Beams and Foundation
Look at the main support beam running through the center of the floor system and check the posts or columns holding it up. Look for any visible sagging, cracks, or signs that posts have shifted off their footings. If you see cracks in the foundation walls, bowing, or significant movement, stop and call a structural engineer before proceeding.
How to Fix an Uneven Second Floor: Solutions by Cause
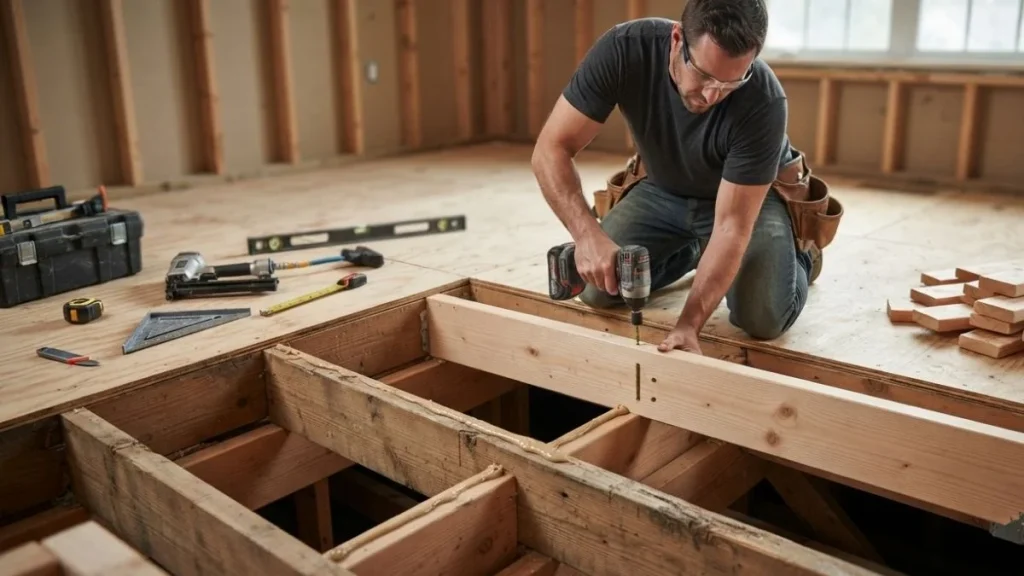
Sistering Floor Joists
Sistering is one of the most reliable and cost-effective repairs for damaged or weakened joists. It involves attaching a new, full-length joist directly alongside the damaged one, essentially doubling the support.
When to use it: Cracked, notched, or moderately damaged joists that are still mostly intact.
What you need: Matching lumber (same dimensions as existing joists), construction adhesive, structural screws or carriage bolts, joist hangers.
How to do it:
- Cut a new joist to match the exact length of the damaged one
- Apply a bead of construction adhesive along the face of the new joist
- Slide it into position tight against the damaged joist
- Fasten with structural screws every 12–16 inches in a staggered pattern
- Secure both ends with joist hangers for maximum strength
- Allow adhesive to cure fully before putting any load on the repair
DIY difficulty: Moderate | Estimated cost: $200–$800
Replacing a Damaged Floor Joist
When a joist is severely rotted, cracked through, or compromised by pests, sistering isn’t enough. Full replacement becomes necessary.
This is an advanced repair that requires temporarily supporting the floor above before removing the old joist. Use adjustable steel posts and a temporary beam to carry the load while you work. Remove the damaged joist carefully, install the new one with proper joist hangers at both ends, and lower the temporary supports gradually once the new joist is fully secured.
DIY difficulty: Advanced | Estimated cost: $500–$2,000+
Repairing or Replacing the Subfloor
If the problem is isolated to the subfloor rather than the joists beneath it, this is a more manageable DIY repair.
Cut out the damaged section using a circular saw set to the exact depth of the subfloor (typically 3/4 inch). Cut along joist lines so the edges of your cut land on solid framing. Install blocking between joists where needed to support panel edges. Cut your replacement panel (use 3/4 inch tongue-and-groove plywood for best results), apply construction adhesive to all framing, and secure with ring-shank nails or subfloor screws every 6 inches along the edges and 8 inches in the field.
DIY difficulty: Moderate | Estimated cost: $300–$1,500
Shimming Floor Joists
For minor dips where a joist has dried and shrunk slightly, shimming is a quick, low-cost fix. Composite or hardwood shims are tapped between the top of the joist and the underside of the subfloor to fill the gap and level the surface above.
Apply construction adhesive to the shim before tapping it into place to prevent future movement. Always recheck the level above after shimming before considering the job done.
DIY difficulty: Beginner | Estimated cost: $50–$300
Self-Leveling Compound
If the joists and subfloor are structurally sound but the finished floor surface is slightly uneven, self-leveling compound is an excellent solution. It’s poured onto the subfloor, spreads itself flat, and cures into a hard, smooth surface ready for new flooring.
Clean the subfloor thoroughly, apply the appropriate primer, mix the compound according to the manufacturer’s directions, and pour it across the low area. It self-levels within minutes and typically cures within 24 hours.
DIY difficulty: Beginner | Estimated cost: $100–$500
Foundation or Beam Repairs
If your diagnosis points to a failing beam, shifted support post, or foundation movement, this is not a DIY project under any circumstances. These repairs require structural engineering, proper permitting, and licensed contractors with the right equipment.
Professional repairs may include beam replacement, installation of new lally columns, foundation underpinning, or pier installation. Costs vary significantly based on scope.
Estimated cost: $2,000–$15,000+
Cost Breakdown: What to Expect
| Repair Type | DIY Cost | Professional Cost |
| Sistering joists | $200–$800 | $1,000–$3,000 |
| Full joist replacement | $500–$2,000 | $2,000–$6,000 |
| Subfloor repair | $300–$1,500 | $1,000–$4,000 |
| Shimming | $50–$300 | $500–$1,500 |
| Self-leveling compound | $100–$500 | $300–$1,000 |
| Foundation/beam repair | Not DIY | $2,000–$15,000+ |
Several factors influence where your project falls within these ranges — the size of the damaged area, how accessible the floor system is from below, local labor rates, and whether permits are required for structural work.
How to Prevent an Uneven Second Floor in the Future
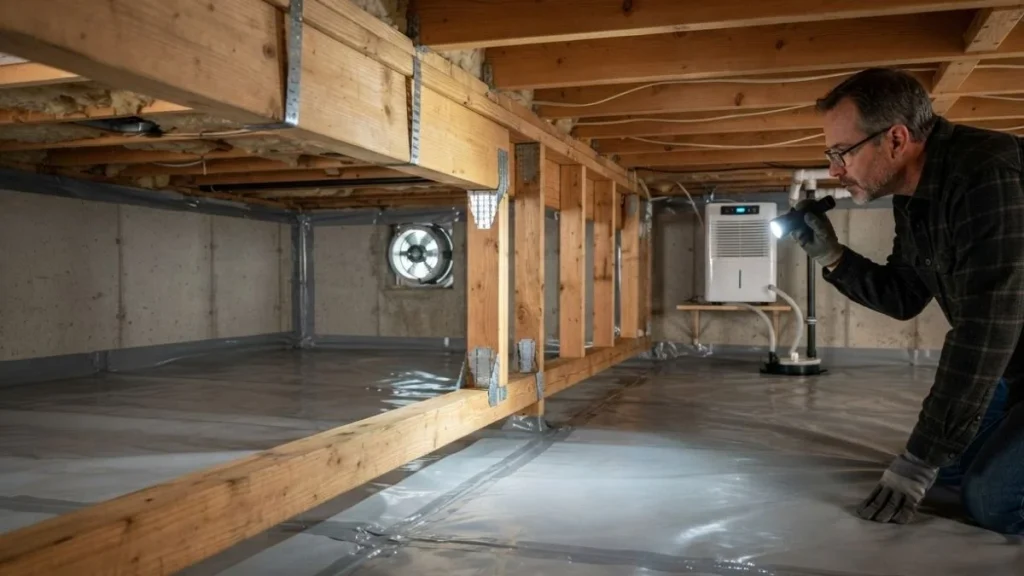
Fixing the problem is only half the battle. Keeping it from coming back is just as important.
Control Moisture Aggressively
Moisture is the number one enemy of wood framing. Install a vapor barrier in your crawl space, run a dehumidifier in the basement during humid months, fix any plumbing leaks immediately, and make sure your gutters and downspouts are directing water well away from the foundation.
Schedule Regular Inspections
Walk your basement or crawl space once or twice a year with a flashlight. Look for new staining on joists, soft spots, or any visible changes in how the structure looks. Catching a problem early — when one joist is starting to show rot — is infinitely cheaper than addressing it after three more have failed.
Distribute Weight Properly
Residential floors are typically designed for 40 pounds per square foot of live load. Avoid concentrating extremely heavy objects — pianos, large aquariums, heavy gym equipment — in one spot on the second floor. Spread weight across the structure and place heavy items along bearing walls whenever possible.
Recommended: How to Fix a Sagging Second Floor
Conclusion
An uneven second floor is one of those home problems that’s easy to ignore — until it isn’t. The longer underlying issues like joist damage or moisture problems go unaddressed, the more expensive and disruptive the eventual repair becomes.
Start with a proper diagnosis. Use a level, check the subfloor, inspect the joists, and look for moisture. Once you know what you’re dealing with, match the repair to the cause — whether that’s a simple tube of construction adhesive and some shims, or a call to a structural engineer.
Most second floor problems are very fixable. The homeowners who come out ahead are the ones who catch them early, diagnose them correctly, and don’t skip steps to save a few dollars upfront. Take care of your floor system, and it’ll take care of you for decades to come.