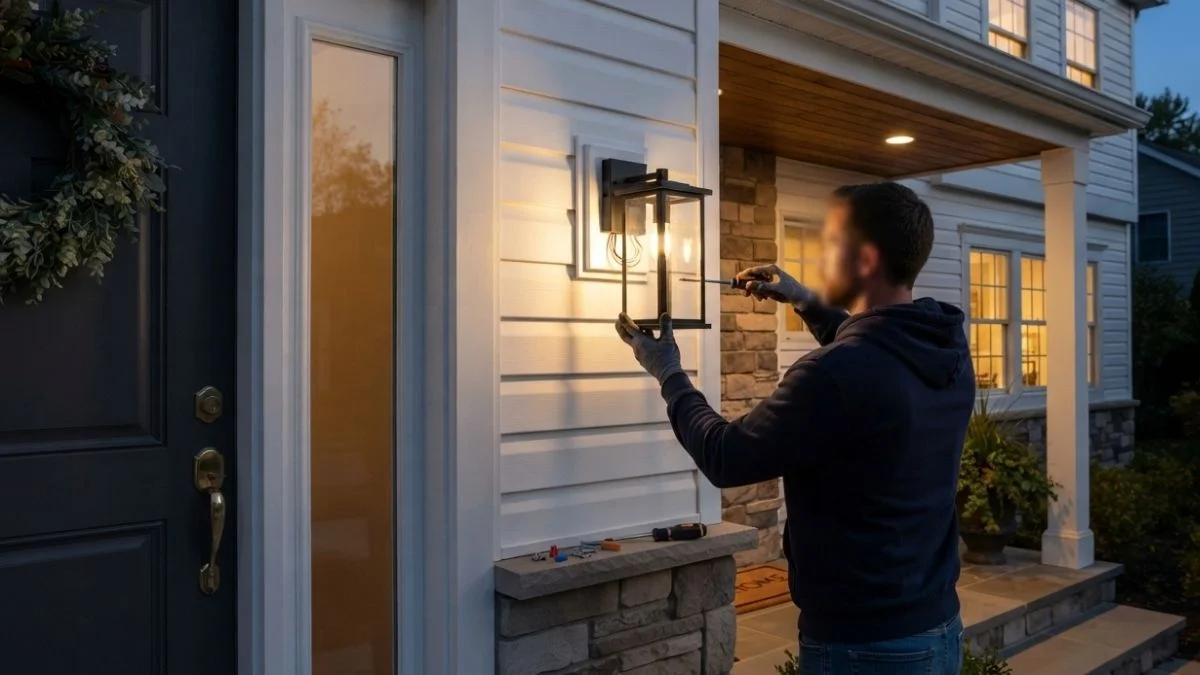
There’s nothing quite like pulling into your driveway at night and seeing your home lit up with warm, welcoming outdoor lights. It adds curb appeal, improves security, and just makes your home feel more like home. But if your house has vinyl siding, you’ve probably hesitated — and for good reason.
Vinyl siding isn’t like wood or brick. It’s thinner, more flexible, and far less forgiving when it comes to drilling and mounting. One wrong move and you’re looking at cracked panels, water seeping behind your walls, or a voided siding warranty. That’s enough to make most homeowners put the project on hold indefinitely.
Here’s the good news: installing outdoor lights on vinyl siding is absolutely doable — you just need to approach it the right way. With the right tools, the right materials, and a little patience, you can get a clean, professional-looking result without causing any damage to your siding. This guide walks you through everything you need to know, from prep work to the final flip of the switch.
Why Vinyl Siding Requires a Different Approach for Outdoor Lighting
Most general outdoor lighting installation guides are written with wood-framed or masonry exteriors in mind. If you follow that same advice on vinyl siding, you’re setting yourself up for problems. Vinyl behaves very differently from other exterior materials, and understanding why is the first step to getting this job done right.
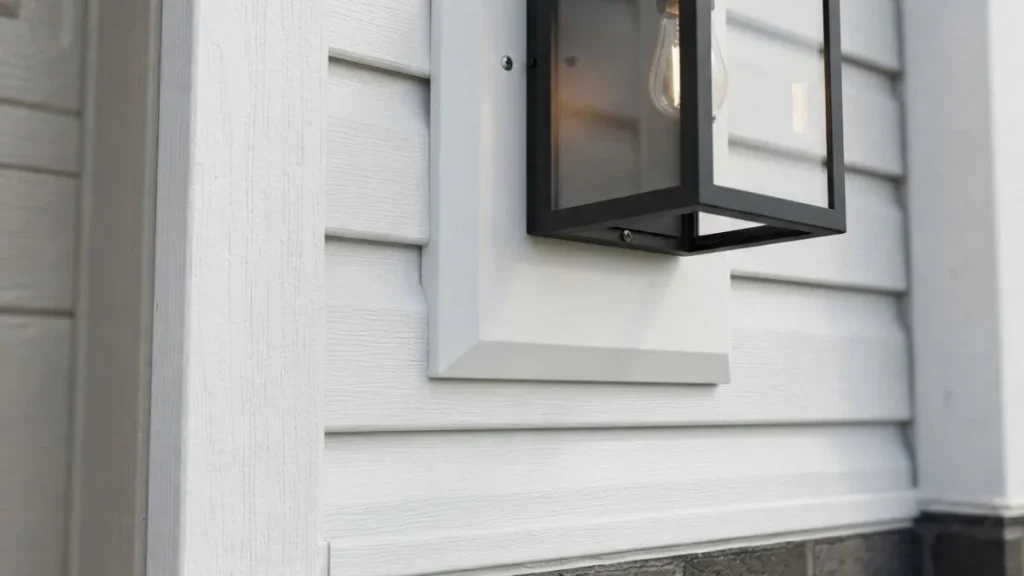
Vinyl siding expands and contracts with temperature changes — sometimes by as much as half an inch over a single panel. This is completely normal, but it means that any fixture mounted directly to the siding without accounting for that movement can crack the panels over time. During summer heat, the vinyl softens slightly. In winter cold, it becomes brittle. Either extreme creates a situation where too much pressure from a mounted fixture can cause real damage.
The hollow-back design of vinyl siding is another factor. Unlike solid wood, there’s an air gap between the back of the siding and the wall sheathing beneath. This means standard mounting screws don’t have the same grip they would on a solid surface. Without proper support, fixtures can pull away from the wall, leaving gaps that let in water and pests.
Water intrusion is probably the biggest long-term risk. A small unsealed hole behind a light fixture might seem harmless, but moisture that gets behind vinyl siding has nowhere to go. Over months and years, it leads to mold growth, rotting sheathing, and structural damage that’s far more expensive to fix than the original lighting project.
Common Problems Homeowners Face When Mounting Lights on Vinyl Siding
- Cracking or splitting the vinyl panel during drilling
- Fixtures sitting unevenly due to the curved or textured siding surface
- Water pooling behind poorly sealed mounting points
- Screws loosening over time because of vinyl’s flex and movement
- Electrical safety issues from improperly routed or sealed wiring
What Makes Vinyl Siding Unique Compared to Other Exterior Materials
| Feature | Vinyl Siding | Wood Siding | Brick/Masonry |
| Surface texture | Curved/uneven | Flat | Rough/porous |
| Load capacity | Low | Medium | High |
| Thermal movement | High | Low-Medium | Very Low |
| Drilling difficulty | Moderate | Easy | Hard |
| Water sensitivity | High | High | Low |
Installing Outdoor Lights on Vinyl Siding: Step-by-Step Guide
This is the core of the project. Follow these steps in order and don’t rush any of them — especially the sealing and electrical steps.
Turn Off the Power and Plan Your Layout
Before you touch anything, go to your electrical panel and shut off the circuit that powers your exterior outlets or lighting. Then use a non-contact voltage tester at the location where you’ll be working to confirm the power is actually off. Never assume — always verify.
Once you’ve confirmed the power is off, choose your fixture location. Ideally, you want to mount near an existing exterior junction box or outlet to minimize the amount of new wiring required. Use a stud finder to check what’s behind the wall at your chosen spot, and mark your location clearly with a pencil.
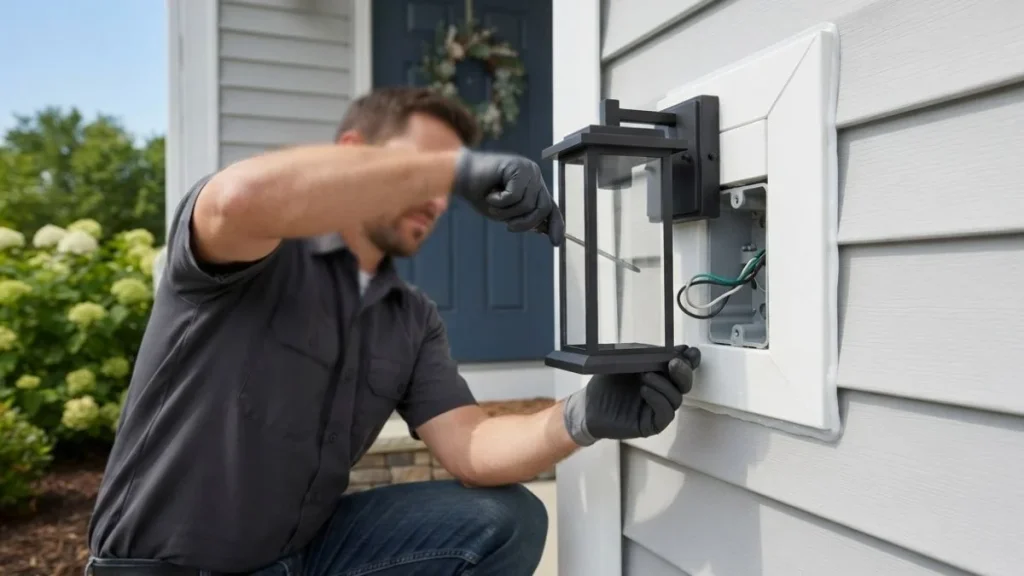
Install the Mounting Block on the Vinyl Siding
Hold your mounting block against the siding at your marked location and use a level to make sure it’s perfectly straight. The mounting block will sit over the siding, bridging any curves or texture to give you a flat surface.
Secure the block with exterior screws driven through the siding and into the wall sheathing behind it. Here’s the critical detail: don’t overtighten. Vinyl needs room to expand and contract. Screws driven in too tightly will restrict that movement and eventually crack the panel. Snug is enough — you don’t need to crank them down.
Drill Carefully Through the Vinyl and Wall Sheathing
Using a sharp drill bit appropriate for the size of your wiring knockout, drill your hole through the center of the mounting block and through the wall. Go slowly — high drill speeds generate heat and friction that can melt or crack vinyl even through the mounting block.
Angle the drill very slightly downward as you go through the wall. This subtle downward pitch means that any water that finds its way to the hole will drain out rather than run into your wall cavity.
Run and Connect the Electrical Wiring
Feed your outdoor-rated electrical wire through the hole and into the mounting block’s wire channel. Connect the wires inside the junction box following standard wiring practice: black to black (hot), white to white (neutral), and bare or green to ground. Secure each connection with a wire nut and wrap with electrical tape for added protection.
If you’re not confident about the wiring portion, this is the right time to call a licensed electrician. The mounting and sealing work is well within DIY territory, but electrical connections need to be done correctly — both for safety and to pass any required inspections.
Seal Every Gap with Waterproof Caulk
This step is just as important as the electrical work. Apply a continuous bead of exterior silicone caulk around the entire perimeter of the mounting block where it meets the siding. Then seal around the wire entry point inside the hole as well.
Smooth the caulk bead with a wet finger or a caulk finishing tool to press it into the gap and create a clean, watertight seal. Check the caulk product label for cure time — most exterior silicone needs 24 hours before it’s fully waterproof, so don’t let the area get rained on during that window if you can help it.
Attach the Light Fixture and Restore Power
Mount your light fixture to the mounting block following the manufacturer’s instructions. Most fixtures use two or three screws that go into the mounting block face. Make sure the fixture sits flush and level.
Once everything is secured, restore power at the breaker and test your new light. Check for any flickering, which could indicate a loose wire connection. If everything looks good, you’re done.
How to Avoid the Most Common Mistakes
Even with the best intentions, a few avoidable mistakes can turn a straightforward project into a costly repair job. Here are the ones that come up most often:
Skipping the mounting block is the biggest one. Some homeowners try to save a few dollars by mounting directly to the siding, but the result is almost always cracked panels or a fixture that pulls away from the wall within a year or two.
Overtightening screws is the second most common error. Remember that vinyl moves. Screws need to be firm, not forced. If you can feel the panel flexing under pressure as you drive the screw, you’ve gone too far.
Not sealing the wire entry point is easy to overlook because it’s hidden behind the fixture, but it’s one of the most important sealing points in the entire installation. Water that gets into the wall cavity through that small gap can cause significant damage over time.
Drilling in cold weather is a mistake many people don’t think about. Vinyl becomes brittle in temperatures below 40°F and is much more likely to crack or shatter during drilling. If you’re doing this project in cooler months, wait for a warmer day or warm the area slightly with a heat gun before drilling.
Solar vs. Wired Outdoor Lights on Vinyl Siding

If the electrical side of this project feels like more than you want to tackle, solar-powered outdoor lights are a legitimate alternative worth considering. They require no wiring whatsoever, which eliminates the electrical risk entirely and makes installation much simpler.
Solar lights are ideal for decorative lighting, pathway markers, or accent lights where consistent brightness isn’t critical. They’ve improved significantly in recent years and many models now offer motion-sensing capability and decent brightness levels.
That said, wired outdoor lights are still the better choice for primary exterior lighting — especially security lights, front entryway sconces, and motion-sensor floodlights. Wired fixtures deliver consistent, reliable brightness regardless of weather or season, and they’re not dependent on how much sun your siding received that day.
If you want to avoid drilling entirely, look into vinyl siding hooks and no-drill mounting clips. These slip into the channels between siding panels and can support lighter fixtures without any penetration. They work well for solar lights and small decorative fixtures, but they’re not rated for heavier wired fixtures.
When to Call a Licensed Electrician Instead of DIY
This project is DIY-friendly for most homeowners, but there are specific situations where bringing in a licensed electrician is the smarter — and sometimes legally required — choice.
Call a professional if your home has older aluminum wiring or knob-and-tube wiring. These systems require special handling and aren’t compatible with standard modern fixtures without additional work. Similarly, if there’s no existing exterior power source near your desired fixture location and you need a new circuit run from your panel, that work typically requires a permit and should be done by a licensed electrician.
Many municipalities also require an electrical permit for any new exterior wiring — even for a single light fixture. Check your local building codes before you start. The permit process is usually straightforward and the inspection gives you peace of mind that the work is safe and up to code.
You May Also Like: Best Way to Mount Hose Reel to Vinyl Siding
Conclusion
Installing outdoor lights on vinyl siding isn’t the intimidating project it might seem at first. The key is respecting what makes vinyl different — its flexibility, its sensitivity to temperature, and its vulnerability to water intrusion — and choosing the right tools and techniques to work with those characteristics rather than against them.
Use a mounting block, seal every gap thoroughly, don’t overtighten your screws, and always confirm the power is off before you touch any wiring. Follow those principles and you’ll end up with a lighting installation that looks great, stays secure, and protects your siding for years to come.
Take it one step at a time, and don’t rush the sealing step — it’s the one that makes the difference between a job that lasts and one that causes headaches down the road.