

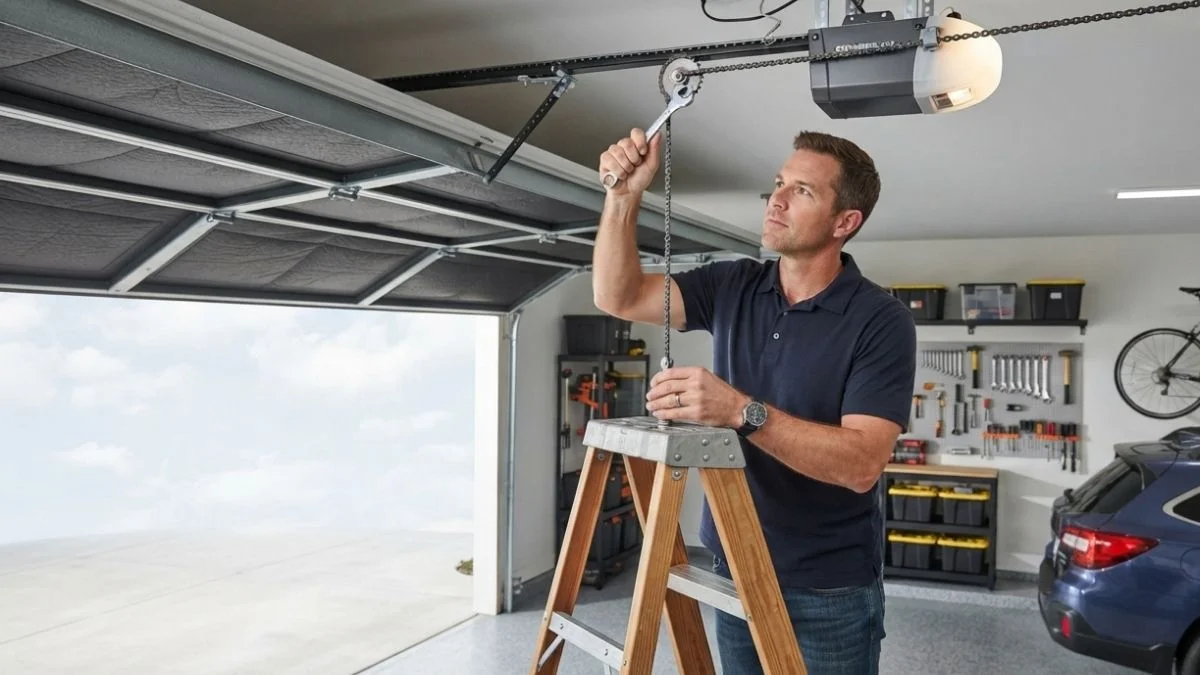
If your garage door is making a loud slapping noise, moving slower than usual, or jerking around every time it opens — there’s a good chance your chain tension is off. The good news? This is one of those repairs you can absolutely handle yourself on a Saturday morning without spending $100+ on a service call.
In this guide, you’ll learn exactly how to check, adjust, and maintain your garage door chain tension the right way — safely and confidently.
What Is Garage Door Chain Tension and Why Does It Matter?
Most homes use a chain drive garage door opener — the same basic system that’s been around for decades. A metal chain loops around a sprocket on the motor unit and connects to a trolley that rides along the rail. When you hit the button, the motor pulls the chain, the trolley moves, and the door goes up or down.
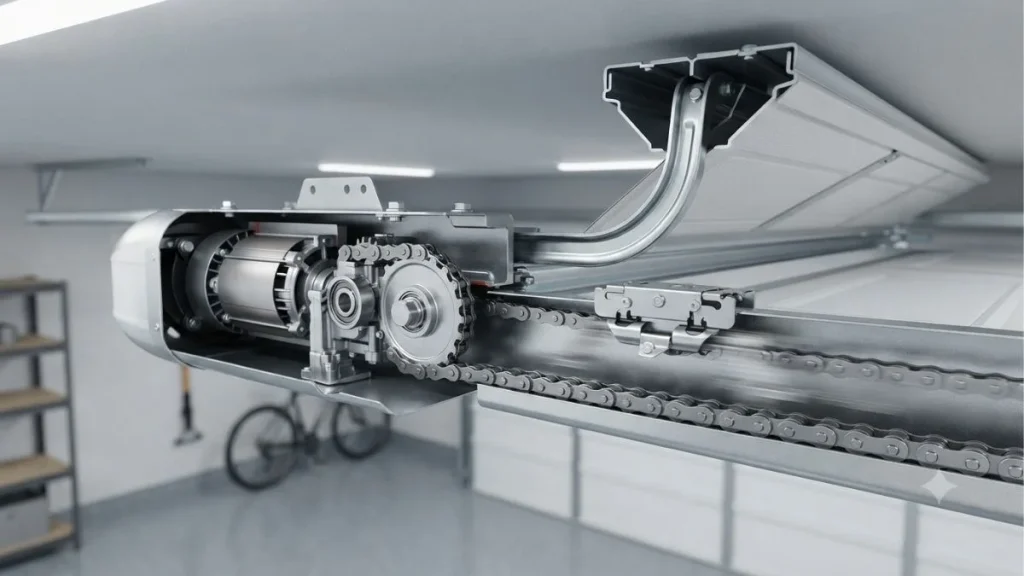
Simple enough. But that chain has to be at just the right tension to do its job properly.
Too loose, and the chain sags and slaps against the rail with every cycle — creating noise, vibration, and unnecessary stress on the motor. Too tight, and the motor has to work harder than it should, wearing out the sprocket and the drive system much faster.
Think of it like a bicycle chain. If it’s too loose, it skips and rattles. If it’s too tight, pedaling becomes stiff and the chain can snap. Your garage door chain works the same way.
Getting the tension right means:
- Quieter, smoother door operation
- Less wear on the opener motor
- Longer lifespan for the entire drive system
- Fewer unexpected breakdowns and repair costs
Most homeowners never think about chain tension until something goes wrong. But a quick check twice a year can save you hundreds in repairs down the road.
Signs Your Garage Door Chain Tension Needs Adjustment

Your garage door gives you clear warning signs when the chain tension is off. The trick is knowing what to look for.
When the Chain Is Too Loose
A loose chain is the most common problem, especially on older openers. Over time, chains stretch naturally — just like any metal under repeated stress.
- The chain visibly sags more than ½ inch below the bottom of the rail
- You hear a loud slapping or rattling sound every time the door moves
- The door moves sluggishly or pauses mid-travel
- The chain appears to bounce or whip during operation
When the Chain Is Too Tight
Over-tightening is less common but just as damaging — and it often happens when homeowners try to fix a loose chain and go too far.
- The door struggles to open or close smoothly
- The motor sounds like it’s straining or running louder than normal
- Movement is jerky or stutters at certain points
- The opener trips the safety reverse for no apparent reason
Other Warning Signs
- Grinding or scraping sounds coming from the rail area
- The door reverses before fully opening or closing
- Visible rust, kinks, or stiff links in the chain itself
If you’re hearing any of these issues, it’s time to get up on that ladder and take a closer look.
Tools and Materials You’ll Need
Before you start, gather everything so you’re not climbing up and down the ladder multiple times.
| Tool / Material | Purpose |
| Adjustable wrench or socket wrench | Turning the adjustment nuts |
| Sturdy non-slip ladder | Safe access to the opener unit |
| White lithium grease or chain lube | Lubricating the chain after adjustment |
| Safety gloves and goggles | Personal protection |
| Tape measure or ruler | Measuring chain sag accurately |
| Flashlight or headlamp | Better visibility along the rail |
| Owner’s manual | Model-specific tension specs |
One important note on lubricant — don’t use WD-40. It’s a solvent, not a lubricant. It’ll clean the chain initially but leave it dry and attract dirt over time. Stick with white lithium grease or a dedicated garage door chain lubricant.
Safety First — Before You Start Adjusting
This job is safe for most homeowners, but a few precautions are non-negotiable.
Disconnect the power first. Unplug the garage door opener from the ceiling outlet before you touch anything. A door that activates unexpectedly while you’re working on it is a serious hazard.
Secure the door in the closed position. Clamp a pair of locking pliers or a C-clamp onto the track just below one of the rollers. This prevents the door from moving if something shifts while you work.
Check for bigger issues before proceeding. Look over the springs, cables, and tracks before assuming it’s just a chain tension issue. If you see a broken torsion spring (the large spring above the door) or a frayed cable — stop. Those repairs involve components under extreme tension and should be handled by a professional. Torsion springs can cause serious injury if they release unexpectedly.
If everything else looks good, you’re clear to move forward.
How to Adjust Garage Door Chain Tension — Step-by-Step

This process works for most major chain drive opener brands including Chamberlain, LiftMaster, and Craftsman. Always cross-reference with your owner’s manual for model-specific guidance.
Find the Adjustment Bolt on the Trolley
Look along the rail toward the front of the opener (the end closest to the door). You’ll see the trolley — a small metal carriage that slides along the rail. Connected to it is a threaded bolt with two nuts: an inner nut and an outer (locking) nut. This is your adjustment point.
Measure the Chain Sag
Use your tape measure to check how much the chain sags below the bottom of the rail at its lowest point. The standard recommendation for most openers is ½ inch of sag. Some manufacturers specify slightly different measurements, so check your manual if you have it.
If the sag is more than ½ inch — the chain is too loose. If there’s barely any sag or the chain looks straight and stiff — it’s too tight.
Make the Adjustment
To tighten a loose chain:
- Hold the outer (locking) nut steady with one wrench
- Turn the inner nut clockwise to move the trolley forward and reduce slack
- Work in small increments — quarter turns at a time
- Re-measure the sag after each adjustment until you hit that ½ inch mark
To loosen an over-tightened chain:
- Loosen the outer nut first
- Turn the inner nut counterclockwise to allow more slack
- Again, small adjustments and re-measure each time
Once you’ve hit the right tension, tighten the outer locking nut firmly against the inner nut to lock everything in place. This prevents the adjustment from shifting during normal operation.
Check Alignment and Test the Door
Before you reconnect power, visually inspect the chain. It should sit centered on the sprocket — not angled or rubbing against the side of the rail. Check for any twisting or kinks that appeared during adjustment.
Now plug the opener back in, remove your clamp from the track, and run the door up and down two or three times. Listen for noise, watch for smooth movement, and make sure the door travels the full range without hesitating or reversing unexpectedly.
Lubricate the Chain
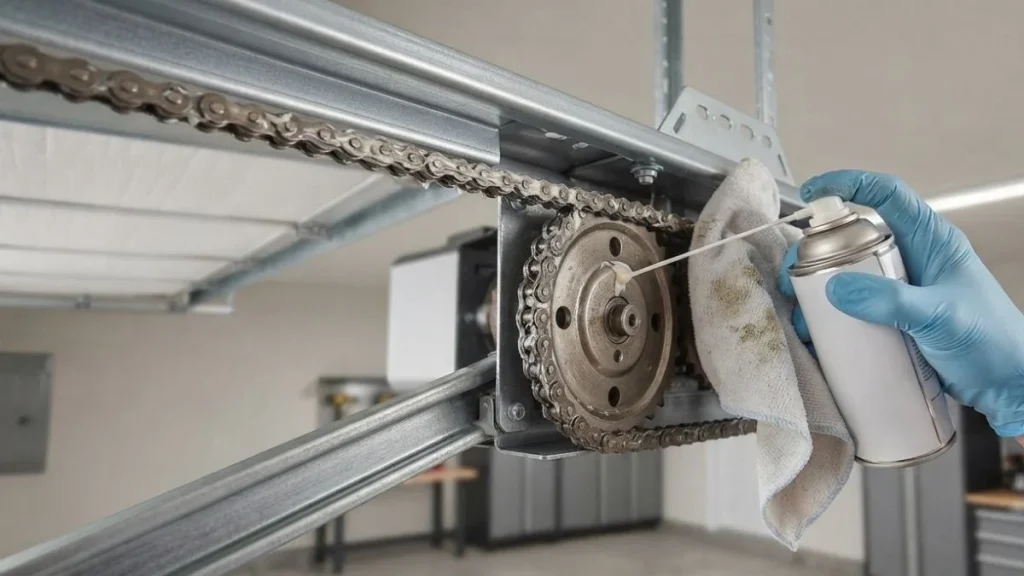
This step gets skipped too often. After adjustment, apply white lithium grease or garage door chain lube along the entire length of the chain — both the top and bottom run. Use a rag to wipe off any excess so it doesn’t drip on your car or floor.
Lubrication reduces friction, quiets the operation, and slows down wear on the chain and sprocket. It takes two minutes and makes a noticeable difference in how smoothly the door runs.
How Tight Should a Garage Door Chain Be?
The universal rule of thumb is ½ inch of sag measured from the bottom of the rail to the lowest point of the chain. This applies to the vast majority of residential chain drive openers.
That said, a few variables can shift this slightly:
- Longer rails (used for high-lift doors or RV garages) may have specs closer to ¾ inch of sag
- Older openers may have slightly different tolerances — check the manual or look for a sticker on the motor housing
- Belt drive openers work differently and should not be adjusted using chain tension guidelines
When in doubt, the ½ inch rule is your safest starting point. Err slightly on the looser side rather than tighter — a mildly loose chain is less damaging than an over-tightened one that strains the motor.
Recommended: Garage Door Not Attached to Chain
How Often Should You Adjust Garage Door Chain Tension?
You don’t need to be checking this every month. A simple maintenance schedule keeps everything running smoothly without making it a major project.
| Task | Frequency |
| Check chain tension | Every 6–12 months |
| Lubricate the chain | Every 3–6 months |
| Full visual inspection | Once a year or after extreme weather |
A few things can cause chain tension to drift over time. Metal contracts in cold weather and expands in heat, which means chains often feel tighter in summer and looser in winter. High-use doors — opening and closing 6–10 times a day — will stretch the chain faster than a lightly used one. And as openers age past the 10-year mark, the chain and sprocket naturally wear and may need more frequent attention.
Common Mistakes Homeowners Make
Even with good intentions, a few common errors can make this job harder than it needs to be.
Over-tightening the chain is the most frequent mistake. Homeowners see a saggy chain, tighten it until it looks taut and flat, and actually create a new problem. Remember — some sag is correct.
Skipping the power disconnect seems like a small shortcut but carries real risk. Always unplug first, no exceptions.
Using WD-40 as a lubricant is another common one. It feels right in the moment but dries out quickly and leaves a residue that attracts dust and grit, accelerating chain wear.
Ignoring the root cause — if the chain keeps going loose every few months, the problem may be a worn sprocket or a stretched chain that needs replacing, not just repeated adjustments.
Not re-testing the door after adjustment. Always run the door a few cycles before calling the job done. This catches any misalignment or over-correction before it becomes a bigger issue.
When to Call a Professional
This is a DIY-friendly job in most cases — but there are situations where calling a professional is the smarter move.
- The chain has visible damage: broken links, severe rust, or sharp kinks that won’t straighten
- You’ve adjusted the tension multiple times and it keeps going loose within weeks
- The opener motor sounds burnt, overheats, or stops mid-cycle
- The door is off its tracks or showing signs of structural damage
- You notice a broken or loose torsion spring — this is a professional-only repair
A good garage door technician charges $75–$150 for a standard service call. That’s worth it when the alternative is a dangerous DIY repair or a damaged opener that costs $300+ to replace.
Conclusion
Adjusting your garage door chain tension is one of those home maintenance tasks that looks intimidating but is genuinely manageable once you know what you’re doing. With the right tools, a little patience, and this step-by-step guide, you can get your door running quietly and smoothly again — without paying for a service call.
The key things to remember: disconnect the power before you start, aim for ½ inch of sag, make small incremental adjustments, and always lubricate the chain when you’re done. Add a tension check to your home maintenance routine every six months, and you’ll get years of reliable, trouble-free operation out of your opener.
If something doesn’t look right or the problem keeps coming back — don’t push it. Knowing when to call a pro is just as important as knowing how to fix things yourself.


