


Are you ready to tackle your next home project but unsure how to find the studs behind your vinyl siding? Knowing exactly where those studs are is key to making strong, secure repairs or installations.
Without this knowledge, you risk damaging your siding or creating weak spots that won’t hold up over time. You’ll discover simple, effective ways to locate studs quickly and confidently—no guesswork needed. Keep reading, and you’ll learn the tricks that save you time, effort, and frustration on your next DIY job.
Preparing The Surface
Finding studs behind vinyl siding starts with proper preparation of the surface. Preparing the surface ensures accurate stud detection and protects the siding from damage. It involves cleaning the siding and clearing any obstacles that block access.
Cleaning The Siding
Cleaning the siding is the first step in preparing the surface. Dirt, dust, and grime can hide the stud locations and make the siding slippery or fragile. Start by rinsing the siding with a garden hose to remove loose dirt. Use a soft brush or cloth with mild soap to scrub gently. Avoid harsh chemicals that can damage the vinyl.
Focus on these areas while cleaning:
- Near windows and doors where studs often cluster
- Along vertical lines where the siding panels meet
- Any spots with visible stains or mold
After washing, rinse the siding well to remove all soap. Let it dry completely before moving on. Wet siding can make tools slip and give false readings. Clean siding also allows magnets or stud finders to work more effectively.
Removing Obstacles
Removing obstacles from the siding surface helps find studs more easily. Obstacles include decorations, outdoor lights, hoses, or plants close to the wall. These items block your access and can cause injury or damage during the stud search.
Follow these steps to clear the area:
- Take down any wall-mounted decorations or lights carefully.
- Move garden hoses and tools away from the wall.
- Trim bushes or vines touching the siding.
- Clear the ground near the wall for easy movement.
Make sure the surface is fully visible and free of anything that can interfere with your tools. A clear surface allows stud finders or magnets to scan smoothly and gives better results. It also reduces the risk of damage to the siding or objects during the process.
Locating Studs With A Magnetic Finder
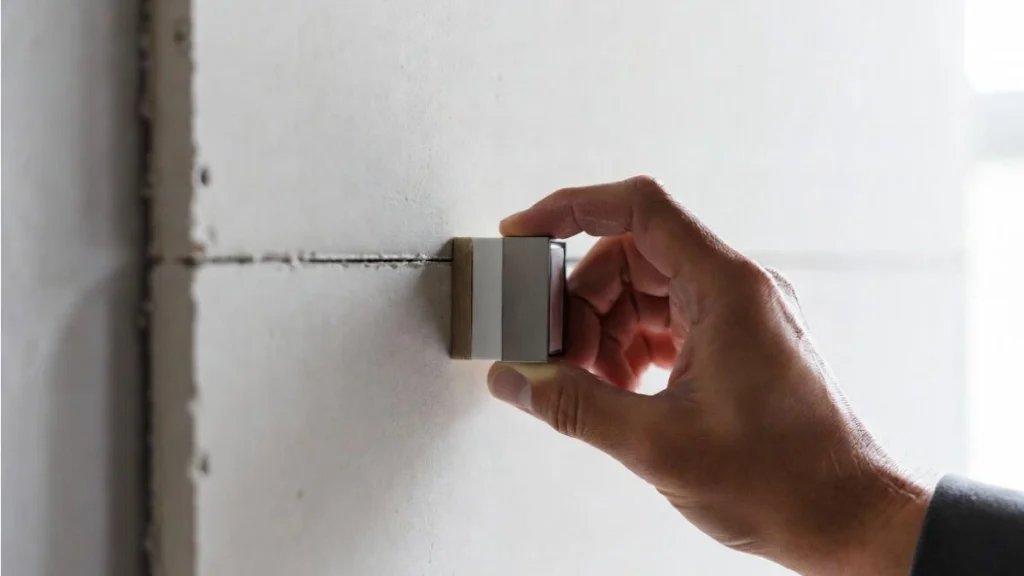
Finding studs behind vinyl siding can be tricky. Studs are the wooden or metal frames that hold your walls. A magnetic finder helps locate the nails or screws in these studs. This tool uses a magnet to detect metal fasteners, guiding you to the stud’s exact position. It works well with vinyl siding, which often hides the studs beneath. Using a magnetic finder is simple and effective for DIY projects or repairs.
Calibrating The Device
Before starting, calibrate the magnetic finder to get accurate results. Calibration sets the device to ignore small metal objects and focus on nails or screws in studs.
- Turn on the device: Press the power button to activate it.
- Hold it away from metal: Keep the finder at least 6 inches from any metal surface during calibration.
- Press the calibration button: Some models have a specific button for this step.
- Wait for the signal: The device will beep or light up to show calibration is complete.
Calibration ensures the magnetic finder ignores small metal pieces like screws in the siding or nearby nails not in studs. This process usually takes less than a minute. Repeat calibration if the device gives false signals or you move to a new area with different metal objects.
Scanning The Wall
After calibration, start scanning the vinyl siding wall slowly and steadily. Hold the magnetic finder flat against the surface for best results.
- Move horizontally: Slide the device from left to right in small steps.
- Watch for signals: The finder beeps or lights up near nails or screws.
- Mark stud locations: Use a pencil to mark the spots where the device signals.
- Confirm spacing: Studs usually space 16 or 24 inches apart.
- Scan vertically: Move the finder up and down to confirm the stud’s full height.
Keep the device flat and close to the wall. Avoid rushing or lifting it during scanning. A steady, slow pace helps detect every metal fastener holding the siding to the stud.
Using Sound And Knock Method
The sound and knock method is a simple, low-tech way to find studs behind vinyl siding. This technique uses the difference in sound when tapping on the wall. Solid areas where studs are placed sound different than hollow spots between them. You only need your knuckles or a small tool to tap along the siding. Listening carefully helps locate the stud positions without special tools.
Identifying Solid Vs Hollow Spots
Start by knocking gently on the vinyl siding. Pay attention to the sound and feel of each tap. Solid spots sound deeper and less echoey. Hollow spots create a higher-pitched, hollow knocking noise. This difference happens because studs are wooden beams behind the siding that stop the sound from echoing. Empty spaces between studs let the sound bounce and echo more.
Follow these steps for better results:
- Tap every 12 to 16 inches along the wall. This spacing matches common stud placement.
- Listen carefully for changes in sound tone and vibration.
- Use your knuckle or a small hammer for consistent taps.
- Try tapping at different heights to confirm the pattern.
Marking Stud Locations
Once you find a solid spot, mark it clearly on the siding. Use a pencil or painter’s tape so you don’t damage the vinyl. Marking helps you keep track of the stud positions as you move along the wall. This step is important for projects like hanging shelves or installing fixtures.
Follow these tips for accurate marking:
- Make a small, visible mark at the center of each solid spot.
- Measure 16 inches from each mark to estimate the next stud.
- Double-check by tapping between marks to confirm hollow sounds.
- Use a level or straight edge to connect marks for a visual guide.
Keeping these marks organized makes your work faster and more precise. It also reduces the chance of missing a stud or drilling in the wrong place. The sound and knock method combined with clear marking is a practical way to locate studs behind vinyl siding without expensive equipment.
Measuring From Known Points
Finding studs behind vinyl siding can be tricky. One effective method is measuring from known points. These points help you estimate where the studs are located without removing the siding. Using fixed spots like corners or electrical outlets allows you to measure distances and mark stud positions accurately.
Typical Stud Spacing
In most homes, wall studs follow a standard spacing pattern. This spacing helps builders know where to place drywall, siding, and other materials. The common distances between studs are:
- 16 inches on center – Most common for residential walls.
- 24 inches on center – Used in some newer or less load-bearing walls.
“On center” means measuring from the center of one stud to the center of the next. Knowing this spacing lets you measure from a known stud or corner and find others easily.
To find studs, start at a corner or known stud and measure in increments of 16 or 24 inches. Mark these spots lightly on the siding or use a stud finder to confirm. This method saves time and avoids unnecessary holes.
Using Electrical Outlets As Reference
Electrical outlets often attach directly to studs. This makes outlets great reference points for locating studs behind vinyl siding. You can measure from the outlet to find other studs nearby.
Follow these steps:
- Remove the outlet cover carefully.
- Look inside for the stud edge or framing.
- Note the distance from the outlet edge to the stud center.
- Measure 16 or 24 inches from the stud to find the next stud.
Most outlets are mounted on the side of a stud. This means the stud edge is usually within 3/4 inch of the outlet box edge. Use this fact to mark stud locations on the siding.
Verifying Stud Positions
Finding studs behind vinyl siding is essential for safe and secure home projects. Verifying stud positions ensures you attach fixtures firmly without damaging the siding or wall. Vinyl siding can hide the wooden frame beneath, so careful checks are necessary to locate the exact stud spots. This helps avoid mistakes like drilling into empty spaces or missing the support beams.
Drilling Small Test Holes
Drilling small test holes is a simple way to verify stud locations. Use a drill with a thin bit to make tiny holes where you think a stud might be. These holes are easy to fill later and cause minimal damage.
Follow these steps for best results:
- Measure 16 to 24 inches apart along the wall; studs usually follow this spacing.
- Mark your spots lightly on the siding.
- Drill a small hole about 1/8 inch wide at each mark.
- Use a thin tool like a wire or screwdriver to probe through the hole.
If you feel solid wood, it means you hit a stud. If the tool moves freely, the hole is in an empty space. Repeat this process along the wall to map out the stud pattern.
| Step | Action | Purpose |
| 1 | Measure 16-24 inches apart | Estimate stud spacing |
| 2 | Mark and drill small holes | Test possible stud spots |
| 3 | Probe through holes | Check for solid wood |
Safety tip: Use a drill bit suitable for siding and wear eye protection. Avoid large holes that may let water in.
Using A Wire Coat Hanger
A wire coat hanger can help find studs without making visible holes. Straighten the hanger and bend one end slightly to create a small hook. This tool works like a probe to feel for the stud behind the siding.
Try this method step-by-step:
- Locate a spot on the siding where you want to check for a stud.
- Gently push the hooked end through the siding seam or a small gap.
- Move the hanger horizontally and feel for resistance.
- A solid stop means you found the stud; empty space means no stud.
This technique avoids drilling and keeps the siding intact. It requires patience and a gentle touch. Mark the stud locations with a pencil once found.
| Tool | Use | Advantage |
| Wire coat hanger | Probe behind siding | No holes or damage |
| Hooked end | Catch stud edge | Detect stud position |
Note: This method works best on vinyl siding with visible seams or gaps. Avoid forcing the hanger to prevent siding damage.
Read Also: Installing Vinyl Siding on Uneven Walls
Conclusion
Finding studs behind vinyl siding takes patience and the right tools. Start with a stud finder or tap the wall to hear solid spots. Mark these areas carefully before drilling or nailing. Always check twice to avoid damage. This simple process helps keep your walls safe and secure.
Practice these steps to feel more confident in your DIY projects. Studs are the key to strong, lasting work on your home. Keep these tips in mind for easy and effective results every time.


