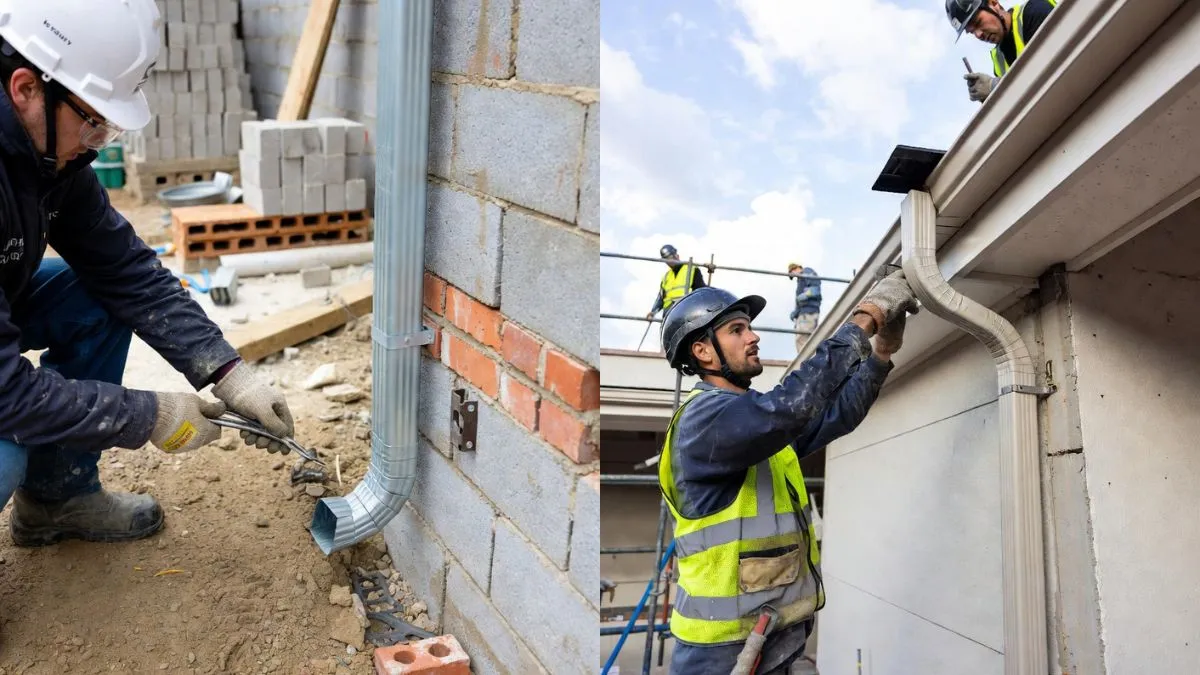
If you’ve ever wondered how to stop water from pouring directly out of your gutter downspout, you’re in the right place. Capping off a gutter downspout is a simple fix that can protect your home’s foundation, prevent soil erosion, and keep your yard dry.
But if you’re unsure where to start or worried about making a mistake, don’t worry — this guide will walk you through easy steps you can follow right now. By the end, you’ll have the confidence to handle your downspout like a pro and keep your home safe from water damage.
Preparing The Downspout
Preparing the downspout is the first step in capping it off properly. This step ensures the cap fits well and prevents water damage or pests from entering. Taking time to prepare the downspout carefully will make the whole process smoother. The key tasks involve cleaning and measuring the downspout. Both are important for a tight, secure fit and a neat appearance.
Cleaning The Downspout
Start by clearing out any dirt, leaves, or debris inside the downspout. A clean surface helps the cap attach firmly and prevents clogs later. Use a garden hose to flush out loose particles. For stuck debris, try a plumber’s snake or a long brush. Removing rust or old paint from the edges also helps the cap stick better.
- Wear gloves to protect your hands.
- Use a screwdriver or similar tool to remove any screws or fasteners.
- Flush the downspout with water to clear loose debris.
- Scrub the inside edges gently with a brush to remove dirt and rust.
- Dry the area with a cloth to prevent moisture buildup under the cap.
Keeping the downspout clean prevents mold and rust from developing. A clean surface also improves the lifespan of the cap and keeps your home’s drainage system working well.
Measuring For The Cap
Measure the downspout carefully to get the right cap size. An accurate measurement ensures the cap fits snugly, stopping water and pests from entering. Use a tape measure or ruler to check the width and shape of the downspout opening.
Here’s how to measure correctly:
- Identify the shape of your downspout (square, round, or rectangular).
- Measure the width and height for rectangular or square downspouts.
- For round downspouts, measure the diameter across the opening.
- Write down your measurements clearly before buying or cutting the cap.
Choosing The Right Cap
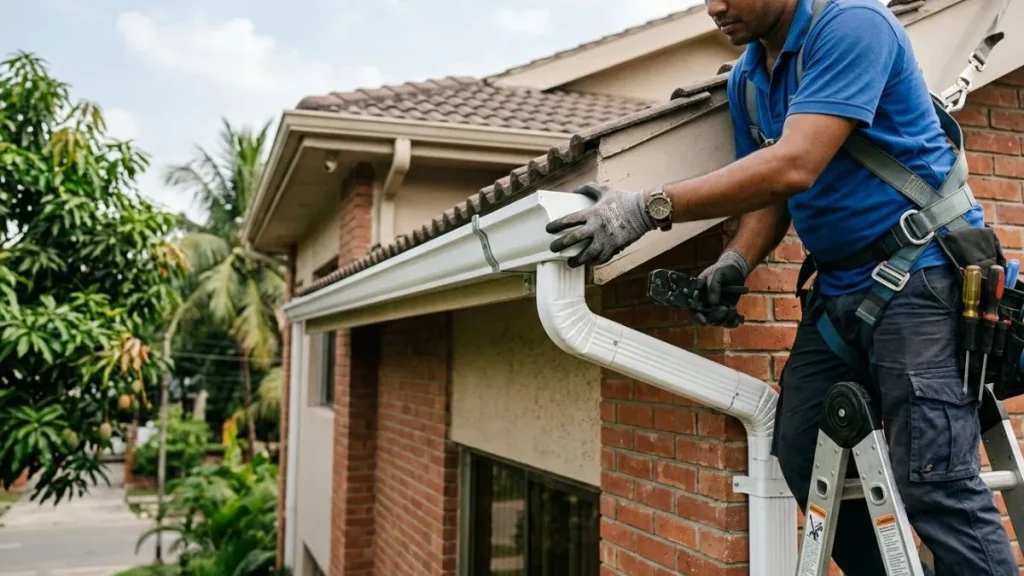
Choosing the right cap for your gutter downspout is an important step in protecting your home’s drainage system. The cap stops debris, animals, and water from entering and clogging the downspout. It also helps prevent damage during cold weather by reducing ice buildup. Picking the correct cap ensures your gutters work well all year round.
Material Options
Gutter downspout caps come in several materials. Each material has benefits and downsides to consider for your home’s needs and budget.
- Plastic: Lightweight and affordable. Easy to install but less durable in harsh weather.
- Aluminum: Rust-resistant and lasts longer than plastic. It blends well with most gutter systems.
- Steel: Very strong and durable. Needs a protective coating to avoid rust.
- Copper: Expensive but highly durable. Adds a decorative look that ages beautifully.
Here is a quick comparison of these materials:Choose a material that matches your climate and maintenance preferences. For example, aluminum suits wet climates well. Copper works for those wanting a long-lasting, stylish option.
Cap Styles
Caps come in different styles, each designed to fit specific needs. The style affects how well the cap blocks debris and water flow.
- Flat Caps: Simple and easy to install. Best for basic protection against leaves and dirt.
- Screened Caps: Feature a mesh screen to filter out debris while allowing water to flow freely.
- Downward Spout Caps: Redirect water away from the foundation to prevent pooling.
- Decorative Caps: Add aesthetic value. Often made from copper or aluminum with stylish designs.
Choosing the right style depends on your gutter’s function and your home’s design. For example, screened caps work well in leafy areas. Flat caps suit places with little debris. Decorative caps enhance curb appeal while providing protection.
Installing The Cap
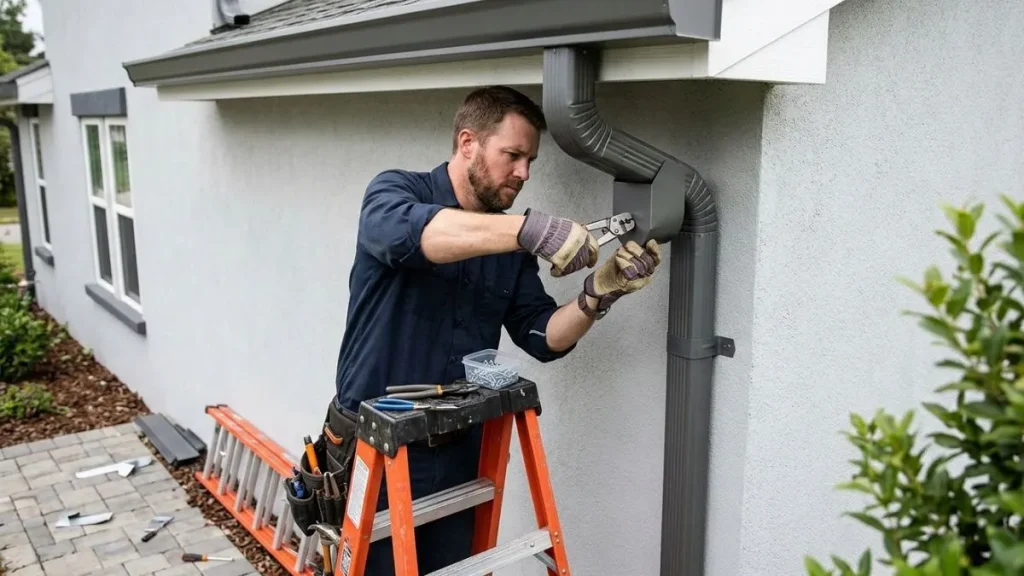
Capping off a gutter downspout is an important step to stop water flow and prevent debris from entering. Installing the cap properly ensures the downspout remains sealed and functional. This part of the process requires careful fitting and secure attachment to avoid leaks and damage. Below are detailed steps on how to install the cap effectively.
Fitting The Cap
Start by choosing a cap that matches the size and shape of your downspout. Most downspout caps are square or round, so measure the opening carefully before purchase. A well-fitted cap stops water from escaping and keeps out leaves, dirt, and pests.
Follow these steps to fit the cap correctly:
- Clean the downspout opening: Remove dirt and rust for a smooth fit.
- Test fit the cap: Place it on the downspout without forcing it.
- Trim if necessary: Use a hacksaw or tin snips to adjust the cap size.
- Align properly: Make sure the cap sits flush and covers the entire opening.
Here is a quick comparison table of common cap types:
| Cap Type | Material | Best For | Durability |
| Plastic | PVC or ABS | Lightweight, easy install | Moderate |
| Metal | Aluminum or steel | Long-lasting, weather-resistant | High |
| Rubber | Flexible rubber | Custom fit, seals tight | Moderate |
Ensure the cap fits snugly. Loose fitting may cause water to leak or debris to enter.
Securing The Cap
After fitting the cap, securing it firmly prevents movement and leaks. Use the right tools and materials for a tight seal. Proper securing increases the cap’s lifespan and protects your home.
Steps to secure the cap:
- Apply sealant: Use waterproof silicone around the edges for extra protection.
- Attach screws or rivets: Fasten the cap to the downspout if the material allows.
- Check for gaps: Fill any small openings with additional sealant.
- Allow drying time: Let the sealant cure as per instructions before testing.
Sealing And Finishing
Sealing and finishing the cap on a gutter downspout is a key step to protect your home from water damage. Proper sealing stops water from escaping where it shouldn’t and keeps pests out. Finishing the job neatly also extends the life of your gutter system. Taking time with these final touches ensures the downspout works well and looks good.
Applying Sealant
Start by choosing the right sealant. Use a waterproof, exterior-grade silicone or polyurethane sealant. These types stick well and stay flexible as temperatures change. Avoid generic sealants that can crack or peel over time.
Before applying, clean the surface thoroughly. Remove dirt, dust, and old sealant with a brush or cloth. A clean surface helps the sealant stick tightly.
Apply the sealant evenly along the edges of the downspout cap. Use a caulking gun for better control. Press the sealant into any gaps or joints to create a strong barrier.
- Cut the tip of the sealant tube at a 45-degree angle for smooth flow.
- Apply a steady, continuous bead of sealant around the cap’s edge.
- Use a wet finger or a caulk smoothing tool to flatten and spread the sealant.
- Make sure all seams are covered without gaps or bubbles.
Let the sealant dry fully before moving on. Drying times vary, but usually 24 hours is enough. Check the product label for exact times. Avoid touching the sealant while it cures to keep it clean and effective.
Checking For Leaks
After the sealant has dried, test for leaks to confirm the cap is sealed properly. Use a garden hose or a bucket of water to pour water over the capped downspout. Watch closely for any water escaping around the edges.
Follow this step-by-step leak check:
- Place a dry cloth or paper towel around the cap’s edge.
- Slowly pour water over the downspout cap for 1-2 minutes.
- Inspect the cloth or paper for damp spots or water dripping.
- Check underneath the downspout for any leaks.
If water escapes, mark the leak spots and apply more sealant. Smooth the new sealant to cover all gaps fully. Allow it to dry again before retesting.
You May Like Also: Gutter Drain under Concrete
Conclusion
Capping off a gutter downspout keeps your home safe and dry. It stops leaves and debris from clogging the pipes. You also prevent unwanted water damage around your foundation. Use simple tools and materials to do the job right. Regular checks help your gutters work well all year.
Taking these steps saves money on repairs later. A small task with big benefits for your home. Easy to do, important to maintain. Give your gutters the care they need today.