

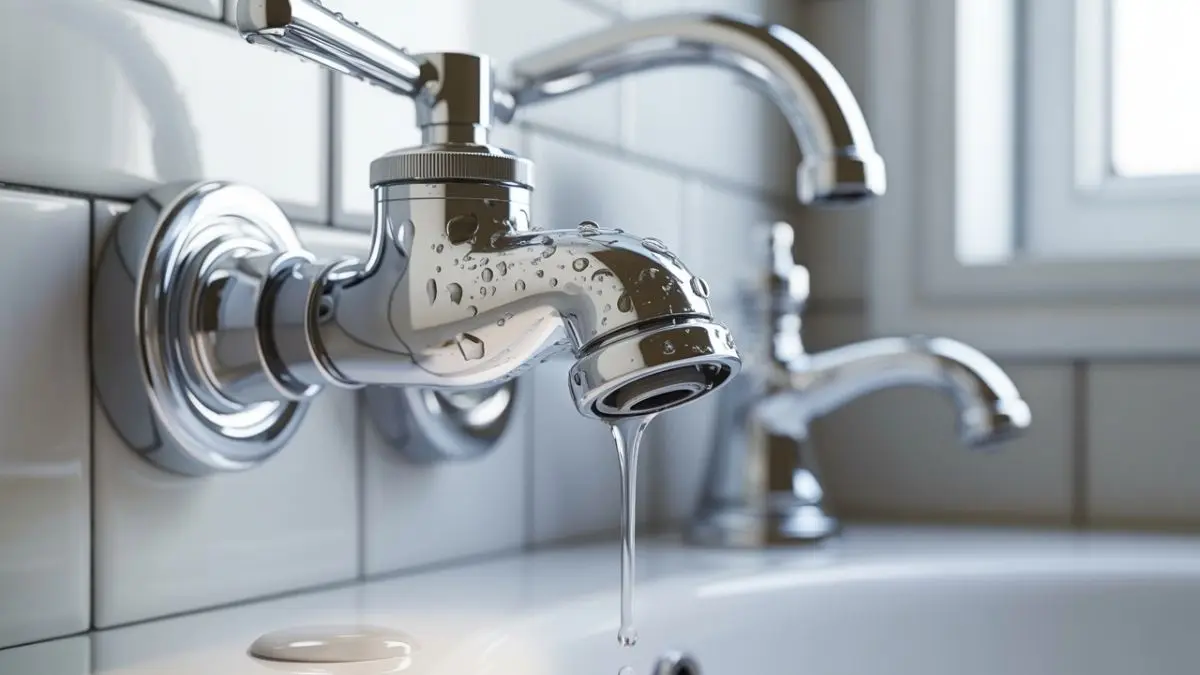
Is your clawfoot tub faucet diverter not working right? You might be dealing with water that won’t switch from the faucet to the shower or a slow drip that won’t stop.
Fixing this issue yourself can save you time and money, and it’s easier than you think. You’ll find simple steps to repair your clawfoot tub faucet diverter quickly. Keep reading, and you’ll have your tub working perfectly again in no time.
Identifying Common Diverter Issues
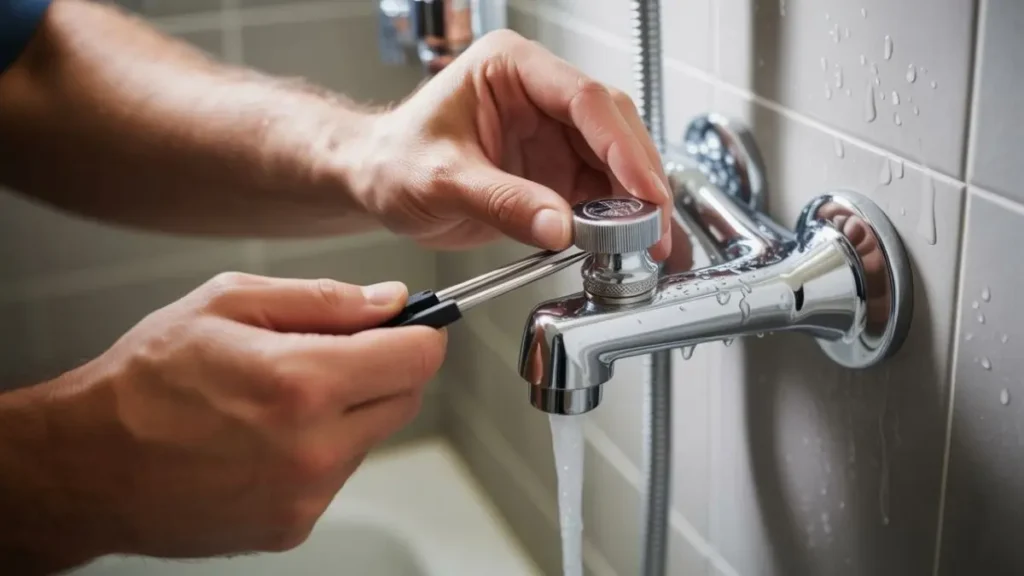
The clawfoot tub faucet diverter controls water flow between the tub spout and the showerhead. Over time, this diverter can develop issues that affect performance. Identifying common diverter problems helps in fixing the faucet quickly and avoiding costly repairs.
Leaking Diverter Causes
A leaking diverter is a common problem that wastes water and reduces faucet efficiency. The leak usually happens inside the faucet body or around the diverter handle.
Common causes of a leaking diverter include:
- Worn out rubber washers or O-rings that no longer seal tightly.
- Corrosion or mineral buildup inside the diverter valve.
- Loose diverter handle or damaged packing nut.
- Cracks in the diverter valve seat or body.
Mineral deposits often form due to hard water. These deposits can cause the diverter to not seal properly, leading to drips.
Use the table below to quickly check potential leaking causes and their signs:
| Cause | Signs | Action |
| Worn washers/O-rings | Dripping around handle | Replace washers or O-rings |
| Mineral buildup | Reduced flow, leaking | Clean or replace valve |
| Loose handle/packing nut | Water leaks at handle base | Tighten or replace parts |
| Cracked valve seat | Continuous leak | Replace valve assembly |
Diverter Stuck Or Hard To Turn
A diverter that is stuck or difficult to turn causes frustration and interrupts water flow. This problem often results from internal corrosion or debris blocking the valve.
Reasons for a stuck diverter include:
- Mineral buildup inside the valve parts.
- Old grease or lubricant drying out.
- Damaged or warped diverter stem or cartridge.
- Rust or corrosion on metal components.
Turning the diverter handle too hard can worsen the problem by damaging the stem. Regular use helps keep the diverter moving smoothly.
Low Water Pressure Problems
Low water pressure from the clawfoot tub faucet often points to diverter issues. A clogged or partially blocked diverter restricts water flow.
Common causes of low pressure include:
- Mineral deposits narrowing the diverter passage.
- Partial blockage in the faucet or supply lines.
- Faulty diverter valve that does not open fully.
- Worn internal parts reducing water flow.
Check water pressure at other fixtures to confirm if the problem is isolated to the tub faucet.
Step-by-step Diverter Repair

Clawfoot tub faucets use a diverter to switch water flow between the tub spout and the handheld shower. Over time, the diverter can wear out or get clogged, causing leaks or poor water flow. Performing a step-by-step diverter repair can restore smooth function and prevent water wastage.
Shutting Off Water Supply
Start by turning off the water supply to prevent leaks and flooding during repair. Locate the main water valve or the shut-off valves under the tub. Use a wrench or your hand to close these valves fully.
- Turn the valve clockwise to close it.
- Check if water stops flowing by opening the faucet slightly.
- If water still flows, try shutting off the main water supply for the house.
Use a bucket or towels nearby to catch any drips. Confirm the water is off before proceeding. Safety first: this step protects your floor and walls from water damage.
Removing The Faucet Handle
Next, remove the faucet handle to access internal parts. Handles are usually secured with screws or decorative caps.
- Look for a small screw on the handle’s side or under a cap.
- Use a flathead screwdriver to pop off the cap if present.
- Unscrew the handle screw with a Phillips screwdriver.
- Gently pull the handle away from the faucet body.
Place screws and caps in a small container to avoid losing them. Avoid forcing the handle off; wiggle it gently if it feels stuck. Damaging the handle can cause more repair work later.
Accessing The Diverter Valve
With the handle removed, access the diverter valve inside the faucet body. This valve controls water direction and often causes leaks when faulty.
- Remove the escutcheon plate or cover using a wrench or screwdriver.
- Locate the diverter valve, usually a cylindrical part inside the faucet.
- Unscrew or pull the diverter valve carefully from its housing.
Keep track of the order and orientation of parts as you remove them. Taking photos helps during reassembly. Handle parts gently to avoid breakage. If the valve feels stuck, apply penetrating oil and wait a few minutes before trying again.
Cleaning Or Replacing The Diverter
Inspect the diverter valve for dirt, mineral buildup, or damage. Cleaning can restore function if the valve is clogged.
- Soak the valve in white vinegar for 30 minutes to dissolve mineral deposits.
- Use a soft brush or cloth to scrub away debris.
- Rinse with clean water and dry thoroughly.
If the valve is cracked, worn, or does not work after cleaning, replace it with an identical part. Bring the old valve to a hardware store to find a match. Using the correct replacement ensures proper faucet operation and prevents leaks.
Reassembling The Faucet
After cleaning or replacing the diverter valve, reassemble the faucet carefully. Follow these steps:
- Insert the diverter valve back into its housing, aligning it properly.
- Reattach the escutcheon plate or cover and tighten securely.
- Place the faucet handle back on the valve stem.
- Insert and tighten the handle screw.
- Snap the decorative cap back in place if applicable.
Turn the water supply back on slowly. Test the diverter by switching between the tub spout and shower to check for leaks or flow issues. Tighten parts gently if leaks appear. Proper reassembly ensures your clawfoot tub faucet works smoothly and lasts longer.
Recommended: Old Style Bathtub Faucet Repair
Testing And Troubleshooting

A careful check improves performance and extends the diverter’s life. Follow a clear method to test and fix common problems. Simple tools and clear steps make this task manageable for most homeowners.
Checking For Leaks
Leaks reduce water pressure and cause damage over time. Start by examining all diverter connections for drips or moisture. Use a dry cloth to wipe around joints and watch for new wet spots. Pay special attention to:
- The base of the diverter handle
- Where the diverter connects to the faucet
- Joints between pipes and fittings
Check water supply valves and hoses for cracks or looseness. Tighten any loose nuts gently with a wrench. Avoid overtightening to prevent damage.
Test for leaks with this simple method:
- Turn on the water supply slowly.
- Operate the diverter handle to switch water flow.
- Observe all joints and the handle area carefully for leaks.
- Use a flashlight to see hidden spots better.
Use plumber’s tape on threaded connections to seal leaks. Replace worn-out washers or O-rings inside the diverter. These parts often cause leaks after wear.
Ensuring Smooth Operation
The diverter handle should move easily to switch water flow. Rough or stiff movement signals internal issues or buildup. Check for these problems:
- Mineral deposits inside the diverter valve
- Damaged or worn valve parts
- Corroded components
Clean the diverter valve by removing it and soaking parts in vinegar. This dissolves mineral buildup. Use a soft brush to clear debris carefully.
Lubricate moving parts with a silicone-based plumber’s grease. Avoid petroleum-based oils that can damage rubber seals.
Test the handle movement after cleaning:
- Turn the handle slowly back and forth.
- Check for smooth, consistent resistance.
- Listen for grinding or sticking sounds.
If the handle still feels rough, inspect the internal valve cartridge. Replace it if worn or damaged.
Adjusting Water Flow
Proper water flow means the diverter sends water fully to the tub spout or showerhead. Low or uneven flow often comes from blockages or poor adjustment.
Steps to adjust water flow:
- Check the aerator and showerhead for clogs. Clean or replace if needed.
- Inspect the diverter valve for debris inside the water channels.
- Ensure the diverter handle reaches full “on” positions for each outlet.
Conclusion
Fixing a clawfoot tub faucet diverter can save time and money. A working diverter lets you switch water flow easily between faucet and shower. Regular checks help spot leaks or wear early. Using the right tools makes repair smooth and safe.
Taking care of your tub parts keeps your bathroom in good shape. Try these simple steps to keep your diverter working well. Small repairs prevent bigger problems later. Enjoy your clawfoot tub without worrying about water flow issues.


