

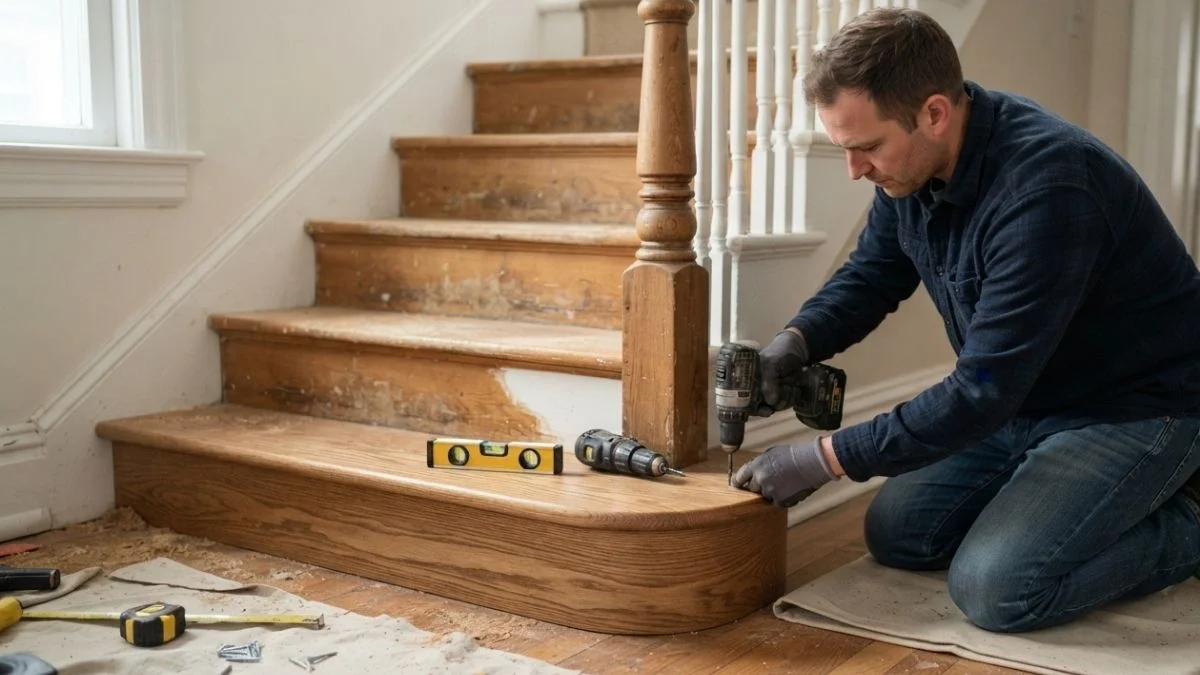
A cracked or sagging bottom stair tread is one of the most common — and fixable — household repairs, yet most homeowners assume it requires a contractor to replace bottom step on staircase safely.
The real problem is uncertainty: not knowing whether the damage is cosmetic or structural, which tools the job actually needs, and whether one wrong cut ruins the whole staircase.
This guide walks you through every stage — from assessing the damage and gathering tools to removing the old tread and installing a new one correctly — so you finish with a safe, solid step and the confidence to do it yourself.
What You Need Before Starting
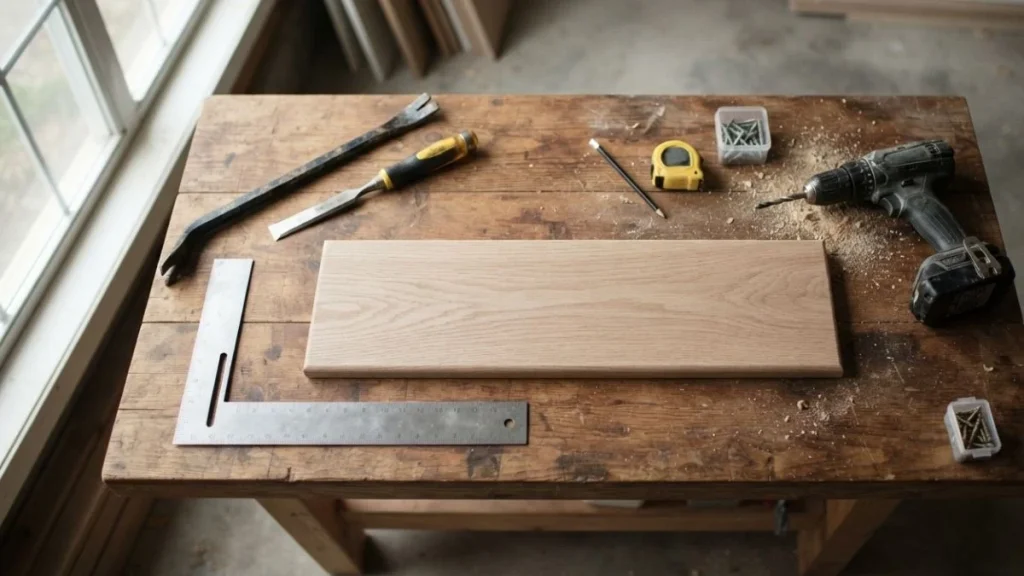
Tools and Materials
Having the right tools before you start removing old stair treads from stringers saves a wasted trip to the hardware store mid-job.
Hand tools:
- Pry bar (flat bar style, 18–24 inches)
- Hammer and wood chisel
- Measuring tape and carpenter’s square
- 4-foot level
Power tools:
- Circular saw or miter saw for tread cuts
- Drill-driver for fastener removal and installation
- Orbital sander for smoothing the new tread surface
Safety gear: Work gloves, safety glasses, and an N95 dust mask — essential when cutting older wood that may contain lead paint.
For materials, you have 3 practical options:
| Material | Cost per Tread | Best For |
|---|---|---|
| MDF | $8–$15 | Painted risers, tight budgets |
| Hardwood (oak, maple) | $25–$60 | High-traffic, visible staircases |
| Composite | $30–$50 | Moisture-prone or exterior steps |
Oak is the standard choice for replacing cracked stair treads in most North American homes.
Stair Anatomy 101
Knowing the correct terms prevents costly mistakes during a stair tread replacement.
- Tread — the horizontal board you step on
- Riser — the vertical face board between treads
- Stringer — the angled structural beam on each side that supports every tread; damaging this during removal is the most expensive mistake in stair renovation
- Nosing — the front overhang of the tread, typically 1–1.25 inches past the riser face
- Bullnose step — the rounded, finished first step landing at the base of a staircase; it requires a purpose-made bullnose tread rather than a standard flat board
The bullnose step is almost always the one that shows wear first, because it takes foot traffic from three directions instead of one.
Removing the Old Tread Safely
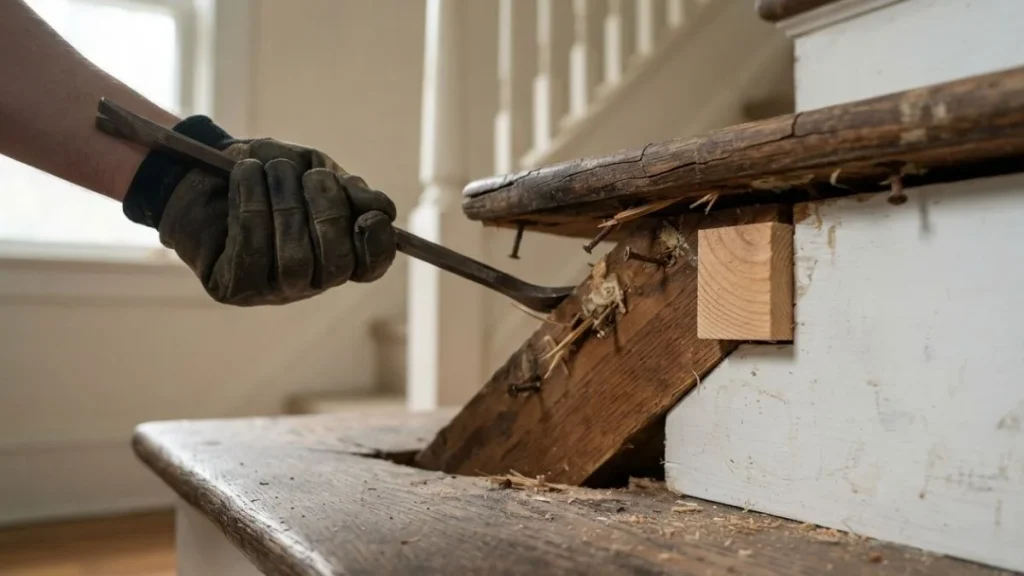
Preparation and Fastener Removal
Rushing the removal is how stringers get damaged — and a cracked stringer turns a $40 stair tread replacement into a $400 repair.
Start by laying a drop cloth or cardboard sheet on the flooring directly below the bottom step. The first step landing takes the most foot traffic, so its fasteners are often numerous and corroded.
Work through fastener removal in this order:
- Run your hand along the stair nosing and underside of the tread to locate any hidden screws or face nails covered by wood filler.
- Use a drill-driver to back out screws. For nails, drive them through with a nail punch rather than prying from the face — prying tears the wood and can split the riser below.
- Score any adhesive joint between the tread and riser with a utility knife before applying any force. Construction adhesive is common in stair renovation projects built after the 1990s and bonds harder than the wood itself.
Prying and Clearing
With fasteners removed, place a wood scrap block flat against the riser face and set your pry bar against it — never directly against the stringer. This distributes the force and protects the structural beam.
Work from the nosing end toward the back wall in short, controlled prying motions. Alternate sides if the tread spans three stringers.
Once the tread is free, stop and inspect both stringers carefully. Look for:
- Rot — soft, discolored wood that compresses when pressed with a screwdriver
- Cracks — any split running along the stringer grain that extends more than 6 inches
- Notch damage — the cut-out section where the tread sits should be clean and square
If a stringer shows rot or a long crack, replacing cracked stair treads becomes a secondary concern. The stringer must be repaired or sistered first — meaning a new board is bolted alongside the damaged one for support. Do not proceed with installing new stair treads over a compromised stringer.
Installing Your New Tread
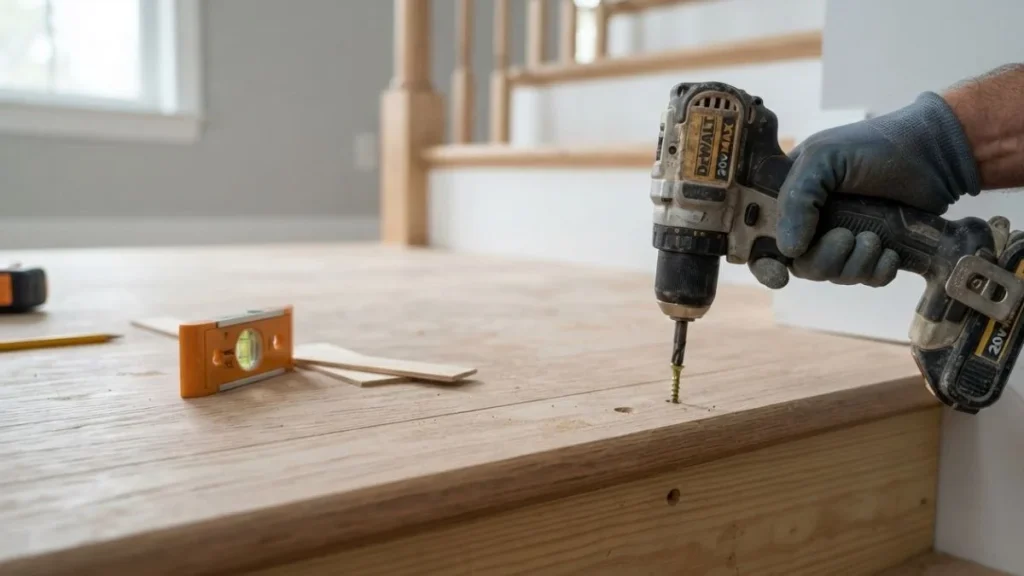
Measuring and Cutting
Accurate measurement is the difference between a tread that fits cleanly and one that rocks or leaves visible gaps against the stringers.
The most reliable approach is the template method stair replacement technique: lay your old tread directly on top of the new material and trace its outline before cutting anything. This accounts for walls that are slightly out of square — a common issue in homes older than 30 years.
Follow this sequence:
- Measure the width at the front, middle, and back of the opening between stringers. Use the smallest measurement for your cut to guarantee the board fits without forcing.
- Mark the stair nosing overhang at 1 to 1.25 inches past the riser face — the IRC (International Residential Code) sets the minimum nosing projection at 0.75 inches for code compliance.
- Cut with a miter saw for clean, square ends. For a bullnose step, purchase a pre-routed bullnose tread blank from manufacturers like Stair Supplies or L.J. Smith — routing a bullnose profile freehand without a router table rarely produces a clean result.
Test-fit the tread dry before applying any adhesive.
Securing the New Tread
The combination method — construction adhesive plus screws — produces the strongest, squeak-free result for installing new stair treads.
Apply a continuous bead of Liquid Nails Subfloor adhesive along each stringer notch and the top of the riser. Set the tread in place and check it with your level immediately. If one side sits low, insert a cedar shim between the tread and stringer notch before the adhesive sets.
Then fasten with 2.5-inch coarse-thread screws:
- Pre-drill pilot holes in hardwood to prevent splitting — use a bit 1/64 inch smaller than the screw shank
- Drive 2 screws per stringer, positioned 1 inch from each edge
- Countersink screw heads and fill with wood plugs or color-matched filler for a finished look
Avoid face-nailing hardwood treads without pilot holes. Oak and maple split under direct nail impact, which is one of the most common mistakes in DIY stair renovation projects.
Critical Situations to Flag
When Professional Help Wins
DIY stair tread replacement is well within reach for most homeowners — but 4 specific situations make professional assessment the smarter call.
Stringer damage or rot
Removing old stair treads from stringers sometimes reveals damage that was invisible from the surface. If either stringer shows rot deeper than 1 inch, or a crack running more than 6 inches along the grain, the staircase is a structural issue — not a cosmetic one. A licensed carpenter or structural engineer needs to assess load capacity before any new tread goes down. Installing new stair treads over a compromised stringer creates a collapse risk, particularly for elderly homeowners who rely on the staircase for daily mobility.
Building code uncertainty
Any modification that changes stair geometry — tread depth, riser height, or nosing projection — triggers IRC compliance requirements. Tread depth must meet a minimum of 10 inches and riser height must stay between 4 and 7.75 inches under IRC Section R311.7. If your existing stairs already sit outside those tolerances, a stair renovation that locks in non-compliant dimensions can create liability during a home sale inspection.
Complex bullnose step replacement
Replacing a bullnose step with a wrapped or curved profile requires precise router work, custom fitting around newel posts, and sometimes scribing to an irregular floor surface. According to Pear Stairs, a UK stair manufacturer with 30 years of production experience, even small errors in bullnose fitting create visible gaps that are difficult to correct without starting over.
Previous failed attempts
If a prior repair used excessive adhesive, misaligned fasteners, or damaged the stringer notches, the surface conditions for a clean installation no longer exist. A professional can re-cut the notches and re-establish a flat, square bearing surface — work that requires a router and experience to execute correctly.
Recommended: Can I Use 2×12 for Stair Treads?
Ready to Upgrade Your Stairs
The single factor that separates a successful DIY stair tread replacement from an expensive mistake is stringer condition — inspect it before buying a single board. Start today by removing the tread nosing cover strip on your bottom step and probing the stringer with a screwdriver to check for soft spots or rot. If the wood is solid, you have everything you need to replace bottom step on staircase safely this weekend.


