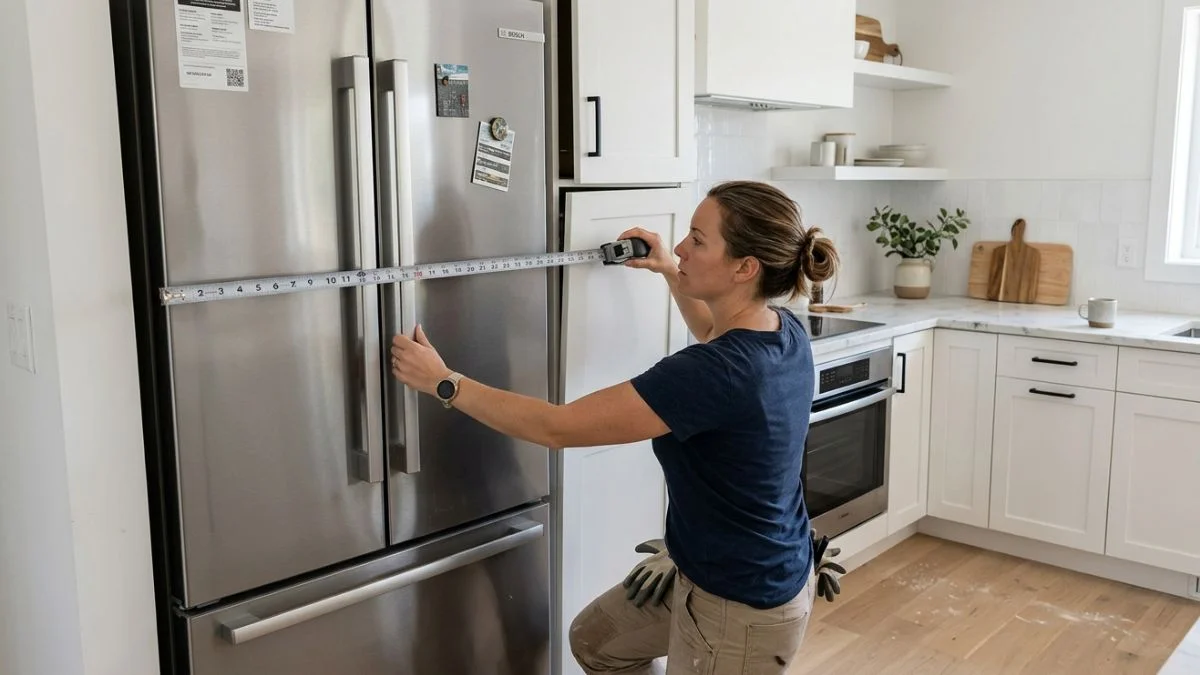
Is your new refrigerator just a bit too big for your cabinet space? Don’t worry—you can fix this without buying a whole new kitchen setup.
Learning how to trim your cabinet to fit your refrigerator can save you time, money, and a lot of frustration. Imagine sliding your fridge perfectly into place, with a clean and professional look that makes your kitchen feel brand new.
Preparing The Cabinet
Trimming a cabinet to fit a refrigerator requires careful preparation. Preparing the cabinet ensures a smooth fit and avoids damage. This step involves clearing the workspace and measuring accurately. Proper preparation saves time and effort during the cutting process. It also helps keep the cabinet structure strong and neat.
Removing Obstacles
Start by clearing everything inside and around the cabinet. Remove shelves, drawers, and any hardware that could get in the way. This creates space to work safely and prevents damage to parts you want to keep. Check for nails, screws, or brackets that hold the cabinet together. You may need to unscrew or pry them gently to avoid breaking the wood.
Look behind the cabinet for electrical wires, plumbing, or pipes. These can be hidden obstacles that stop you from cutting safely. Turn off power or water if needed before proceeding. Use a flashlight to see inside tight spaces.
- Empty the cabinet completely
- Remove shelves and drawers
- Take off cabinet doors if possible
- Check for nails, screws, or brackets
- Inspect behind for wires or pipes
- Turn off utilities if necessary
Here is a simple checklist to remove obstacles:
| Task | Action Needed |
| Empty cabinet | Remove all items inside |
| Remove shelves | Unscrew or lift out shelves |
| Remove hardware | Unscrew handles, hinges, brackets |
| Check for hidden obstacles | Look for wires, pipes, or nails |
Clear space around the cabinet for tools and movement. Protect the floor with a cloth or cardboard. This prevents scratches or damage during work.
Marking Cut Lines
Marking cut lines is a key step for precise trimming. Measure the refrigerator’s width, height, and depth carefully. Compare these with the cabinet’s inside dimensions. Use a pencil and a ruler to draw straight lines where cuts will go. These lines guide your saw and keep cuts clean.
Mark both vertical and horizontal lines. Vertical lines show where to cut widthwise. Horizontal lines show the depth or height to trim. Double-check measurements before marking. Mistakes at this stage cause poor fits and wasted material.
- Measure refrigerator dimensions
- Measure inside cabinet space
- Use a pencil to mark cut lines
- Draw vertical and horizontal lines
- Double-check all measurements
Use painter’s tape along cut lines to reduce splintering during cutting. This tape also makes lines easier to see. Label each line clearly so you know which edge to cut.
| Step | Details |
| Measure width | Refrigerator width + 1/4 inch clearance |
| Measure height | Refrigerator height + 1/4 inch clearance |
| Measure depth | Refrigerator depth + 1/4 inch clearance |
| Mark lines | Use pencil and straight edge |
| Apply painter’s tape | Along cut lines to protect wood |
Marking cut lines clearly helps avoid mistakes. Take your time. Accurate lines make cutting easier and the final fit better.
Cutting The Cabinet Trim
Cutting the cabinet trim is a crucial step in fitting a refrigerator perfectly into your kitchen space. The trim helps cover gaps and gives a polished look. Accurate cuts ensure the trim fits snugly around the refrigerator, avoiding unsightly gaps or uneven edges. Taking time to cut the trim carefully prevents damage and saves effort during installation.

Techniques For Clean Cuts
Clean cuts make the cabinet trim look professional and neat. Use sharp tools like a miter saw or a fine-toothed hand saw for the best results. Mark the trim with a pencil before cutting to maintain accuracy. Here are some tips for clean cuts:
- Measure Twice, Cut Once: Always double-check your measurements before cutting.
- Use a Miter Box: Helps guide the saw for precise angled cuts, especially 45 or 90 degrees.
- Clamp the Trim: Secure the trim to a work surface to prevent movement while cutting.
- Cut Slowly: Saw gently to avoid splintering or rough edges.
- Sand Edges: Use fine-grit sandpaper to smooth any rough or sharp edges after cutting.
Handling Different Materials
Cabinet trim comes in various materials such as wood, MDF, and PVC. Each material needs different care during cutting and installation. Knowing how to handle them avoids damage and ensures a clean fit.
Wood Trim: Solid wood is sturdy but can splinter. Use a sharp saw blade and slow cutting speed. Sand edges well to remove splinters. Avoid forcing the cut to prevent cracking.
MDF Trim: MDF is smooth and easy to cut but creates fine dust. Wear a mask while cutting. Use a blade designed for composite materials. Seal edges with paint or primer to prevent swelling from moisture.
PVC Trim: PVC is lightweight and water-resistant. Score the surface with a utility knife and snap it for straight cuts. For thicker pieces, a fine-toothed saw works well. Avoid overheating the material while cutting.
Sanding And Finishing
Trimming a cabinet to fit a refrigerator requires precise cuts and clean finishes. The final look depends heavily on proper sanding and finishing. These steps smooth rough edges and ensure the trim matches the rest of the kitchen.
Proper sanding removes splinters and uneven surfaces. Finishing with the right paint or stain blends the new trim seamlessly with existing cabinetry. This process protects the wood and improves durability. Paying attention to these details creates a polished, professional appearance for your kitchen.
Smoothing Edges
After cutting the trim pieces, the edges often feel rough or uneven. Sanding is essential to make these edges smooth and safe. Start with a medium-grit sandpaper (around 120 grit) to remove large rough spots. Then, switch to a finer grit (220 grit) for a smooth finish. Sand along the grain of the wood to avoid scratches.
Use these tools and tips for best results:
- Sandpaper sheets for hand sanding small areas.
- Orbital sander for larger, flat surfaces.
- Detail sanding blocks for corners and tight spots.
- Wear a mask to avoid inhaling dust.
Check the edges by running your fingers along them. They should feel smooth without splinters. Smooth edges help paint or stain stick better. They also make the trim safer to handle and look more professional.
| Step | Action | Tools Needed |
| 1 | Start with medium-grit sandpaper | 120 grit sandpaper, sanding block |
| 2 | Finish with fine-grit sandpaper | 220 grit sandpaper |
| 3 | Sand corners and edges carefully | Detail sanding block |
| 4 | Clean dust before painting or staining | Brush or cloth |
Matching Paint Or Stain
Choosing the right paint or stain is key for a seamless look. The new trim should blend with the cabinet color and finish. Test small hidden areas first to find the best match. For paint, use the same sheen level as the cabinets—matte, satin, or gloss.
Follow these steps to match paint or stain:
- Clean the surface to remove dust and oils.
- Apply a primer if the wood is raw or very different in color.
- Test color on a scrap piece or hidden spot.
- Apply thin coats for even coverage, letting each dry fully.
- Lightly sand between coats for smoothness.
Use this table to decide between paint and stain based on cabinet type:
| Cabinet Finish | Best Option | Notes |
| Solid wood with clear finish | Stain | Enhances natural grain |
| Painted cabinets | Paint | Matches existing color and gloss |
| Laminate or veneer | Paint | Stain won’t absorb properly |
Matching paint or stain carefully gives your trim a professional, built-in look. This attention to detail improves the overall kitchen style and protects the wood for years.
Installing And Adjusting
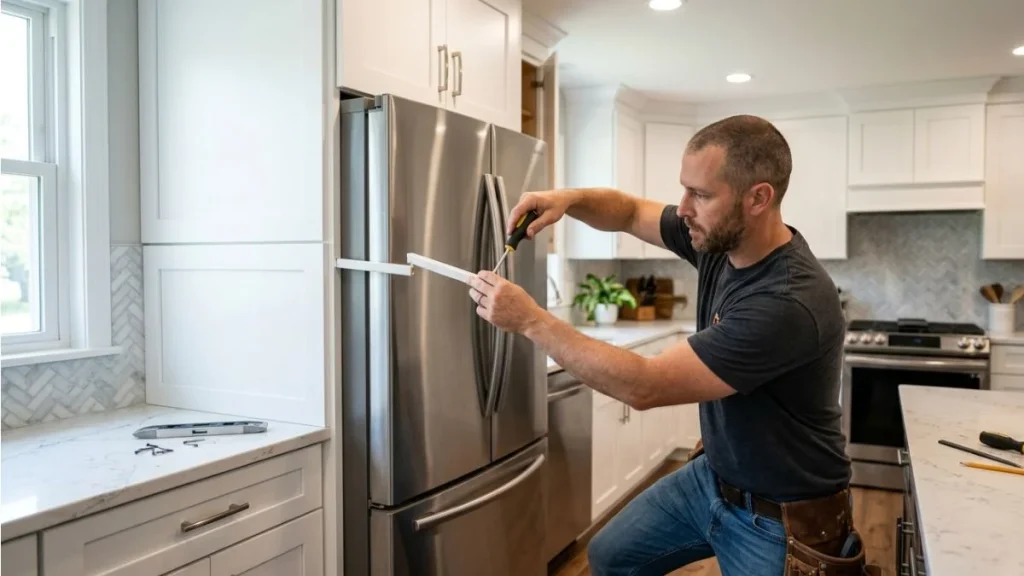
Installing and adjusting a trim cabinet to fit a refrigerator requires precision and care. The trim cabinet helps create a seamless look between the refrigerator and surrounding cabinetry. Proper installation ensures the refrigerator fits well and the kitchen looks clean and polished.
This process involves carefully fitting the refrigerator into the space and making final adjustments to the trim for a perfect finish. Taking time during these steps prevents gaps, misalignment, and future problems.
Fitting The Refrigerator
Start by preparing the space for the refrigerator. Make sure the area is clean and free of debris. Check the dimensions of the refrigerator and the trim cabinet opening. The trim should provide a tight but not forced fit around the fridge.
- Measure twice, fit once: Measure the width, height, and depth of the refrigerator.
- Clearance: Leave at least 1/8 inch of space on each side for ventilation.
- Level the floor: Use a level to ensure the floor is flat so the refrigerator sits evenly.
Lift the refrigerator carefully and slide it into the trim cabinet opening. Avoid pushing too hard to prevent damaging the trim or the refrigerator edges. Once the fridge is in place, check that it is level and stable. Use shims if needed to adjust the height.
Final Adjustments
After fitting the refrigerator, focus on the final adjustments. These ensure the trim cabinet looks smooth and matches the kitchen design perfectly. Check all gaps around the refrigerator. They should be even and consistent.
Adjust the trim pieces as needed. Small sanding or trimming may be required to get the perfect fit. Use a fine-grit sandpaper to smooth edges and corners gently. Secure the trim pieces with finishing nails or screws, depending on the material.
- Check door clearance: Make sure refrigerator doors open fully without hitting the trim.
- Inspect alignment: Align the trim edges with surrounding cabinets for a uniform look.
- Seal edges: Apply a thin bead of caulk to close small gaps and prevent dust.
Test the refrigerator’s function after adjustments. Make sure it sits firmly without rocking. The trim cabinet should enhance the overall appearance without blocking vents or controls.
Common Challenges
Trimming a cabinet to fit a refrigerator can be tricky. Many face common challenges that slow down the work and cause frustration. These challenges often relate to the cabinet’s shape and the risk of damage during trimming. It also makes the process smoother and safer. Below are two main challenges people face when trimming cabinets to fit refrigerators.
Dealing With Uneven Surfaces
Uneven surfaces inside or around the cabinet can cause fitting problems. Cabinets may have walls that are not perfectly straight or floors that are not level. This makes it hard to cut and fit the refrigerator properly. Uneven surfaces can also create gaps, affecting the fridge’s stability and appearance.
Here are some tips to handle uneven surfaces:
- Check levels: Use a spirit level to find uneven spots on the cabinet floor and walls.
- Mark problem areas: Highlight where the cabinet is not straight before cutting.
- Use shims: Small pieces of wood or plastic can fill gaps and create a flat surface.
- Sand or plane surfaces: Smooth out rough or bumpy spots for a better fit.
Below is a simple table showing common uneven areas and how to fix them:
| Uneven Area | Problem | Solution |
| Cabinet Floor | Slopes or bumps cause fridge to tilt | Use shims or sand surface flat |
| Cabinet Walls | Out of straight causes gaps | Mark and trim uneven spots |
| Cabinet Door Frame | Misalignment affects door clearance | Plane edges for smooth closing |
Taking time to correct uneven surfaces improves the final fit and look. It also protects the fridge from damage caused by poor support.
Avoiding Damage
Trimming cabinets carries a risk of damage to wood, paint, and the refrigerator itself. Careless cutting or handling can cause chips, scratches, or cracks. These damages reduce the cabinet’s value and may cause costly repairs later.
Follow these steps to avoid damage:
- Measure twice, cut once: Double-check measurements before cutting to prevent mistakes.
- Use proper tools: Sharp saws and fine blades reduce splintering and rough edges.
- Protect surfaces: Cover areas around the cut line with painter’s tape to avoid scratches.
- Work slowly: Take your time to make clean, precise cuts.
- Handle the fridge carefully: Move and place it gently to avoid dents or scratches.
Here is a quick checklist for avoiding common damages:
- Check all tools are in good condition.
- Wear safety gear to protect yourself.
- Clear the workspace of clutter.
- Keep hands away from cutting blades.
- Inspect the cabinet edges after trimming.
Damage prevention saves time and money. It ensures the cabinet looks good and the refrigerator fits securely for years to come.
You May Read Also: Ergonomic Kitchen Design
Conclusion
Trimming your cabinet to fit a new refrigerator saves space and looks neat. Measure carefully before you start cutting. Use the right tools for clean, straight edges. Take your time and double-check each step. A well-trimmed cabinet keeps your kitchen organized and stylish.
Small changes make a big difference. Enjoy the fresh look and better fit of your kitchen.