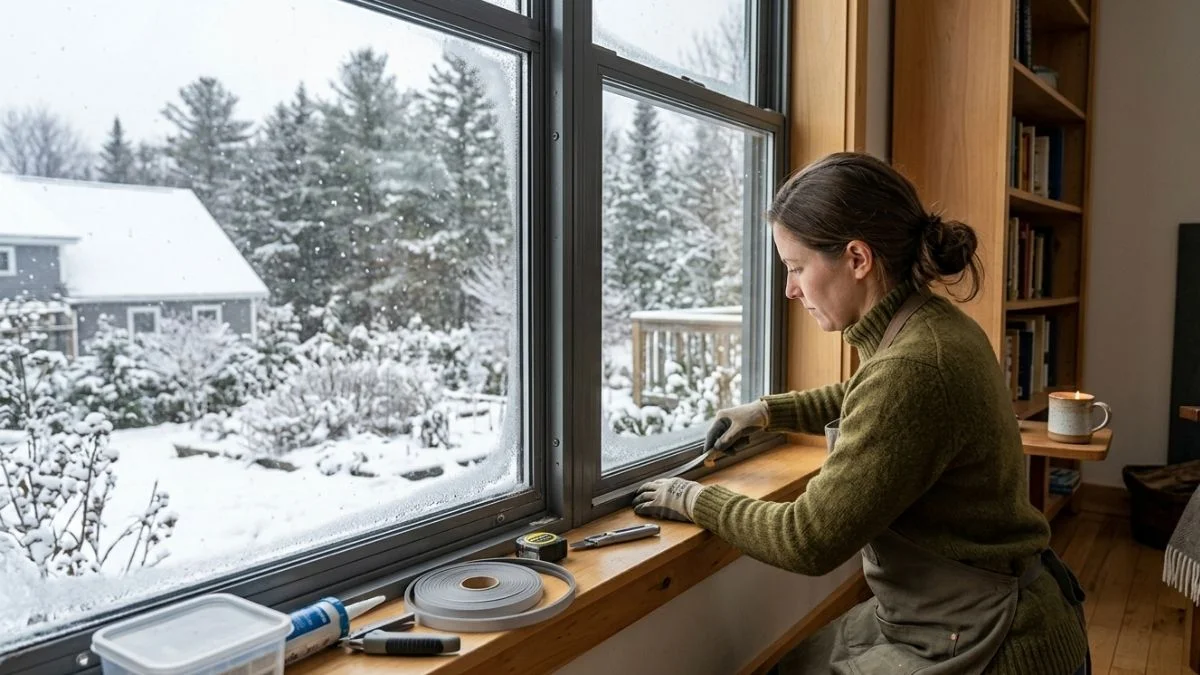
If you’ve ever sat near a window on a cold winter night and felt a chill creeping in — even though the window is completely shut — your aluminum frames are most likely the problem. Aluminum is one of the most thermally conductive materials used in window manufacturing, which means it pulls cold air from outside straight into your living space.
The good news? You don’t need to replace your windows to fix this. With the right insulation methods, you can stop those drafts, lower your energy bills, and make your home a whole lot more comfortable.
This guide walks you through everything you need to know — from understanding why aluminum frames fail at keeping cold out, to the most effective DIY insulation methods you can apply today.
Why Aluminum Window Frames Let in Drafts and Cold Air

The Science Behind Aluminum and Heat Loss
Aluminum is an excellent conductor of heat — that’s exactly why it’s used in cookware, car engines, and electronics. But in windows, that same property works against you. When outside temperatures drop, aluminum frames rapidly absorb the cold and transfer it into your home. At the same time, warm air from inside your home escapes through the frame. This two-way heat exchange is what creates those annoying drafts you feel near windows.
Compare this to wood or vinyl window frames, which are natural insulators. They slow down heat transfer significantly, keeping warmth inside during winter and blocking heat during summer. Aluminum, without any added insulation or a thermal break, simply can’t compete.
The technical term for this is thermal conductivity. Aluminum has a thermal conductivity of around 205 W/m·K — wood sits at roughly 0.1–0.2 W/m·K. That’s a massive difference, and you feel it every time you walk near a window in January.
Common Signs Your Aluminum Frames Need Insulation
You don’t need a fancy energy audit to figure out if your aluminum frames are the problem. Here are the most obvious signs:
- Cold drafts near windows even when they’re fully closed
- Condensation or frost forming on the inside of the frame
- Energy bills creeping up during winter months
- Visible gaps or cracked seals around the frame edges
- Paint peeling or bubbling near the window — a sign of moisture infiltration
If you’re experiencing two or more of these, your aluminum frames need attention.
Is It Worth Insulating Instead of Replacing?
Replacing windows is expensive — typically $300 to $1,000+ per window installed. For a home with 10 windows, that’s a serious financial commitment. In most cases, insulating your existing aluminum frames is absolutely worth doing first, especially if the frames themselves are structurally sound.
Insulation methods can cost as little as $10–$150 per window and deliver real, measurable results — lower energy bills, fewer drafts, and better comfort. If your frames are warped, severely corroded, or the glass itself is damaged, then replacement makes more sense. But for most homeowners with older aluminum frames, insulation is the smarter and more affordable starting point.
What You’ll Need — Tools and Materials
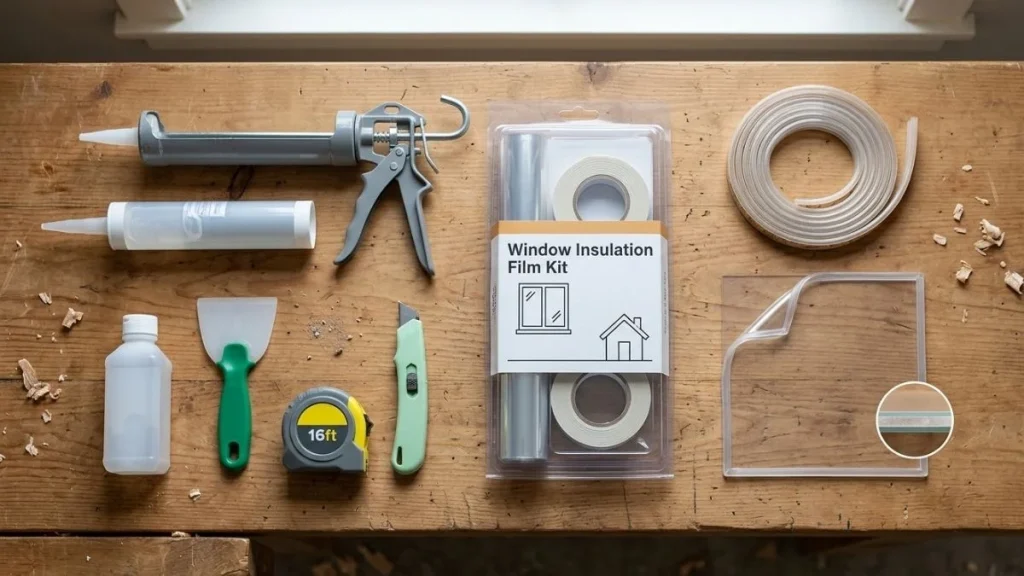
Before you start, gather the right materials. Using the wrong products on aluminum surfaces is one of the most common mistakes homeowners make.
Essential Tools
- Utility knife
- Caulk gun
- Tape measure
- Putty knife or scraper
- Hair dryer or heat gun (for shrink film)
- Clean rags and rubbing alcohol (for surface prep)
Best Insulation Materials for Aluminum Window Frames
| Material | Best For | Cost Per Window | Durability |
| Foam Weatherstripping | Quick draft sealing | $5–$10 | 1–2 years |
| V-Strip Weatherstripping | Sliding/double-hung windows | $8–$15 | 5–10 years |
| Silicone Caulk | Gaps around frame & wall | $10–$20 | 10+ years |
| Window Insulation Film | Added thermal layer | $10–$30 | 1 season |
| Thermal Window Inserts | Maximum insulation | $50–$150 | 10–20 years |
Choosing the right material depends on the size of the gaps, your climate, and your budget. For a complete solution, most homeowners combine two or three of these methods together.
How to Insulate Aluminum Window Frames — Step-by-Step Methods
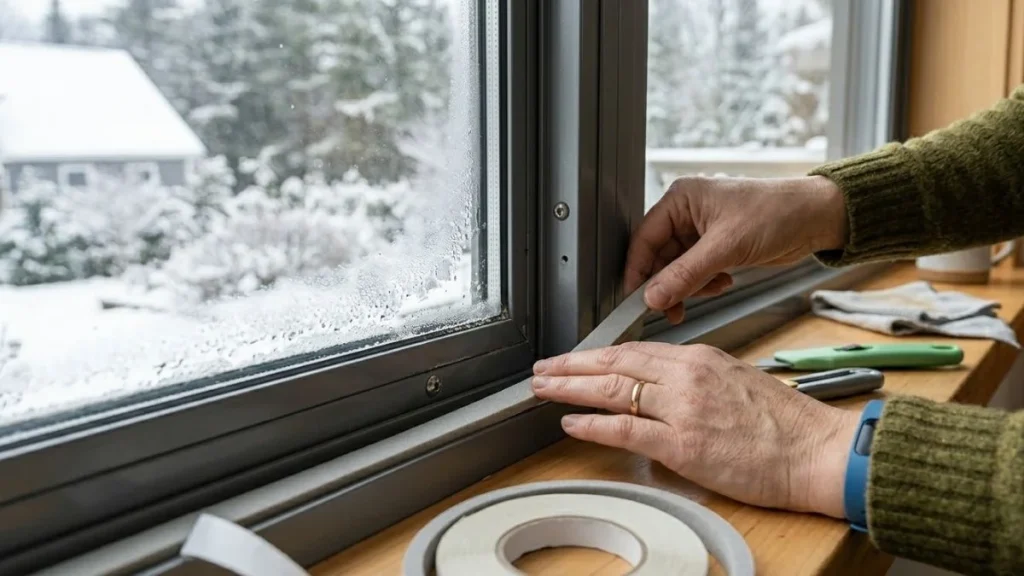
Weatherstripping Aluminum Window Frames
Weatherstripping is one of the fastest and most affordable ways to stop drafts. It works by sealing the gaps between the window sash and the frame — the thin spaces where cold air sneaks through.
Foam Weatherstripping
Clean the frame channel with rubbing alcohol and let it dry. Measure and cut the foam strip to length. Peel the adhesive backing and press it firmly along the sash channel. Close the window to test the seal — you should feel firm resistance. Replace foam strips every one to two years, as they compress and lose effectiveness over time.
V-Strip (Tension Seal) Weatherstripping
V-strip is more durable than foam and works especially well on sliding and double-hung aluminum windows. Slide the strip into the channel with the V facing outward. It creates a spring-like tension seal that holds up better than adhesive foam over time. Cut corners cleanly to avoid bunching.
Caulking Around Aluminum Window Frames
While weatherstripping handles gaps between moving parts, caulk handles the fixed joints — the spaces between the frame and the surrounding wall. These gaps are often the biggest source of air leaks, and they’re easy to miss.
Where to Apply Caulk
- The joint between the window frame and the exterior wall
- Interior edges where the frame meets the drywall or trim
- Around window sill joints and corners
Step-by-Step Caulking Process
Start by removing any old, cracked caulk with a putty knife. Clean the surface completely and let it dry — caulk won’t stick to a dirty or damp surface. Apply painter’s tape on both sides of the joint for clean lines. Cut the caulk tube at a 45-degree angle and load it into the caulk gun. Apply a smooth, continuous bead in one motion. Smooth it with a wet finger or caulk tool and let it cure fully before exposing it to rain or moisture.
Silicone vs. Latex Caulk for Aluminum Frames
Use silicone caulk on the exterior — it bonds well to metal, is completely waterproof, and lasts over a decade without cracking. For interior applications where you’ll need to paint over the caulk, paintable latex caulk is easier to work with and cleans up with water.
Applying Window Insulation Film
Window insulation film creates a thin, transparent air barrier between the film and the glass. That trapped air layer acts as insulation — similar in principle to how double-pane windows work. It’s a great seasonal solution, particularly for single-pane aluminum windows.
How to Apply Window Insulation Film
- Clean the window frame and glass thoroughly — dust or grease will prevent adhesion
- Apply the double-sided tape included in the kit around the entire frame perimeter
- Cut the film slightly larger than the window opening
- Press the film carefully onto the tape, starting from the top
- Use a hair dryer on medium heat to shrink the film tight — work from the center outward
- Trim the excess film with a utility knife for a clean finish
When properly installed, window insulation film can reduce heat loss by up to 55% according to energy efficiency research. It’s nearly invisible once applied and won’t obstruct your view.
Installing Thermal Window Inserts
Thermal window inserts are rigid acrylic or glass panels that fit inside your existing window frames, creating a second layer of insulation. They’re more effective than film and far more durable — and they can get you close to double-pane performance without replacing the window entirely.
Custom vs. Pre-Cut Inserts
Custom inserts are measured and manufactured to fit your exact frame — they offer the tightest seal but cost more. Pre-cut kits are more affordable and available at most home improvement stores, though the fit may not be as precise.
When shopping for inserts, look for magnetic or compression-fit mounting systems. These create an airtight seal around all four edges without damaging your existing frame. Measure your window opening carefully (width × height) before ordering — even a small gap around the insert significantly reduces its effectiveness.
Understanding Thermal Breaks
Modern aluminum windows often include a thermal break — a non-conductive material (usually polyamide) inserted through the center of the aluminum frame that interrupts the heat transfer path. If your existing frames don’t have one, this is why they perform so poorly in cold weather.
Adding a thermal break to existing frames is not a practical DIY project — it’s a manufacturing-level modification. However, if your frames are old and you’re eventually planning a replacement, choosing thermally broken aluminum replacement frames is a significant upgrade worth budgeting for. They dramatically outperform standard aluminum frames while maintaining the slim, modern profile that aluminum is known for.
How Much Does It Cost to Insulate Aluminum Window Frames?

One of the biggest advantages of insulating over replacing is cost. Here’s a realistic breakdown:
| Method | DIY Cost Per Window | Professional Cost |
| Weatherstripping | $5–$20 | $50–$100 |
| Caulking | $10–$30 | $75–$150 |
| Window Film | $10–$30 | Not typically needed |
| Thermal Inserts | $50–$150 | $150–$300 |
For most homeowners, a DIY weatherstripping and caulking job on all windows in the house can be done for under $200 total — and the energy savings can recover that cost within a single heating season. The U.S. Department of Energy estimates that sealing air leaks around windows and doors can reduce heating and cooling costs by 10–20% annually.
Mistakes to Avoid When Insulating Aluminum Window Frames

Even with the right materials, small mistakes can undo all your hard work. Here’s what to watch out for:
- Skipping surface prep — Caulk and weatherstripping adhesive won’t bond to dirty or oily aluminum. Always clean with rubbing alcohol first.
- Using the wrong caulk — Standard interior caulk on exterior aluminum joints will crack and fail within one season.
- Leaving corner gaps — Corners are the most common spot for drafts to sneak through. Seal them carefully.
- Applying film in cold or humid conditions — The adhesive tape won’t stick and the film won’t shrink properly below 55°F.
- Ignoring the exterior side — Interior sealing alone isn’t enough. Both sides of the frame need attention.
How to Know If Your Insulation Is Actually Working
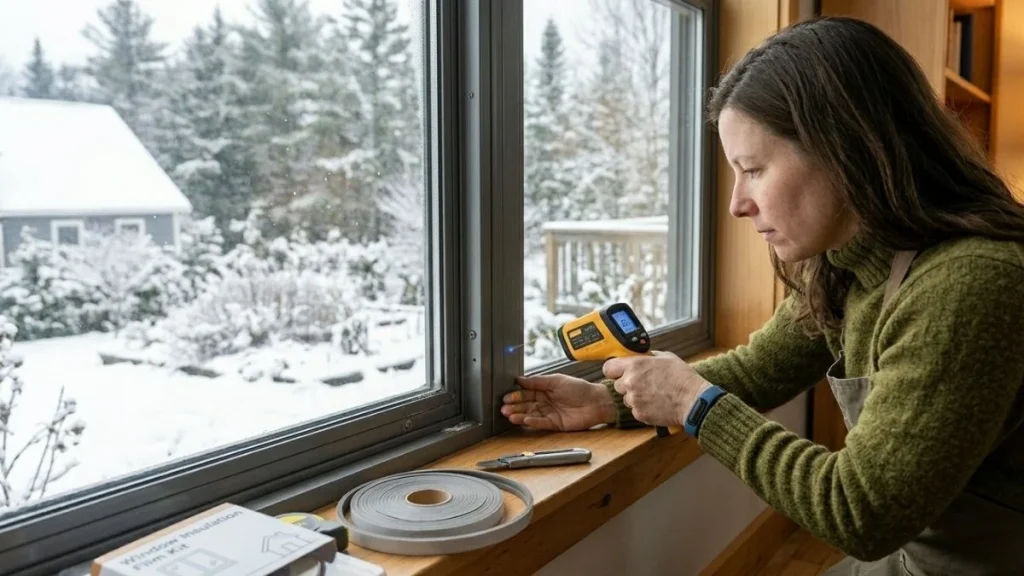
After you’ve applied your insulation, here’s how to verify it’s doing its job:
The Hand Test — On a cold day, slowly move your hand around the frame edges. Any airflow you feel means there’s still a gap.
The Candle Test — Hold a lit candle near the frame. Watch the flame carefully — any flickering indicates air movement and a leak.
Infrared Thermometer — A basic infrared thermometer (under $20 at most hardware stores) lets you detect temperature differences across the frame. Cold spots reveal exactly where heat is escaping.
If you want a comprehensive assessment, consider scheduling a professional energy audit. A blower door test will pressurize your home and make all air leaks immediately visible — including any you may have missed around your window frames.
You May Read Also: Installing Window Air Conditioner in Aluminum Window Frame
Conclusion
Aluminum window frames are notorious for letting in cold air, but that doesn’t mean you’re stuck dealing with drafts all winter. A combination of weatherstripping, caulking, and either window film or thermal inserts can transform even the oldest aluminum windows into a comfortable, energy-efficient barrier against the cold.
Start with the simplest fix — clean the frame, apply fresh caulk around the exterior, and add weatherstripping to the sash. From there, layer in window film or inserts as needed. You don’t need to spend thousands on replacement windows to feel a real difference. Most homeowners notice the improvement within the first cold snap after insulating.
Which method are you trying first? Start small, test the results, and build from there. Your heating bill will thank you.