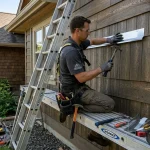
If you’ve noticed cold air sneaking into your garage on a winter morning, or spotted water stains creeping along your garage door frame after a rainstorm, there’s a good chance your garage door isn’t properly sealed. The fix is simpler than you might think — and it starts with caulk.
Caulking around your garage door is one of the most cost-effective home maintenance tasks you can do. It takes a few hours, costs very little, and pays off every single month on your energy bills. Yet most homeowners either skip it entirely or do it wrong — leaving gaps that invite drafts, moisture, and even pests inside.
This guide walks you through everything you need to know about how to caulk around a garage door the right way — from choosing the right caulk to applying it like a pro. Whether you’re a first-timer or you’ve done a little DIY before, you’ll find this guide easy to follow and genuinely useful.
Why Caulking Around Your Garage Door Is More Important Than You Think
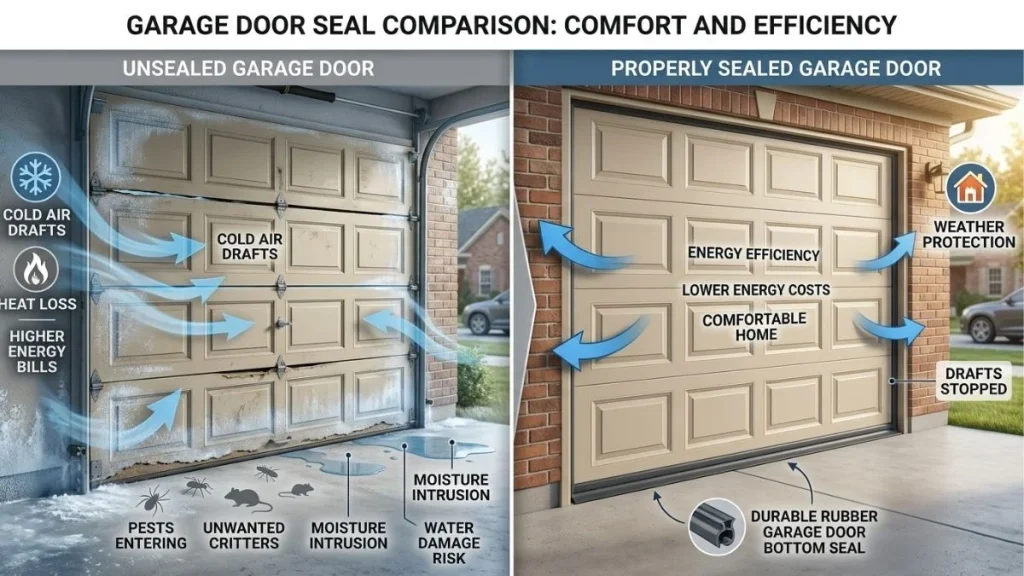
Most homeowners focus on insulating their walls, attic, and windows — and completely overlook the garage door. That’s a mistake. The garage door frame is one of the most common spots for air leaks in a home, and those leaks add up fast.
When your garage door frame isn’t properly caulked, outside air flows freely in and out. In winter, that means your heating system works harder to compensate. In summer, hot air pushes into your home, raising your cooling costs. According to the U.S. Department of Energy, air leaks can account for 25–30% of a home’s heating and cooling energy use — and the garage is often a major contributor.
Beyond energy costs, an unsealed garage door frame creates real structural risks. Water can seep into the frame, causing wood rot over time. Moisture buildup leads to mold growth, which is both a health concern and an expensive repair. And those tiny gaps? They’re an open invitation for insects and rodents looking for a warm place to nest.
Signs Your Garage Door Needs New Caulk
- Visible cracks, gaps, or shrinkage in existing caulk
- Cold drafts or outside air noticeable near the door frame
- Water stains or dampness along the bottom or sides of the frame
- Daylight visible around the edges of the door when it’s closed
- Peeling or discolored caulk that’s pulling away from the surface
If you notice even one of these signs, it’s time to re-caulk. The good news is this is a straightforward DIY job that most homeowners can handle in an afternoon.
What Type of Caulk Should You Use Around a Garage Door?
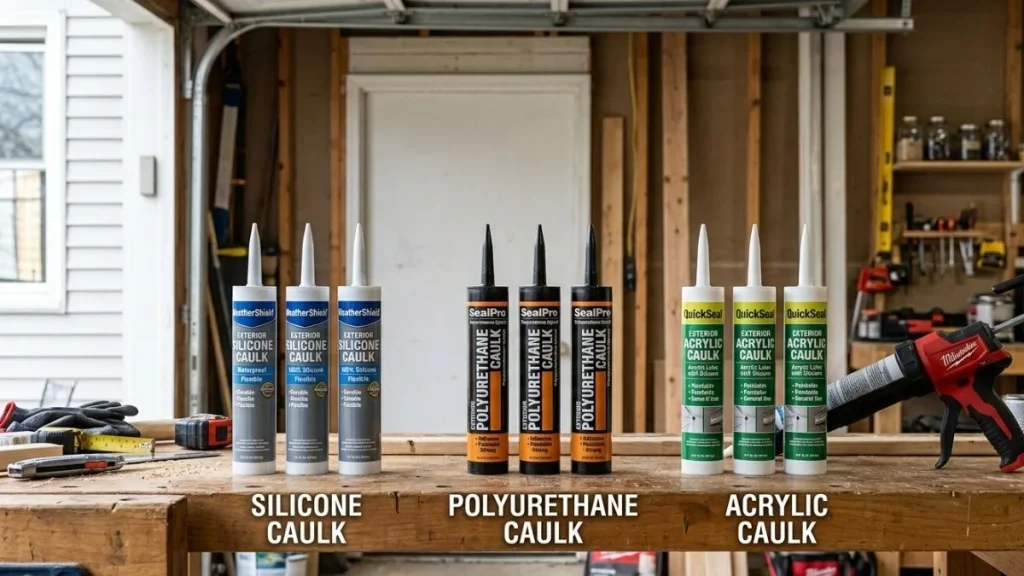
Walk into any hardware store and you’ll find an entire wall of caulk options. It can feel overwhelming. But for a garage door, you really only need to focus on three main types — and the right choice depends on your specific situation.
| Caulk Type | Best For | Durability | Paintable |
| Silicone | Exterior sealing, weatherproofing | 20+ years | No (specialty paint only) |
| Polyurethane | Large gaps, heavy-duty sealing | 10–15 years | Yes |
| Latex/Acrylic | Interior walls, light-duty use | 5–10 years | Yes |
For most homeowners caulking around an exterior garage door frame, silicone or polyurethane caulk is the right call. Silicone is 100% waterproof, handles extreme temperature changes without cracking, and lasts the longest. Polyurethane is slightly easier to work with and paintable, making it a great choice if you plan to match the color of your trim.
Avoid latex or acrylic caulk on exterior applications. It simply isn’t built for outdoor exposure and will crack and shrink within a few years — sometimes even sooner in harsh climates.
Caulk vs. Weatherstripping — What’s the Difference?
These two products are often confused, but they serve different purposes. Caulk is used to seal stationary gaps — like the space between the door frame and your home’s siding. Weatherstripping is used on moving parts — like the sides and top of the door itself where it makes contact when closed.
For a fully weatherproofed garage door, you need both. Caulk handles the frame. Weatherstripping handles the door. Together, they form a complete seal that keeps your garage protected year-round.
Tools and Materials You’ll Need
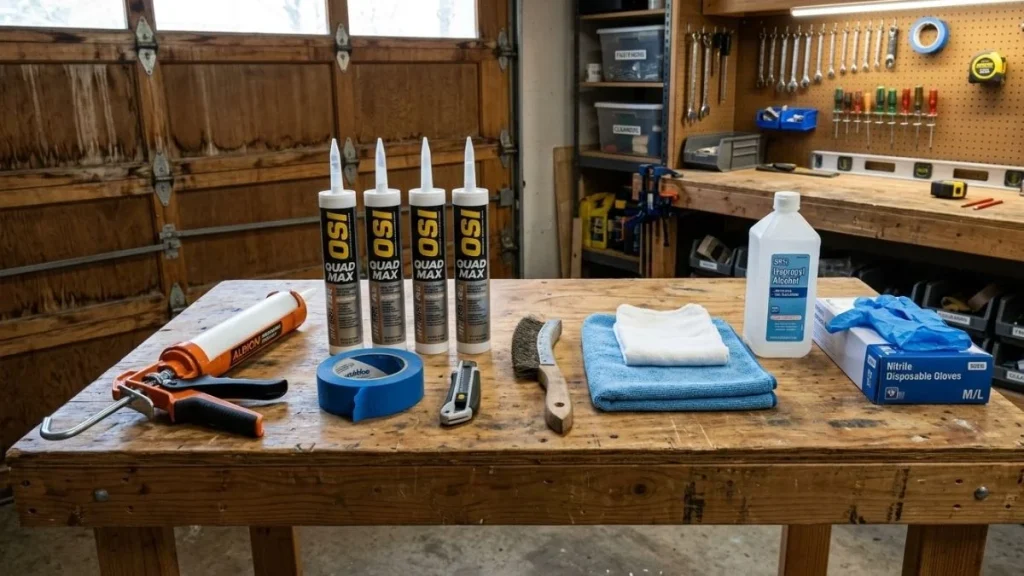
Before you start, gather everything in one place. Having the right tools on hand makes the job cleaner, faster, and much less frustrating.
- Caulk gun (dripless recommended for beginners)
- Exterior silicone or polyurethane caulk
- Utility knife or caulk removal tool
- Wire brush or stiff-bristle brush
- Rubbing alcohol or household degreaser
- Painter’s tape
- Smoothing tool or latex gloves
- Clean rags or paper towels
One tool worth investing in is a dripless caulk gun. Unlike a standard caulk gun, it automatically releases pressure when you stop squeezing, which prevents the caulk from continuing to ooze out. For a beginner, this makes a noticeable difference in control and finish quality.
How to Caulk Around a Garage Door — Step-by-Step
Inspect the Garage Door Frame
Start by walking around the entire garage door frame — top, both sides, and where the frame meets the siding. Look for existing caulk that’s cracked, pulled away, or missing entirely. Also check for any signs of wood rot or structural damage. If you find rotted wood, repair it before caulking — caulk over damaged wood won’t hold and won’t solve the underlying problem.
Remove Old Caulk Completely
This is the step most people skip — and it’s the reason their new caulk fails within a year. Applying fresh caulk over old, failing caulk creates a weak bond. The new caulk can only adhere as well as what it’s sitting on.
Use a utility knife or caulk remover tool to cut and peel away all of the old caulk. Work carefully to avoid gouging the wood. Once the bulk is removed, use a wire brush to scrub away any remaining residue from the surface.
Clean and Prep the Surface
Once the old caulk is gone, clean the surface thoroughly with rubbing alcohol or a degreaser. This removes dirt, grease, and moisture that would prevent the new caulk from bonding properly. Let the surface dry completely — at least 30–60 minutes — before moving on. Never apply caulk to a damp surface.
Apply Painter’s Tape for Clean Lines
Run painter’s tape along both sides of the gap you’re sealing — one strip on the siding and one on the door frame. This keeps your caulk line clean and gives the finished job a professional look. It takes an extra five minutes but makes a big difference in the final result.
Load and Prepare Your Caulk Gun
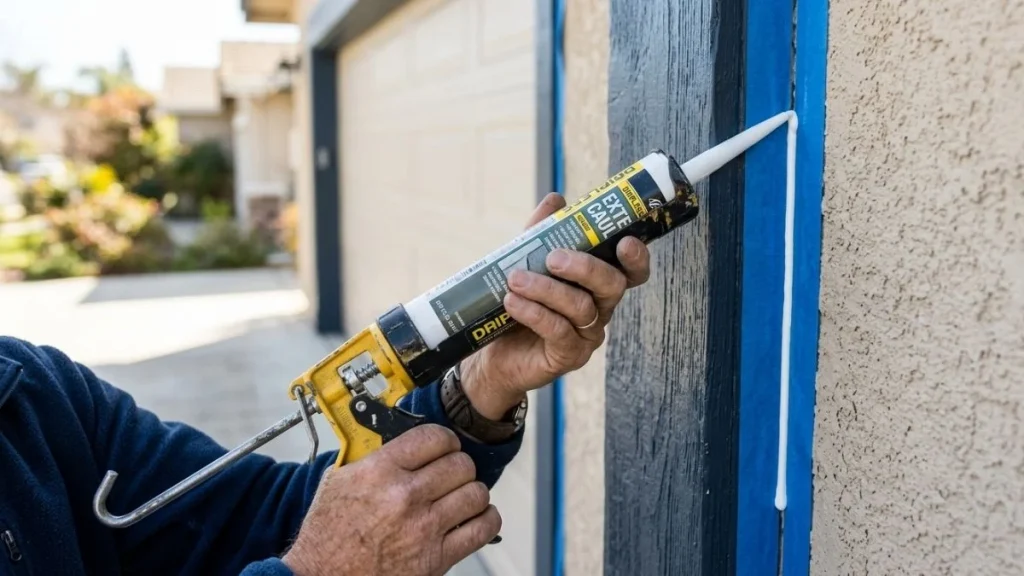
Cut the tip of the caulk tube at a 45-degree angle. The size of the opening controls the bead size — for a standard garage door frame gap, cut the tip to create about a ¼-inch opening. Pierce the inner seal with a nail or the built-in puncture tool on your caulk gun, then load the tube and do a short test squeeze on a piece of cardboard to make sure the flow is consistent.
Apply the Caulk in One Smooth Motion
Hold the caulk gun at a 45-degree angle to the surface and apply steady, consistent pressure as you move along the gap. Work from the top corners downward on each side. Try to complete each side in one continuous motion — stopping and starting in the middle creates uneven beads and weak spots. Fill the gap completely without overfilling. A slightly overfilled bead is easier to smooth than an under-filled one.
Smooth and Finish the Caulk Bead
Immediately after applying the caulk, wet your finger with water (for latex) or use a smoothing tool, and run it along the bead in one smooth stroke. This presses the caulk into the gap and creates a clean, professional finish. Remove the painter’s tape right away — before the caulk begins to skin over. If you wait too long, the tape can pull the caulk away with it.
Allow Proper Curing Time
| Caulk Type | Touch Dry | Fully Cured | Safe to Paint |
| Silicone | 30–60 min | 24 hours | After full cure (specialty paint) |
| Polyurethane | 1–2 hours | 3–7 days | After full cure |
| Latex/Acrylic | 30 min | 24 hours | After 24 hours |
Keep the caulk dry and protected during curing. Avoid applying in rain, extreme cold (below 40°F), or direct hot sunlight, as all of these affect how the caulk cures and bonds.
Common Caulking Mistakes Homeowners Make
Even a simple job like caulking can go wrong. Here are the most common mistakes and how to avoid them:
- Skipping surface prep — Dirty or damp surfaces cause caulk to fail quickly. Always clean and dry before applying.
- Using interior caulk outdoors — Latex caulk isn’t built for outdoor exposure. Always use exterior-rated caulk for the garage door frame.
- Applying over old caulk — New caulk needs a clean, solid surface to bond to. Remove all old material first.
- Working in bad weather — Cold temperatures and rain ruin caulk adhesion. Pick a dry day above 50°F.
- Painting too soon — Painting over uncured caulk traps moisture and causes peeling. Always wait for full cure time.
- Using too thin a bead — A bead that’s too narrow won’t fill the gap fully and will crack sooner.
How Long Does Caulk Around a Garage Door Last?
A quality caulk job on a garage door frame should last many years — but the actual lifespan depends on the type of caulk used and the conditions it’s exposed to. Silicone caulk is the longest-lasting option, often exceeding 20 years when properly applied. Polyurethane typically lasts 10–15 years, while latex or acrylic caulk generally needs replacing every 5–10 years.
Climate plays a big role. Homes in areas with harsh winters, intense summer heat, or heavy rainfall will see caulk wear out faster than homes in mild climates. UV exposure also breaks down caulk over time, which is why shaded areas of the frame tend to hold up longer than spots in direct sunlight.
Check your garage door caulk once a year — early fall is the best time, before cold weather sets in. Look for any cracking, shrinkage, or gaps, and do a touch-up before small problems become big ones.
Extra Tips to Fully Weatherproof Your Garage Door
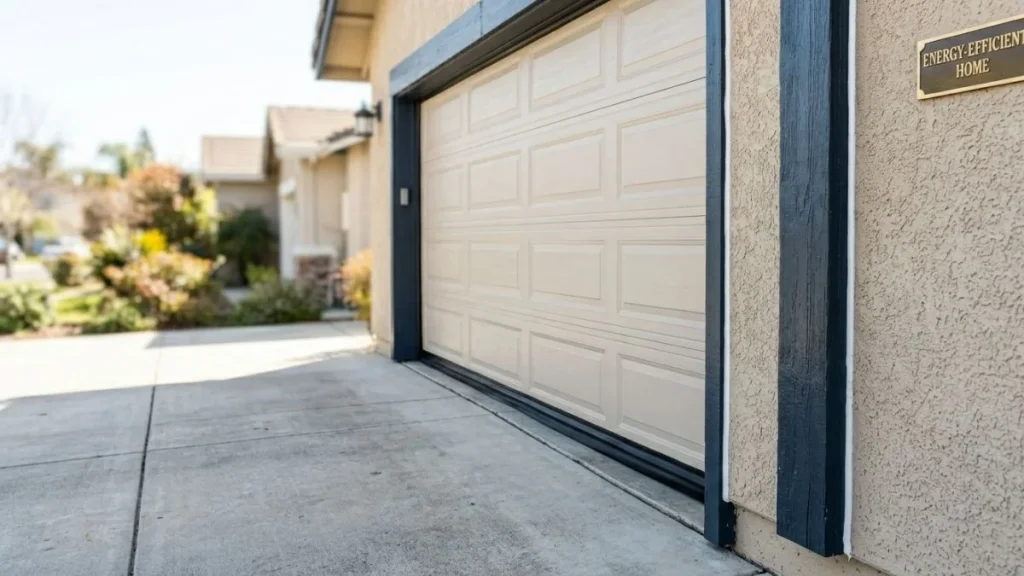
Caulking the frame is a great start, but a few extra steps will make your garage door truly airtight and energy-efficient.
Don’t forget the corner joints of the door frame — these spots are often overlooked and are prime spots for gaps to develop. Also check where the door frame meets the house siding, and the gap between the garage door header and the wall above it.
Replace the bottom door seal if it’s cracked or compressed. This rubber strip runs along the bottom of the garage door and prevents drafts and water from seeping in underneath. It’s inexpensive and easy to replace on your own.
Finally, consider adding side and top weatherstripping if it hasn’t been replaced in several years. Together with fresh caulk and a new bottom seal, this gives your garage door a complete weatherproofing system that can noticeably reduce your energy bills and keep your garage dry all year long.
Read Also: Garage Door Opener Hums But Doesn’t Work
Conclusion
Caulking around your garage door is one of those small tasks that makes a big difference. It protects your home from water damage, keeps drafts and pests out, and helps you save money on energy bills — all for the cost of a tube of caulk and a free afternoon.
The key is doing it right: remove the old caulk, prep the surface properly, choose the correct caulk for exterior use, and take your time with the application. Follow the steps in this guide, and you’ll end up with a clean, professional result that holds up for years.
Pick a dry weekend and get it done — your garage door will be sealed tight before the next cold snap hits.