If you’re turning your detached garage into a workshop, adding an EV charger, or just need reliable power out there, running a dedicated 100 amp sub panel is one of the smartest electrical upgrades you can make. A single 20-amp circuit from the house simply won’t cut it when you’re running a table saw, air compressor, and shop lights at the same time.
This guide walks you through everything — from understanding what a sub panel actually does, to pulling permits, choosing the right wire, and completing the installation safely. Whether you’re a confident DIYer or just want to understand what your electrician will be doing, you’ll find clear, practical answers here.
What Is a Sub Panel and Why Does Your Detached Garage Need One?
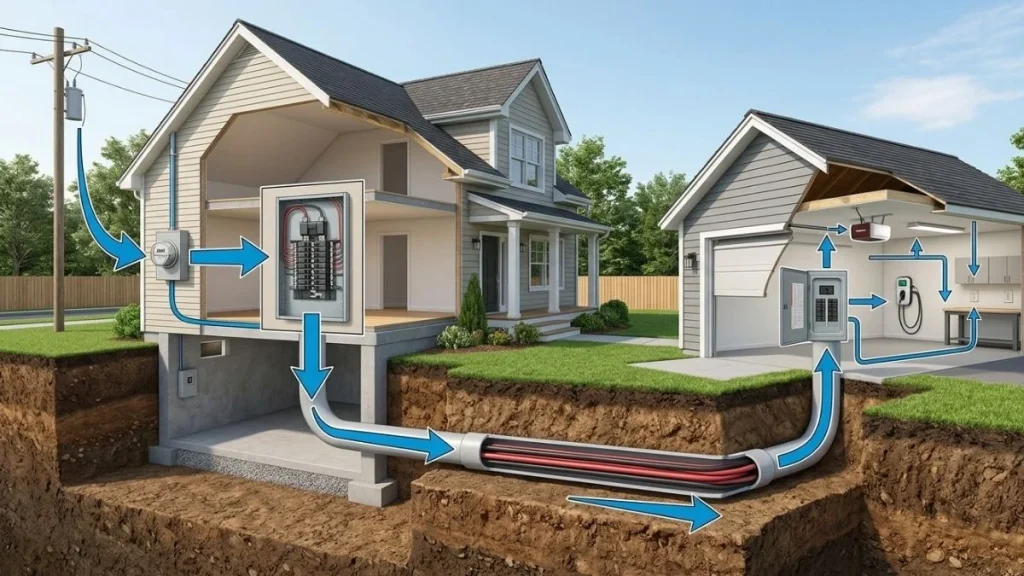
A sub panel — sometimes called a secondary panel or load center — is essentially a smaller version of your home’s main electrical panel. It doesn’t connect directly to the utility; instead, it receives power from your main panel through a dedicated feeder circuit and then distributes that power to multiple circuits inside your garage.
Think of it this way: your main panel is the hub, and the sub panel is a branch that serves a specific area of your property. For a detached garage, this setup is almost always necessary because a detached structure is legally considered a separate building under the National Electrical Code (NEC). That means you can’t just run a single extension circuit — you need a proper panel with grounding that’s independent of your house.
Benefits of Installing a 100 Amp Sub Panel
Installing a 100 amp sub panel in your detached garage gives you far more than just extra outlets. Here’s what you actually gain:
- Capacity for heavy equipment — Power tools like table saws, air compressors, and welders draw a lot of current. A 100 amp panel handles them comfortably.
- EV charging capability — A Level 2 EV charger typically requires a 40–50 amp dedicated circuit, which is only possible with a proper sub panel.
- Overload protection — Separate breakers for each circuit mean one tripped breaker doesn’t kill all your garage power.
- Home value increase — A properly permitted and wired detached garage adds measurable resale value.
- Future flexibility — You can add lighting, heating, a bathroom, or even convert the space to an ADU later.
Is 100 Amps the Right Size?
For most homeowners, 100 amps is the sweet spot. A 60-amp panel works for basic lighting and a few outlets, but it leaves no room to grow. A 200-amp panel is overkill unless you’re running a serious commercial shop or welding equipment. If you plan on using multiple power tools simultaneously, charging an EV, and running overhead lighting and heating — 100 amps is the right call.
What You Need to Know Before You Start
Permits and Electrical Code Requirements
This is non-negotiable: you need a permit before you touch a single wire. Almost every municipality in the United States requires a permit and inspection for sub panel installations. This isn’t just bureaucratic red tape — it protects you. Unpermitted electrical work can void your homeowner’s insurance, cause problems when you sell the house, and most importantly, create fire and safety hazards.
To get a permit, visit your local building department (many now allow online applications) and submit a basic wiring diagram showing the feeder route, panel location, and circuit layout. Fees typically run $50–$200 depending on your location. After the work is complete, an inspector will verify everything meets NEC standards. Budget an extra week or two for the inspection scheduling.
DIY vs. Hiring a Licensed Electrician
Honestly assess your skill level before starting. This project involves working near your home’s main panel — which has live wires that cannot be shut off without utility involvement. If you have solid electrical experience, understand how to read wiring diagrams, and are comfortable working in panels, a permitted DIY installation is legal in many states.
However, some states require a licensed electrician for any work involving the main panel. Check your local regulations before assuming DIY is allowed. Hiring a pro typically costs $500–$1,500 in labor, but it comes with permits pulled on your behalf, insurance coverage, and guaranteed code compliance.
Tools and Materials You’ll Need
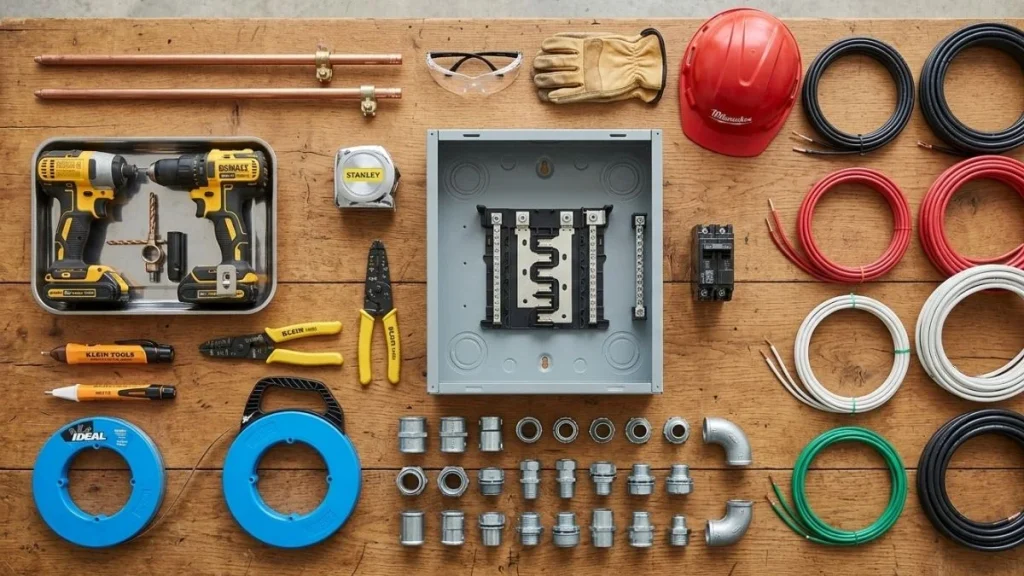
Tools:
- Voltage tester (non-contact type)
- Wire stripper and cable cutter
- Conduit bender (for metal conduit)
- Fish tape or wire pulling rope
- Drill with bits
- Screwdrivers (flat and Phillips)
- Level, measuring tape, and pencil
Materials:
| Item | Specification |
| Sub panel box | 100 amp, minimum 12–24 circuit slots |
| Main breaker | 100 amp double-pole |
| Feeder wire | #2 AWG copper or 1/0 AWG aluminum |
| Conduit | PVC Schedule 40 (underground) or EMT (above ground) |
| Ground rods | Two 8-foot copper-clad rods |
| Grounding wire | #6 AWG bare copper |
| Weatherproof fittings | For any outdoor conduit sections |
How to Calculate Wire Size and Conduit
Wire Gauge for 100 Amp Service
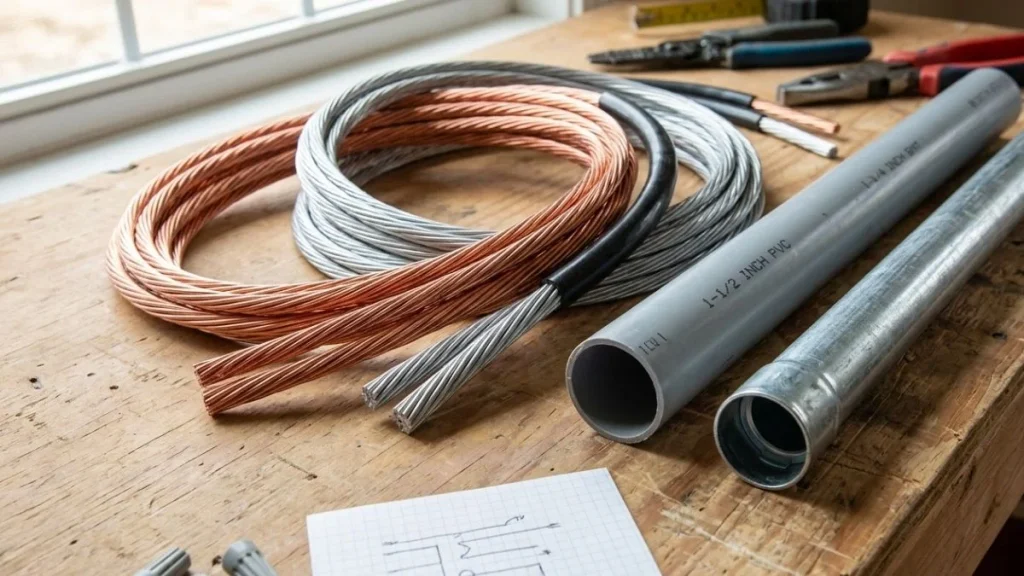
The wire connecting your main panel to the sub panel is called the feeder, and sizing it correctly is critical. For a 100 amp sub panel, you have two solid options:
- #2 AWG copper — More compact and easier to work with in tight spaces, but more expensive.
- 1/0 AWG aluminum — More affordable and perfectly code-compliant, but requires terminals rated for aluminum wire.
Both are acceptable under NEC guidelines. Aluminum feeders are actually the industry standard for sub panel installations over longer runs due to cost savings.
How Distance Affects Wire Size
Voltage drop becomes a real problem on runs longer than 100 feet. When electricity travels a long distance through wire, it loses voltage along the way — meaning your tools and equipment at the end of the line receive less power than they should. For runs between 100–150 feet, step up to #1 AWG copper or 2/0 AWG aluminum. Over 150 feet, consult a voltage drop calculator or go up another size.
Choosing the Right Conduit
For underground runs, use PVC Schedule 40 conduit buried at least 18 inches deep. For above-ground sections inside the garage or along the house exterior, EMT (electrical metallic tubing) is clean, durable, and easy to work with. Never bury wire without conduit on a sub panel feeder — it’s a code violation and creates serious long-term safety risks.
Step-by-Step Installation Guide
Plan Your Layout and Pull Your Permit
Sketch the route from your main panel to the garage before buying anything. Measure the actual distance along the route (not straight-line distance) to determine your wire length. Add 10% for waste and turns. Submit your permit application with this diagram. Don’t start work until approval is in hand.
Shut Off Power and Prepare the Main Panel
Turn off your main breaker and verify the panel is de-energized with your voltage tester before opening it. Locate an available double-pole slot for the 100-amp feeder breaker. If your main panel is already full, you may need to install a tandem breaker or upgrade the main panel — an important discovery to make before buying all your sub panel materials.
Run the Conduit
For underground runs, dig a trench at least 18 inches deep from the house to the garage. Lay your PVC conduit in the trench, use sweeping elbows at entry and exit points, and leave 12–18 inches of conduit sticking up at each end for connection. For above-ground sections, use EMT conduit secured with straps every 10 feet. Seal all outdoor conduit connections with weatherproof fittings to prevent moisture intrusion.
Pull the Feeder Wire
Label your wires before pulling: two hots (black and red), one neutral (white), and one ground (green or bare). Use fish tape to pull all four wires through the conduit simultaneously. Pulling them separately is possible but far more difficult. Leave 18–24 inches of extra wire at each end for connections.
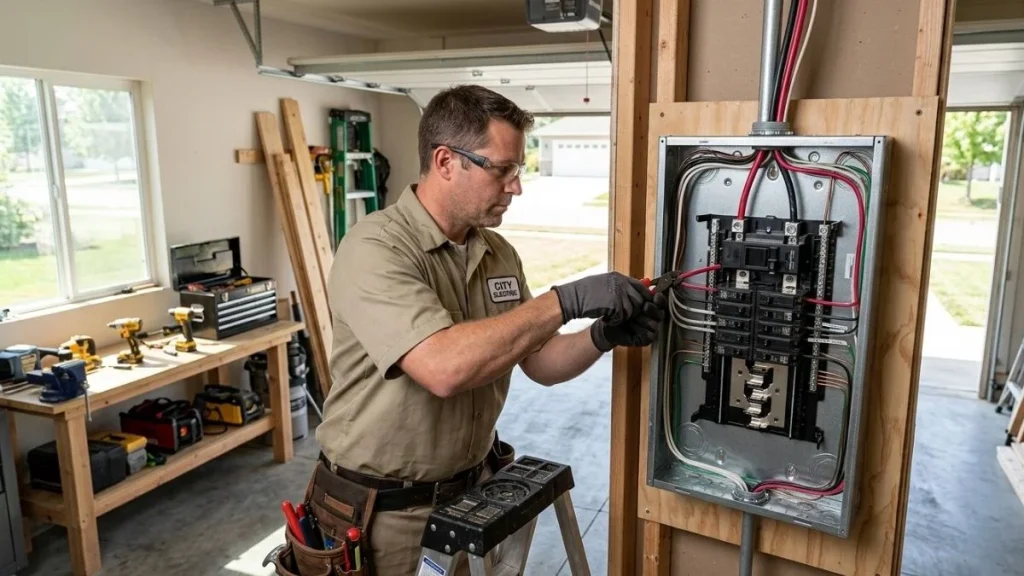
Mount and Wire the Sub Panel
Mount the sub panel box on the garage wall at a comfortable working height (roughly eye level). Secure it to studs or a plywood backer. Connect the feeder wires to the main breaker terminals inside the sub panel — black and red to the hot terminals, white to the neutral bar, and bare or green to the ground bar.
Critical point: In a sub panel, the neutral bar and ground bar must be separated and kept on separate buses. This is the opposite of your main panel, where they’re bonded together. Connecting them in a sub panel is a code violation that creates serious shock hazards.
Connect Wires at the Main Panel
At your home’s main panel, connect the feeder wires to the new 100-amp double-pole breaker — black and red to the breaker, white to the neutral bar, and bare copper to the ground bar. Use a torque screwdriver to tighten terminals to the manufacturer’s specified torque rating (usually printed on the breaker or panel label). This step is often where DIYers get into trouble — undertightened connections create heat and become fire hazards over time.
Install Ground Rods at the Garage
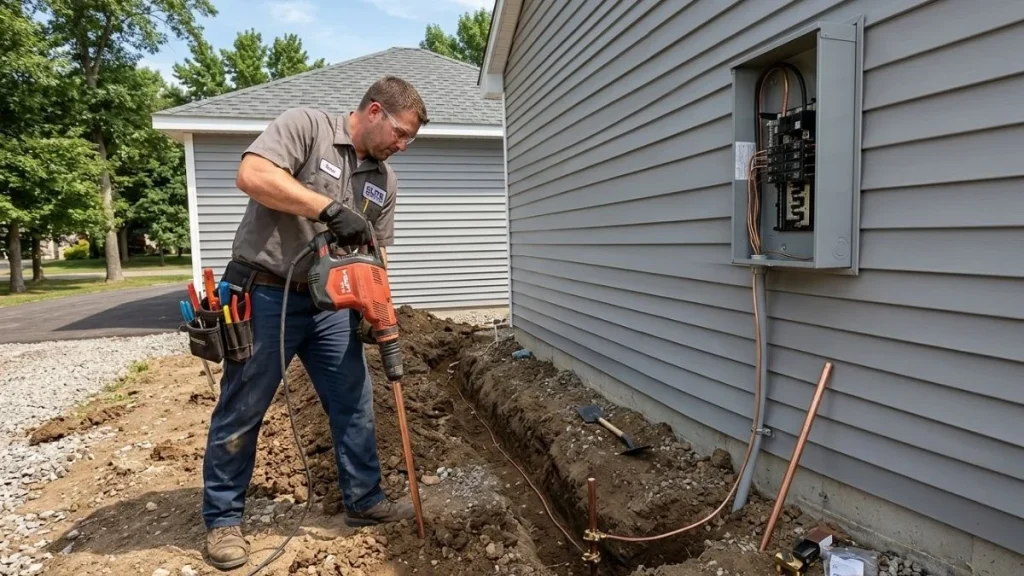
NEC requires a separate grounding electrode system at any detached structure. Drive two 8-foot copper-clad ground rods into the earth at least 6 feet apart near the garage. Connect them to the ground bar in your sub panel with #6 AWG bare copper wire. This provides a local path to earth for fault current — an important safety feature independent of the feeder ground.
Test the System and Pass Inspection
Before energizing, do a final visual inspection. Check that all connections are tight, wires are properly supported, neutral and ground are separated at the sub panel, and the panel cover is secured. Then restore power at the main panel and test each circuit with your voltage tester. Schedule your inspection — the inspector will verify wire sizing, conduit burial depth, grounding, and the neutral/ground separation at the sub panel.
How Much Does It Cost?
| Item | Estimated Cost |
| Sub panel box (100 amp) | $60–$150 |
| Feeder wire (aluminum, 100 ft) | $80–$200 |
| Conduit and fittings | $60–$150 |
| Ground rods and wire | $30–$60 |
| Permit fees | $50–$200 |
| Total DIY cost | $280–$760 |
| Licensed electrician labor | $500–$1,500 |
| Total with professional | $800–$2,500+ |
Distance, local labor rates, and whether your main panel needs upgrades are the biggest cost variables. Get at least three quotes from licensed electricians before hiring, and always ask whether permit fees are included.
Common Mistakes to Avoid
- Bonding neutral and ground at the sub panel — The single most common and dangerous mistake in sub panel installations.
- Undersizing the feeder wire — Always account for the actual run distance, not straight-line distance.
- Skipping the permit — Unpermitted work creates real legal and insurance liability.
- Using non-weatherproof fittings outdoors — Moisture in conduit corrodes wire insulation over time.
- Not checking main panel capacity — Adding a 100-amp breaker to an already-overloaded main panel is a serious hazard.
- Loose terminal connections — Always torque connections to spec. A loose hot wire is a fire waiting to happen.
Related Read: How to Run 220 to Detached Garage
Conclusion
Installing a 100 amp sub panel in a detached garage is one of the most rewarding home improvement projects you can tackle. Done right, it transforms a basic storage space into a fully functional workshop, EV charging station, or hobby space — with room to grow.
The keys to a successful installation are simple: pull your permit, size your wire correctly for the distance, keep the neutral and ground separated at the sub panel, and don’t skip the inspection. If any part of the process feels outside your comfort zone — especially the main panel connections — hire a licensed electrician for that portion. Partial DIY is perfectly reasonable and can still save you significant money.
Take your time, follow the code, and you’ll have a safe, reliable electrical system in your garage that will serve you for decades.